Introduction
I did not trust boneless chicken thighs coated in a sticky honey garlic glaze to turn out crispy. Honestly, the idea sounded like a contradiction — how could something drenched in sweet sauce keep that satisfying crunch? I remember the first time I attempted it, standing over the pan, half-expecting a soggy mess. The smell was intoxicating, though: sweet garlic mingling with toasted honey notes, wafting through the kitchen in a way that almost demanded patience.
At first, the crust softened right away, and I thought, “This is it — the crispy chicken myth busted.” But then, after a few more minutes of cooking and careful attention, the surface hardened into a perfect golden shell that cracked delightfully when I bit in. It wasn’t just crispy; it was the kind of crispy you dream about, with a sticky-sweet glaze that clung lovingly to every tender bite. The chicken thighs stayed juicy beneath that shell — no drying out, no rubbery texture.
It took a few tries to find the right balance between glaze thickness and cooking time, but now this recipe is a quiet favorite. It’s the kind of dish that’s easy enough to whip up on a weeknight but impressive enough to serve when friends come over. There’s a comforting familiarity in the honey and garlic combo, yet the crispy finish keeps it exciting — a little crunchy, a little sweet, and totally satisfying. I keep coming back to it when I want something quick, cozy, and honestly, a little addictive.
Why You’ll Love This Recipe
- Quick & Easy: Ready in about 30 minutes, which is perfect when you don’t want to fuss but still crave home-cooked flavor.
- Simple Ingredients: Just pantry staples like honey, garlic, soy sauce, and boneless chicken thighs — nothing exotic or hard to find.
- Perfect for Dinner or Entertaining: Works great for casual family dinners or impressing guests without stress.
- Crowd-Pleaser: Kids and adults alike rave about the crispy texture paired with the sweet and garlicky glaze.
- Unbelievably Delicious: The glaze caramelizes just right, giving a sticky-sweet coat that’s not overly sugary or sticky.
- What Sets This Apart: The secret is in the technique — pan-searing the chicken first to lock in crispiness, then glazing at the end so the sauce doesn’t turn soggy. Plus, a touch of rice vinegar adds just enough tang to balance the sweetness, making every bite pop.
- This recipe isn’t just a quick fix; it’s the kind of meal that makes you pause and savor — a crunchy, sweet, garlicky comfort that feels like a little celebration on a plate.
What Ingredients You Will Need
This recipe uses simple, wholesome ingredients to deliver bold flavor and satisfying texture without the fuss. Most of these are pantry staples, and you can find quality boneless chicken thighs at any grocery store.
- Boneless, skinless chicken thighs (about 1.5 pounds / 680 grams) – I prefer thighs because they stay juicy and tender, unlike chicken breasts that can dry out.
- Salt and black pepper – for seasoning.
- All-purpose flour (about ½ cup / 60 grams) – to coat the chicken lightly for that crispy crust.
- Olive oil or vegetable oil (2-3 tablespoons) – for searing.
- Fresh garlic (4-5 cloves, minced) – the star player for that punchy garlic flavor.
- Honey (¼ cup / 85 grams) – provides the sweet glaze, but not overpowering.
- Soy sauce (3 tablespoons) – adds depth and umami.
- Rice vinegar (1 tablespoon) – balances sweetness with acidity, a little trick I learned from making honey miso glazed salmon.
- Water (2 tablespoons) – to thin the glaze slightly if needed.
- Red pepper flakes (optional, a pinch) – if you like a mild kick.
- Green onions (2, sliced thin) – for garnish and fresh bite.
Pro tip: Use small-curd fresh garlic for the best aromatic punch, and if you want a gluten-free version, swap the all-purpose flour for almond flour or cornstarch. I’ve found that a light dusting helps get the chicken crisp without weighing it down.
Equipment Needed
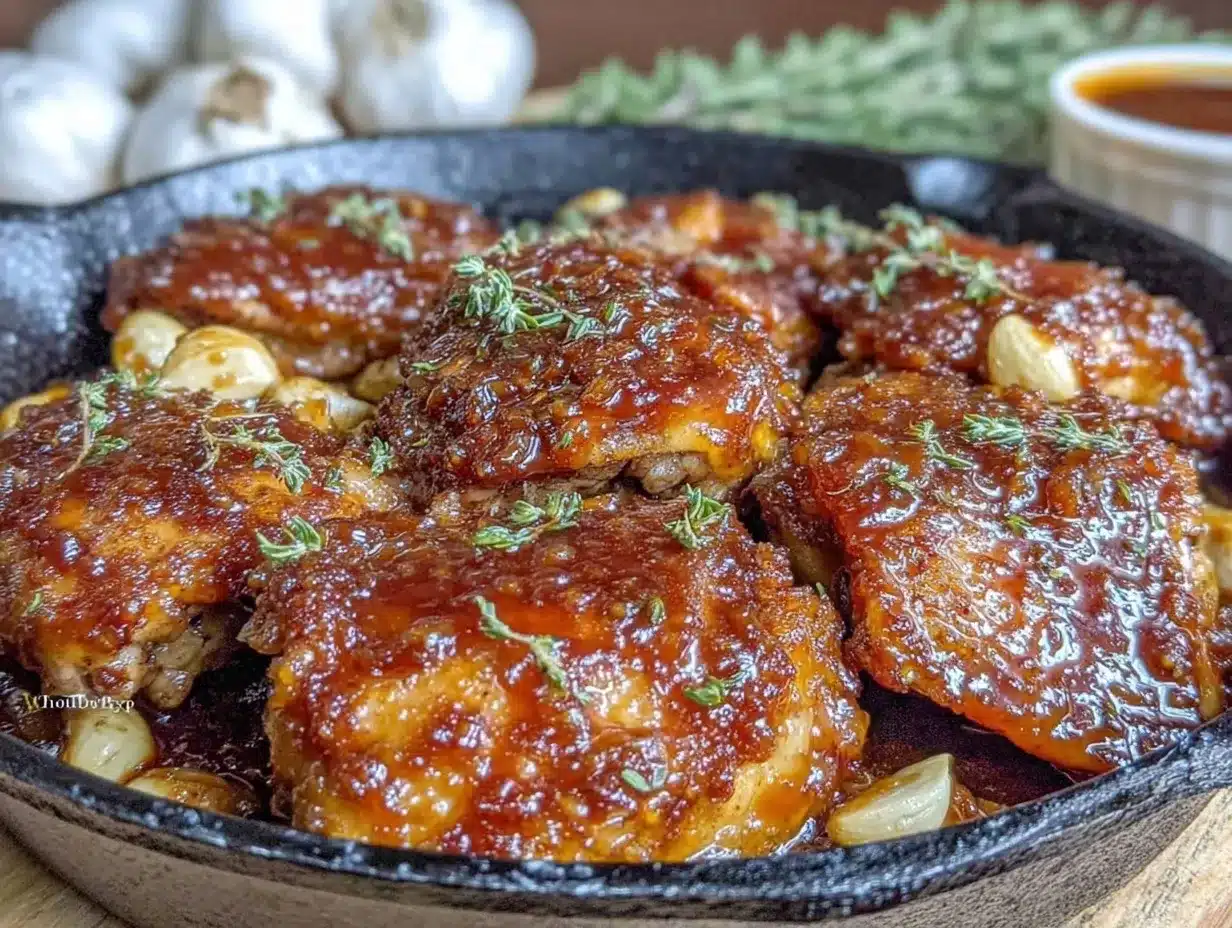
- Large non-stick or cast iron skillet: I recommend cast iron if you have one, as it holds heat well and helps create that golden crust. Non-stick works fine for easy cleanup.
- Tongs: For flipping the chicken without tearing the crust.
- Mixing bowls: One for the flour coating and one for preparing the glaze mixture.
- Measuring spoons and cups: For accuracy in glazing and seasoning.
- Knife and cutting board: For mincing garlic and slicing green onions.
- Spatula or wooden spoon: For stirring the glaze gently.
If you don’t own a cast iron skillet, a heavy-bottomed stainless steel pan works well too. Just be sure to preheat it properly to get a good sear. For those on a budget, a decent non-stick pan will still deliver tasty results — I’ve often used my trusty non-stick skillet when short on time.
Preparation Method
- Prepare the chicken: Pat the boneless chicken thighs dry with paper towels to remove excess moisture — this is key for crispiness. Season both sides generously with salt and black pepper. (About 5 minutes)
- Coat with flour: Place the all-purpose flour in a shallow bowl. Lightly dredge each chicken thigh in the flour, shaking off the excess. The coating should be thin; too much flour will make the crust gummy. (5 minutes)
- Heat the skillet: Warm 2 tablespoons of oil over medium-high heat until shimmering but not smoking. A properly heated pan ensures a golden crust. (2-3 minutes)
- Sear the chicken: Place the chicken thighs in the pan without crowding. Cook for about 5-6 minutes on the first side without moving. Flip and cook another 5 minutes until the crust is golden brown and the chicken reaches an internal temperature of 165°F (74°C). Adjust heat as needed to prevent burning. (10-12 minutes)
- Make the glaze: While chicken cooks, whisk together minced garlic, honey, soy sauce, rice vinegar, water, and red pepper flakes (if using) in a small bowl. (5 minutes)
- Glaze the chicken: Lower the heat to medium-low. Pour the glaze over the chicken in the pan. Spoon the sauce over the thighs continuously as it thickens and becomes sticky — about 3-4 minutes. This step is crucial to avoid sogginess. (4-5 minutes)
- Finish and garnish: Once the glaze is thick and coats the chicken beautifully, remove from heat. Sprinkle sliced green onions on top for a fresh contrast. (1-2 minutes)
Tip: If the glaze thickens too fast, add a splash of water to loosen it. Watch the garlic carefully to prevent burning — burnt garlic turns bitter and ruins the flavor. Also, flipping the chicken only once helps keep that crust intact.
Cooking Tips & Techniques
Getting crispy chicken thighs with a sticky glaze can be tricky, but a few techniques make all the difference. First, always start with dry chicken. Moisture is the enemy of crispiness, so patting dry is a must. I’ve learned the hard way that skipping this step leads to soggy skin every time.
Next, don’t rush the searing process. Let the chicken cook undisturbed so it forms that golden crust. Resist the urge to poke or press the thighs; patience pays off. When it’s time to add the glaze, keep the heat moderate to low to prevent burning the sugars in honey and soy sauce — nothing worse than a bitter glaze.
Also, remember to continuously spoon the sauce over the chicken so it thickens evenly and clings without drowning the crust. I often set a timer to remind myself to stir, especially when multitasking in the kitchen.
Lastly, if you want to make the meal even more balanced, try pairing these chicken thighs with something fresh and crisp — like the fresh cucumber feta salad. The cool crunch complements the sticky chicken perfectly.
Variations & Adaptations
- Spicy Twist: Add more red pepper flakes or a dash of Sriracha to the glaze for a fiery kick reminiscent of the sticky honey sriracha chicken thighs I love making on busy nights.
- Gluten-Free Option: Swap all-purpose flour with cornstarch or rice flour for the coating. This keeps the crust crispy without gluten.
- Oven-Baked Version: After searing, transfer chicken and glaze to a baking dish and roast at 400°F (200°C) for 10-12 minutes. This is great if you want to free up stovetop space.
- Herb Infusion: Add fresh thyme or rosemary to the glaze for an earthy aroma that pairs well with the sweet garlic flavors.
- Personal Favorite: Sometimes I toss in a handful of toasted sesame seeds on top for extra texture and that nutty note.
Serving & Storage Suggestions
Serve these crispy honey garlic boneless chicken thighs hot, right from the skillet, garnished with fresh green onions. The sticky glaze shines best when warm, so plate them alongside steamed jasmine rice or simple roasted vegetables for a balanced meal.
For a refreshing side, the bright flavors of the quick zesty cowboy caviar provide a perfect contrast to the richness of the chicken. This pairing adds a colorful, textural balance that’s satisfying every time.
Leftovers keep well in an airtight container in the refrigerator for up to 3 days. Reheat gently in a skillet over low heat or in the oven to help the glaze regain its stickiness without drying out the chicken. Avoid microwaving if you can — it tends to soften the crispy crust.
Flavors actually deepen after a day, making the chicken taste even better the next day when the garlic and honey have mingled more fully. Just reheat carefully and enjoy like a little secret treat.
Nutritional Information & Benefits
Each serving of this recipe (about 4 servings total) provides roughly 320 calories, 22 grams of protein, 18 grams of fat, and 12 grams of carbohydrates. The boneless chicken thighs are a fantastic source of protein and iron, important for muscle maintenance and energy.
Honey brings natural antioxidants and a touch of sweetness without refined sugars, while garlic contains compounds known for immune support and anti-inflammatory properties. Using moderate amounts of soy sauce keeps sodium levels balanced, and rice vinegar adds flavor without extra calories.
This recipe fits well into a balanced diet and can be adapted for gluten-free or low-carb lifestyles by swapping out flour and side dishes accordingly. It’s a wholesome way to enjoy comfort food without feeling weighed down.
Conclusion
This crispy honey garlic boneless chicken thighs recipe sticks with me because it manages to be both comforting and exciting — that sticky-sweet glaze paired with a golden, crunchy crust is just plain satisfying. It’s adaptable, straightforward, and uses ingredients I always have on hand, which is a big win in my book.
Feel free to tweak it to your liking, whether that means turning up the heat with spice, adding fresh herbs, or pairing it with bright salads like the creamy pesto pasta salad for a summery vibe. I always appreciate hearing how others make it their own — so don’t hesitate to share your twists or tips.
At the end of the day, this dish reminds me that sometimes, the best meals are the ones that surprise you — crispy, sweet, garlicky, and genuinely satisfying without fuss. It’s a recipe I trust to deliver, over and over.
FAQs
- Can I use chicken breasts instead of thighs? Yes, but thighs stay juicier and are less likely to dry out. If using breasts, be careful not to overcook.
- How do I keep the chicken crispy after glazing? Use medium-low heat when adding the glaze and spoon it on continuously so the sauce thickens without making the crust soggy.
- Can I make this recipe ahead of time? You can prep and season the chicken in advance, but for best crispiness, cook and glaze right before serving.
- Is this recipe gluten-free? It can be with a simple substitution of flour for cornstarch or almond flour.
- What sides go well with this chicken? Steamed rice, roasted veggies, or fresh salads like the fresh cucumber feta salad offer great balance.
Pin This Recipe!
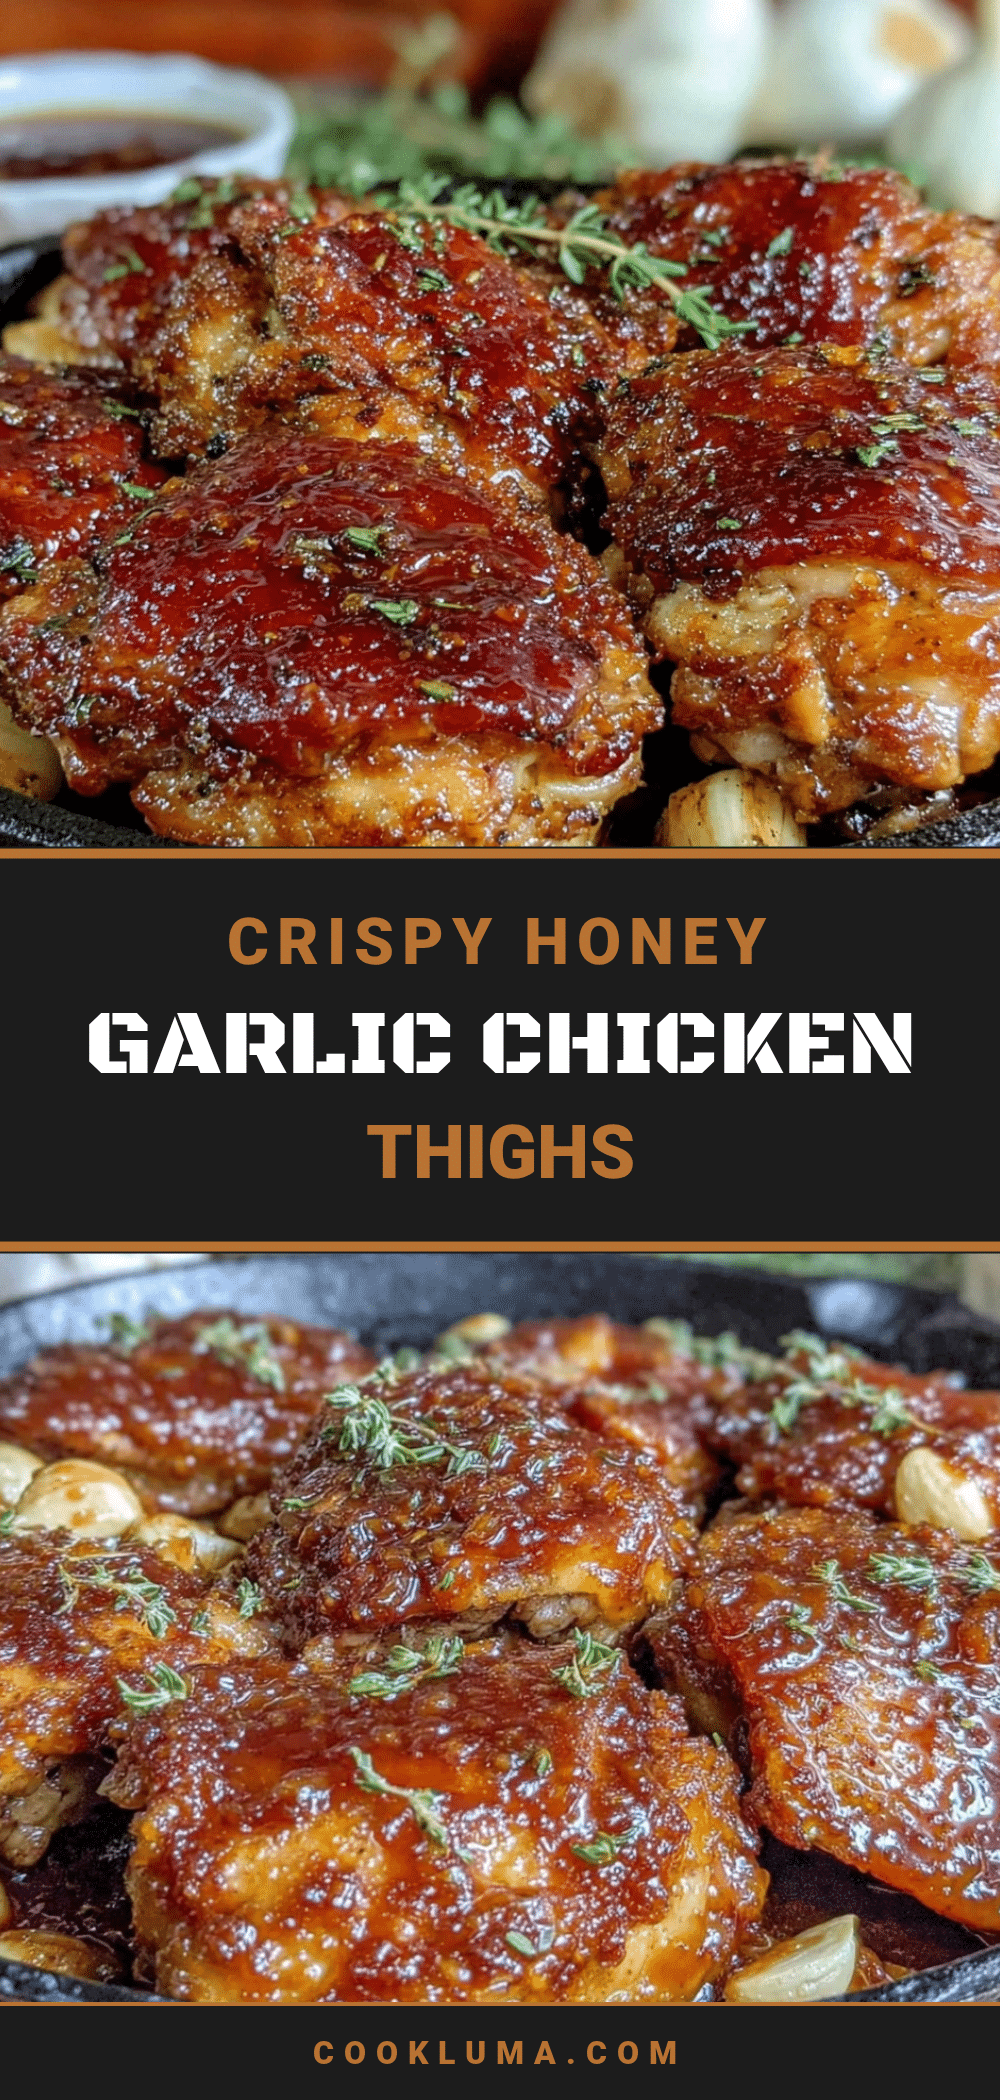
Crispy Honey Garlic Boneless Chicken Thighs

A quick and easy recipe for boneless chicken thighs coated in a sticky honey garlic glaze that stays crispy and juicy. Perfect for weeknight dinners or entertaining guests.
- Prep Time: 15 minutes
- Cook Time: 15 minutes
- Total Time: 30 minutes
- Yield: 4 servings 1x
- Category: Main Course
- Cuisine: American
Ingredients
- 1.5 pounds boneless, skinless chicken thighs
- Salt and black pepper, to taste
- ½ cup all-purpose flour (60 grams)
- 2–3 tablespoons olive oil or vegetable oil
- 4–5 cloves fresh garlic, minced
- ¼ cup honey (85 grams)
- 3 tablespoons soy sauce
- 1 tablespoon rice vinegar
- 2 tablespoons water
- Pinch of red pepper flakes (optional)
- 2 green onions, sliced thin
Instructions
- Pat the boneless chicken thighs dry with paper towels to remove excess moisture. Season both sides generously with salt and black pepper. (About 5 minutes)
- Place the all-purpose flour in a shallow bowl. Lightly dredge each chicken thigh in the flour, shaking off the excess. The coating should be thin. (5 minutes)
- Warm 2 tablespoons of oil over medium-high heat in a large skillet until shimmering but not smoking. (2-3 minutes)
- Place the chicken thighs in the pan without crowding. Cook for about 5-6 minutes on the first side without moving. Flip and cook another 5 minutes until the crust is golden brown and the chicken reaches an internal temperature of 165°F (74°C). Adjust heat as needed. (10-12 minutes)
- While chicken cooks, whisk together minced garlic, honey, soy sauce, rice vinegar, water, and red pepper flakes (if using) in a small bowl. (5 minutes)
- Lower the heat to medium-low. Pour the glaze over the chicken in the pan. Spoon the sauce over the thighs continuously as it thickens and becomes sticky — about 3-4 minutes. (4-5 minutes)
- Once the glaze is thick and coats the chicken, remove from heat. Sprinkle sliced green onions on top for garnish. (1-2 minutes)
Notes
Pat chicken dry to ensure crispiness. Use medium-low heat when glazing to avoid burning the garlic and sugars. Spoon glaze continuously to thicken without sogginess. For gluten-free, substitute flour with almond flour or cornstarch. Leftovers keep well refrigerated for up to 3 days; reheat gently in skillet or oven.
Nutrition
- Serving Size: 1 chicken thigh
- Calories: 320
- Fat: 18
- Carbohydrates: 12
- Protein: 22
Keywords: crispy chicken thighs, honey garlic chicken, boneless chicken recipe, easy chicken dinner, sweet garlic glaze, pan-seared chicken