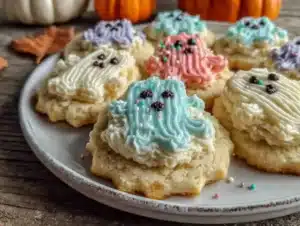
I burned the edges of my pastel Halloween sugar cookies at least three times before figuring out the right oven temperature and timing. And honestly, I didn’t even like the first batch — they were too hard, too bland, and the royal icing ghosts looked more like sad blobs than cute little spirits. But after a few tries, tweaking the dough consistency and perfecting the icing recipe, these cookies finally came together. Now, I can’t imagine Halloween without their soft, tender crumb and those sweet, whimsical ghosts staring back at me from the plate.
There’s something about pastel colors for Halloween — it’s like the holiday’s softer side, the gentle mix of spooky and sweet. I was skeptical at first because Halloween treats usually scream orange and black, but these pastel sugar cookies bring a fresh, unexpected vibe that I love. Plus, decorating with royal icing ghosts is oddly satisfying, even if my first attempt looked more like a ghost having a bad hair day.
The scent of vanilla and butter baking, the pastel hues blending into a playful palette, and the delicate ghost shapes piped in bright white icing became a quiet tradition in my kitchen. It wasn’t about perfection, but about the process and that little moment of calm amidst Halloween chaos. I stuck with this recipe because it reminded me that sometimes the best treats come from patience, a bit of messiness, and a lot of trial and error.
So, if you’ve ever felt frustrated with sugar cookies or royal icing (I’ve been there), this recipe might just be the one that sticks. It’s approachable, forgiving, and honestly, it’s a little bit magical. Let’s face it — those pastel Halloween sugar cookies with royal icing ghosts have a charm that’s hard to resist, and I’m glad I kept at it.
Why You’ll Love This Perfect Pastel Halloween Sugar Cookies Recipe
After many baking sessions and plenty of ghost-shaped icing mishaps, I can confidently say this recipe is worth your oven space. Here’s why these pastel Halloween sugar cookies stand out:
- Quick & Easy: The dough comes together in under 15 minutes, and the royal icing dries perfectly overnight — ideal for last-minute costume party treats or spontaneous baking urges.
- Simple Ingredients: You probably have everything in your pantry already — flour, sugar, butter, eggs, and some basic decorating supplies. No hunting for exotic items.
- Perfect for Halloween Gatherings: These cookies bring a soft, playful aesthetic that’s great for kids’ parties, office treats, or casual fall get-togethers where you want something festive but not too spooky.
- Crowd-Pleaser: They get rave reviews every time — kids love the cute ghost shapes, and adults appreciate the buttery, tender crumb and subtle vanilla flavor.
- Unbelievably Delicious: The texture is soft yet sturdy enough to hold the royal icing without cracking, and the pastel colors add a unique twist on the classic Halloween palette.
What sets this recipe apart? It’s the balance between the tender sugar cookie base and the smooth, glossy royal icing ghosts that dry beautifully without cracking or bleeding colors. I use a simple technique for mixing the dough just enough to keep it tender and chill it to prevent spreading. For the icing, I blend meringue powder with powdered sugar and a little lemon juice for brightness — it’s the kind of royal icing that hardens with a delicate sheen, perfect for crisp ghost shapes.
Honestly, these cookies don’t just taste good — they bring a little nostalgic joy to the table. They’re the kind of treat you close your eyes to savor, the kind that feels cozy and festive without being over the top. If you’re looking for something a bit different than your usual Halloween fare, these pastel sugar cookies with royal icing ghosts could be your new favorite tradition.
Ingredients You Will Need for Perfect Pastel Halloween Sugar Cookies
This recipe uses straightforward, pantry-friendly ingredients to create a soft, flavorful cookie base and smooth royal icing decorations. Most are staples, with a few tips to help you pick the best versions for your baking.
- For the Sugar Cookies:
- 2 ¾ cups (344 g) all-purpose flour, sifted (I prefer King Arthur for consistent results)
- 1 teaspoon baking powder
- ½ teaspoon salt
- 1 cup (226 g) unsalted butter, softened (room temperature is key for easy creaming)
- 1 ½ cups (300 g) granulated sugar
- 1 large egg, room temperature
- 2 teaspoons pure vanilla extract
- 2 tablespoons whole milk (adds tenderness to the dough)
- Gel food coloring in pastel shades (pink, blue, lavender, mint green) — gel works best for vibrant colors without thinning dough
- For the Royal Icing Ghosts:
- 3 tablespoons meringue powder (look for Wilton or AmeriMer, dependable brands for smooth icing)
- 4 cups (480 g) powdered sugar, sifted
- 6 tablespoons warm water
- 1 teaspoon fresh lemon juice (helps brighten the icing and prevent cracking)
- Black edible food marker or black gel icing for ghost eyes and mouth
Substitution tips: You can swap whole milk for any dairy-free alternative if needed. For gluten-free options, use a 1:1 gluten-free baking flour blend, but expect a slightly different texture. If you want to make this recipe vegan, try replacing the egg with a flax egg and use vegan butter, though results may vary.
Equipment Needed
- Mixing bowls (large and medium-sized)
- Electric mixer (stand or hand-held) for creaming butter and sugar smoothly
- Measuring cups and spoons (accurate measurements matter a lot for sugar cookies)
- Sifter or fine mesh strainer (to aerate powdered sugar and flour)
- Rolling pin (a silicone one works well to prevent sticking)
- Cookie cutters in Halloween shapes (I use classic ghost-shaped cutter for the royal icing)
- Baking sheets lined with parchment paper or silicone baking mats
- Cooling racks (to let cookies cool evenly and avoid sogginess)
- Small piping bags or squeeze bottles for royal icing (I prefer disposable piping bags with fine round tips for precision)
- Black edible food marker or fine brush for decorating ghost faces
If you don’t have a stand mixer, a good electric hand mixer works just fine. For rolling pins, if you don’t have a silicone one, lightly flour a wooden or metal rolling pin to avoid sticking. When piping the ghosts, practice on parchment paper first — it helps build confidence.
Preparation Method
- Mix Dry Ingredients: In a medium bowl, sift together the flour, baking powder, and salt. Set aside. (Timing: 5 minutes)
- Cream Butter and Sugar: In a large bowl, beat the softened butter and granulated sugar with an electric mixer on medium speed until light and fluffy, about 3-4 minutes. This step is crucial for tender cookies. (Tip: Room temperature butter creams best.)
- Add Egg and Vanilla: Beat in the egg and vanilla extract until fully combined. Scrape down the sides as needed. (1-2 minutes)
- Incorporate Dry Ingredients and Milk: Gradually add the flour mixture in three parts, alternating with the milk. Start and end with the flour mixture. Mix on low speed just until combined — don’t overmix or the cookies will be tough. (3-4 minutes)
- Divide and Color Dough: Split the dough evenly into separate bowls depending on how many pastel colors you want. Add a small drop of gel food coloring to each bowl and knead gently with clean hands or a spatula until the color is uniform. (Tip: A little goes a long way!)
- Chill Dough: Wrap each colored dough portion in plastic wrap and chill for at least 1 hour (or up to overnight). Chilling prevents spreading and makes rolling easier. (Patience pays off here.)
- Roll and Cut Cookies: Preheat oven to 350°F (175°C). On a lightly floured surface, roll out one dough portion to about ¼ inch (6 mm) thickness. Use the ghost cookie cutter to cut shapes and transfer to a parchment-lined baking sheet, spacing about 1 inch apart.
- Bake: Bake cookies 8-10 minutes, rotating the pan halfway through. Watch closely; cookies should be set but pale, not browned. (Overbaking leads to hard edges.) Cool on the baking sheet for 5 minutes, then transfer to wire racks to cool completely.
- Prepare Royal Icing: In a clean bowl, combine meringue powder, powdered sugar, warm water, and lemon juice. Beat on high speed for 7-10 minutes until stiff peaks form and the icing is glossy. (Consistency should be pipeable but hold its shape.)
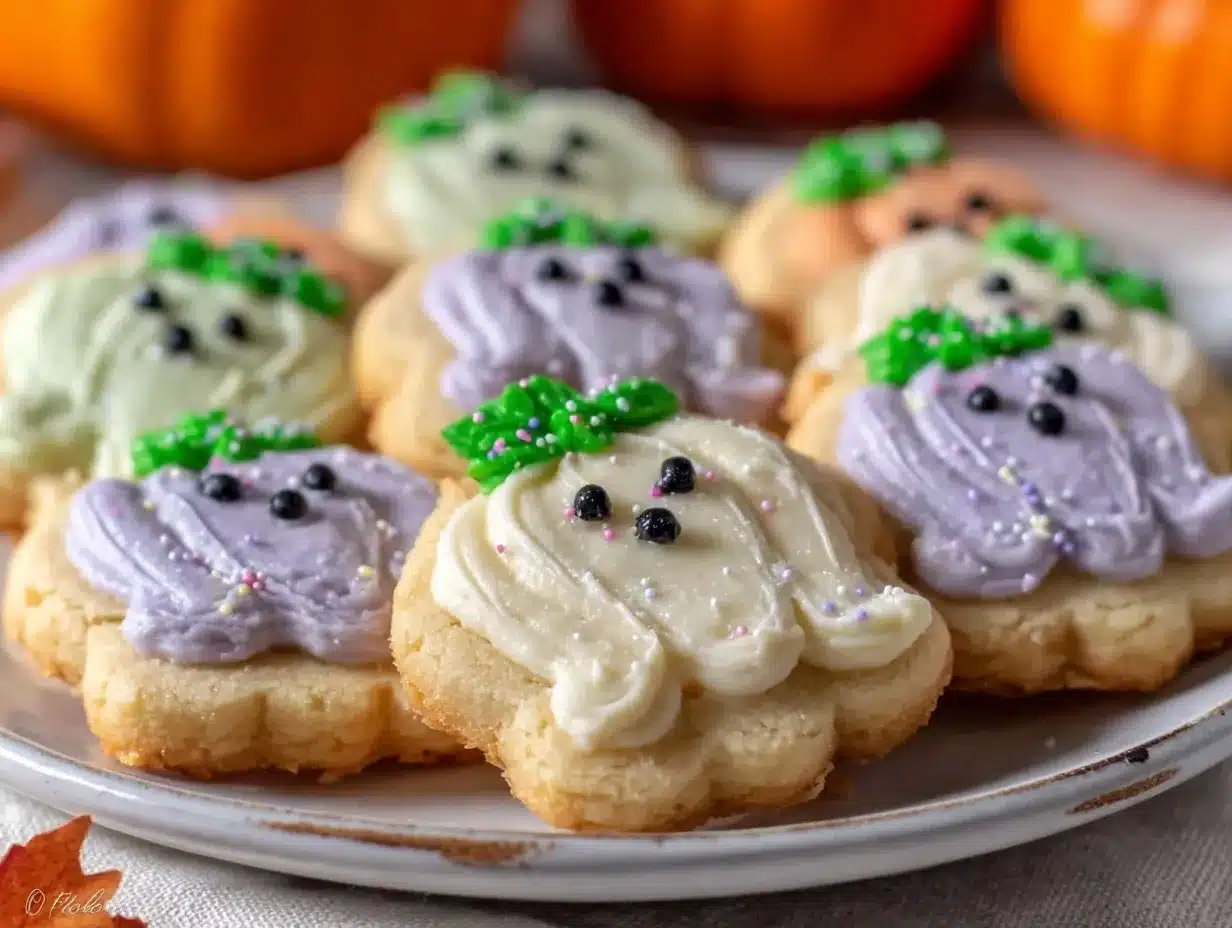
- Pipe Ghosts: Fill piping bags with royal icing and outline each cookie ghost shape first, then flood the inside with icing. Use a toothpick to smooth out bubbles. Let dry at least 4 hours or overnight for best results.
- Add Faces: Once icing is dry, use a black edible food marker or piped black icing to add ghost eyes and mouths. These little details bring the ghosts to life!
Keep in mind, if the royal icing feels too runny, add more powdered sugar; if too stiff, add a few drops of water. Practice makes perfect. I recommend prepping the icing while cookies bake to maximize efficiency.
Cooking Tips & Techniques for Success
Here are some lessons I learned the hard way, so you don’t have to:
- Don’t skip chilling: Chilling the dough is non-negotiable. It keeps cookies from spreading too thin and helps retain their pastel colors.
- Use gel food coloring: Liquid coloring can make the dough sticky and affect texture. Gels give you vibrant pastels without changing dough consistency.
- Beat butter and sugar well: This step makes your cookies tender and light. Under-creaming leads to dense, dry cookies.
- Watch baking time closely: Cookies are done when edges are set but centers still look slightly underbaked. They firm up as they cool.
- Royal icing consistency matters: For outlining, use thicker icing; for flooding, thin it with small amounts of water. Let outlines crust slightly before flooding to keep edges neat.
- Practice piping on parchment: Your first few ghosts might look wonky, but steady hands and patience do wonders.
- Store properly: Once dry, keep cookies in an airtight container at room temperature for up to a week.
Trust me, I burned cookies and cracked royal icing more times than I can count. But these tips saved me from giving up on this recipe. It’s about learning the dough’s mood and the icing’s texture — not about perfection, but about getting close enough to enjoy every bite.
Variations & Adaptations for Different Tastes
If you want to mix things up or cater to different dietary needs, here are a few ideas I’ve tried and liked:
- Flavor twists: Add ½ teaspoon almond extract or lemon zest to the dough for a subtle twist that pairs beautifully with vanilla.
- Gluten-free option: Use a 1:1 gluten-free baking flour blend. The cookies are slightly softer but still delicious and hold shape well.
- Vegan adaptation: Replace the egg with a flax egg (1 tablespoon ground flaxseed + 3 tablespoons water, chilled). Use vegan butter and a plant-based milk alternative. Royal icing can be tricky vegan, but aquafaba (chickpea brine) works as a substitute for meringue powder.
- Color palette: Swap pastel colors for classic Halloween tones like orange, black, and purple if you want a bolder look.
- Alternative decorating: Try piped jack-o’-lantern faces or candy corn accents instead of ghosts for a fun seasonal twist.
Personally, I once tried adding a dash of pumpkin pie spice to the dough, which gave the cookies a cozy fall vibe, perfect alongside a warm cup of cider. And if you like bright, fresh salads to balance sweet treats, a crunchy broccoli salad with honey mustard bacon dressing pairs surprisingly well on the savory side.
Serving & Storage Suggestions
These pastel Halloween sugar cookies are best served at room temperature once the royal icing is fully dry — usually after overnight resting. The soft texture and sweet icing make them perfect for afternoon treats or party platters.
Presentation tip: Arrange cookies on a pastel-colored platter or a rustic wooden board accented with autumn leaves or mini pumpkins. They look adorable stacked or spread out, especially alongside other fall desserts like a brown sugar peach cobbler or a seasonal pumpkin tiramisu.
For storage, keep cookies in an airtight container at room temperature for up to 5 days. If you want to keep them longer, freeze baked and undecorated cookies wrapped tightly in plastic wrap and foil for up to 3 months. Thaw at room temperature before decorating.
When reheating, avoid microwaving the royal icing — it can melt or crack. Instead, enjoy the cookies as is or pair them with a warm drink like chai tea or hot chocolate for a cozy treat.
Nutritional Information & Benefits
Each cookie (assuming 24 cookies from the batch) roughly contains:
| Calories | Fat | Carbohydrates | Protein | Sugar |
|---|---|---|---|---|
| 120 kcal | 6 g | 17 g | 1 g | 10 g |
While these pastel Halloween sugar cookies are definitely an indulgence, the recipe uses real butter and eggs, providing some quality fats and protein. The vanilla extract and lemon juice add flavor without extra calories. Using quality ingredients makes a difference — you can taste it.
If you’re mindful of allergens, note the recipe contains gluten, dairy, and eggs, but with simple swaps, it can be adapted for gluten-free or vegan diets. The pastel colors come from food-safe gels, which are generally safe but check labels if you’re sensitive.
From a wellness perspective, baking at home lets you control ingredients and avoid preservatives. Plus, sharing these cookies with friends and family adds a sweet touch to fall gatherings, which is good for the soul.
Conclusion
These perfect pastel Halloween sugar cookies with royal icing ghosts are more than just a festive treat — they’re a reminder that baking can be a process of trial, error, and eventual success. I love how the pastel colors soften the usual Halloween intensity, making these cookies approachable and fun for all ages.
Feel free to tweak the colors, flavors, or decorating styles to fit your vibe. Whether you’re baking with kids, hosting a party, or just craving a soft, sweet cookie, this recipe is a great starting point. I hope these cookies bring as much joy and calm to your kitchen as they have to mine.
If you try them, I’d love to hear how your royal icing ghosts turned out or any creative twists you added. Sharing your baking stories always makes this whole process more rewarding. Happy baking and happy Halloween!
Frequently Asked Questions About Perfect Pastel Halloween Sugar Cookies
How do I prevent my sugar cookies from spreading too much?
Make sure to chill your dough for at least an hour before rolling and cutting. Also, avoid overworking the dough and keep your oven temperature accurate. Using parchment paper or silicone mats helps too.
Can I make the royal icing ahead of time?
Yes! Royal icing can be made a day ahead. Keep it covered with plastic wrap touching the surface to prevent drying. Stir well before using; if thickened, add a few drops of water to reach the right consistency.
What if my royal icing cracks after drying?
Cracking usually means the icing dried too quickly or was mixed too thick. Try adding a little lemon juice or water to soften it, and avoid placing cookies in a drafty or very dry room while drying.
Can I store decorated cookies in the fridge?
It’s best to store them at room temperature in an airtight container. Refrigeration can cause condensation, which may soften the royal icing and affect the cookie texture.
How do I make the pastel colors less vibrant if they look too dark?
Use less gel food coloring — start with a tiny dot and gradually add more. You can also mix the colored dough with a bit of uncolored dough to soften the shade.
Pin This Recipe!
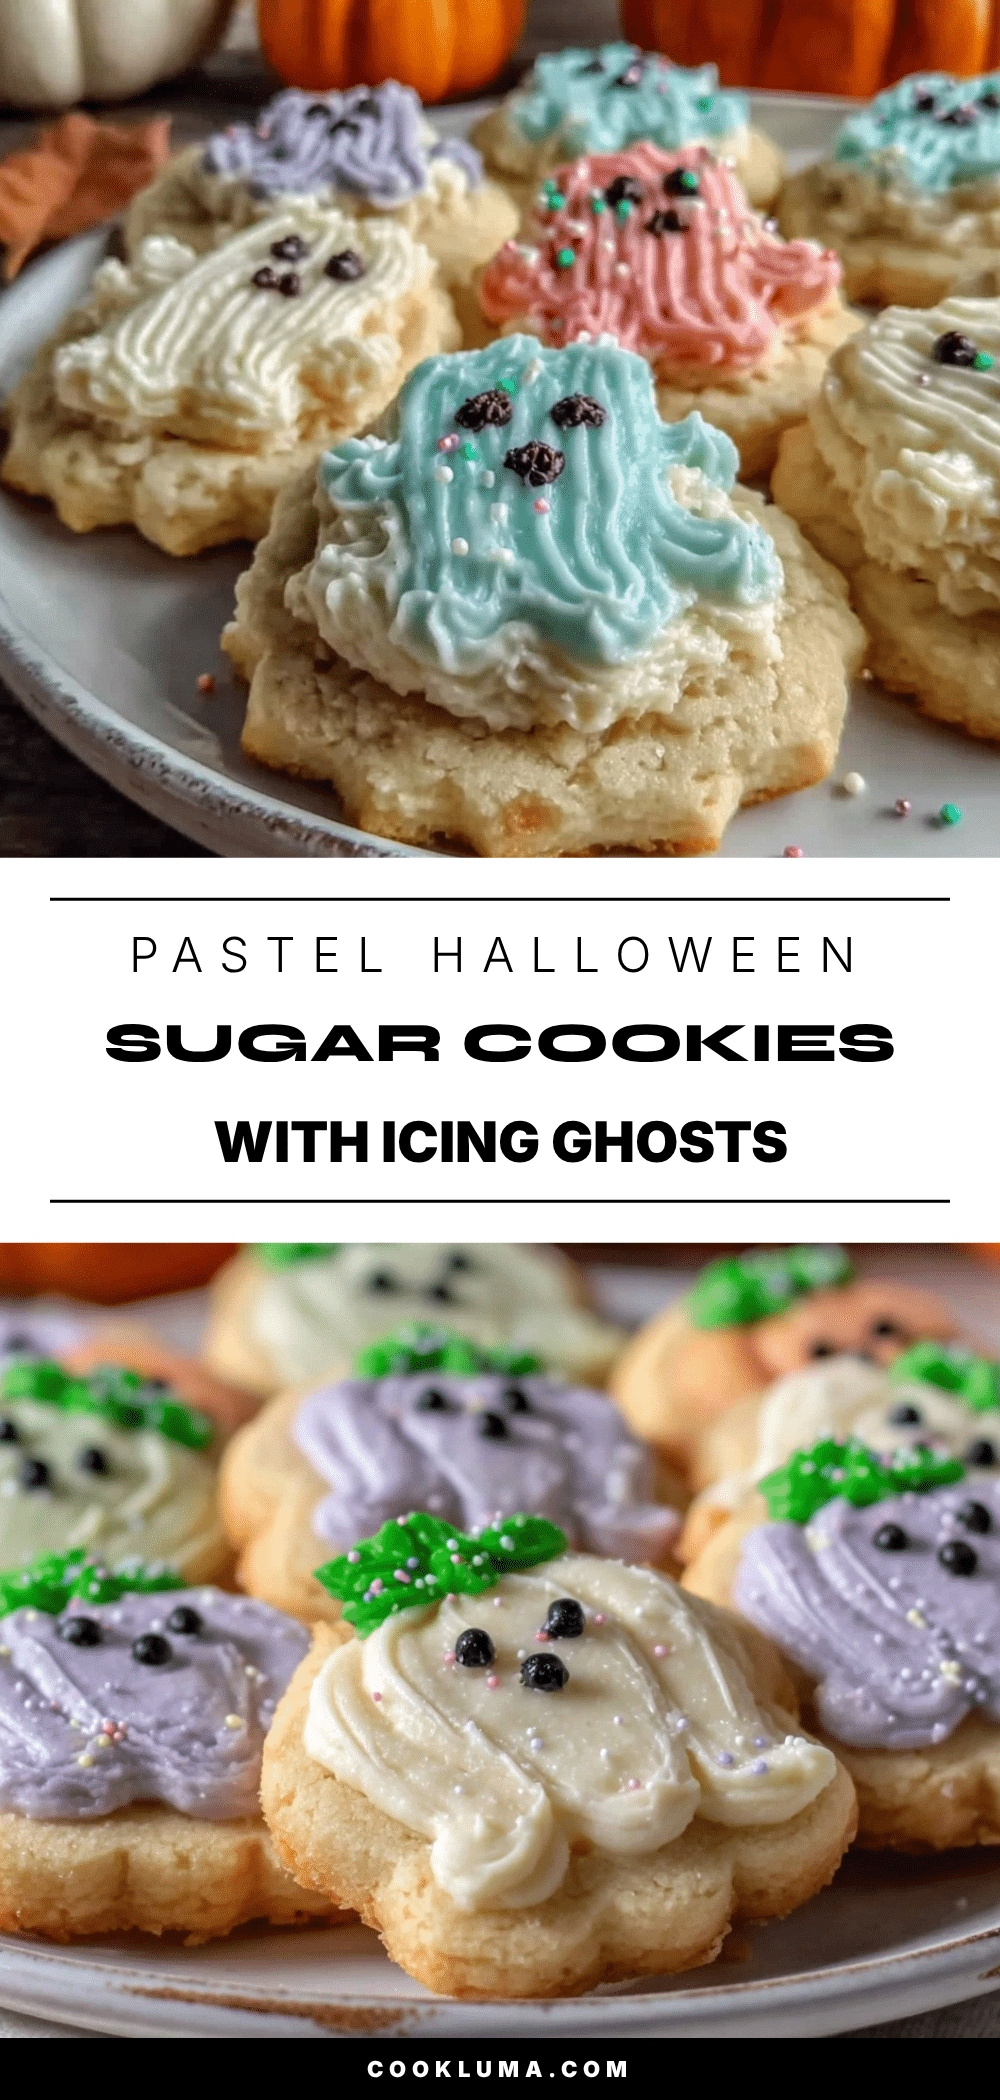
Perfect Pastel Halloween Sugar Cookies Recipe with Easy Royal Icing Ghosts
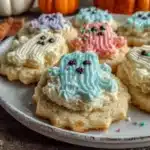
Soft, tender pastel sugar cookies decorated with smooth royal icing ghosts, perfect for Halloween gatherings with a playful and festive twist.
- Prep Time: 15 minutes
- Cook Time: 10 minutes
- Total Time: 1 hour 25 minutes
- Yield: 24 cookies 1x
- Category: Dessert
- Cuisine: American
Ingredients
- 2 ¾ cups (344 g) all-purpose flour, sifted
- 1 teaspoon baking powder
- ½ teaspoon salt
- 1 cup (226 g) unsalted butter, softened (room temperature)
- 1 ½ cups (300 g) granulated sugar
- 1 large egg, room temperature
- 2 teaspoons pure vanilla extract
- 2 tablespoons whole milk
- Gel food coloring in pastel shades (pink, blue, lavender, mint green)
- 3 tablespoons meringue powder
- 4 cups (480 g) powdered sugar, sifted
- 6 tablespoons warm water
- 1 teaspoon fresh lemon juice
- Black edible food marker or black gel icing for ghost eyes and mouth
Instructions
- Mix Dry Ingredients: In a medium bowl, sift together the flour, baking powder, and salt. Set aside.
- Cream Butter and Sugar: In a large bowl, beat the softened butter and granulated sugar with an electric mixer on medium speed until light and fluffy, about 3-4 minutes.
- Add Egg and Vanilla: Beat in the egg and vanilla extract until fully combined. Scrape down the sides as needed.
- Incorporate Dry Ingredients and Milk: Gradually add the flour mixture in three parts, alternating with the milk. Start and end with the flour mixture. Mix on low speed just until combined — don’t overmix.
- Divide and Color Dough: Split the dough evenly into separate bowls depending on how many pastel colors you want. Add a small drop of gel food coloring to each bowl and knead gently until the color is uniform.
- Chill Dough: Wrap each colored dough portion in plastic wrap and chill for at least 1 hour or up to overnight.
- Roll and Cut Cookies: Preheat oven to 350°F (175°C). On a lightly floured surface, roll out one dough portion to about ¼ inch (6 mm) thickness. Use the ghost cookie cutter to cut shapes and transfer to a parchment-lined baking sheet, spacing about 1 inch apart.
- Bake: Bake cookies 8-10 minutes, rotating the pan halfway through. Cookies should be set but pale, not browned. Cool on the baking sheet for 5 minutes, then transfer to wire racks to cool completely.
- Prepare Royal Icing: In a clean bowl, combine meringue powder, powdered sugar, warm water, and lemon juice. Beat on high speed for 7-10 minutes until stiff peaks form and the icing is glossy.
- Pipe Ghosts: Fill piping bags with royal icing and outline each cookie ghost shape first, then flood the inside with icing. Use a toothpick to smooth out bubbles. Let dry at least 4 hours or overnight.
- Add Faces: Once icing is dry, use a black edible food marker or piped black icing to add ghost eyes and mouths.
Notes
Chill dough for at least 1 hour to prevent spreading and retain pastel colors. Use gel food coloring for vibrant pastels without affecting dough texture. Beat butter and sugar well for tender cookies. Watch baking time closely to avoid hard edges. Practice piping on parchment paper before decorating cookies. Store in airtight container at room temperature for up to 5 days. Freeze undecorated cookies for up to 3 months. Avoid microwaving decorated cookies to prevent royal icing damage.
Nutrition
- Serving Size: 1 cookie
- Calories: 120
- Sugar: 10
- Fat: 6
- Carbohydrates: 17
- Protein: 1
Keywords: Halloween sugar cookies, pastel sugar cookies, royal icing ghosts, Halloween treats, soft sugar cookies, easy Halloween cookies