Scrambling through the kitchen with a half-filled jar of store-bought pickle relish and a growing sense of disappointment hitting hard. The kids needed something quick for their sandwiches, and honestly, that jar just didn’t cut it—too sweet, too bland, not enough zing. So there I was, chopping cucumbers and dill frantically, trying to whip up a batch of homemade dill pickle relish that could actually stand up to the lunch rush. The smell of fresh dill and vinegar already filling the air was oddly comforting amidst the chaos of kids yelling and the microwave beeping. That moment of last-minute improvisation turned into a full-blown obsession with this easy tangy dill pickle relish recipe, perfect for canning and stashing away for whenever life throws a curveball.
What stuck with me, beyond the snap of crisp cucumbers and the tang that made the whole kitchen smell like summer, was the simple joy of preserving something homemade. It wasn’t just about having a jar of relish; it was having *my* relish, the one that hits the perfect balance of tangy and savory every single time. This recipe became my go-to, not just for quick meals but for gifting and sharing with friends who swear they can taste the difference in every bite. It’s a humble relish but with a punch that makes sandwiches, burgers, and even deviled eggs sing a little louder. And that, honestly, is why it’s stuck around in my kitchen—and maybe it’ll find a spot in yours too.
Why You’ll Love This Easy Tangy Dill Pickle Relish Recipe
This recipe is one of those gems you’ll find yourself turning to again and again, especially when you want something homemade, fresh, and bursting with flavor without the hassle. I’ve tested this relish over several seasons, tweaking the vinegar blend and seasoning until it became just right. Here’s why it’s a keeper:
- Quick & Easy: Comes together in under 30 minutes, so it’s perfect for busy parents or last-minute canning sessions.
- Simple Ingredients: You probably already have most of these in your pantry or fridge—no fancy shopping trips needed.
- Perfect for Canning: Designed with safe canning tips in mind, so your batches last all year long.
- Crowd-Pleaser: Gets rave reviews from kids and adults alike—my family can’t get enough of it on sandwiches and hot dogs.
- Unbelievably Delicious: The combination of tanginess and fresh dill creates a flavor that’s both nostalgic and fresh.
What makes this recipe different? It’s all about the vinegar blend and the fresh dill, plus a little secret ingredient—a pinch of celery seed—that adds a subtle depth without overpowering the tang. I’ve also found that using a food processor to pulse the cucumbers just right creates a perfect relish texture, neither too mushy nor too chunky, which is a game-changer compared to typical store-bought versions. This recipe isn’t just good—it’s one you’ll want to keep in your pantry for spontaneous picnics or those cozy weeknight dinners.
What Ingredients You Will Need
This easy tangy dill pickle relish recipe uses straightforward, wholesome ingredients to deliver bold flavor and a satisfying texture without any fuss. Most of these are pantry staples or fresh garden finds in season. Here’s what you’ll need:
- Fresh cucumbers, preferably Kirby or pickling cucumbers, chopped finely (about 4 cups) – they hold their crunch best.
- White vinegar (5% acidity), 1 cup – the backbone of that classic pickle tang.
- Granulated sugar, 1 cup – balances the acidity without making it too sweet.
- Salt, 1 tablespoon – use pickling salt if possible for the cleanest taste.
- Fresh dill weed, 2 tablespoons chopped – the star herb, fresh and fragrant.
- Celery seed, 1 teaspoon – adds subtle earthiness and complexity.
- Onion, finely chopped, about 1/2 cup – for mild sweetness and texture.
- Water, 1 cup – to balance the vinegar and help with canning safety.
You can swap regular sugar with honey if you prefer a different kind of sweetness, and if you want to keep it keto-friendly, a low-carb sweetener like erythritol works well too. For a gluten-free version, all these ingredients are naturally safe, just double-check your vinegar brand. When selecting cucumbers, I recommend looking for firm, blemish-free ones—the fresher, the better for that crisp texture. If fresh dill isn’t in season, dried dill can work in a pinch, but fresh really makes the flavor pop.
Equipment Needed
- Large mixing bowl – for combining all the ingredients comfortably.
- Sharp knife or food processor – for chopping cucumbers finely; a food processor makes this step much faster and more consistent.
- Measuring cups and spoons – accuracy matters, especially for salt and vinegar.
- Large saucepan – to heat the vinegar mixture and dissolve sugar and salt.
- Clean canning jars (pint or half-pint size) with lids and bands – sterilized for safe storing.
- Canning pot or large stockpot – for water bath canning, if you plan to preserve the relish long-term.
- Jar lifter and funnel – handy tools to keep the process tidy and safe.
If you don’t have a food processor, a fine hand-chopper or grater works, just expect a bit more prep time. For canning newbies, affordable canning kits with jar lifters and funnels can be found online or at your local kitchen store, which makes the process less intimidating. Keeping your jars and lids clean and sterilized is key, and I always wipe rims with a fresh cloth before sealing to avoid any sealing issues.
Preparation Method
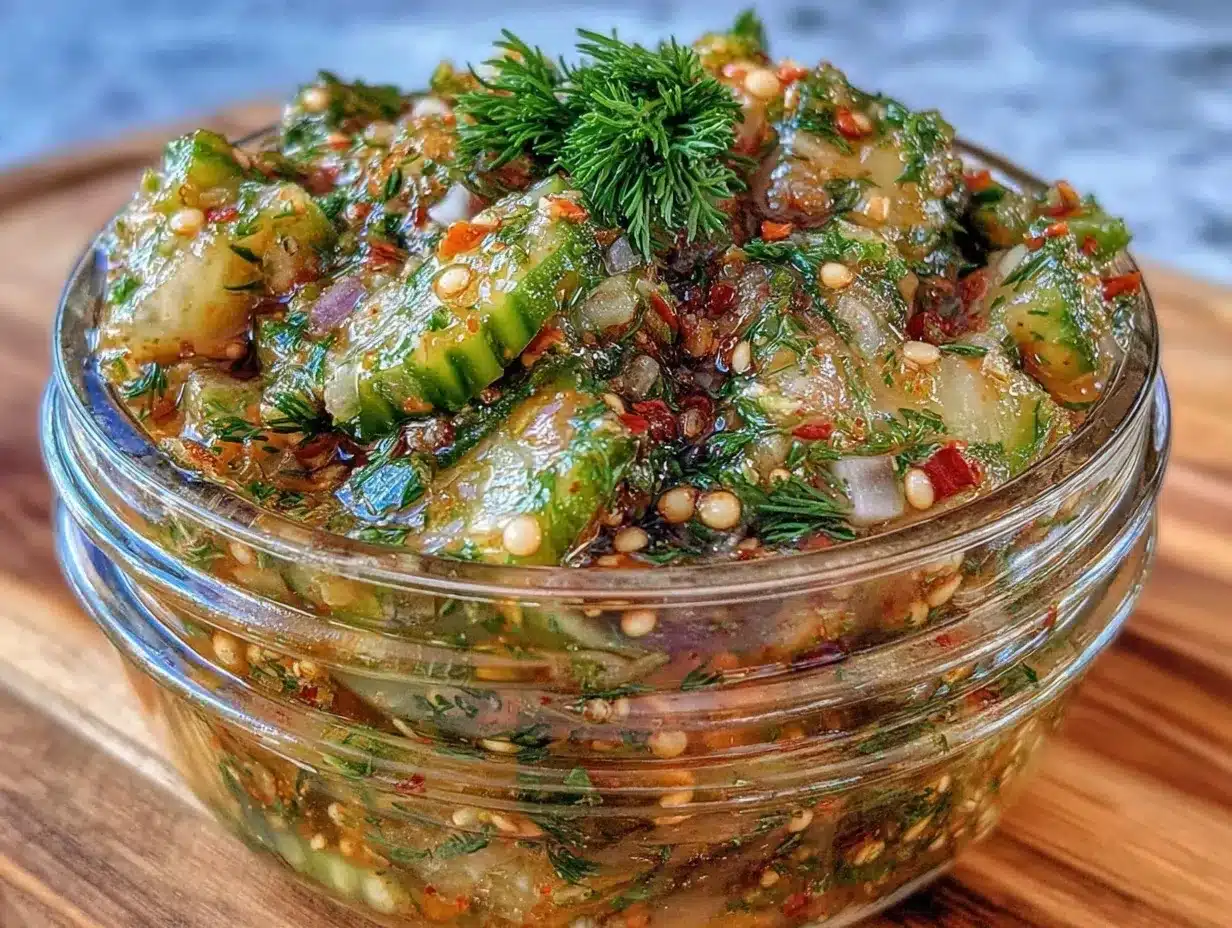
- Chop the cucumbers and onion: Use a food processor fitted with the chopping blade to pulse about 4 cups of cucumbers and 1/2 cup onion until finely chopped but not mushy. If chopping by hand, aim for small, even pieces. Set aside in a large bowl.
- Mix the brine: In a large saucepan, combine 1 cup white vinegar, 1 cup water, 1 cup granulated sugar, and 1 tablespoon salt. Heat over medium, stirring occasionally until sugar and salt fully dissolve (about 5 minutes). Remove from heat.
- Combine ingredients: Pour the hot brine over the chopped cucumbers and onion. Add 2 tablespoons chopped fresh dill and 1 teaspoon celery seed. Stir well to mix everything evenly.
- Cool and marinate: Let the mixture cool to room temperature (about 30 minutes), then cover and refrigerate for at least 4 hours or overnight. This helps flavors meld and cucumbers soften slightly without losing crunch.
- Prepare for canning: Sterilize your jars and lids by boiling them in water for 10 minutes. Use a jar lifter to transfer jars to a clean towel.
- Fill jars with relish: Using a canning funnel, pack the relish into jars, leaving about 1/2 inch headspace. Remove air bubbles by gently tapping or using a non-metallic spatula.
- Seal and process: Wipe rims clean, place lids and bands on jars, and screw bands finger-tight. Process jars in a boiling water bath for 10 minutes (adjust for altitude if needed).
- Cool and store: Remove jars and place upright on a towel to cool undisturbed for 12-24 hours. Check seals (lid should not flex up and down). Label and store in a cool, dark place.
Common troubleshooting: If your relish seems too watery after marinating, drain some liquid before packing jars. If jars don’t seal, refrigerate and use relish within a few weeks. The smell should be bright and vinegary, and texture crisp but tender when done right. A tip I’ve learned is stirring the relish gently but thoroughly before canning to distribute the dill flavor evenly—makes a big difference.
Cooking Tips & Techniques
One thing I learned the hard way is that chopping cucumbers too finely or processing them too long can turn your relish into mush. Pulsing in short bursts keeps the texture just right. Also, using pickling salt instead of regular table salt prevents cloudiness and off-flavors.
When heating the brine, don’t rush—dissolving sugar and salt fully is crucial for balance and preservation. You know, skipping this step once left me with a batch that tasted grainy and flat. Letting the relish marinate overnight is key—flavors deepen, and the vinegar softens the cucumbers just enough without killing the crunch.
For canning, timing is everything. I usually prep all my jars and lids first, then start the water bath once filled. Multitasking by preparing a quick side dish—like a creamy pesto pasta salad I love making in summer—helps keep me on track during busy kitchen sessions. And trust me, investing in a quality jar lifter is worth it; fumbling jars over boiling water is not fun!
Variations & Adaptations
This relish is super flexible, so you can customize it depending on what you have or prefer:
- Spicy Version: Add 1/2 teaspoon crushed red pepper flakes or finely diced jalapeño for a mild kick.
- Low-Sugar Option: Cut sugar to 1/2 cup and balance with a bit of stevia or monk fruit sweetener.
- Herb Twist: Swap fresh dill for fresh tarragon or add a tablespoon of chopped fresh chives for a different herbal note.
- Small-Batch Quick Pickle: Skip canning and refrigerate in an airtight container for up to 2 weeks—perfect for trying out before committing to a big batch.
- Vegan-Friendly: Naturally vegan, but double-check your sugar source if strict.
Personally, I once tried mixing in some grated carrot for extra color and crunch—unexpectedly tasty and pretty! If you want to get fancy, this relish pairs beautifully with the crispy buffalo chicken sliders from my kitchen, adding that tangy brightness all sandwiches crave.
Serving & Storage Suggestions
Serve this easy tangy dill pickle relish chilled or at room temperature. It’s fantastic spooned over hot dogs, burgers, or even tucked into creamy chicken salad for a tangy twist. Presentation-wise, a small bowl with a sprig of fresh dill on top makes it look inviting at any casual gathering.
Store unopened jars in a cool, dark place for up to a year. After opening, keep refrigerated and use within 2-3 months for best flavor and texture. When reheating for dishes like baked potato toppings, warm gently—overheating can soften the crunch. Flavors actually mellow and blend over time, so it tastes even better a week after opening.
This relish is also a fun gift—try pairing a jar with a homemade batch of honey miso glazed salmon for a unique flavor combo that friends will love.
Nutritional Information & Benefits
Per 2-tablespoon serving, this relish roughly contains:
| Calories | 20 |
|---|---|
| Carbohydrates | 5g |
| Sugars | 4g |
| Fiber | 0.5g |
| Protein | 0.2g |
| Fat | 0g |
| Sodium | 300mg |
This relish is low in calories and fat, but high in flavor. The cucumbers provide hydration and some antioxidants, while dill offers small amounts of vitamins A and C. The vinegar can aid digestion and blood sugar regulation, making this condiment a smart addition to balanced meals. For those watching sodium, consider reducing salt slightly or rinsing relish before serving.
Conclusion
This easy tangy dill pickle relish recipe is a little kitchen lifesaver that brings a burst of homemade goodness to your meals. Whether you’re a canning enthusiast or a last-minute lunch improvisor, having a jar of this relish ready to go means flavor is just a spoon away. I love how it turns simple sandwiches into something worth savoring, and the fact that it’s so easy to make keeps me coming back every season.
Feel free to make it your own—with a bit more spice, a twist of herbs, or a splash of your favorite vinegar. If you’ve tried your hand at homemade relishes, I’d love to hear how you jazz it up! Drop a comment below and share your tweaks or questions. Let’s keep the homemade goodness rolling.
FAQs About Easy Tangy Dill Pickle Relish
Can I use regular cucumbers instead of pickling cucumbers?
Yes, but pickling cucumbers are preferred because they’re firmer and less watery, which helps keep the relish crisp.
How long does this relish last once canned?
Properly canned and sealed, it can last up to a year stored in a cool, dark place. Once opened, refrigerate and use within 2-3 months.
Can I make this relish without canning it?
Absolutely! You can refrigerate it in an airtight container and enjoy within 2 weeks for the freshest taste.
Is this recipe gluten-free?
Yes, all ingredients are naturally gluten-free. Just double-check vinegar brands for any added gluten-containing ingredients.
What’s the best way to use this relish?
Use it as a topping on burgers, hot dogs, sandwiches, or mixed into potato or egg salads for a tangy twist.
Pin This Recipe!
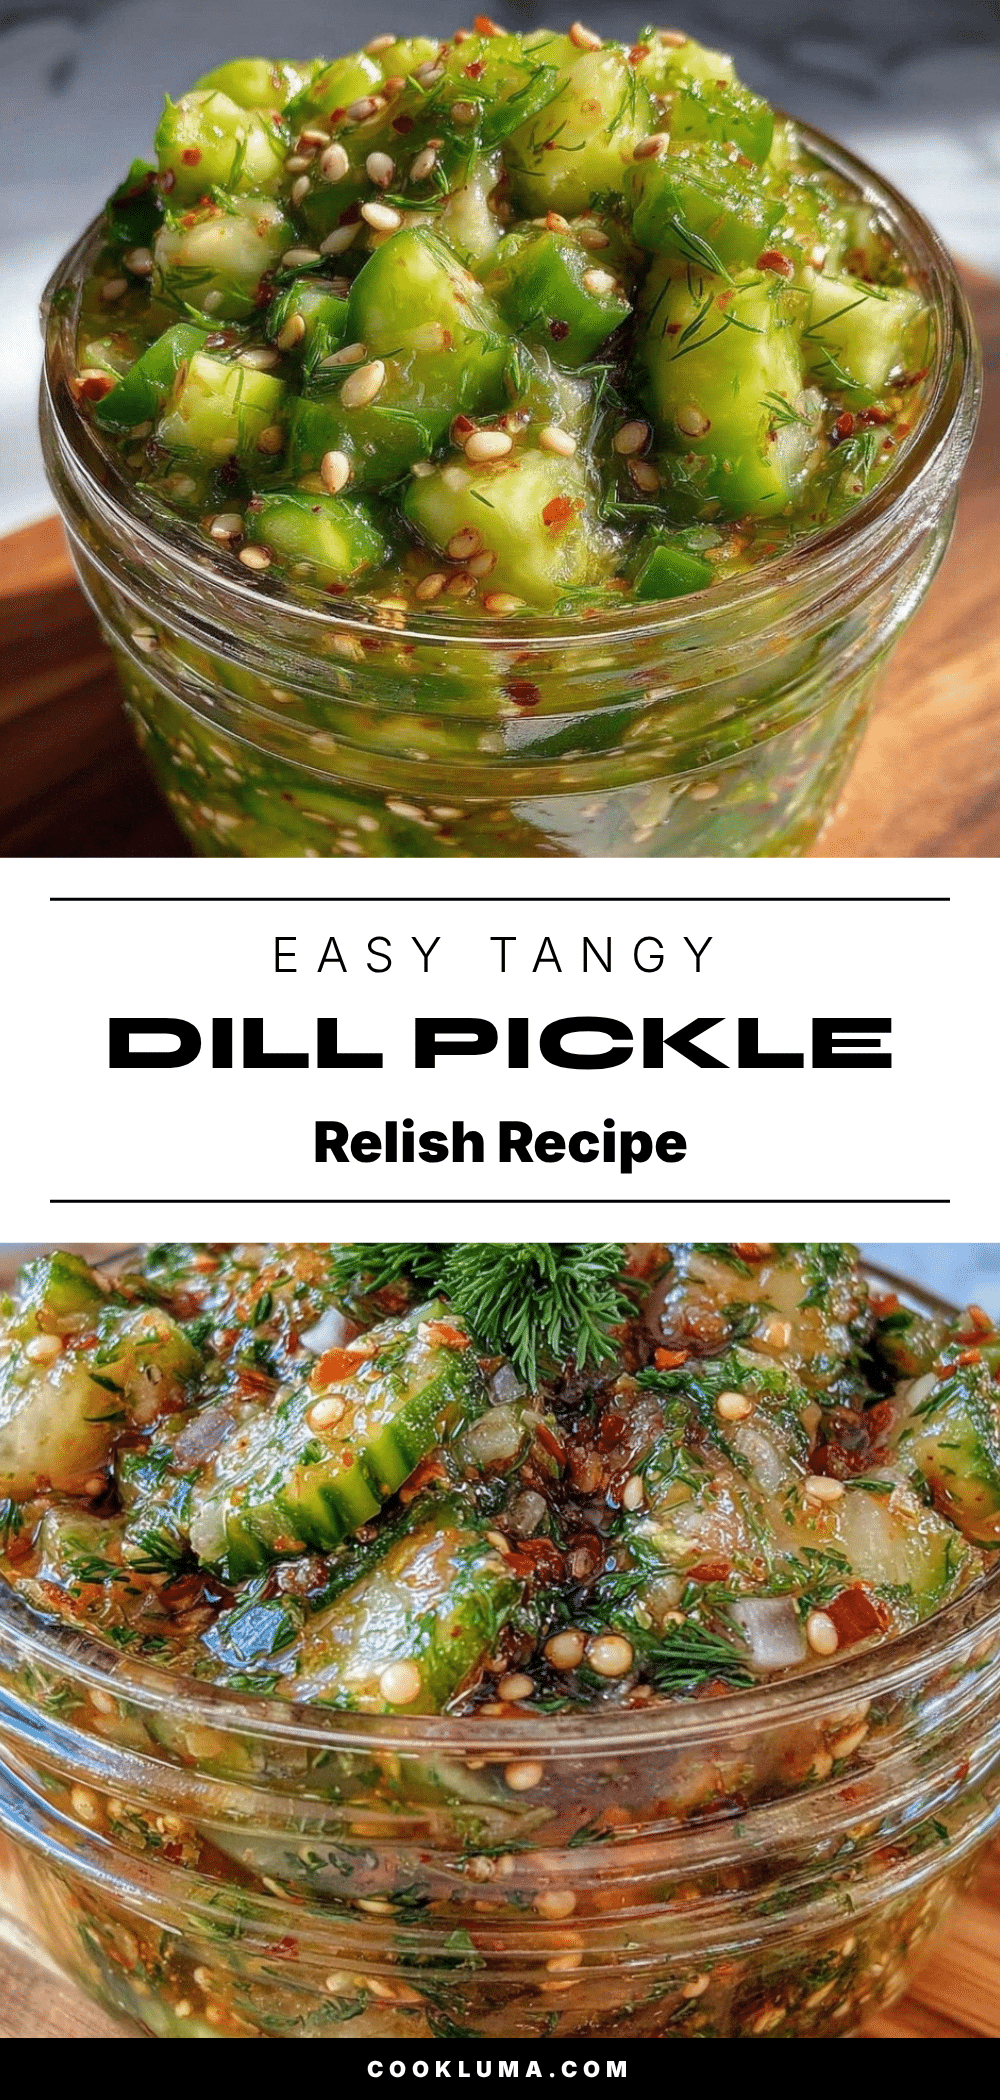
Easy Tangy Dill Pickle Relish Recipe for Perfect Homemade Canning
A quick and easy homemade dill pickle relish recipe that balances tangy and savory flavors, perfect for canning and enhancing sandwiches, burgers, and more.
- Prep Time: 15 minutes
- Cook Time: 15 minutes
- Total Time: 4 hours 30 minutes
- Yield: About 4 cups (approximately 8 servings) 1x
- Category: Condiment
- Cuisine: American
Ingredients
- 4 cups fresh cucumbers, finely chopped (preferably Kirby or pickling cucumbers)
- 1 cup white vinegar (5% acidity)
- 1 cup granulated sugar
- 1 tablespoon salt (preferably pickling salt)
- 2 tablespoons fresh dill weed, chopped
- 1 teaspoon celery seed
- 1/2 cup onion, finely chopped
- 1 cup water
Instructions
- Chop the cucumbers and onion using a food processor fitted with the chopping blade until finely chopped but not mushy. If chopping by hand, aim for small, even pieces. Set aside in a large bowl.
- In a large saucepan, combine white vinegar, water, granulated sugar, and salt. Heat over medium, stirring occasionally until sugar and salt fully dissolve (about 5 minutes). Remove from heat.
- Pour the hot brine over the chopped cucumbers and onion. Add chopped fresh dill and celery seed. Stir well to mix everything evenly.
- Let the mixture cool to room temperature (about 30 minutes), then cover and refrigerate for at least 4 hours or overnight to allow flavors to meld and cucumbers to soften slightly without losing crunch.
- Sterilize your jars and lids by boiling them in water for 10 minutes. Use a jar lifter to transfer jars to a clean towel.
- Using a canning funnel, pack the relish into jars, leaving about 1/2 inch headspace. Remove air bubbles by gently tapping or using a non-metallic spatula.
- Wipe rims clean, place lids and bands on jars, and screw bands finger-tight. Process jars in a boiling water bath for 10 minutes (adjust for altitude if needed).
- Remove jars and place upright on a towel to cool undisturbed for 12-24 hours. Check seals (lid should not flex up and down). Label and store in a cool, dark place.
Notes
Pulse cucumbers in short bursts to avoid mushy texture. Use pickling salt to prevent cloudiness. Let relish marinate overnight for best flavor. If relish is too watery, drain some liquid before canning. Refrigerate opened jars and use within 2-3 months. Adjust sugar or add spices for variations.
Nutrition
- Serving Size: 2 tablespoons
- Calories: 20
- Sugar: 4
- Sodium: 300
- Carbohydrates: 5
- Fiber: 0.5
- Protein: 0.2
Keywords: dill pickle relish, homemade relish, pickle relish recipe, canning relish, tangy relish, quick relish, easy relish, dill relish


