There’s this odd moment, you know, when you’re halfway through slicing cucumbers and suddenly realize that the usual jarred pickles at the store just won’t cut it anymore. I want that crunch—the kind that snaps back with every bite—and a hit of garlic and dill that feels fresh, not soggy or overly sour. I don’t have hours to wait for pickles to ferment, and honestly, I’m tired of the same old bland versions. So I start mixing vinegar, water, garlic cloves, and fresh dill right then and there, thinking, “What if these could be ready to eat in just a day or two?”
That craving led me to this recipe for crispy garlic dill refrigerator pickles that’s fast, fuss-free, and actually delivers the punch I’m after. The smell of garlic mingling with dill fills the kitchen, and the first crunch is like a little victory—sharp, tangy, and satisfying. I remember thinking, “Okay, these are going to stick around in my fridge for a while.” It’s funny how something so simple can make a snack feel like a treat.
What makes these pickles stick in my mind isn’t just the speedy turnaround but how they hold their crisp texture, even after days in the fridge. No mushy disappointments here. Plus, they’re surprisingly versatile—I keep jars handy to add zing to sandwiches, salads, and even snacks when guests drop by unexpectedly. There’s a quiet satisfaction knowing I can whip these up quickly, without elaborate equipment or rare ingredients, and still get a flavor that feels homemade and thoughtful.
Honestly, this recipe came about because I needed a pickle fix that was ready fast and didn’t require planning ahead for weeks. It’s become my go-to when I want that classic garlic dill flavor but without the wait. If you’re like me—impatient, craving crunch, and loving that punch of fresh garlic and dill—you’ll find yourself reaching for this recipe again and again.
Why You’ll Love This Recipe
After testing countless versions, this crispy garlic dill refrigerator pickles recipe stands out for a bunch of reasons I’m happy to share.
- Quick & Easy: You can have these pickles ready to snack on in as little as 24 hours, making it perfect for last-minute cravings or quick meal add-ons.
- Simple Ingredients: No need for specialty stores—just cucumbers, garlic, dill, vinegar, and a few pantry staples. I usually grab Kirby cucumbers because their size and texture lock in crunch best.
- Perfect for Every Occasion: These pickles are a great side for sandwiches, burgers, or even as a zesty topping on dishes like my creamy pesto pasta salad. They bring a fresh touch anyone will appreciate.
- Crowd-Pleaser: I’ve served these at casual get-togethers and family dinners where even the picky eaters ask for seconds. The garlic and dill hit the right notes every time.
- Unbelievably Delicious: The texture is crisp and refreshing, with a perfect balance of tang from vinegar and warmth from garlic. Unlike some refrigerator pickles that get soggy, these keep that satisfying crunch.
This recipe isn’t just another pickle jar hack. I blend fresh minced garlic with whole cloves in the brine, which gives a layered garlic flavor that slowly infuses the cucumbers without overpowering them. Plus, using fresh dill sprigs rather than dried herbs makes all the difference in aroma and taste. It’s the kind of pickle that makes you close your eyes and savor the bite—comfort food with a bright, lively personality.
What Ingredients You Will Need
This recipe uses simple, wholesome ingredients to deliver bold flavor and satisfying crunch without fuss. Most are pantry staples, and the fresh items are easy to find in any grocery store.
- Cucumbers: 4 to 5 Kirby or Persian cucumbers, washed and sliced into ¼-inch rounds or spears (Kirby cucumbers are ideal for crispness)
- Garlic: 4 large cloves, peeled and sliced thin, plus 2 whole cloves for the brine (adds fresh, pungent flavor)
- Fresh Dill: 4 sprigs, preferably with stems (fresh dill provides the classic aromatic note)
- White Vinegar: 1 cup (240 ml) – use distilled white vinegar for a clean, bright tang
- Water: 1 cup (240 ml) – filtered or bottled works best to avoid off-flavors
- Kosher Salt: 1 tablespoon (balances flavor and helps with crispness)
- Granulated Sugar: 1 teaspoon (optional, softens acidity)
- Black Peppercorns: 1 teaspoon whole (adds mild warmth)
- Red Pepper Flakes: ¼ teaspoon (optional, for a subtle kick)
For the best texture, I recommend using a trusted kosher salt brand like Diamond Crystal, which dissolves nicely and doesn’t make the pickles too salty. If you want to switch things up, swapping white vinegar for apple cider vinegar adds a fruity note, but it does change the color and taste slightly. For a gluten-free version, all these ingredients are naturally safe, making this recipe very allergy-friendly.
Equipment Needed
- Glass Mason Jars: Two quart-sized jars with lids work perfectly for this recipe. Glass keeps flavors clean and is easy to sterilize.
- Knife and Cutting Board: For slicing cucumbers and garlic thinly and evenly.
- Measuring Cups and Spoons: To get the vinegar, water, salt, and sugar just right. I find exact measurements really matter here for balanced flavor.
- Small Saucepan: To warm the brine ingredients and help dissolve salt and sugar quickly.
- Tongs or Fork: Helpful for packing the cucumbers tightly and removing any floating bits when ready to serve.
If you don’t have Mason jars, any clean, airtight glass container works fine. Avoid plastic containers, which can hold onto pickling odors or flavors. I’ve tried a few different jar brands, but Ball jars are my favorite because they seal well and are easy to clean. After use, I rinse jars immediately to keep them fresh for the next batch.
Preparation Method
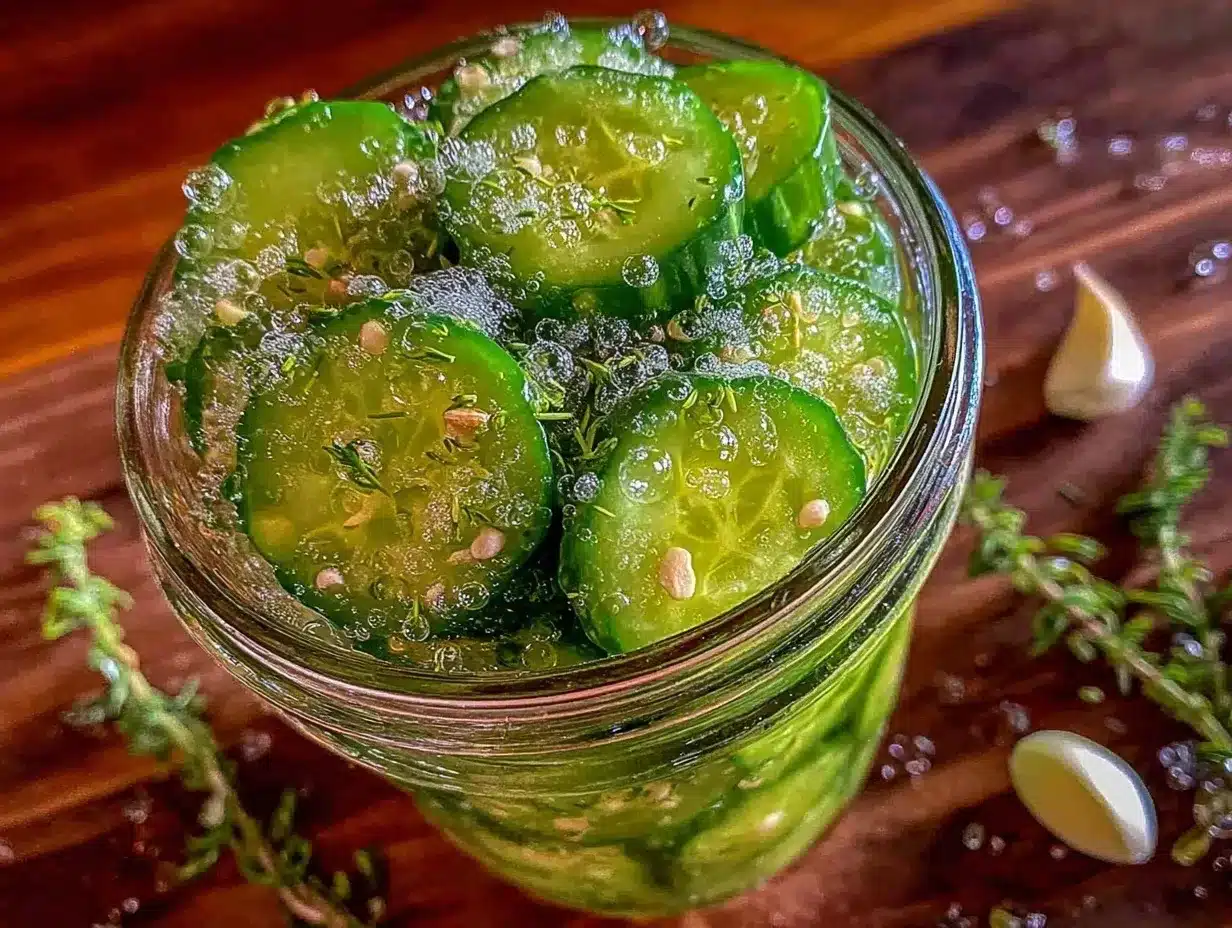
- Prepare the Cucumbers: Wash 4 to 5 Kirby cucumbers thoroughly. Slice them into ¼-inch thick rounds or spears—whatever you prefer. Spear shapes soak up flavor faster, but rounds are great for snacking. (About 10 minutes)
- Make the Brine: In a small saucepan, combine 1 cup (240 ml) white vinegar, 1 cup (240 ml) water, 1 tablespoon kosher salt, and 1 teaspoon sugar. Heat over medium heat, stirring occasionally until salt and sugar fully dissolve. Remove from heat and let it cool for 5 minutes.
- Pack the Jars: Place 4 sprigs of fresh dill, 4 sliced garlic cloves, 2 whole garlic cloves, 1 teaspoon whole black peppercorns, and ¼ teaspoon red pepper flakes (if using) at the bottom of each clean Mason jar. Then, pack the sliced cucumbers tightly but without crushing them. I try to avoid pressing too hard to keep slices intact and crisp. (5 minutes)
- Pour the Brine: Carefully pour the cooled brine over the cucumbers, leaving about ½ inch of headspace at the top. Make sure all cucumber slices are submerged. Use a clean utensil to press the cucumbers down gently if needed.
- Seal and Refrigerate: Screw on the lid tightly and place jars in the refrigerator. Let them sit for at least 24 hours before tasting. For best flavor, wait 48 hours. The pickles will stay crisp and delicious for up to 2 weeks. (1-2 days)
- Enjoy: Use tongs or a fork to remove pickles from the jar. They’re fantastic on sandwiches, burgers, or just straight from the jar as a snack.
Pro tip: If your pickles feel less crisp after a few days, drain the brine and add some ice water to the jar for a quick refresh. Also, slicing cucumbers thinner will speed up brining but might reduce crunch over time.
Cooking Tips & Techniques
Getting those perfectly crispy garlic dill refrigerator pickles is as much about technique as ingredients. Here are some things I’ve learned the hard way:
- Don’t skip the salt measurement: Too little salt and your pickles turn bland; too much and they’re overpowering. I stick to kosher salt for a clean, balanced flavor.
- Use fresh dill sprigs: Dried dill just doesn’t have that punch or aroma. Fresh dill is a game-changer here.
- Warm the brine: Heating vinegar and water with salt and sugar ensures everything dissolves properly and infuses quickly.
- Keep cucumbers submerged: Any slices exposed to air risk turning mushy or moldy. I use a clean utensil to press them down if needed.
- Don’t rush the chill time: While these pickles are ready fast, letting them sit 48 hours really lets that garlic dill flavor deepen.
- Experiment with cut shapes: Spears soak brine faster and are great for snacking, rounds work well for topping salads like my fresh crispy cucumber feta salad.
I once tried using dried garlic powder instead of fresh cloves—big mistake. The flavor was one-dimensional and lacked that fresh garlic zip. Also, I learned that doubling the garlic cloves in the jar gives a more robust flavor but can overpower if you’re sensitive to garlic heat. So, balance is key.
Variations & Adaptations
While this garlic dill recipe is my baseline, I like to tweak it now and then to keep things interesting.
- Spicy Pickles: Add extra red pepper flakes or a sliced jalapeño to the jar for a fiery kick.
- Low-Sodium Option: Reduce salt by half and increase the vinegar slightly to maintain tang without the saltiness.
- Herb Twists: Swap dill for fresh tarragon or add a few sprigs of fresh thyme for a subtle flavor change.
- Quick Bread-and-Butter Style: Add 1 tablespoon of sugar and a pinch of mustard seeds for a sweeter, tangier pickle.
- Allergen-Friendly: This recipe is naturally gluten-free, dairy-free, and vegan, making it easy to fit many diets.
Personally, I once tried adding slices of fresh ginger along with garlic for an Asian-inspired twist. It was unexpected but really tasty, especially when paired with a simple grilled chicken. For a different texture, you could try quick pickling zucchini or carrots using the same brine—kind of like a riff on my crispy parmesan zucchini fritters.
Serving & Storage Suggestions
These pickles are best served chilled straight from the fridge. Their crisp texture and bright flavor make them an ideal crunchy side or topping.
- Serving Ideas: Add them to sandwiches, burgers, or alongside smoked meats like brisket sliders for a tangy contrast.
- Snack Time: They’re excellent as a low-calorie snack with a sprinkle of flaky sea salt.
- Storage: Keep pickles refrigerated in their brine for up to 2 weeks. The flavor intensifies over time, but crunch may diminish slightly.
- Reheating: Not needed! These pickles are best cold or at room temperature.
- Flavor Development: For best flavor, wait at least 24 hours before eating, but they taste even better after 48 hours.
When I’m prepping for a weekend barbecue, I always have a jar of these pickles handy. They pair wonderfully with smoky dishes, like the tender smoky BBQ brisket sliders I made recently. The acidity and garlic cut through rich flavors beautifully and keep the palate refreshed.
Nutritional Information & Benefits
These garlic dill refrigerator pickles are low in calories—around 10-15 calories per serving—and fat-free, making them a guilt-free snack or condiment.
- Rich in antioxidants: Garlic and dill contain compounds that support immune health.
- Hydrating: Cucumbers are mostly water, so these pickles add hydration along with flavor.
- Low carb & gluten-free: Suitable for keto and gluten-sensitive diets.
- Probiotic potential: While not fermented like traditional pickles, the vinegar can aid digestion.
- Allergen-friendly: No common allergens, dairy-free and vegan.
From a wellness standpoint, I appreciate how these pickles add flavor without artificial preservatives or excessive salt. They’re a fresh, simple way to incorporate more veggies into my meals.
Conclusion
This crispy garlic dill refrigerator pickles recipe has become a staple in my kitchen because it offers that crave-worthy crunch and fresh garlic flavor without the wait. It’s approachable for any home cook, whether you’re a pickle veteran or just looking for an easy way to brighten up your meals.
What I love most is how customizable it is—you can tweak the heat, herbs, and sweetness to suit your mood or season. And since these pickles come together so fast, they’re always ready to rescue sandwiches, salads, or snack cravings with a burst of bold flavor.
Give it a try and see how quickly your kitchen fills with the scent of garlic and dill. I’d love to hear how you customize your batch or what dishes you pair them with—drop a comment below and share your experience!
FAQs
How long do refrigerator pickles last?
They typically last up to 2 weeks in the fridge when kept submerged in the brine and sealed tightly.
Can I use regular cucumbers instead of Kirby cucumbers?
You can, but Kirby cucumbers tend to be crisper and hold up better in pickling. Regular slicing cucumbers might get a bit softer faster.
Do these pickles need to be cooked or boiled?
Nope, the brine is warmed only to dissolve salt and sugar. The cucumbers are packed raw and marinate in the vinegar mixture in the fridge.
Can I make these pickles spicy?
Absolutely! Add red pepper flakes or fresh jalapeño slices to the jar for some heat.
Are these pickles fermented?
No, these are quick refrigerator pickles using vinegar, not naturally fermented, so they’re ready much faster but have a different flavor profile than fermented pickles.
Pin This Recipe!
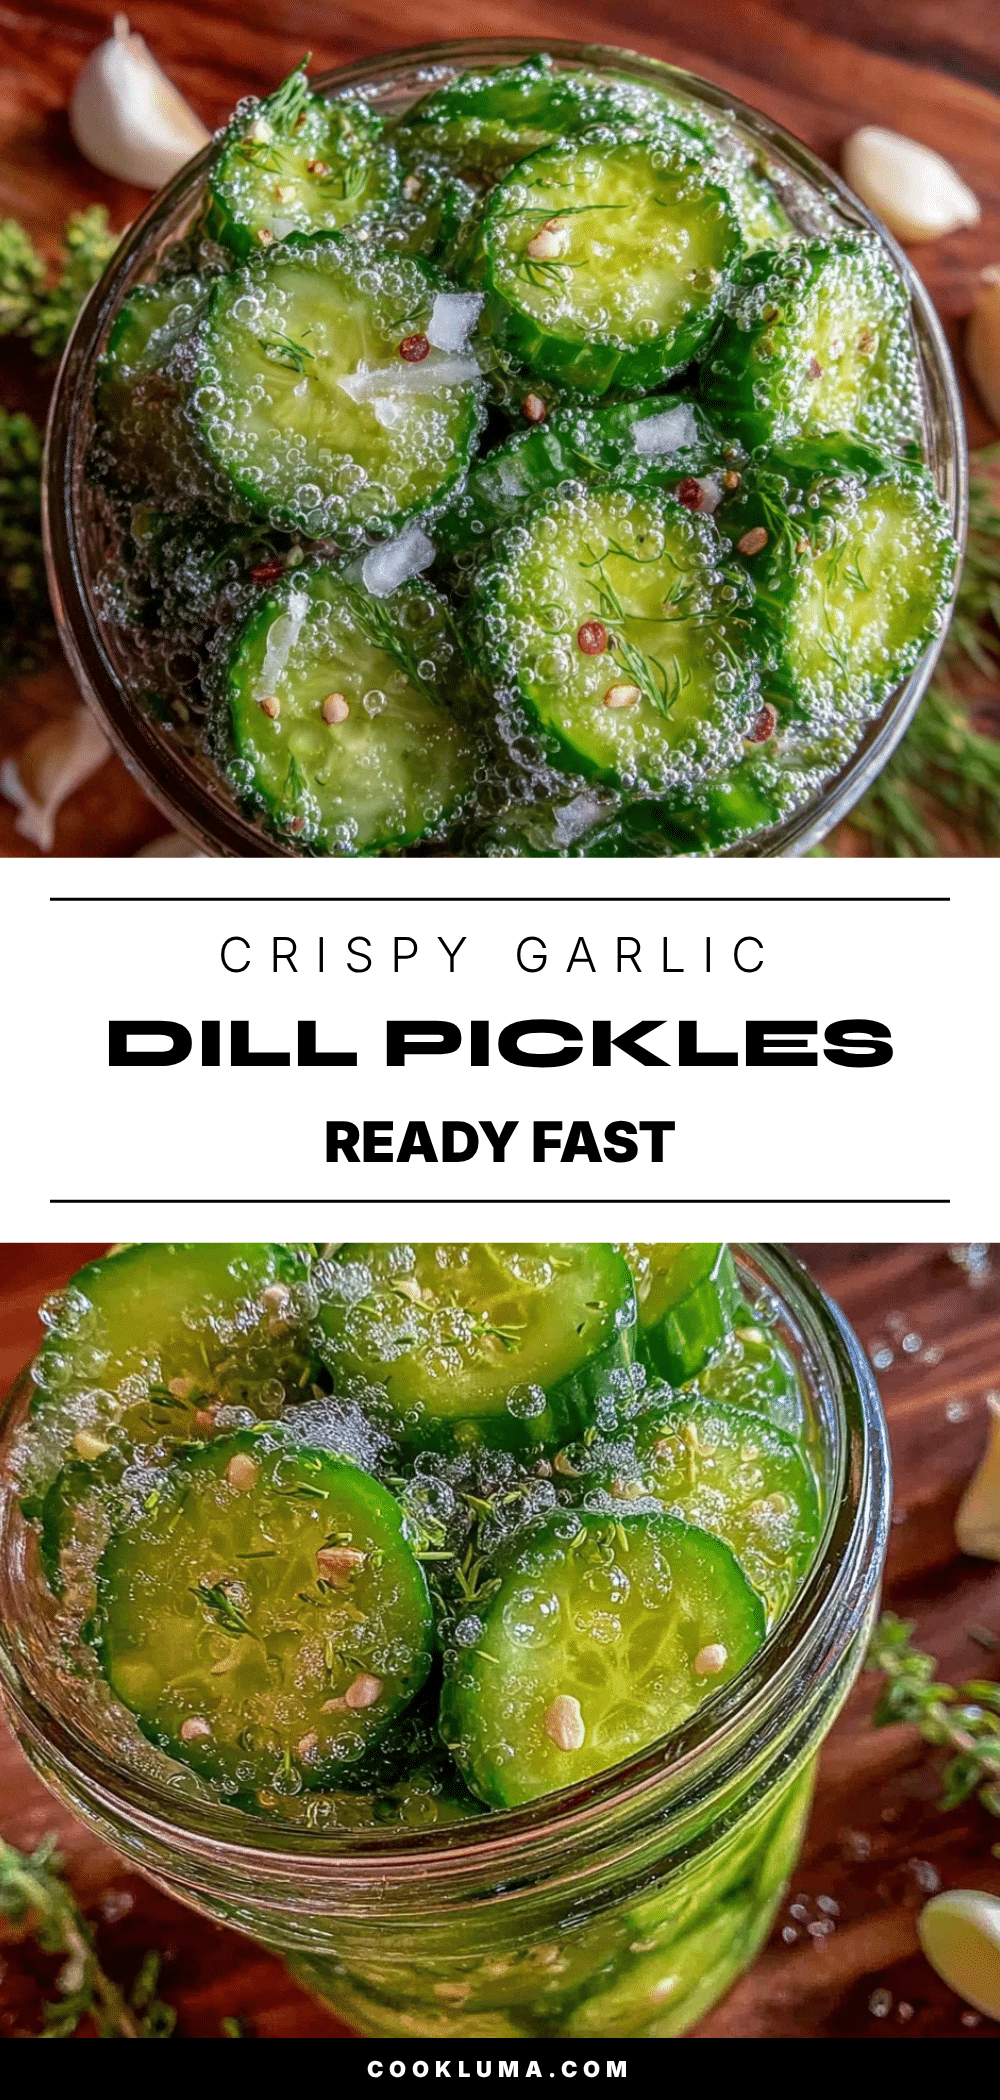
Crispy Garlic Dill Refrigerator Pickles
A quick and easy recipe for crunchy garlic dill refrigerator pickles that are ready in as little as 24 hours, perfect for snacking or adding zest to meals.
- Prep Time: 15 minutes
- Cook Time: 10 minutes
- Total Time: 1 day 25 minutes
- Yield: 2 quart-sized jars (about 8 servings) 1x
- Category: Condiment
- Cuisine: American
Ingredients
- 4 to 5 Kirby or Persian cucumbers, washed and sliced into 1/4-inch rounds or spears
- 4 large garlic cloves, peeled and sliced thin
- 2 whole garlic cloves
- 4 sprigs fresh dill, preferably with stems
- 1 cup (240 ml) distilled white vinegar
- 1 cup (240 ml) water, filtered or bottled
- 1 tablespoon kosher salt (Diamond Crystal recommended)
- 1 teaspoon granulated sugar (optional)
- 1 teaspoon whole black peppercorns
- 1/4 teaspoon red pepper flakes (optional)
Instructions
- Wash 4 to 5 Kirby cucumbers thoroughly. Slice into 1/4-inch thick rounds or spears.
- In a small saucepan, combine 1 cup white vinegar, 1 cup water, 1 tablespoon kosher salt, and 1 teaspoon sugar. Heat over medium heat, stirring occasionally until salt and sugar dissolve. Remove from heat and let cool for 5 minutes.
- Place 4 sprigs fresh dill, 4 sliced garlic cloves, 2 whole garlic cloves, 1 teaspoon whole black peppercorns, and 1/4 teaspoon red pepper flakes (if using) at the bottom of each clean quart-sized Mason jar.
- Pack the sliced cucumbers tightly but without crushing them into the jars.
- Pour the cooled brine over the cucumbers, leaving about 1/2 inch of headspace. Ensure all cucumber slices are submerged. Use a clean utensil to press cucumbers down gently if needed.
- Seal jars tightly and refrigerate for at least 24 hours before tasting; for best flavor, wait 48 hours.
- Use tongs or a fork to remove pickles from the jar and enjoy.
Notes
Use fresh dill sprigs for best aroma and flavor. Warm the brine to dissolve salt and sugar fully. Keep cucumbers submerged in brine to avoid mushiness. For a quick refresh of less crisp pickles, drain brine and add ice water. Spears soak brine faster but rounds are great for salads. Adjust garlic quantity to taste to avoid overpowering heat.
Nutrition
- Serving Size: About 1/4 cup (appro
- Calories: 12
- Sugar: 1
- Sodium: 600
- Carbohydrates: 3
- Fiber: 0.5
- Protein: 0.3
Keywords: garlic dill pickles, refrigerator pickles, quick pickles, crispy pickles, easy pickles, homemade pickles, dill pickles, snack, condiment


