Introduction
I thought making a fancy snack would mean a mess of ingredients and a long to-do list. It took about five minutes and two kitchen tools for that idea to completely unravel. Honestly, these Easy Creamy Peanut Butter Banana Pinwheel Sandwiches surprised me with how simple they are — just a few pantry staples, a ripe banana, and some quick rolling action. No crusts to wrestle with, no awkward slicing, just straightforward comfort food that somehow feels special.
There I was, staring at half a loaf of white bread and a banana that was begging for attention. I figured peanut butter and banana was a classic combo for a reason, but turning it into cute little pinwheels? That sounded too good to be easy. The creamy peanut butter spread slicked across the bread, the banana slices nestled in, and then the magic of rolling it all into those spiral bites — it basically did the work for me. The texture? Soft bread, luscious peanut butter, and that sweet, mellow banana all wrapped up in one neat package.
What really stuck with me was how this recipe is low-stress but surprisingly satisfying, perfect when you want something quick but not boring. It’s the kind of snack that makes you pause for a second, get that cozy feeling, and maybe even share a smile with whoever’s lucky enough to get a bite. If you’re anything like me — practical, hungry, and craving something homey — these pinwheel sandwiches might just become your new go-to.
Why You’ll Love This Recipe
Making these Easy Creamy Peanut Butter Banana Pinwheel Sandwiches has become a little ritual in my kitchen, and here’s why I think you’ll love them too:
- Quick & Easy: Ready in under 10 minutes, which is clutch for busy afternoons or last-minute snack attacks.
- Simple Ingredients: No hunting for anything exotic — just bread, peanut butter, and bananas. You likely have everything already.
- Perfect for Anytime: Whether it’s a kid’s lunchbox, a light breakfast, or a quick afternoon pick-me-up, these pinwheels hit the spot.
- Crowd-Pleaser: I’ve made these for friends and family, and they always vanish fast. Kids especially love the fun shape and creamy taste.
- Unbelievably Delicious: The creamy peanut butter blends beautifully with the sweetness of the banana, creating a texture that’s soft, smooth, and just a little bit indulgent.
What sets this recipe apart is the rolling technique that transforms simple ingredients into a playful presentation. Plus, using creamy peanut butter rather than chunky keeps the spread silky and easy to roll. I’ve tried this with crunchy peanut butter, but the creamy kind really wins for the best texture and mouthfeel.
Honestly, this recipe isn’t just a snack — it’s a small moment of comfort, a taste that makes you close your eyes and savor something familiar yet special. It’s that kind of recipe that’s perfect when you want to impress without stress or turn a basic ingredient list into something memorable. And hey, if you ever feel like breaking out of the usual sandwich routine, this is a fun twist you’ll want to keep in your back pocket.
What Ingredients You Will Need
This recipe uses simple, wholesome ingredients to deliver bold flavor and satisfying texture without the fuss. The components are straightforward pantry staples with a fresh banana adding natural sweetness and creaminess.
- White sandwich bread (6 slices, soft and fresh; you can swap for whole wheat if preferred)
- Creamy peanut butter (about ¾ cup or 180 ml; I recommend Jif Creamy for smooth spreading)
- Ripe banana (2 medium bananas, peeled and sliced thinly; the riper the sweeter)
- Honey (optional, 1-2 tablespoons for drizzling inside; adds a gentle floral sweetness)
- Ground cinnamon (optional, ½ teaspoon; pairs beautifully with banana and peanut butter)
- Butter or margarine (optional, softened, for toasting the pinwheels if you like a warm touch)
Ingredient tips: Use fresh, soft sandwich bread to avoid cracking when rolling. For peanut butter, creamy works best for easy rolling and a silky texture. If you need a dairy-free or nut-free option, try sunflower seed butter instead. Bananas should be ripe but not mushy — think yellow with a few brown spots.
In summer, I sometimes swap bananas for fresh strawberries or even apple slices for a tart contrast. If you’re feeling adventurous, a sprinkle of chopped nuts inside adds a nice crunch. But honestly, the classic combo is what keeps me coming back.
Equipment Needed
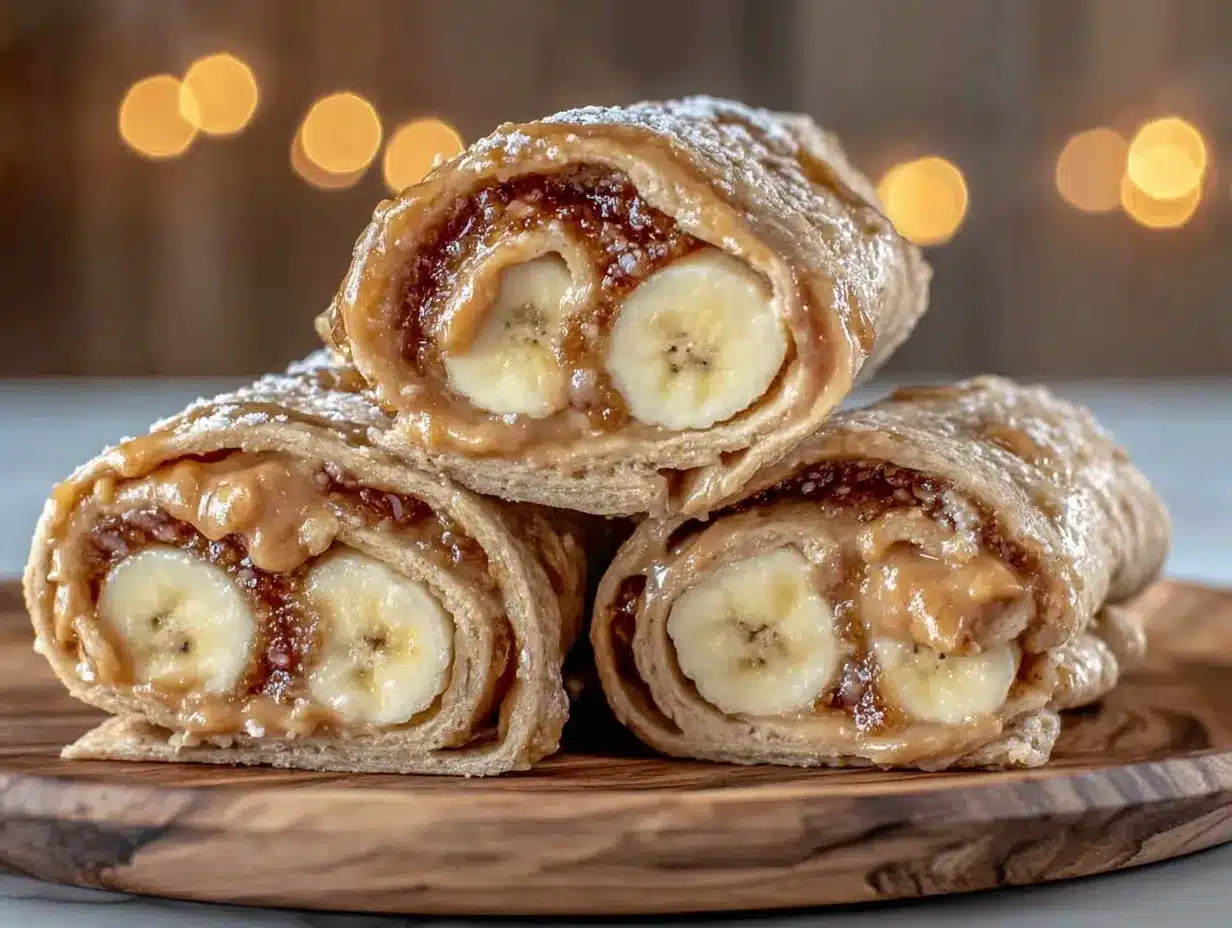
- Butter knife or small offset spatula for spreading peanut butter evenly
- Sharp paring knife for slicing bananas thinly
- Rolling pin (optional) — I sometimes use it to gently flatten the bread for easier rolling, but you can skip it
- Cutting board for slicing and rolling
- Small bowl for mixing optional cinnamon and honey
- Non-stick skillet or griddle (optional) if you want to toast the pinwheels
Honestly, the tools are basic — no fancy gadgets needed. If you don’t have a rolling pin, your hands work just fine for flattening the bread gently. For toasting, a non-stick skillet gives the best control, but a sandwich press could work if you want to get creative. Keeping your knives sharp is key here, especially for thin banana slices without squashing them.
Preparation Method
- Prepare the bread: Lay out 6 slices of white sandwich bread on your cutting board. If you want easier rolling, gently flatten each slice with a rolling pin or your hands until about ¼ inch (6 mm) thick. This prevents cracking when you roll.
- Spread peanut butter: Evenly spread about 2 tablespoons (30 ml) of creamy peanut butter over each slice, reaching all the way to the edges. Don’t skimp — the peanut butter acts as glue and flavor base here.
- Add optional cinnamon-honey drizzle: Mix ½ teaspoon cinnamon with 1 tablespoon honey in a small bowl. Drizzle lightly over the peanut butter on each slice for a warm, sweet kick. This step is optional but highly recommended for flavor depth.
- Layer banana slices: Arrange thin banana slices (about ¼ inch or 6 mm thick) evenly over the peanut butter. Aim for one banana per slice of bread, overlapping slightly but keeping a single layer.
- Roll the sandwiches: Starting from one short edge, carefully roll the bread tightly into a log. Press gently to keep it compact but avoid squeezing out the filling.
- Slice into pinwheels: Using a sharp knife, cut each roll crosswise into 6 equal pinwheel slices (about 1 inch or 2.5 cm thick). For cleaner cuts, wipe the knife blade between slices.
- Optional toasting: Heat a non-stick skillet over medium heat. Lightly butter the outside of pinwheels and toast for 1-2 minutes per side until golden and warm. This step adds crispness and melts the peanut butter slightly.
Tip: If the bread feels too dry or stiff, a quick spritz of water before rolling can help. Also, don’t rush the slicing — a steady hand makes prettier pinwheels and less filling mess.
Cooking Tips & Techniques
Let’s be honest — peanut butter and banana sound foolproof, but a few tricks make these pinwheels shine:
- Use creamy peanut butter: It spreads smoothly and helps roll the bread without tearing. Chunky versions tend to snag and break the bread.
- Select ripe but firm bananas: Too ripe, and the slices get mushy and slippery, making rolling tricky. I look for bananas with a few brown spots but still firm to the touch.
- Flatten the bread gently: This helps prevent cracking, especially on the edges. A rolling pin works well, but pressing with your palm also does the trick.
- Roll tightly but carefully: Too loose and the pinwheels fall apart; too tight and the filling squishes out. Find that Goldilocks zone by practicing a few rolls.
- Slice with a serrated knife: It cuts through the bread and filling cleanly without squashing the roll.
- Toast for texture contrast: Warming the pinwheels adds a subtle crunch and brings out the peanut butter’s aroma. Just watch closely to avoid burning.
One time, I tried freezing the pinwheels for a quick snack later. They thawed surprisingly well, but I recommend toasting after thawing to bring back that fresh-baked feel. Also, leaving the banana slices too thick makes the roll slippery and prone to opening—thin and even slices are key.
Variations & Adaptations
These Easy Creamy Peanut Butter Banana Pinwheel Sandwiches are a blank canvas. I’ve tried a few variations that might inspire you:
- Nut-free option: Swap peanut butter for sunflower seed butter or soy nut butter to accommodate allergies without losing creaminess.
- Chocolate twist: Add a thin layer of chocolate spread under the peanut butter or sprinkle mini chocolate chips on the banana slices before rolling.
- Fruit swap: Use thinly sliced strawberries, apples, or even pears instead of banana for a different flavor profile. Just keep slices thin and dry to avoid sogginess.
- Gluten-free version: Use gluten-free sandwich bread, which works just as well if you flatten it carefully before rolling.
- Breakfast boost: Add a sprinkle of chia seeds or flaxseed meal to the peanut butter for extra fiber and omega-3s.
Personally, I once made these with a smear of honey and a dusting of cinnamon for a cozy, fall-inspired snack that disappeared in minutes. For a savory touch, a tiny pinch of sea salt on top of the peanut butter surprisingly complements the sweetness.
Serving & Storage Suggestions
These pinwheel sandwiches are best served fresh at room temperature or lightly toasted. They make a perfect finger food for kids’ lunchboxes, afternoon snacks, or even a casual brunch spread. Pair them with a glass of cold milk, a cup of tea, or something fresh like a crisp cucumber salad — something like the Fresh Crispy Cucumber Feta Salad balances the richness nicely.
To store, place the pinwheels in an airtight container lined with parchment paper and refrigerate up to 24 hours. The banana slices will brown a bit but still taste good. For longer storage, freeze the pinwheels flat in a single layer wrapped tightly in plastic wrap, then transfer to a freezer bag for up to 2 months. Thaw in the fridge overnight and toast briefly to refresh.
Flavors tend to meld and soften in the fridge, so if you’re prepping ahead, consider adding banana slices just before serving to keep the texture vibrant. And if you want to jazz up your snack time, these pinwheels make a fun companion to the Super Moist Brown Butter Banana Bread — a double dose of banana-y goodness!
Nutritional Information & Benefits
Each Easy Creamy Peanut Butter Banana Pinwheel Sandwich (made from one slice of bread and banana) contains approximately:
| Calories | 180-220 kcal |
|---|---|
| Protein | 6-8 grams |
| Carbohydrates | 25-30 grams |
| Fat | 8-10 grams |
| Fiber | 3-4 grams |
The peanut butter provides healthy fats and protein, while bananas offer potassium, vitamin C, and natural sweetness without added sugar. Using whole grain bread boosts fiber and nutrients further if you choose that option. This snack is gluten-free adaptable and can be made nut-free with seed butter substitutes.
From a wellness standpoint, these pinwheels are a balanced combo — they satisfy sweet cravings, support energy needs, and keep things simple and wholesome. I often recommend them for quick post-workout snacks or a wholesome mid-afternoon treat.
Conclusion
Easy Creamy Peanut Butter Banana Pinwheel Sandwiches are proof that simple ingredients can create something unexpectedly delightful. They’re quick to make, fun to eat, and hit that sweet-and-creamy note just right. Whether you’re feeding kids, treating yourself, or looking for a no-fuss snack, these pinwheels fit the bill.
Feel free to tweak the fillings and add your personal touch — maybe a drizzle of honey, a sprinkle of cinnamon, or a swap for your favorite nut butter. That’s the beauty here: it’s a recipe made to suit your taste and schedule.
I keep coming back to these sandwiches because they remind me that sometimes, the best snacks are the ones that don’t overcomplicate things. If you give them a try, I’d love to hear how you customize yours or what memories they bring up. Here’s to easy, creamy, comforting bites that brighten the day!
Frequently Asked Questions
Can I make these pinwheel sandwiches ahead of time?
Yes! You can prepare them a few hours in advance and store in the fridge. For best freshness, add banana slices just before rolling if prepping too far ahead.
What’s the best bread to use for these pinwheels?
Soft white sandwich bread works best because it rolls easily without cracking. Whole wheat or gluten-free bread are good alternatives if flattened gently.
Can I use crunchy peanut butter instead of creamy?
Creamy peanut butter is recommended for smooth spreading and rolling. Crunchy peanut butter tends to tear the bread and is harder to roll neatly.
How do I prevent the bananas from browning inside the sandwich?
Using ripe but firm bananas helps. Also, a light drizzle of lemon juice on the banana slices before assembling can slow browning if you’re prepping early.
Can I toast these pinwheels for a warm snack?
Absolutely! Lightly butter the outside and toast in a skillet for 1-2 minutes per side until golden and warm. It adds a lovely crunch and melts the peanut butter slightly.
Pin This Recipe!
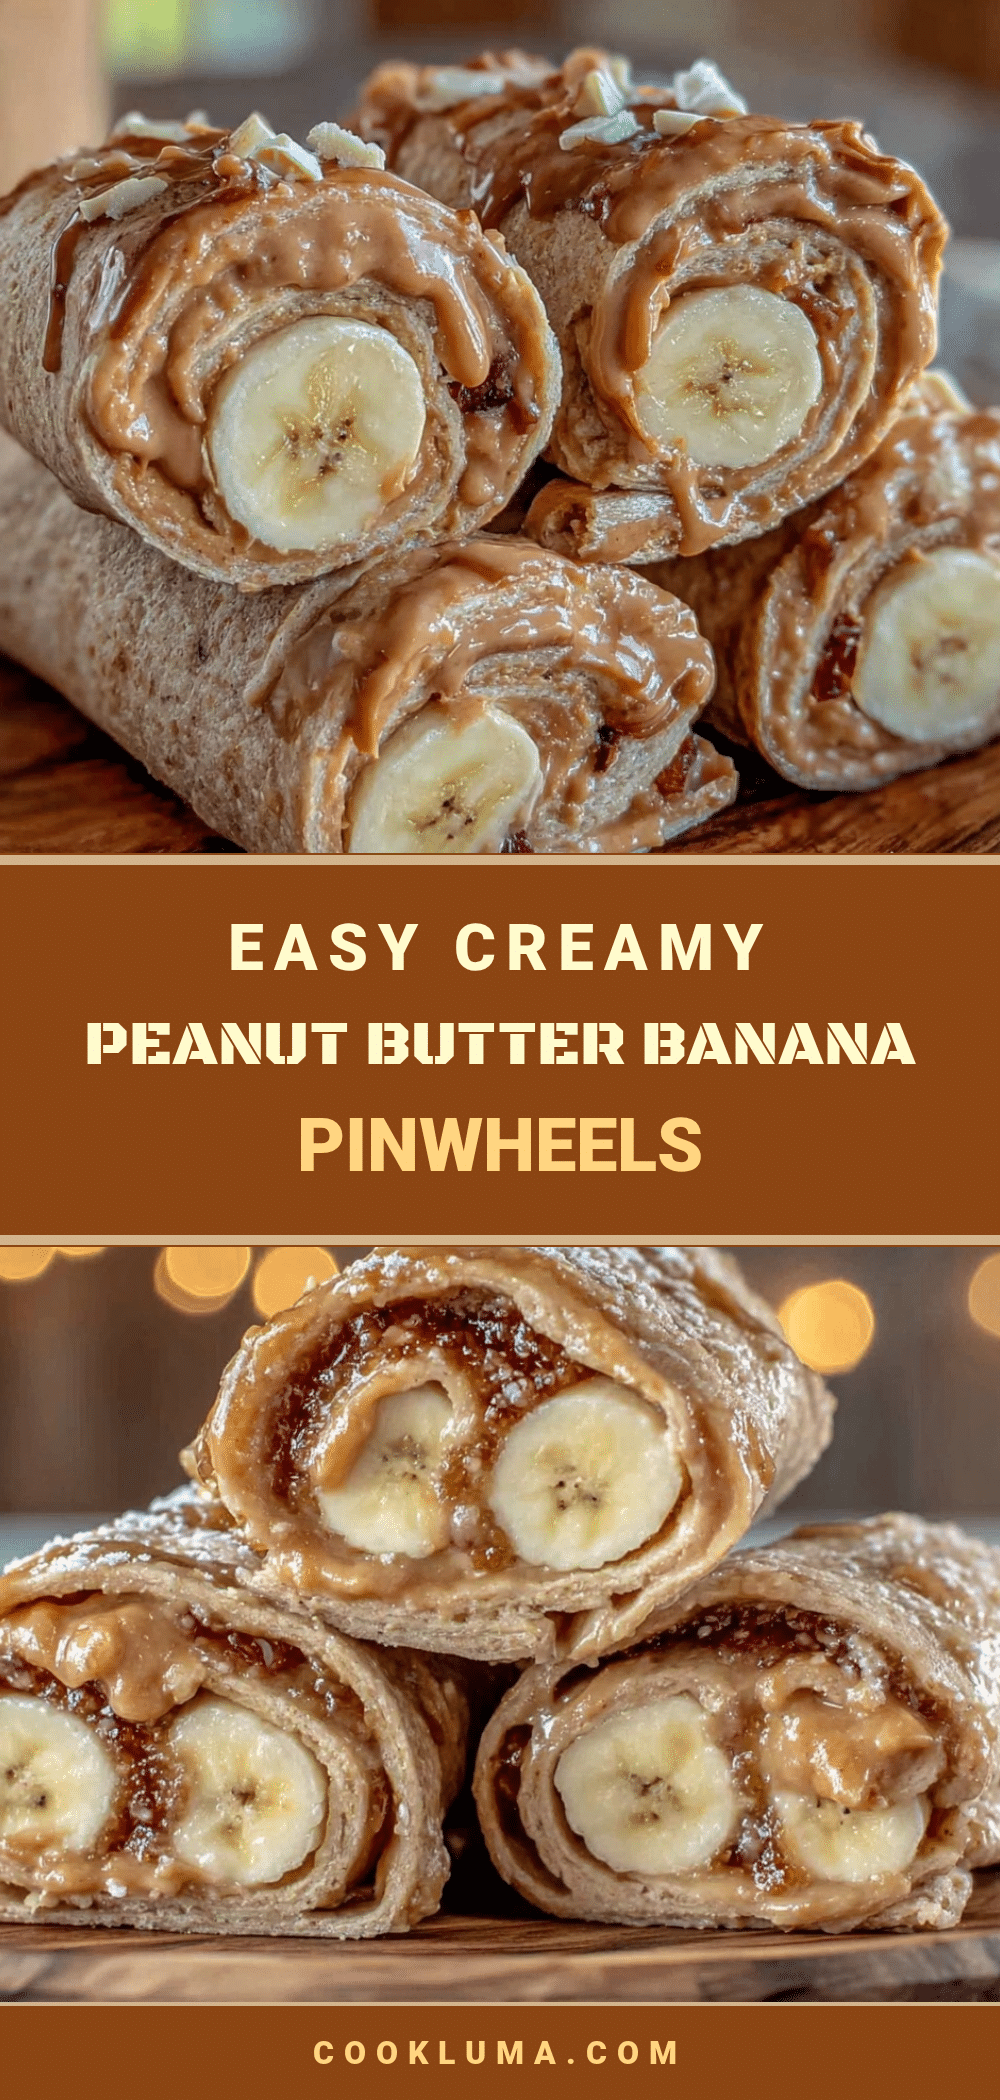
Easy Creamy Peanut Butter Banana Pinwheel Sandwiches

A quick and simple snack featuring creamy peanut butter and ripe banana rolled into fun pinwheel sandwiches. Perfect for kids’ lunchboxes, light breakfasts, or anytime you want a comforting treat.
- Prep Time: 5 minutes
- Cook Time: 2-4 minutes (optional toasting)
- Total Time: 7-9 minutes
- Yield: 6 servings (6 pinwheel slices per roll, 1 roll per 2 slices of bread) 1x
- Category: Snack
- Cuisine: American
Ingredients
- 6 slices white sandwich bread (soft and fresh; can substitute whole wheat or gluten-free)
- ¾ cup (180 ml) creamy peanut butter (recommend Jif Creamy for smooth spreading)
- 2 medium ripe bananas, peeled and sliced thinly (about 1/4 inch thick)
- 1–2 tablespoons honey (optional, for drizzling)
- ½ teaspoon ground cinnamon (optional)
- Butter or margarine, softened (optional, for toasting)
Instructions
- Lay out 6 slices of white sandwich bread on a cutting board. Gently flatten each slice with a rolling pin or your hands until about 1/4 inch (6 mm) thick to prevent cracking when rolling.
- Evenly spread about 2 tablespoons (30 ml) of creamy peanut butter over each slice, reaching all the way to the edges.
- Mix 1/2 teaspoon cinnamon with 1 tablespoon honey in a small bowl. Drizzle lightly over the peanut butter on each slice (optional).
- Arrange thin banana slices evenly over the peanut butter, aiming for one banana per slice of bread, overlapping slightly but keeping a single layer.
- Starting from one short edge, carefully roll the bread tightly into a log. Press gently to keep it compact but avoid squeezing out the filling.
- Using a sharp serrated knife, cut each roll crosswise into 6 equal pinwheel slices (about 1 inch or 2.5 cm thick). Wipe the knife blade between slices for cleaner cuts.
- Optional: Heat a non-stick skillet over medium heat. Lightly butter the outside of pinwheels and toast for 1-2 minutes per side until golden and warm.
Notes
Use creamy peanut butter for smooth spreading and easier rolling. Ripe but firm bananas work best to avoid mushy texture. Flatten bread gently to prevent cracking. Toast pinwheels lightly for a warm, crispy texture. Pinwheels can be prepared ahead and stored in the fridge; add banana slices just before rolling if prepping early. For nut-free version, substitute peanut butter with sunflower seed or soy nut butter.
Nutrition
- Serving Size: 1 pinwheel slice (ap
- Calories: 180220
- Sugar: 68
- Sodium: 150200
- Fat: 810
- Saturated Fat: 1.52
- Carbohydrates: 2530
- Fiber: 34
- Protein: 68
Keywords: peanut butter banana sandwich, pinwheel sandwiches, easy snack, creamy peanut butter, quick snack, kids lunchbox, healthy snack