The tray was empty before the school bell even rang. Third day in a row. My kid’s lunchbox came home with nothing but crumbs—an unspoken request for the recipe, repeated through the quiet nods and eager smiles at breakfast. Honestly, I wasn’t expecting much when I first threw these oat bars together, but the way they vanished so fast? That was surprising.
It all started with one of those mornings when time feels tighter than usual. I needed something quick for school, something wholesome but fuss-free. I rummaged through the pantry, grabbed a few staples, and threw them together without turning on the oven. No bake, no mess, and just five ingredients. The bars had a rustic, homemade look—nothing fancy—but they packed a punch in both taste and texture.
What caught me off guard was how these simple oat bars managed to feel like a treat without feeling like one of those sugar-overloaded snacks. There’s something quietly satisfying about a recipe that doesn’t overcomplicate things but still earns those enthusiastic “Can I have another?” requests. It stuck with me because it’s real, practical, and it works—especially for busy parents juggling mornings like I do.
So, if you’re looking for a school lunchbox staple that’s quick, wholesome, and genuinely enjoyed, these no-bake oat bars hold their own. They’ve become my go-to, not just because my kid loves them but because they make the whole lunch prep a little less frantic. And honestly, that’s a win in my book.
Why You’ll Love This Recipe
After testing quite a few snack recipes, this Easy 5-Ingredient No-Bake School Lunchbox Oat Bars recipe quickly became a favorite around here. It’s one of those gems that feels like a win every single time, and here’s why:
- Quick & Easy: Ready in just 15 minutes with zero baking involved—perfect when mornings are hectic or you need a last-minute snack.
- Simple Ingredients: No need for fancy or hard-to-find items. You probably have everything on hand already, which means no extra trips to the store.
- Perfect for School Lunches: These bars are portable, mess-free, and kid-approved, making them ideal for lunchboxes or after-school snacks.
- Crowd-Pleaser: Whether it’s your kids, their friends, or even adults looking for a quick pick-me-up, these bars get rave reviews every time.
- Unbelievably Delicious: The texture is chewy with just the right bit of crunch, and the natural sweetness makes it feel like a treat without the overload.
What sets this recipe apart isn’t just that it’s no-bake or minimal ingredients—it’s the balance of flavors and textures. Using a good quality natural peanut butter (I swear by Smucker’s Natural for that creamy yet slightly grainy feel) and a touch of honey gives these bars their signature chewiness and subtle sweetness. Plus, the oats add a wholesome heartiness that keeps hunger at bay longer.
This recipe isn’t just about filling lunchboxes; it’s about making snack time easier without sacrificing taste or nutrition. It’s that rare snack that feels both comforting and practical—something you can toss together without stress but still feel quietly proud of.
What Ingredients You Will Need
This recipe uses simple, wholesome ingredients to deliver bold flavor and satisfying texture without the fuss. I always appreciate pantry staples that pull double duty, and these five ingredients do just that. Here’s what you’ll need:
- Old-fashioned rolled oats (about 2 cups / 180g) – The base of the bars, providing chewiness and fiber. Quick oats can work but may alter texture slightly.
- Natural peanut butter (1 cup / 250g) – Use creamy or chunky depending on your preference. I recommend natural, unsweetened peanut butter for the best flavor and fewer additives.
- Honey (1/2 cup / 170g) – Acts as the natural sweetener and binder. You can swap with maple syrup for a vegan option.
- Vanilla extract (1 tsp) – Just a touch to deepen the flavor profile.
- Mini chocolate chips (1/2 cup / 90g) – Optional but highly recommended for a little indulgence. Dark or semi-sweet chips work best.
These ingredients come together with minimal effort but maximum impact. The oats provide substance, peanut butter adds richness and protein, honey offers sweetness and helps hold everything together, vanilla rounds out the flavor, and chocolate chips bring a hint of indulgence that kids and adults both appreciate.
If you want to swap the peanut butter for almond butter or sunflower seed butter, that works fine too—just keep in mind the flavor will shift a bit. For gluten-free needs, make sure to use certified gluten-free oats.
Equipment Needed
- Mixing bowl: A large one to comfortably combine all ingredients. Glass or stainless steel works well.
- Rubber spatula or wooden spoon: For stirring the sticky mixture. I find a silicone spatula easiest for scraping the sides clean.
- 8×8-inch (20×20 cm) baking pan: For pressing the mixture into bars. Line it with parchment paper for easier removal.
- Measuring cups and spoons: Precision helps keep the texture just right, especially with sticky ingredients like honey and peanut butter.
No fancy equipment needed here—just the basics you probably already have. For pressing the mixture into the pan, you can use the back of a spoon or even your hands (just lightly moistened to prevent sticking). If you don’t have an 8×8-inch pan, any similar-sized container with straight sides will do.
Preparation Method
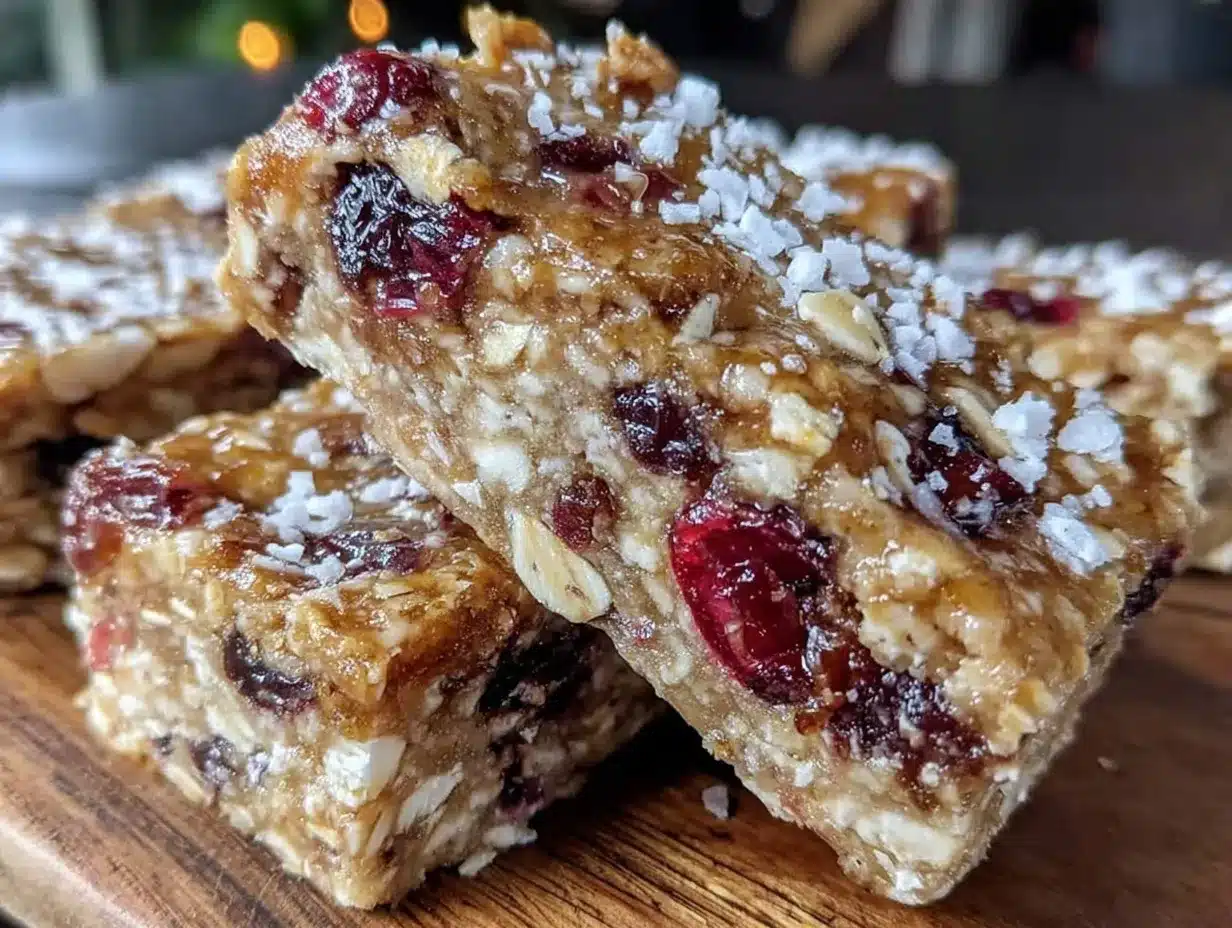
- Prepare your pan: Line an 8×8-inch (20×20 cm) square baking pan with parchment paper, leaving a bit of overhang on the sides for easy removal later. This step saves you from sticky messes.
- Mix peanut butter and honey: In a large mixing bowl, combine 1 cup (250g) of natural peanut butter with 1/2 cup (170g) of honey. Use a rubber spatula to stir until smooth and fully blended. This usually takes about 2-3 minutes. If the mixture feels too stiff, warm it slightly in the microwave for 15 seconds to soften.
- Add vanilla: Stir in 1 teaspoon of vanilla extract for that subtle flavor boost. This little detail makes the bars taste homemade and cozy.
- Fold in oats: Add 2 cups (180g) of old-fashioned rolled oats to the peanut butter mixture. Gently fold them in until every oat is coated. The mixture should hold together but not be overly wet. If it’s crumbly, add a teaspoon of water or more honey to help bind.
- Mix in chocolate chips: Fold in 1/2 cup (90g) mini chocolate chips evenly throughout the mixture. They’ll add little bursts of sweetness, but if you prefer, you can skip the chips or substitute with dried fruit.
- Press into pan: Transfer the mixture into your prepared pan. Press firmly and evenly using the back of a spoon or your hands. The firmer you press, the better the bars will hold their shape. This step takes about 3-5 minutes.
- Chill: Place the pan in the refrigerator for at least 2 hours to let the bars set. This chilling time is crucial—it helps the bars firm up without baking.
- Cut and serve: Once chilled, lift the mixture out of the pan using the parchment paper overhang. Place on a cutting board and slice into 10-12 bars depending on your preferred size.
Tip: Keep the bars refrigerated until packed to maintain their shape and freshness. If you want to speed things up, a quick 30-minute stint in the freezer works too, but don’t freeze long-term or they get too hard.
Cooking Tips & Techniques
Making no-bake oat bars sounds simple, but a couple of tricks make all the difference between crumbly bars and ones that hold together nicely:
- Quality peanut butter matters: Natural varieties tend to separate, so give yours a good stir before measuring. Using fresh, well-mixed peanut butter ensures even binding.
- Don’t skip the chilling step: These bars rely on refrigeration to firm up. Trying to cut them too soon usually results in crumbling.
- Press firmly: The compactness of the mixture before chilling is key. I usually press down with the bottom of a glass for a solid, even layer.
- Balance sweetness: Depending on your peanut butter and honey, adjust sweetness to taste. Sometimes a little extra honey helps if your peanut butter is unsweetened.
- Mix-ins: Stir chocolate chips in last to prevent melting into the warm peanut butter. For a fun twist, try adding toasted coconut flakes or chopped nuts.
I remember the first time I tried skipping the vanilla—it felt flat. That little splash really rounds out the flavor, making the bars taste more homemade and less like a quick fix. Also, if the mixture feels dry, a teaspoon of water or more honey helps without making it sticky.
Variations & Adaptations
While this recipe is fantastic as-is, it’s flexible enough to suit different tastes and dietary needs:
- Nut-Free Version: Swap the peanut butter for sunflower seed butter or soy nut butter. Use maple syrup instead of honey to keep it allergy-friendly and vegan.
- Fruit Boost: Add 1/2 cup of dried cranberries, raisins, or chopped apricots for natural sweetness and chewiness.
- Chocolate-Free: Leave out the chocolate chips and stir in 1/4 cup of chopped nuts or seeds for extra crunch.
- Protein Punch: Add 2 tablespoons of your favorite protein powder to the oat mixture. Adjust the honey slightly if the mixture feels dry.
- Seasonal Twist: In cooler months, sprinkle in cinnamon or pumpkin pie spice for a cozy flavor. Summer calls for a handful of chopped freeze-dried berries to brighten the bars.
One variation I tried was swapping the honey for maple syrup and adding a handful of chopped pecans. The bars turned out a bit softer but had a lovely nutty depth. They made a great snack alongside the quick zesty cowboy caviar I packed for a family picnic—proof that these bars can fit into many snack or meal occasions.
Serving & Storage Suggestions
These oat bars are best served chilled or at room temperature. I like to pack them straight from the fridge into lunchboxes, wrapped individually in parchment or reusable silicone wraps. They’re the perfect grab-and-go snack for school or an afternoon boost.
To complement the bars, a glass of milk or a fresh fruit salad works beautifully. They also pair surprisingly well with savory dishes like the fresh crispy cucumber feta salad when you want a balanced meal that isn’t too heavy.
For storage, keep the bars in an airtight container in the refrigerator for up to a week. They hold their texture well and don’t dry out quickly. You can also freeze them for up to 3 months—just thaw at room temperature or in the fridge before eating.
Over time, the flavors mellow and blend, making them taste even better the next day. That’s a nice bonus when you prep a batch ahead for busy school weeks.
Nutritional Information & Benefits
Each bar (assuming 10 bars per batch) roughly contains:
| Calories | Protein | Fat | Carbohydrates | Fiber | Sugar |
|---|---|---|---|---|---|
| 160 kcal | 5g | 8g | 18g | 3g | 9g |
These bars provide a balanced mix of protein, healthy fats, and whole grain carbs, making them a satisfying snack that can help fuel growing kids through the school day. The oats contribute soluble fiber, which supports digestion and steady energy release.
Using natural peanut butter keeps added sugars low and delivers heart-healthy monounsaturated fats. Honey serves as a natural sweetener with trace antioxidants, though it’s still best enjoyed in moderation.
For dietary considerations, you can easily make these gluten-free by using certified gluten-free oats and vegan by swapping honey for maple syrup. The nut-free options cater to allergy needs without compromising texture.
Conclusion
These Easy 5-Ingredient No-Bake School Lunchbox Oat Bars have quietly become a staple in our household, and I’m confident they’ll fit right into yours too. They check all the boxes for a quick, wholesome snack that doesn’t feel like a compromise, and it’s always nice when the lunchbox comes back empty with a little note asking for more.
Feel free to tweak the mix-ins or nut butters to suit your family’s tastes or dietary requirements. That’s the beauty of this recipe—it’s simple but flexible, made for busy days and happy kids.
Next time you’re juggling school mornings and snack prep, remember: a few pantry staples and 15 minutes can save the day. And if you ever want to shake things up, you might find inspiration in recipes like the creamy pesto pasta salad that brings fresh flavor with minimal fuss.
Don’t hesitate to share your own twists or questions—I love hearing how these oat bars fit into your routine. Here’s to less stress and more smiles at snack time!
Frequently Asked Questions
Can I make these oat bars dairy-free and vegan?
Yes! Simply swap the honey for maple syrup to make them vegan and dairy-free. The rest of the ingredients are naturally free of dairy.
How long do these no-bake oat bars last?
Stored in an airtight container in the refrigerator, they stay fresh for up to one week. You can also freeze them for up to three months.
Can I add other mix-ins besides chocolate chips?
Absolutely! Dried fruit, nuts, seeds, or coconut flakes all make great additions. Just fold them in during the last step before pressing the mixture.
What if my bars are too crumbly and don’t hold together?
This usually means the mixture needs more binder. Try adding a teaspoon or two of honey or a splash of warm water and press firmly before chilling.
Is it possible to make these bars nut-free?
Yes, replace the peanut butter with sunflower seed butter or soy nut butter and use maple syrup instead of honey for a nut-free alternative.
Pin This Recipe!
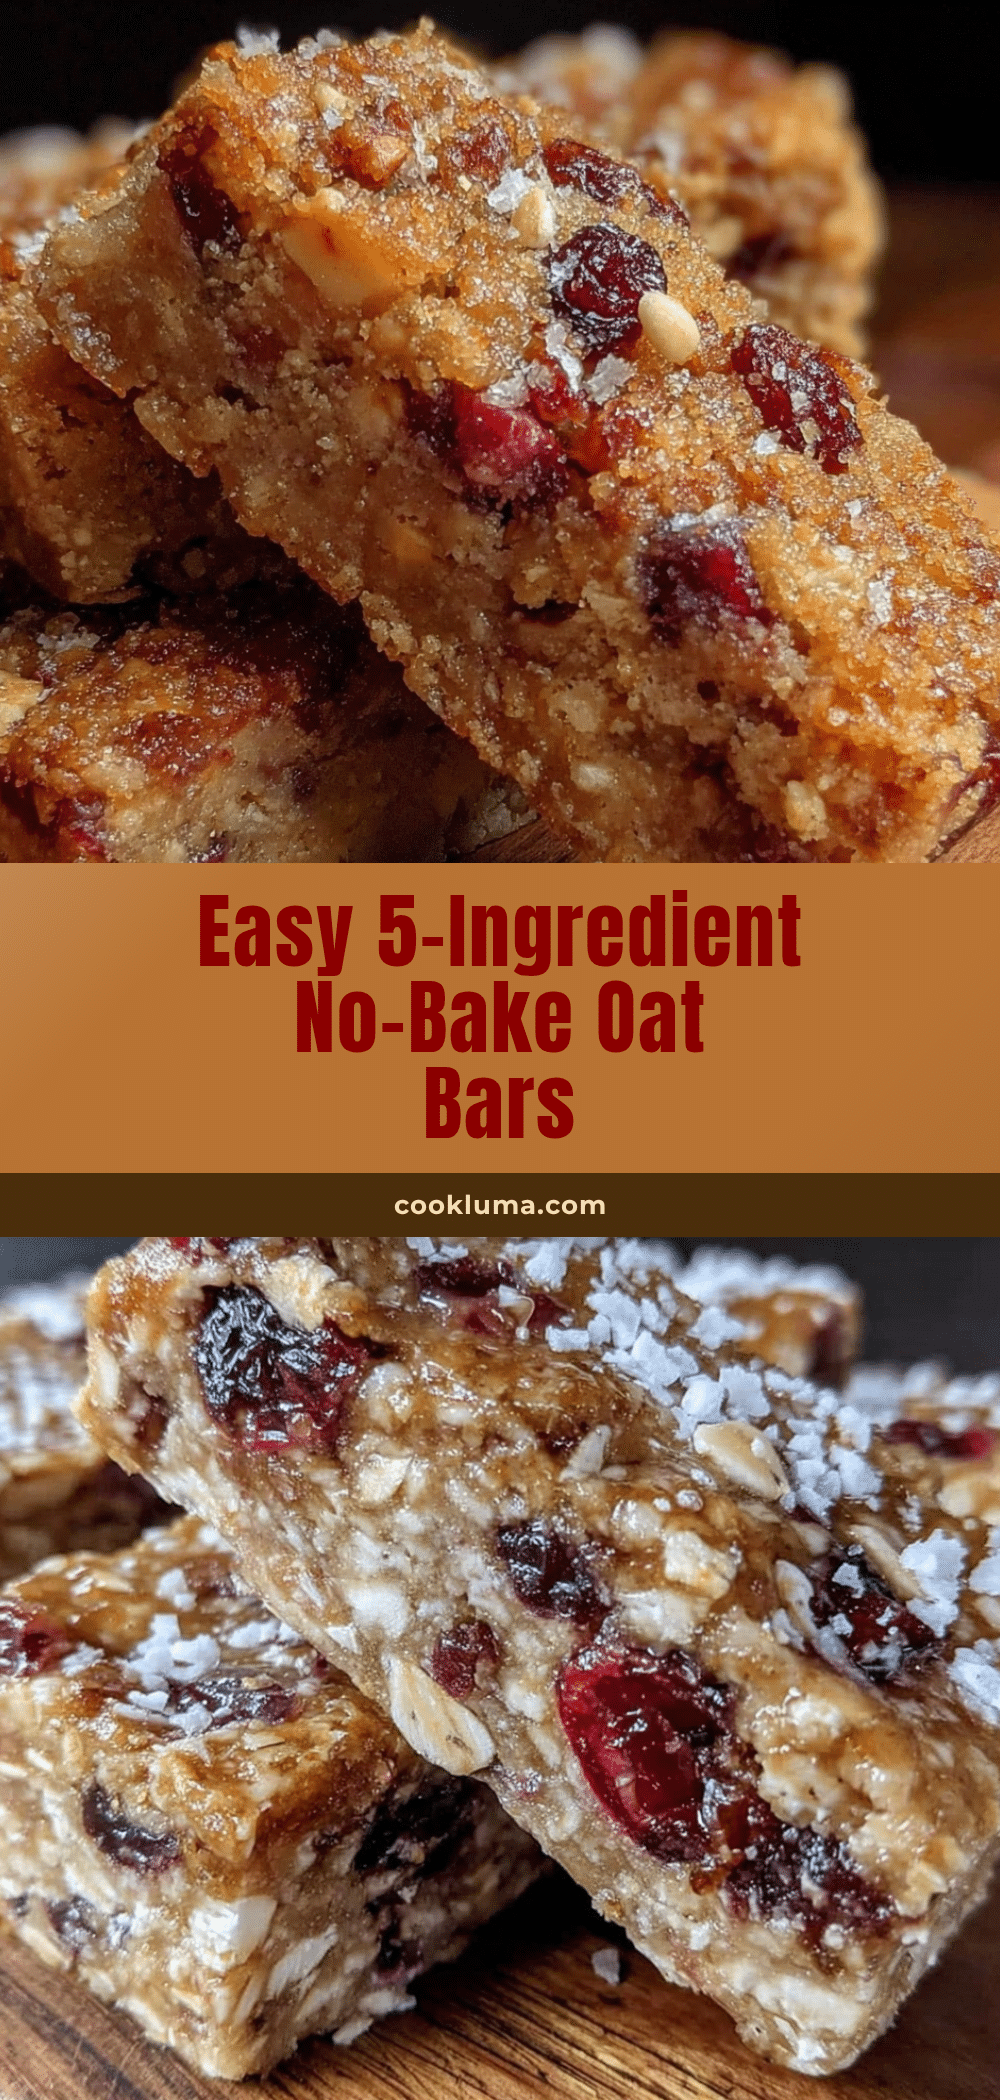
Easy 5-Ingredient No-Bake School Lunchbox Oat Bars
Quick, wholesome, and fuss-free no-bake oat bars made with simple pantry staples. Perfect for school lunches or healthy snacks that kids love.
- Prep Time: 10 minutes
- Cook Time: 0 minutes
- Total Time: 2 hours 10 minutes
- Yield: 10-12 bars 1x
- Category: Snack
- Cuisine: American
Ingredients
- 2 cups (180g) old-fashioned rolled oats
- 1 cup (250g) natural peanut butter (creamy or chunky)
- 1/2 cup (170g) honey (or maple syrup for vegan option)
- 1 teaspoon vanilla extract
- 1/2 cup (90g) mini chocolate chips (optional)
Instructions
- Line an 8×8-inch (20×20 cm) square baking pan with parchment paper, leaving an overhang for easy removal.
- In a large mixing bowl, combine 1 cup (250g) natural peanut butter with 1/2 cup (170g) honey. Stir until smooth and fully blended, about 2-3 minutes. Warm slightly if too stiff.
- Stir in 1 teaspoon vanilla extract.
- Fold in 2 cups (180g) old-fashioned rolled oats until every oat is coated. Add a teaspoon of water or more honey if mixture is crumbly.
- Fold in 1/2 cup (90g) mini chocolate chips evenly throughout the mixture.
- Transfer mixture into prepared pan and press firmly and evenly using the back of a spoon or hands for 3-5 minutes.
- Refrigerate for at least 2 hours to let bars set.
- Lift bars out using parchment overhang and cut into 10-12 bars.
Notes
Use natural peanut butter for best flavor and binding. Press mixture firmly before chilling to avoid crumbly bars. Chill for at least 2 hours. Can substitute honey with maple syrup for vegan version. Store bars refrigerated up to 1 week or freeze up to 3 months.
Nutrition
- Serving Size: 1 bar (if 10 bars pe
- Calories: 160
- Sugar: 9
- Fat: 8
- Carbohydrates: 18
- Fiber: 3
- Protein: 5
Keywords: no-bake oat bars, school lunch snacks, healthy snacks, peanut butter bars, quick oat bars, kid-friendly snacks