My neighbor Jen wasn’t trying to impress anyone. I’d stopped by to borrow a ladder—our gutters were clogged and I was in full weekend chore mode—and the smell hit me before I even got past her welcome mat. Warm butter, vanilla, something toasty and sweet. It was that specific bakery smell you usually have to pay three bucks for, and it was coming from her regular kitchen on a random Saturday morning.
She waved me in with a flour-dusted hand. “Oh, those are just cookies. Grab one if you want.” Just cookies. I picked one up—still warm, edges crinkly and golden, the center soft and puffy—and took a bite. Honestly? I almost forgot about the ladder. The texture was perfect. That slight resistance on the outside, then a soft, almost gooey middle. The chocolate was melted in all the right ways, not greasy, just rich. I asked her what she did. She shrugged and said, “I just use melted butter and let the dough rest a bit.” That was it. No stand mixer. No chilling overnight. No secret imported chocolate.
I went home, cleaned my gutters, and made a batch that afternoon. And I’ve been making them ever since. Maybe you’ve been there—standing in someone’s kitchen, eating something that feels way too good for how simple it was to make. That’s this cookie. It’s the one you’ll make on a Tuesday night when you need something good, fast, and completely reliable. No fuss, no chill time, just a bowl, a spoon, and ten minutes of effort for cookies that taste like they came from a bakery window.
Why You’ll Love This Recipe
Let me be honest with you. I’ve tested a lot of cookie recipes over the years. Some require an overnight rest in the fridge. Some call for browning butter (which is delicious, but messy). Some demand a stand mixer and a lot of patience. This one? None of that. And yet, these are the cookies I keep coming back to. Here’s why they work so well for real life:
- Quick & Easy: From start to finish, these cookies are on your plate in under 30 minutes. No chilling. No complicated steps. Just mix, scoop, and bake.
- Simple Ingredients: You probably have everything in your pantry right now. Butter, sugar, eggs, flour, vanilla, baking soda, salt, and chocolate chips. That’s it.
- Perfect for Weeknights: When a cookie craving hits at 8 PM, this recipe answers the call. No planning ahead required.
- Crowd-Pleaser: I’ve brought these to potlucks, school bake sales, and casual get-togethers. They disappear every single time. Kids and adults fight over the last one.
- Bakery Style at Home: The texture is that perfect combination—crispy edges, chewy center, soft all the way through. It’s the cookie you’d pay extra for at a coffee shop, but made in your own kitchen.
What makes this recipe different from all the others? Two things: melted butter and a short rest. Most recipes have you cream butter and sugar together, which makes a lighter, cakier cookie. Melting the butter gives you that dense, chewy texture—the good kind. And letting the dough rest for just 10 minutes allows the flour to fully hydrate, which means a more consistent bake. It’s a small trick, but it changes everything. This isn’t just another chocolate chip cookie recipe. It’s the one you’ll memorize.
What Ingredients You Will Need
This recipe uses simple, everyday ingredients. Nothing fancy, nothing hard to find. But a few small choices make a big difference in the final cookie. Here’s what you need and why each one matters:
- Unsalted Butter, 1 cup (2 sticks / 226g), melted (Melted butter is the secret to the chewy texture. If you only have salted butter, just reduce the added salt to ¼ teaspoon.)
- Light Brown Sugar, 1 cup (200g), packed (Brown sugar adds moisture and that deep, caramel-like flavor. Dark brown sugar works too, but the cookies will be slightly darker and even chewier.)
- Granulated Sugar, ½ cup (100g) (White sugar helps the edges crisp up. The combination of both sugars gives you the best of both worlds.)
- Large Egg, 1, room temperature (A room-temperature egg mixes more evenly into the melted butter. If you forget to take it out ahead of time, place it in a bowl of warm water for 5 minutes.)
- Vanilla Extract, 2 teaspoons (Use pure vanilla extract if you can. It makes a noticeable difference in flavor. I like Nielsen-Massey for its rich, clean taste.)
- All-Purpose Flour, 2 cups (250g) (Standard all-purpose flour works perfectly. No need for bread flour or cake flour here. Spoon and level your flour—don’t scoop directly from the bag, or you’ll end up with too much.)
- Baking Soda, 1 teaspoon (This helps the cookies spread and get those crinkly edges. Make sure it’s fresh—test it by dropping a little into vinegar; it should fizz immediately.)
- Salt, ½ teaspoon (Salt balances the sweetness and brings out the chocolate flavor. If you use salted butter, reduce this to ¼ teaspoon.)
- Semi-Sweet Chocolate Chips, 2 cups (340g) (I prefer Ghirardelli or Guittard semi-sweet chips for their rich flavor and good melt. You can also chop up a chocolate bar for bigger puddles of chocolate. Milk chocolate or dark chocolate both work—just adjust to your taste.)
Optional Add-Ins:
- Flaky Sea Salt (A sprinkle on top right after baking takes these cookies to another level. Trust me on this one.)
- Chopped Nuts, ½ cup (Walnuts or pecans add a nice crunch. Toast them first for extra flavor.)
Equipment Needed
You don’t need a lot of fancy tools for this recipe. That’s part of the beauty of it. Here’s what you’ll need:
- Large Mixing Bowl (Any bowl works. I use a stainless steel one because it’s lightweight and easy to clean.)
- Whisk (For mixing the wet ingredients. A fork works in a pinch.)
- Rubber Spatula or Wooden Spoon (For folding in the flour and chocolate chips. A spatula is gentler and helps avoid over-mixing.)
- Measuring Cups and Spoons (For accuracy. I recommend using a kitchen scale for the flour—it’s the most reliable way to get consistent results.)
- Baking Sheet, 2 (A light-colored, rimmed baking sheet works best. Dark sheets can cause the bottoms to brown too quickly.)
- Parchment Paper or Silicone Baking Mat (Parchment paper is cheap and makes cleanup a breeze. Silicone mats are reusable and work just as well.)
- Cookie Scoop (about 2 tablespoons) (Not essential, but it makes portioning the dough fast and even. I use a #40 scoop, which gives me perfectly round cookies every time.)
- Cooling Rack (Allows air to circulate around the cookies so they cool evenly and don’t get soggy on the bottom.)
If you don’t have a cookie scoop, just use two spoons. If you don’t have a cooling rack, let the cookies cool on the baking sheet for a few minutes, then transfer them to a plate. Simple.
Preparation Method
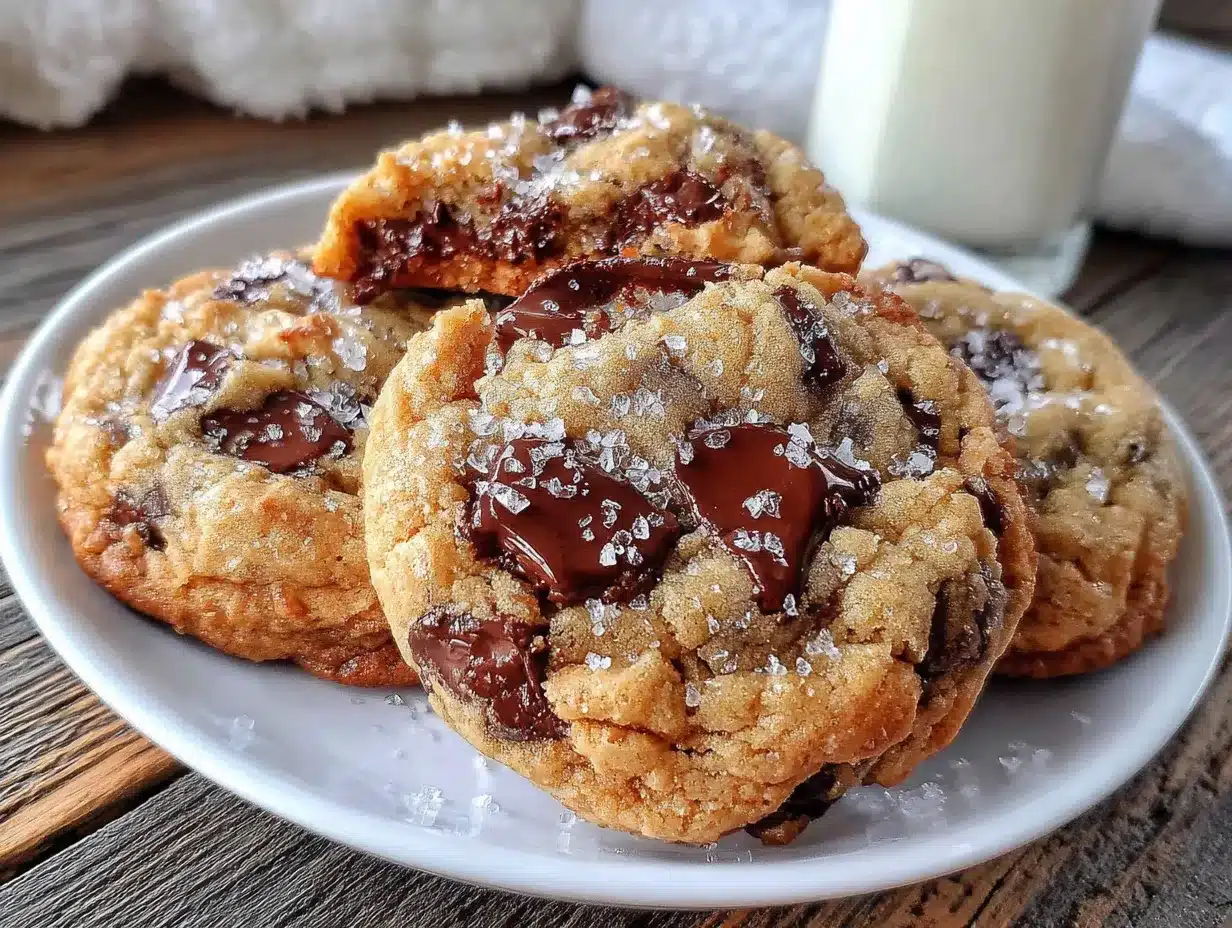
Alright, let’s make some cookies. This whole process takes about 25 minutes from start to finish. Here’s how it goes:
- Preheat your oven to 375°F (190°C). Position the racks in the upper and lower thirds of the oven if you’re baking two sheets at once. Line two baking sheets with parchment paper or silicone mats.
- Melt the butter. Place the 1 cup of unsalted butter in a microwave-safe bowl. Microwave in 30-second bursts until mostly melted, then stir until fully melted. You want it liquid and warm, not hot. Let it cool for a minute or two while you get the other ingredients ready.
- Mix the sugars and butter. In a large mixing bowl, combine the melted butter, 1 cup packed brown sugar, and ½ cup granulated sugar. Whisk vigorously for about 30 seconds until the mixture looks smooth and slightly thickened. It should smell amazing already.
- Add the egg and vanilla. Crack the room-temperature egg into the bowl. Add the 2 teaspoons of vanilla extract. Whisk until everything is fully combined and the mixture looks glossy. About 20 seconds of whisking should do it.
- Combine the dry ingredients. In a separate small bowl, whisk together the 2 cups of all-purpose flour, 1 teaspoon of baking soda, and ½ teaspoon of salt. This ensures the baking soda and salt are evenly distributed throughout the flour.
- Mix the dry ingredients into the wet. Pour the flour mixture into the bowl with the butter-sugar mixture. Use a rubber spatula or wooden spoon to fold everything together. Stir gently until just combined—stop as soon as you no longer see streaks of flour. Over-mixing will make the cookies tough.
- Fold in the chocolate chips. Add the 2 cups of semi-sweet chocolate chips. Fold them in with a few gentle strokes. The dough will be thick and slightly sticky. That’s perfect.
- Let the dough rest for 10 minutes. This is a crucial step. Cover the bowl with a clean kitchen towel or plastic wrap and let it sit on the counter for 10 minutes. This allows the flour to absorb the liquid, which gives you a thicker, chewier cookie. I know you’re impatient—I am too—but trust me on this one.
- Scoop the dough. Use a 2-tablespoon cookie scoop or two spoons to portion the dough into balls. Place them about 2 inches apart on the prepared baking sheets. You should get about 24 cookies total (12 per sheet). The dough balls should be slightly taller than they are wide—this helps them bake up thick and puffy.
- Bake. Place both baking sheets in the oven. Bake for 10 to 12 minutes, rotating the sheets halfway through (swap top to bottom and front to back). The cookies are done when the edges are golden brown and the centers still look slightly soft and underdone. They will continue to set as they cool. For softer cookies, pull them at 10 minutes. For crunchier edges, go to 12.
- Cool on the baking sheet. Let the cookies rest on the hot baking sheet for 5 minutes. This allows them to finish setting up. After 5 minutes, transfer them to a cooling rack. If you want that bakery-style look, gently press a few extra chocolate chips into the tops of the warm cookies.
- Sprinkle with flaky sea salt (optional but highly recommended). Just a tiny pinch on each warm cookie. It cuts the sweetness and makes the chocolate taste even richer.
One more thing—if you’re only baking one sheet at a time, keep the remaining dough covered at room temperature while the first batch bakes. The dough will be fine for up to an hour on the counter.
Cooking Tips & Techniques
I’ve made this recipe more times than I can count, and I’ve learned a few things along the way. Some of these came from mistakes. Some came from happy accidents. Here’s what I wish I’d known from the beginning:
Use a kitchen scale for your flour. This is the single biggest tip I can give you. Measuring flour by volume (scooping with a measuring cup) is wildly inconsistent. One cup of flour can weigh anywhere from 120 to 150 grams depending on how you scoop. A kitchen scale costs about $15 and will make your baking infinitely more reliable. For this recipe, 250 grams of flour is the sweet spot.
Don’t skip the 10-minute rest. I know it feels like an unnecessary delay. But that short rest allows the flour to hydrate fully, which means the cookies spread less and stay chewier. I once skipped it because I was in a hurry, and the cookies were flatter and less tender. It’s only ten minutes. Use that time to wash the dishes or preheat the oven.
Underbake them slightly. The biggest mistake home bakers make is overbaking cookies. Remember: the cookies continue to cook on the hot baking sheet after they come out of the oven. If they look perfectly done in the oven, they’ll be overdone by the time they cool. Pull them when the edges are set and golden, but the centers still look soft and a little puffy. That’s the sweet spot.
Rotate your baking sheets. Most ovens have hot spots. If you’re baking two sheets at once, rotate them halfway through—swap the top sheet to the bottom and turn them front to back. This ensures even browning. I learned this the hard way after a batch of cookies came out with half burnt bottoms and half pale tops.
Use room temperature eggs. Cold eggs can seize the melted butter, making the dough lumpy. If you forget to take the egg out ahead of time, place it in a bowl of warm water for 5 minutes. Problem solved.
Let the butter cool slightly. If your melted butter is too hot when you add the egg, you’ll end up with scrambled eggs in your cookie dough. Let the melted butter sit for a minute or two after microwaving. It should be warm, not hot.
Variations & Adaptations
One of the best things about this recipe is how flexible it is. Here are a few variations I’ve tried and loved:
Double Chocolate Chip Cookies: Replace ¼ cup of the all-purpose flour with ¼ cup of unsweetened cocoa powder. Use white chocolate chips or dark chocolate chips. The result is a rich, fudgy cookie that tastes like a brownie and a cookie had a baby. My kids request this version constantly.
Gluten-Free Option: Swap the all-purpose flour with a good gluten-free baking flour blend. I’ve had great results with King Arthur Measure for Measure. The texture will be slightly more delicate, but the flavor is still excellent. Add an extra tablespoon of milk if the dough seems too dry.
Vegan Version: Use a flax egg (1 tablespoon ground flaxseed mixed with 3 tablespoons water, let sit for 5 minutes) and substitute the butter with melted coconut oil or vegan butter. Use dairy-free chocolate chips. The cookies will be slightly less chewy, but still delicious.
Nutty Delight: Add ½ cup of toasted chopped walnuts or pecans along with the chocolate chips. Toasting the nuts first brings out their flavor and keeps them crunchy. Spread them on a baking sheet and toast at 350°F for 5-7 minutes, then let them cool before adding to the dough.
Mint Chocolate Chip: Add ½ teaspoon of peppermint extract along with the vanilla. Use dark chocolate chips or chop up a dark chocolate bar. The mint and chocolate combination is refreshing and perfect for the holidays.
Bigger Cookies: If you want giant, bakery-style cookies, use a 3-tablespoon scoop and bake for 13-15 minutes. You’ll get about 14 large cookies. Let them cool on the sheet for a full 10 minutes before moving them.
Serving & Storage Suggestions
These cookies are best served warm, straight from the oven. But let’s be real—you’re not going to eat all 24 cookies in one sitting. Here’s how to handle them:
Serving: Serve the cookies at room temperature or slightly warm. If you want that “fresh from the bakery” experience, pop a cookie in the microwave for 10 seconds. It softens the chocolate and makes the texture even more tender. Pair them with a cold glass of milk, a hot cup of coffee, or a scoop of vanilla ice cream for an extra treat.
Storage: Store the cookies in an airtight container at room temperature for up to 5 days. Place a slice of bread in the container—the cookies will absorb the moisture from the bread and stay soft. Replace the bread slice every day or two. I learned this trick from a bakery owner, and it works like magic.
Freezing the Dough: This is my favorite make-ahead trick. Scoop the dough into balls, place them on a baking sheet, and freeze until solid (about 1 hour). Transfer the frozen dough balls to a zip-top bag. They’ll keep for up to 3 months. When you’re ready to bake, place the frozen dough balls on a lined baking sheet and bake at 375°F for 12-14 minutes. No need to thaw. Fresh cookies in 15 minutes, anytime you want them.
Freezing Baked Cookies: You can also freeze the baked cookies. Let them cool completely, then place them in a single layer in a freezer-safe container or bag. They’ll keep for up to 3 months. Thaw at room temperature for about 30 minutes, or reheat in a 300°F oven for 5 minutes.
Reheating: The best way to reheat a cookie is in a toaster oven or regular oven at 300°F for 3-5 minutes. The microwave works in a pinch, but it can make the cookie tough. If you use the microwave, go for 10 seconds max.
Flavor Development: Here’s a little secret—these cookies actually taste better the next day. The flavors meld together overnight, and the texture becomes even more chewy and cohesive. So if you can resist eating them all on day one, you’re in for a treat on day two.
Nutritional Information & Benefits
Let’s be honest—these are cookies, not health food. But knowing what’s in them can help you enjoy them mindfully. Here’s the approximate nutritional breakdown per cookie (based on 24 cookies):
- Calories: 210
- Total Fat: 11g
- Saturated Fat: 7g
- Cholesterol: 30mg
- Sodium: 115mg
- Total Carbohydrates: 28g
- Dietary Fiber: 1g
- Sugars: 18g
- Protein: 3g
Health Benefits of Key Ingredients:
- Dark Chocolate: Semi-sweet chocolate contains antioxidants called flavonoids, which can support heart health. The darker the chocolate, the more benefits.
- Butter: Provides vitamin A and healthy fats. In moderation, it’s a natural, minimally processed fat.
- Eggs: A good source of protein, vitamin B12, and choline, which supports brain health.
Dietary Considerations: This recipe contains gluten, dairy, and eggs. For a gluten-free version, see the variations section above. For a vegan version, see the variations section as well. These cookies are not low-carb or keto-friendly due to the sugar and flour content.
Potential Allergens: Wheat (gluten), dairy, eggs. If using nuts, add tree nuts to the allergen list.
My Personal Take: I believe in balance. These cookies are a treat, and that’s okay. Life is short. Eat the cookie. Just maybe don’t eat all 24 in one sitting. I speak from experience.
Conclusion
These quick chewy chocolate chip cookies are everything I want in a recipe—fast, reliable, and genuinely delicious. No complicated techniques, no fancy ingredients, no waiting around. Just a bowl, a spoon, and 25 minutes to cookie happiness. They’ve saved my sanity on more than one busy weeknight, and they’ve made me look like a hero at more than one potluck.
I hope you make them your own. Add nuts if you like them. Use dark chocolate if that’s your thing. Sprinkle on sea salt because you deserve it. The recipe is a starting point, but your kitchen is your playground.
When you make these—and I really hope you do—come back and let me know how they turned out. Did you add something unexpected? Did the kids devour them in five minutes? Did you freeze a batch for emergencies? I want to hear all of it. Drop a comment below, share a photo, or tag me on social media. Honestly, hearing about your baking adventures is one of my favorite parts of this whole thing.
Now go preheat your oven. You’ve got cookies to make.
Frequently Asked Questions
Can I use margarine instead of butter?
I don’t recommend it. Butter gives these cookies their signature flavor and chewy texture. Margarine has a higher water content, which can make the cookies spread too much and turn out flat. Stick with real butter for the best results.
Why did my cookies turn out flat?
Flat cookies usually happen for one of three reasons: the butter was too warm, the flour was under-measured, or the baking soda was old. Make sure your butter is melted but not hot, use a kitchen scale for your flour, and check that your baking soda is fresh. Also, don’t skip the 10-minute rest—it helps prevent spreading.
Can I make this dough ahead of time and bake later?
Absolutely. You can refrigerate the dough for up to 48 hours. Just cover the bowl tightly with plastic wrap. When you’re ready to bake, let the dough sit at room temperature for about 15 minutes to soften slightly, then scoop and bake as directed. The longer rest actually improves the flavor.
Can I use bread flour or cake flour instead of all-purpose flour?
You can, but the texture will change. Bread flour has more protein, which will make the cookies chewier and slightly denser. Cake flour has less protein, which will make them softer and more tender. All-purpose flour is the happy middle ground, and it’s what I recommend for the classic chewy texture.
How do I get that crinkly, bakery-style top?
The crinkly top comes from using melted butter and letting the dough rest. The melted butter creates more spread and crackle on the surface. Also, make sure your oven is fully preheated—baking at 375°F gives the cookies a quick initial set that helps create those crinkles. If your oven runs cool, the cookies will spread more and the top will be smoother.
Pin This Recipe!
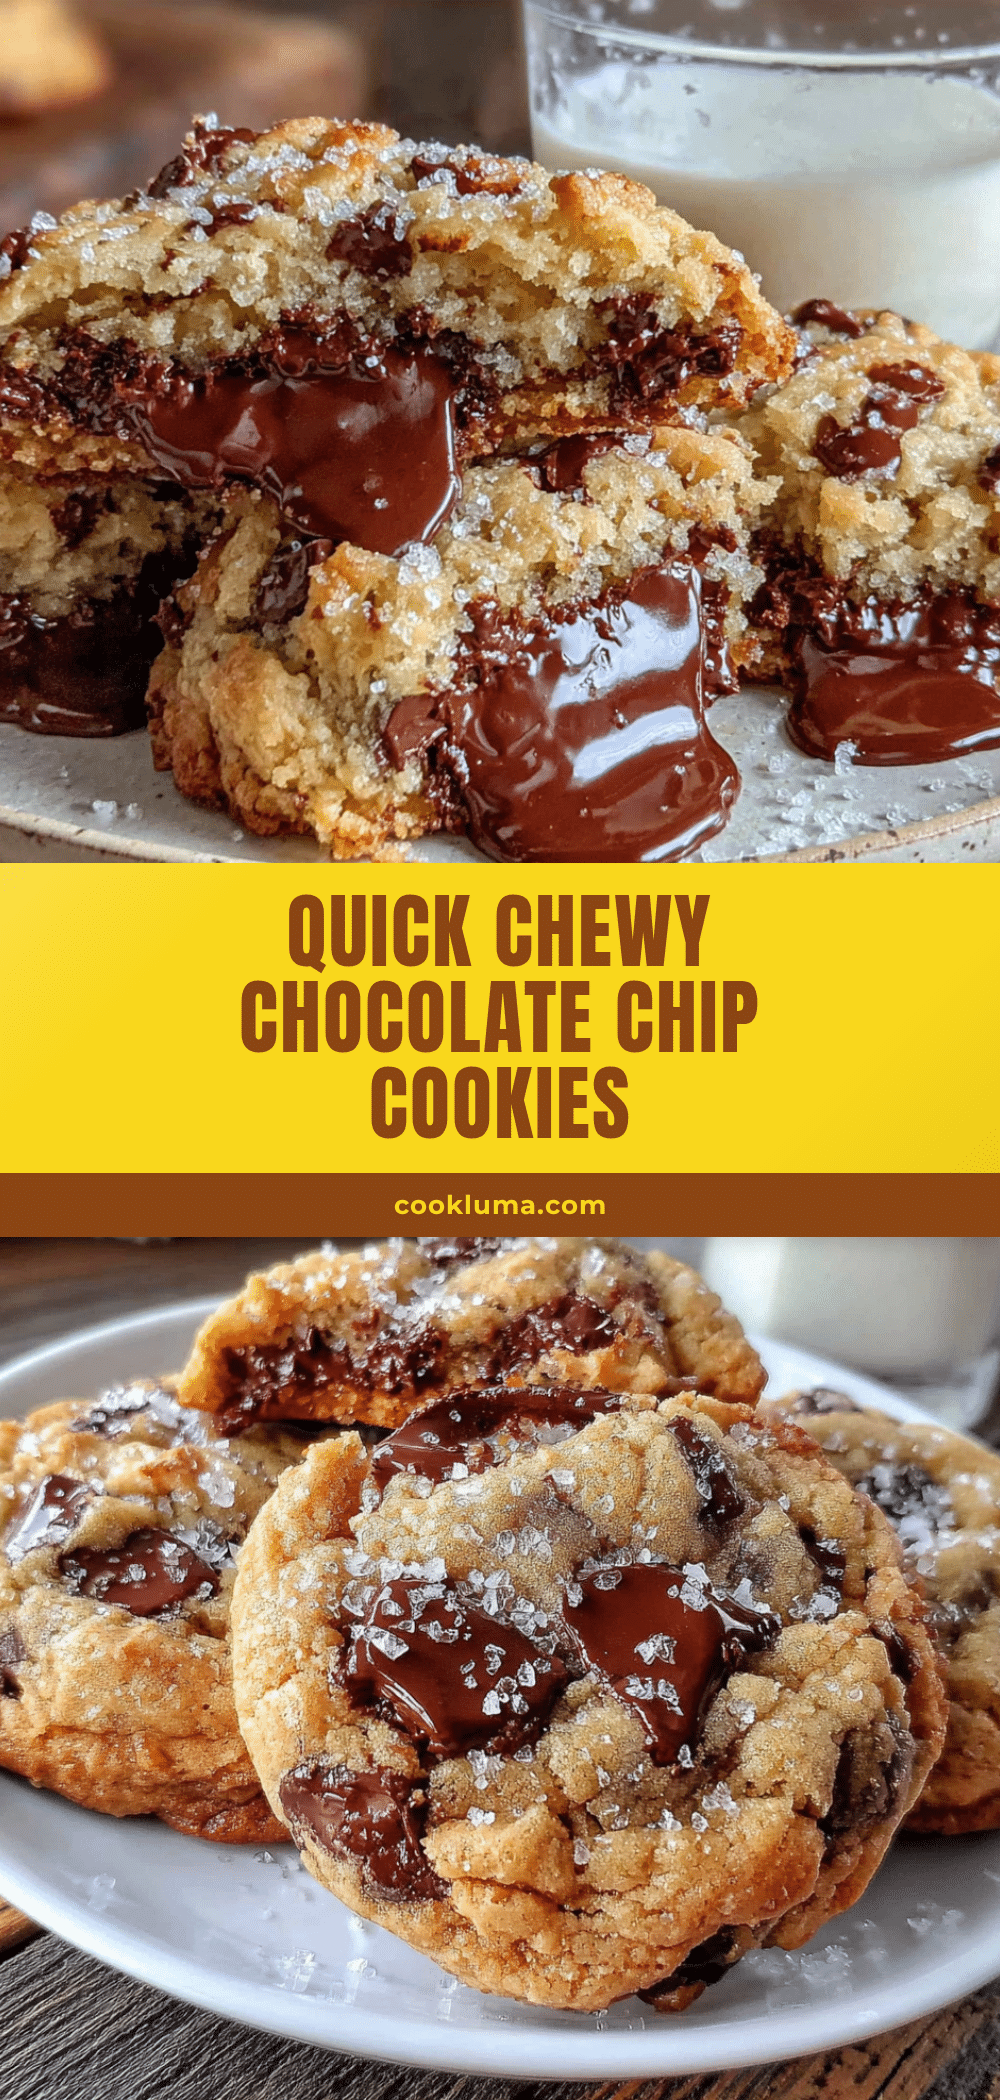
Quick Chewy Chocolate Chip Cookies – Best Bakery Style Recipe
These quick chewy chocolate chip cookies are everything you want in a recipe—fast, reliable, and genuinely delicious. No complicated techniques, no fancy ingredients, just a bowl, a spoon, and 25 minutes to cookie happiness.
- Prep Time: 15 minutes
- Cook Time: 10-12 minutes
- Total Time: 25-27 minutes
- Yield: 24 cookies 1x
- Category: Dessert
- Cuisine: American
Ingredients
- 1 cup (2 sticks / 226g) unsalted butter, melted
- 1 cup (200g) light brown sugar, packed
- ½ cup (100g) granulated sugar
- 1 large egg, room temperature
- 2 teaspoons vanilla extract
- 2 cups (250g) all-purpose flour
- 1 teaspoon baking soda
- ½ teaspoon salt
- 2 cups (340g) semi-sweet chocolate chips
- Optional: flaky sea salt for sprinkling
- Optional: ½ cup chopped walnuts or pecans
Instructions
- Preheat your oven to 375°F (190°C). Position the racks in the upper and lower thirds of the oven if baking two sheets at once. Line two baking sheets with parchment paper or silicone mats.
- Melt the butter in a microwave-safe bowl in 30-second bursts until mostly melted, then stir until fully melted. Let cool for a minute or two.
- In a large mixing bowl, combine the melted butter, brown sugar, and granulated sugar. Whisk vigorously for about 30 seconds until smooth and slightly thickened.
- Add the egg and vanilla extract. Whisk until fully combined and glossy, about 20 seconds.
- In a separate small bowl, whisk together the flour, baking soda, and salt.
- Pour the flour mixture into the butter-sugar mixture. Fold gently with a rubber spatula or wooden spoon until just combined—stop as soon as no streaks of flour remain.
- Fold in the chocolate chips (and nuts if using) with a few gentle strokes. The dough will be thick and slightly sticky.
- Let the dough rest for 10 minutes. Cover the bowl with a clean towel or plastic wrap and let sit on the counter.
- Scoop the dough into balls using a 2-tablespoon cookie scoop or two spoons. Place about 2 inches apart on the prepared baking sheets. You should get about 24 cookies total (12 per sheet).
- Bake for 10 to 12 minutes, rotating the sheets halfway through (swap top to bottom and front to back). The cookies are done when edges are golden brown and centers still look slightly soft and underdone.
- Let the cookies rest on the hot baking sheet for 5 minutes, then transfer to a cooling rack. Optionally, press a few extra chocolate chips into the tops of warm cookies.
- Sprinkle with flaky sea salt (optional but highly recommended).
Notes
For best results, use a kitchen scale for flour (250g). Don’t skip the 10-minute rest—it helps prevent spreading and creates a chewier texture. Underbake slightly for softer cookies. Store in an airtight container at room temperature for up to 5 days; place a slice of bread in the container to keep them soft. Dough can be frozen for up to 3 months.
Nutrition
- Serving Size: 1 cookie
- Calories: 210
- Sugar: 18
- Sodium: 115
- Fat: 11
- Saturated Fat: 7
- Carbohydrates: 28
- Fiber: 1
- Protein: 3
Keywords: chocolate chip cookies, chewy cookies, quick cookies, bakery style cookies, easy cookie recipe


