My teenage daughter asked why I couldn’t just melt the butter and stir everything in one bowl. I started to explain why that wouldn’t work — something about creaming and air incorporation and the science of cookie structure. Then I stopped. Honestly, I had no good answer. I’d been making cookies the same way for fifteen years because that’s how my mom did it, and her mom before her. But standing there in my kitchen on a random Tuesday, with a bag of chocolate chips staring at me, I figured why not try her way? The worst that could happen was flat, greasy discs I’d have to eat myself. The horror.
The butter went into the microwave — a move that made my baking soul cringe. I melted it, let it cool just enough so it wouldn’t scramble the egg, and stirred everything together in one bowl. No mixer. No separate bowl for dry ingredients. No waiting for butter to soften on the counter. I was fully prepared to apologize to my daughter when these turned out like hockey pucks. But you know what? They came out of the oven looking like cookie perfection. Golden edges, soft centers, that crackly top that makes you weak in the knees. My daughter took one bite and just looked at me with this smug little smile. She didn’t say a word. She didn’t have to.
That was three months ago, and I haven’t used my stand mixer for cookies since. These small-batch chocolate chip cookies have become our Tuesday night thing — a little pocket of sweetness in the middle of a busy week. Maybe you’ve been there, standing in your kitchen wanting something homemade but dreading the cleanup. Let me tell you, this is the recipe that changed everything for me. It’s proof that sometimes the simplest way really is the best way, even when your stubborn brain tells you otherwise.
Why You’ll Love This Recipe
I’ve tested this recipe at least a dozen times since that fateful Tuesday. I’ve made it with different butters, different sugars, different chocolate ratios. Each time, I tweaked something small to see if I could break it. And each time, these cookies held up. Here’s why this recipe works so well for real families on real budgets.
- No mixer needed — One bowl, one spoon, ten minutes of stirring. That’s it. Your stand mixer can stay buried in the back of the cabinet.
- Small batch perfection — This makes exactly 8 cookies. No more, no less. Perfect for when you want something sweet without a mountain of leftovers calling your name from the counter.
- Pantry ingredients — Butter, sugar, egg, flour, chocolate chips. You probably have everything already. No specialty stores, no expensive extracts, no hunting down obscure ingredients.
- Budget-friendly — With food prices these days, I love that this recipe uses basic staples. One stick of butter, a cup of flour, and you’re in business.
- Picky eater approved — My youngest won’t touch store-bought cookies but devours these. Something about the homemade texture just hits different.
- Ready in under 30 minutes — From craving to cookie in less time than it takes to watch a TV show. That’s the kind of math I can get behind.
What makes these different from every other chocolate chip cookie recipe out there? It’s the melted butter technique. When you use melted butter instead of softened, you get a chewier, denser cookie with that irresistible crackly top. No chilling required. No waiting. Just mix, scoop, bake, and eat. These are the cookies that make you close your eyes after the first bite — the kind that feels like a warm hug on a hard day. And honestly, isn’t that what we all need sometimes?
What Ingredients You Will Need
This recipe keeps things simple. No fancy ingredients, no weird substitutions. Just honest, basic baking staples that come together to make something truly special. Here’s what you’ll need and why each ingredient matters.
- Unsalted butter, 6 tablespoons (85g) — Melted and slightly cooled. I use unsalted so I can control the salt level myself. Land O’Lakes is my go-to, but any brand works fine. If you only have salted butter, just reduce the added salt to ¼ teaspoon.
- Brown sugar, packed, ½ cup (100g) — Light or dark, both work. Dark brown sugar gives a deeper, more molasses-y flavor. Light brown sugar keeps things milder. I personally prefer dark brown sugar for that extra chewiness.
- Granulated sugar, ¼ cup (50g) — Regular white sugar. This helps with spreading and gives those crispy edges we all fight over.
- Large egg yolk, 1 — Just the yolk, not the whole egg. This is key for a chewy texture. The white would make the cookies cakey. Save the white for scrambled eggs tomorrow morning.
- Vanilla extract, 1 teaspoon — Pure vanilla if you have it, imitation works fine too. I keep both in my pantry because sometimes the budget calls for the cheap stuff.
- All-purpose flour, 1 cup (120g) — Spoon and level it. Don’t scoop directly from the bag or you’ll pack in too much flour and end up with dry cookies. This is the most common mistake people make.
- Baking soda, ½ teaspoon — Make sure it’s fresh. Old baking soda won’t give you proper spread and rise. If you can’t remember when you bought it, buy a new box.
- Salt, ½ teaspoon — Fine sea salt or table salt. Don’t skip this. Salt makes the chocolate taste better and balances the sweetness.
- Semi-sweet chocolate chips, ¾ cup (130g) — I use Ghirardelli because I like the size and flavor, but any brand works. You can also chop up a chocolate bar for those fancy pools of melted chocolate. Milk chocolate makes sweeter cookies, dark chocolate makes richer ones.
- Flaky sea salt, optional — A sprinkle on top before baking takes these from good to unforgettable. Maldon is my favorite, but any flaky salt works.
A quick note on substitutions — if you’re out of brown sugar, you can use all granulated sugar, but the cookies will be crisper and less chewy. If you need these to be dairy-free, use vegan butter sticks (not tub margarine) and dairy-free chocolate chips. The texture will be slightly different but still delicious.
Equipment Needed
One of the best things about this recipe is how little equipment you need. No stand mixer, no hand mixer, no food processor. Here’s the short list.
- Large mixing bowl — Any bowl works. I use a ceramic one because it’s heavy and doesn’t slide around, but glass or metal is fine.
- Wooden spoon or rubber spatula — Something sturdy for mixing. A wooden spoon gives you good leverage for the thick dough.
- Measuring cups and spoons — Dry measuring cups for flour and sugar, liquid measuring cup for nothing since there’s no liquid. Standard measuring spoons for the small stuff.
- Baking sheet — A rimmed baking sheet works best. I’ve used the same Nordic Ware sheet for years and it’s never let me down.
- Parchment paper or silicone baking mat — Parchment paper is cheap and makes cleanup a breeze. Silicone mats work great too but can affect spread slightly.
- Cookie scoop or two spoons — A 1.5-tablespoon cookie scoop gives consistent sizes. If you don’t have one, two spoons work just fine.
- Cooling rack — Not strictly necessary but helps the cookies cool evenly. A plate works in a pinch.
If you don’t have parchment paper, you can grease the baking sheet lightly with butter or cooking spray. The cookies might spread a tiny bit more, but they’ll still be delicious. I’ve made these in a pinch with just a bowl and a fork — not pretty, but it worked.
Preparation Method
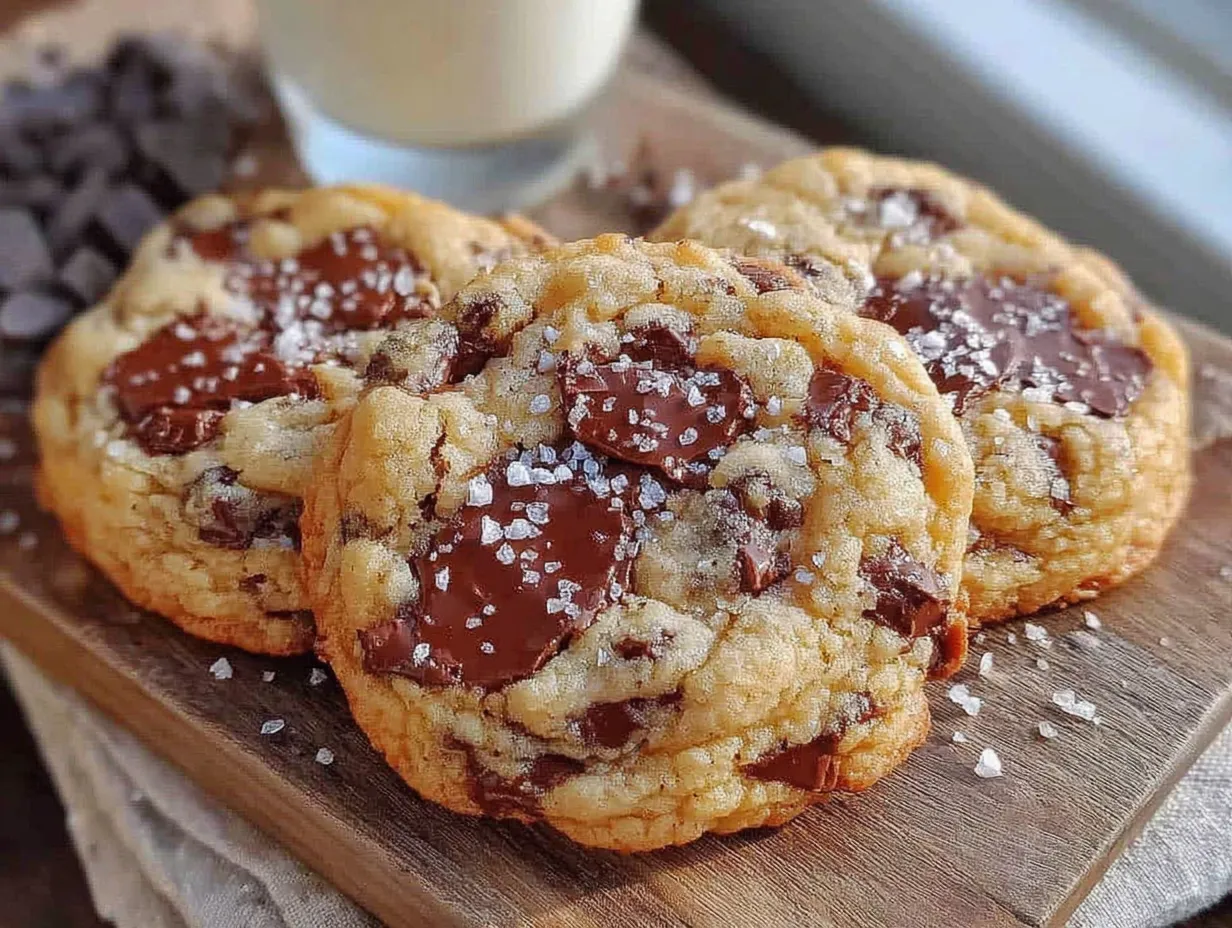
Let’s get to the good part. Follow these steps and you’ll have warm cookies in under 30 minutes. I’ve included visual cues and troubleshooting notes so you know exactly what to look for at each stage.
- Preheat your oven to 350°F (175°C). Line a baking sheet with parchment paper. Do this first so the oven is hot and ready when your dough is done. A cold oven means flat cookies.
- Melt the butter. Place 6 tablespoons of butter in a microwave-safe bowl and microwave in 20-second bursts until mostly melted. Stir until completely liquid. Let it cool for 2-3 minutes — it should be warm but not hot. Hot butter will cook the egg yolk and ruin the texture. If you accidentally overheat it, just let it sit until it comes down to room temperature.
- Combine the sugars and butter. Add the brown sugar and granulated sugar to the melted butter. Stir vigorously for about 30 seconds until the mixture looks like wet sand. No lumps. This step helps dissolve some of the sugar, which gives you that crackly top later.
- Add the egg yolk and vanilla. Drop in the egg yolk and vanilla extract. Stir until everything is fully combined. The mixture will look glossy and smooth. If it looks greasy or separated, you stirred too fast or the butter was too hot. Don’t panic — just keep stirring and it will come together.
- Mix the dry ingredients. Add the flour, baking soda, and salt directly to the bowl. Stir gently at first to avoid a flour explosion, then mix until just combined. A few streaks of flour are okay. Overmixing develops gluten and makes tough cookies. Stop when you can’t see dry flour anymore.
- Fold in the chocolate chips. Add the chocolate chips and fold them in with a few gentle strokes. Make sure they’re evenly distributed throughout the dough. The dough will be thick and slightly greasy — that’s normal. If it seems too soft, let it rest for 5 minutes. The flour will absorb some moisture and firm it up.
- Scoop the cookies. Using a 1.5-tablespoon cookie scoop or two spoons, portion the dough into 8 equal balls. Place them on the prepared baking sheet, leaving about 2 inches of space between each. They will spread, but not dramatically. If you want thicker cookies, chill the dough balls for 15 minutes before baking.
- Add flaky salt (optional). Sprinkle a tiny pinch of flaky sea salt on top of each dough ball. This step is optional but highly recommended. The salt cuts through the sweetness and makes the chocolate taste more chocolatey.
- Bake. Place the baking sheet in the preheated oven and bake for 9-11 minutes. At 9 minutes, the edges will be golden but the centers will look pale and slightly puffy. That’s exactly what you want. At 11 minutes, the cookies will be more set but still soft. I pull mine at 10 minutes for that perfect balance.
- Cool on the baking sheet. Let the cookies rest on the hot baking sheet for 5 minutes. This is crucial — they continue to bake from the residual heat and set their structure. If you try to move them too soon, they’ll fall apart. After 5 minutes, transfer them to a cooling rack.
That’s it. Ten steps, one bowl, and you’ve got perfect small-batch chocolate chip cookies. The hardest part is waiting for them to cool enough to eat without burning your mouth. Trust me, I’ve learned that lesson more times than I’d like to admit.
Cooking Tips & Techniques
I’ve made this recipe enough times to know exactly where things can go wrong. Here are the lessons I learned the hard way so you don’t have to.
Weigh your flour. I know, I know — weighing ingredients feels fussy. But flour is the most variable ingredient in baking. A cup of flour can weigh anywhere from 120 to 150 grams depending on how you scoop it. That 30-gram difference is enough to turn chewy cookies into dry, crumbly ones. If you don’t have a kitchen scale, spoon the flour into your measuring cup and level it with a knife. Never scoop directly from the bag.
Don’t overmix. Once you add the flour, mix only until you can’t see dry streaks. Every stir after that develops gluten, and more gluten means tougher cookies. I speak from experience — I once got distracted and kept stirring while talking to my sister on the phone. Those cookies were dense little bricks. Learn from my mistake.
Let them rest on the pan. That 5-minute rest on the hot baking sheet is non-negotiable. The cookies are still baking during this time, setting their centers and developing that perfect texture. I ruined my first batch by transferring them immediately. They looked fine on the pan but collapsed into flat puddles on the cooling rack.
Bake one sheet at a time. If you double the recipe, bake one sheet at a time in the center of the oven. Baking two sheets at once leads to uneven baking — the top sheet browns too fast while the bottom sheet stays pale. Trust me, the extra 10 minutes is worth it.
Room temperature matters. If your kitchen is hot and humid, the dough will be softer and the cookies will spread more. If it’s cold, the dough will be firmer and the cookies will be thicker. Adjust your bake time by a minute or two based on how your dough feels. This is something I learned after moving from a cold climate to a warm one — my cookies changed completely.
Variations & Adaptations
This recipe is forgiving enough to handle all kinds of tweaks. Here are some variations I’ve tried and loved.
Double chocolate chip. Replace 2 tablespoons of flour with 2 tablespoons of unsweetened cocoa powder. Use dark chocolate chips instead of semi-sweet. You get a rich, fudgy cookie that tastes like a brownie. My daughter calls these “the grown-up cookies.”
Nut lover’s version. Reduce chocolate chips to ½ cup and add ¼ cup of toasted chopped walnuts or pecans. Toast the nuts first in a dry pan for 3-4 minutes until fragrant. It makes a huge difference in flavor. I made this version for a holiday cookie swap and got three requests for the recipe.
Gluten-free adaptation. Swap the all-purpose flour for a 1:1 gluten-free baking flour. I’ve tested this with King Arthur Measure for Measure and Cup4Cup, and both work well. The cookies will be slightly more delicate but still delicious. Add an extra tablespoon of flour if the dough seems too soft.
Vegan version. Use vegan butter sticks and a flax egg (1 tablespoon ground flaxseed mixed with 3 tablespoons water, let sit for 5 minutes). The cookies won’t be as chewy, but they’ll still satisfy that cookie craving. I made these for a friend’s vegan birthday and she said they were the best cookies she’d had in years.
Add-ins galore. Swap half the chocolate chips for white chocolate chips and dried cranberries. Or use butterscotch chips. Or add a teaspoon of orange zest. The base recipe is so simple that it welcomes creativity. My personal favorite is adding a handful of crushed pretzels for salty-sweet crunch.
Serving & Storage Suggestions
These cookies are best enjoyed warm, about 10 minutes after they come out of the oven. The edges are crisp, the centers are soft, and the chocolate is still slightly melty. Pair them with a cold glass of milk for the classic experience, or go fancy with a scoop of vanilla ice cream between two cookies for an ice cream sandwich.
For a cozy dessert spread, serve these alongside fresh berries and a dollop of whipped cream. They also make excellent lunchbox treats — just let them cool completely before packing. My kids have been known to trade these for just about anything in the cafeteria.
Storage. Keep leftover cookies in an airtight container at room temperature for up to 4 days. Place a slice of bread in the container to keep them soft — the cookies will absorb moisture from the bread. Replace the bread slice every other day. I learned this trick from my grandmother and it works like magic.
Freezer instructions. These cookies freeze beautifully. Place cooled cookies in a single layer in a freezer-safe bag or container. They’ll keep for up to 3 months. To thaw, leave them at room temperature for about 15 minutes. You can also freeze the raw dough balls — just scoop them onto a parchment-lined baking sheet, freeze until solid, then transfer to a bag. Bake from frozen, adding 2-3 minutes to the bake time.
Reheating. Pop a cookie in the microwave for 10 seconds for that fresh-from-the-oven experience. Or warm them in a 300°F oven for 5 minutes. The flavor actually improves after a day or two — the sugars continue to caramelize and the textures settle into something truly special.
Nutritional Information & Benefits
Let’s be honest — cookies are a treat, not a health food. But knowing what’s in them helps you enjoy them mindfully. Here’s the approximate nutrition for one cookie based on the recipe making 8 cookies.
| Nutrient | Amount per cookie |
|---|---|
| Calories | 245 |
| Total Fat | 14g |
| Saturated Fat | 8g |
| Cholesterol | 45mg |
| Sodium | 180mg |
| Total Carbohydrates | 30g |
| Dietary Fiber | 1g |
| Sugars | 19g |
| Protein | 3g |
Dark chocolate contains antioxidants called flavonoids, which support heart health. The butter provides vitamin A, and the egg yolk offers choline for brain function. That said, these are still cookies — enjoy them as part of a balanced diet. I like to think of them as a small moment of joy in a busy day, not something to feel guilty about.
For those with dietary concerns, this recipe contains gluten, dairy, and eggs. The variations section above includes gluten-free and vegan options. If you’re watching your sugar intake, you can reduce the granulated sugar to 2 tablespoons, but the texture will be slightly different.
Frequently Asked Questions
Can I use a whole egg instead of just the yolk?
You can, but the cookies will be cakey instead of chewy. The egg white adds moisture and structure that changes the texture completely. If you only have whole eggs and don’t want to waste the white, use the whole egg and reduce the flour by 2 tablespoons to compensate.
Why did my cookies turn out flat?
Flat cookies usually mean the butter was too warm or the dough was overmixed. Make sure your melted butter has cooled to room temperature before adding the egg yolk. Also check that your baking soda is fresh — old baking soda loses its leavening power. If your kitchen is hot, chill the dough balls for 15 minutes before baking.
Can I double this recipe?
Absolutely. Double all ingredients and follow the same steps. You’ll get 16 cookies instead of 8. Just bake one sheet at a time for even results. If you’re feeding a crowd, this is the way to go.
How do I get that crackly top?
The crackly top comes from the melted butter and the ratio of brown sugar to white sugar. Make sure you stir the sugars and butter together for a full 30 seconds until the mixture looks like wet sand. This helps dissolve some of the sugar, which creates those beautiful cracks as the cookies bake.
Can I use margarine instead of butter?
I don’t recommend it. Margarine has a higher water content than butter, which affects spread and texture. The cookies will be flatter and less flavorful. If you need a dairy-free option, use vegan butter sticks (like Earth Balance) instead of tub margarine.
Conclusion
These small-batch chocolate chip cookies have become a staple in my kitchen for one simple reason — they work. No fuss, no fancy equipment, no complicated techniques. Just honest, delicious cookies that come together in under 30 minutes. They’ve saved me on tired Tuesday nights, impressed last-minute guests, and made my kids look at me like I’m some kind of kitchen wizard.
What I love most about this recipe is how adaptable it is. You can make it your own — swap the chocolate chips for whatever you have, add nuts or skip them, sprinkle salt or leave it plain. The base recipe is solid enough to handle your creativity. That’s the mark of a truly great recipe, if you ask me.
I’d love to hear how these turn out for you. Did you try a variation? Did your kids love them? Did you burn your tongue on the first one because you couldn’t wait? (No judgment here — I’ve done it too.) Drop a comment below and let me know. And if you make these for someone you love, well, that’s the whole point, isn’t it? Happy baking, friends.
Pin This Recipe!
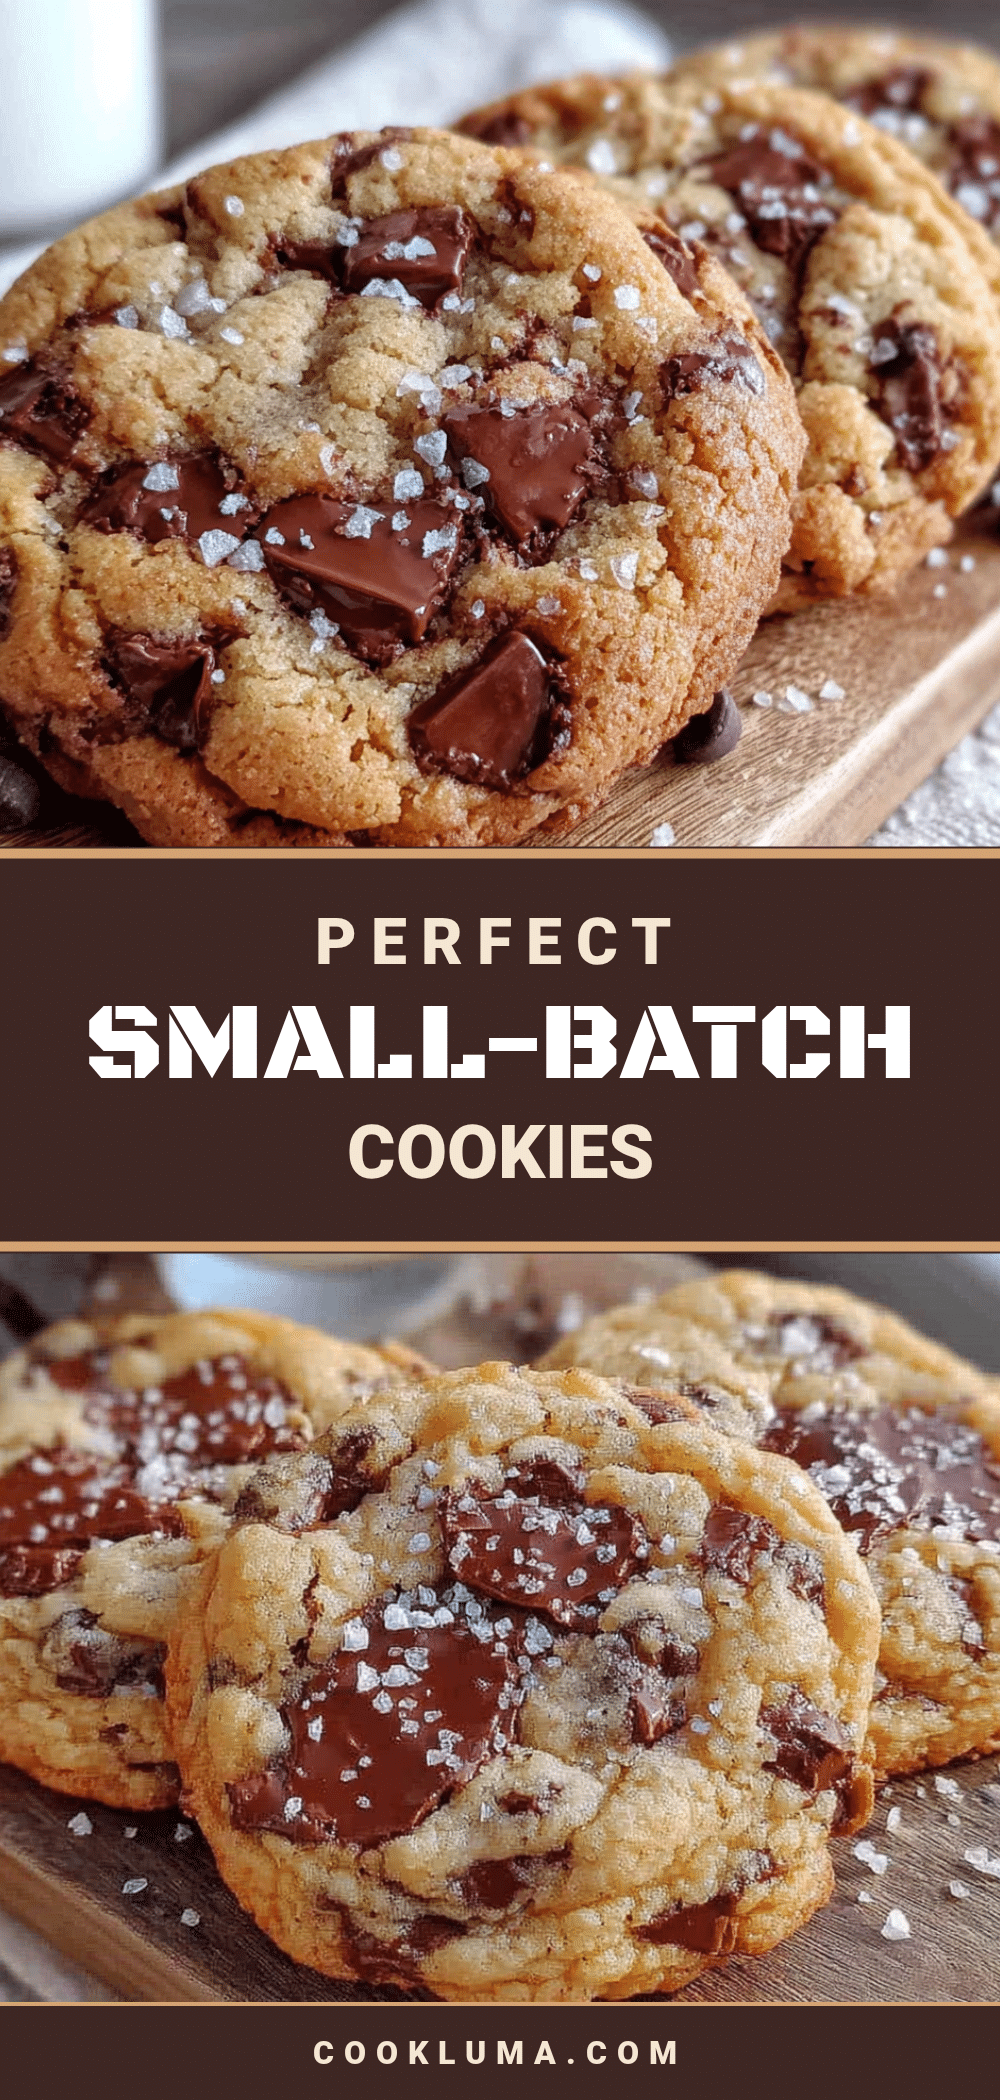
Perfect Small-Batch Chocolate Chip Cookies: Easy No-Mixer Recipe

These small-batch chocolate chip cookies use melted butter and one bowl for chewy, crackly-topped perfection in under 30 minutes. No mixer needed, just 8 cookies of pure homemade bliss.
- Prep Time: 10 minutes
- Cook Time: 10 minutes
- Total Time: 25 minutes
- Yield: 8 cookies 1x
- Category: Dessert
- Cuisine: American
Ingredients
- 6 tablespoons (85g) unsalted butter, melted and slightly cooled
- ½ cup (100g) packed brown sugar (light or dark)
- ¼ cup (50g) granulated sugar
- 1 large egg yolk
- 1 teaspoon vanilla extract
- 1 cup (120g) all-purpose flour, spooned and leveled
- ½ teaspoon baking soda
- ½ teaspoon salt
- ¾ cup (130g) semi-sweet chocolate chips
- Flaky sea salt (optional, for topping)
Instructions
- Preheat oven to 350°F (175°C). Line a baking sheet with parchment paper.
- Melt butter in a microwave-safe bowl in 20-second bursts until mostly melted. Stir until completely liquid. Let cool for 2-3 minutes until warm but not hot.
- Add brown sugar and granulated sugar to melted butter. Stir vigorously for about 30 seconds until mixture looks like wet sand with no lumps.
- Add egg yolk and vanilla extract. Stir until fully combined and glossy.
- Add flour, baking soda, and salt. Stir gently until just combined; a few streaks of flour are okay. Do not overmix.
- Fold in chocolate chips until evenly distributed. Dough will be thick and slightly greasy.
- Using a 1.5-tablespoon cookie scoop or two spoons, portion dough into 8 equal balls. Place on prepared baking sheet, 2 inches apart.
- Sprinkle a tiny pinch of flaky sea salt on each dough ball (optional).
- Bake for 9-11 minutes. Edges should be golden, centers pale and slightly puffy.
- Let cookies rest on baking sheet for 5 minutes, then transfer to a cooling rack.
Notes
Weigh flour for accuracy. Do not overmix after adding flour. Let cookies rest on hot baking sheet for 5 minutes. Bake one sheet at a time. Adjust bake time based on kitchen temperature. For thicker cookies, chill dough balls for 15 minutes before baking.
Nutrition
- Serving Size: 1 cookie
- Calories: 245
- Sugar: 19
- Sodium: 180
- Fat: 14
- Saturated Fat: 8
- Carbohydrates: 30
- Fiber: 1
- Protein: 3
Keywords: small-batch chocolate chip cookies, no-mixer cookies, easy cookie recipe, chewy chocolate chip cookies, one-bowl cookies


