I was standing in the checkout line at Target last October, clutching a bag of candy corn I had no business buying, when the cashier—a woman named Deb with perfectly frosted tips—looked at me and said, “You know those are basically just sugar wax, right?” I laughed and told her they were for a recipe, not for snacking. But honestly? The second she said it, I was ten years old again, sitting on my grandmother’s avocado-green linoleum floor, separating candy corn into piles by color while she stirred something on the stove that smelled like vanilla and warm bourbon. She wasn’t making jello shots—she was making her famous bourbon balls for the adults—but the way she let me “help” by sorting the candy corn felt like the most important job in the world. She passed away six years ago, and every fall I find myself chasing that exact feeling: the warmth of her kitchen, the weight of being trusted with a real task, the way she’d wink at me when she added “just a splash more” of whiskey to the bowl.
So when I stumbled on the idea of turning candy corn into boozy jello shots, it clicked. I mean, here was a way to take that nostalgic, borderline-controversial Halloween candy and give it the grown-up glow-up it deserves. Let’s face it—candy corn gets a bad rap. People either love it or hate it, and there’s rarely an in-between. But when you layer it with orange and yellow gelatin, spike it with vanilla vodka, and let it set into these adorable little striped shots? Something magical happens. It becomes the life of the party. Maybe you’ve been there—standing at a Halloween gathering, holding a red Solo cup, wishing there was something on the dessert table that felt both festive and sophisticated. These jello shots are that something.
This isn’t just a recipe. It’s a way to bring a little bit of that childhood wonder into your adult celebrations, one wiggly, boozy layer at a time. And honestly? My grandmother would have absolutely loved these.
Why You’ll Love This Recipe
Let me tell you—I tested this recipe four times before I got it right. The first batch was a soupy mess. The second looked pretty but tasted like straight sugar and regret. The third? We don’t talk about the third. But the fourth? That was the one. And now I’m sharing it with you, so you can skip all my mistakes and go straight to the good stuff.
- Show-Stopping Presentation : These shots look exactly like candy corn—three perfect layers of white, orange, and yellow. Your guests will literally gasp when you set them out. I promise.
- Surprisingly Easy : I know layered jello shots sound intimidating, but I’ve broken it down into simple, foolproof steps. You’ve got this.
- Perfect for Halloween Parties : Whether you’re hosting a costume party, a spooky movie night, or just a casual get-together, these are the conversation starter you need.
- Customizable Booze Level : You can adjust the vodka to your preference—make them mild for a crowd or stronger for a grown-ups-only affair.
- Tastes Like Childhood (But Better) : That sweet, familiar candy corn flavor is there, but the vanilla vodka adds a smooth, warm finish that makes it undeniably adult.
What makes this recipe different from all the other jello shot recipes out there? It’s the technique. I figured out the exact chilling times for each layer so they stay crisp and separate—no bleeding colors, no muddy mess. Plus, I use a combination of unflavored gelatin and flavored Jell-O to get that perfect, firm-but-wobbly texture that holds its shape when you pop it out of the shot glass. It’s not just another Halloween treat—it’s the Halloween treat.
And here’s the emotional hook: this is the kind of recipe that makes you feel like a kitchen wizard. You know that feeling when you pull something off that looks complicated but was actually simple? That’s these jello shots. They’re impressive without being stressful, which is exactly what you want when you’re hosting a party. Plus, they’re a great way to use up that bag of candy corn you impulse-bought at the grocery store. (We’ve all been there.)
What Ingredients You Will Need
This recipe relies on a handful of simple, easy-to-find ingredients. The magic is in the layering and the timing, not in obscure specialty items. Here’s what you’ll need to gather before you start.
For the Yellow Layer (Bottom)
- 1 box (85g / 3 oz) lemon Jell-O (I prefer Jell-O brand for consistent setting, but store brands work too)
- 1 packet (7g / 0.25 oz) unflavored gelatin (Knox is my go-to)
- 1 cup (240ml) boiling water
- 1/2 cup (120ml) vanilla vodka (Absolut Vanilia or Smirnoff Vanilla are solid choices)
- 1/4 cup (60ml) cold water
For the Orange Layer (Middle)
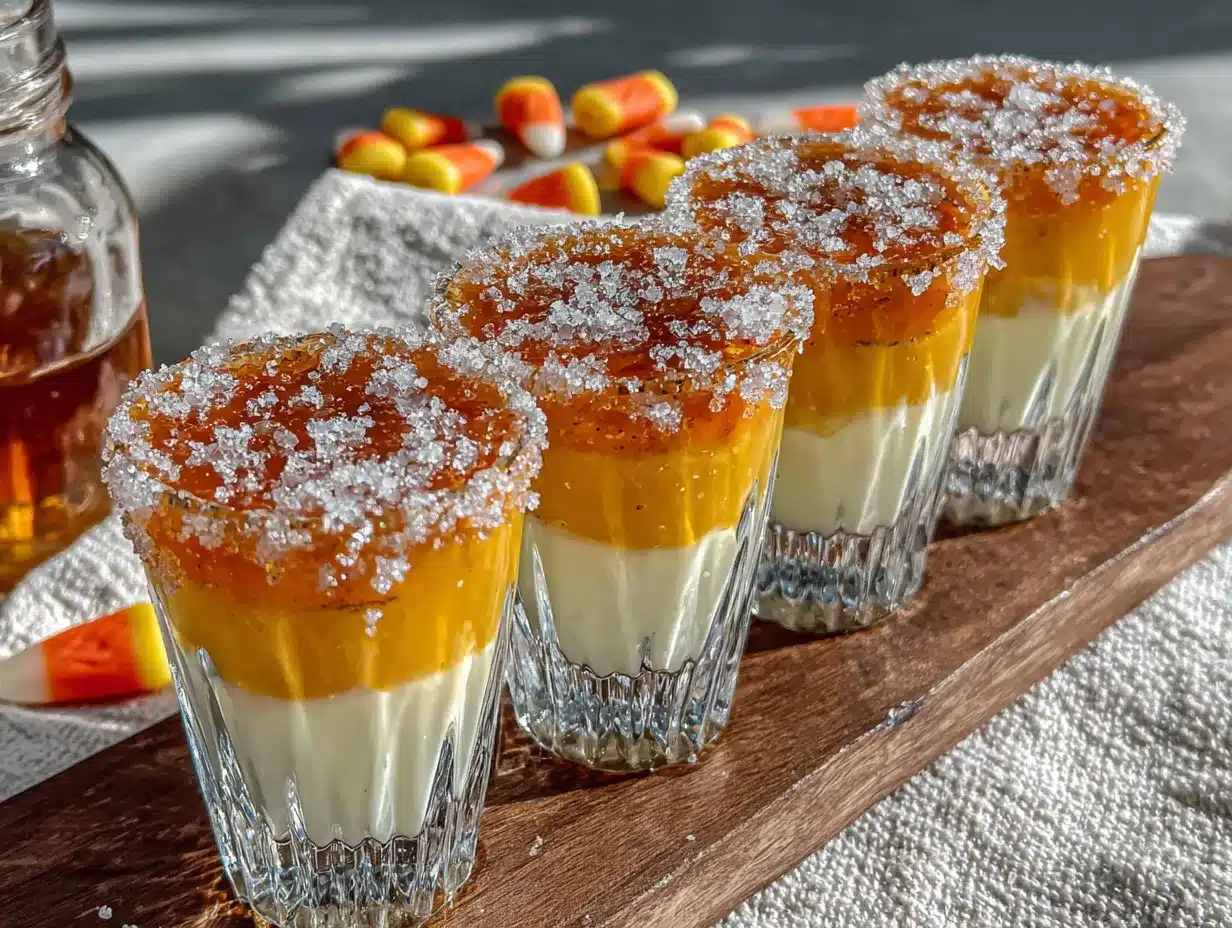
- 1 box (85g / 3 oz) orange Jell-O
- 1 packet (7g / 0.25 oz) unflavored gelatin
- 1 cup (240ml) boiling water
- 1/2 cup (120ml) vanilla vodka
- 1/4 cup (60ml) cold water
For the White Layer (Top)
- 2 packets (14g / 0.5 oz) unflavored gelatin (this layer needs extra structure since there’s no Jell-O)
- 1/2 cup (120ml) sweetened condensed milk (this gives the white layer that creamy, candy-corn-like texture)
- 1 cup (240ml) boiling water
- 1/2 cup (120ml) vanilla vodka
- 1/4 cup (60ml) cold water
Ingredient Selection Tips: When choosing your vanilla vodka, don’t go for the cheapest bottle you can find. A mid-range option like Smirnoff Vanilla or Absolut Vanilia makes a noticeable difference in the final flavor. The cheap stuff can taste a bit artificial and harsh. Also, for the sweetened condensed milk, I’ve tried both Eagle Brand and store brands, and honestly, the name brand does give a creamier result. It’s worth the extra dollar or two.
Substitution Guidance: If you’re not a fan of vanilla vodka, you can use regular vodka and add 1 teaspoon of vanilla extract to each layer. For a non-alcoholic version, simply replace the vodka with cold water and add 1/2 teaspoon of vanilla extract per layer for flavor. You can also swap the lemon Jell-O for pineapple or peach if you want a slightly different fruit note.
Equipment Needed
You don’t need a professional bar setup for these, but having the right tools makes the process so much smoother. Here’s what I recommend.
- Shot Glasses : You’ll need about 24 2-ounce (60ml) plastic or glass shot glasses. Plastic is easier for parties since they’re disposable, but glass looks nicer for photos. I’ve used both—just make sure they’re clear so the layers show.
- A Large Baking Sheet or Tray : This is crucial. Arrange your shot glasses on a rimmed baking sheet before you start pouring. It makes moving them in and out of the fridge so much easier, and it catches any spills. Trust me on this one.
- Small Mixing Bowls : You’ll need three—one for each layer. I use Pyrex glass bowls because they handle boiling water well.
- A Liquid Measuring Cup : A 2-cup (500ml) glass measuring cup with a spout is perfect for pouring the gelatin mixture into the shot glasses without making a mess.
- A Whisk : You need this to make sure the gelatin is fully dissolved. A fork works in a pinch, but a whisk is better.
- Refrigerator Space : This is the most overlooked piece of equipment. You need a flat, empty shelf in your fridge where the baking sheet can sit undisturbed for at least an hour between layers. Clear out that shelf before you start.
Budget-Friendly Alternatives: If you don’t have shot glasses, you can use small plastic cups (like the ones for condiments or medicine cups). They’re cheap and work perfectly. Just make sure they’re clear. I once used red solo shot glasses and couldn’t see the layers at all—total fail.
Preparation Method
Okay, here’s where the magic happens. I’m going to walk you through this step by step, with all the little tricks I learned the hard way. Set aside about 4 hours total (most of it is chilling time, so you can do other things).
Step 1: Set Up Your Workstation
Arrange 24 shot glasses on a rimmed baking sheet. Make sure they’re stable and not touching each other. This is your assembly line. Take a deep breath. You’ve got this.
Step 2: Make the Yellow Layer (Bottom)
In a small mixing bowl, combine the lemon Jell-O powder and one packet of unflavored gelatin. Pour in 1 cup (240ml) of boiling water and whisk for a full 2 minutes until everything is completely dissolved. No lumps allowed. Add the cold water and vanilla vodka, and whisk again. Let it cool for about 5 minutes—you want it warm, not hot, so it doesn’t melt the previous layer (which doesn’t exist yet, but get in the habit).
Using your measuring cup with a spout, carefully pour the yellow mixture into each shot glass, filling it about one-third full. You want the layers to be even, so try to pour the same amount into each glass. I use about 1 tablespoon (15ml) per glass for this layer. Place the baking sheet in the refrigerator and chill for at least 45 minutes, or until the layer is firm to the touch. It should feel set, not jiggly.
Step 3: Make the Orange Layer (Middle)
While the yellow layer is setting, you can prep the orange mixture. In a clean bowl, combine the orange Jell-O powder and one packet of unflavored gelatin. Add 1 cup (240ml) of boiling water and whisk for 2 minutes. Add the cold water and vanilla vodka, whisk again, and let it cool for 5 minutes. Important: Make sure the yellow layer is fully set before you pour the orange layer on top. If it’s even slightly jiggly, the layers will bleed together. I learned this the hard way and ended up with a sad, muddy mess.
Once the yellow layer is firm, carefully pour the orange mixture on top, filling each glass another one-third full. Again, aim for even amounts. Return the baking sheet to the fridge and chill for another 45 minutes to 1 hour.
Step 4: Make the White Layer (Top)
This layer is a little different because there’s no Jell-O powder—just unflavored gelatin and sweetened condensed milk. In a clean bowl, combine 2 packets of unflavored gelatin with 1/2 cup (120ml) of cold water. Let it sit for about 2 minutes to “bloom” (the gelatin will absorb the water and look like a spongy mass). Then pour in 1 cup (240ml) of boiling water and whisk until the gelatin is completely dissolved. Add the sweetened condensed milk and vanilla vodka, and whisk until smooth. The mixture should be opaque and creamy.
Let it cool for 5 minutes, then carefully pour it on top of the set orange layer, filling the glasses to the top. Return to the fridge and chill for at least 2 hours, or until fully set. Overnight is even better.
Step 5: Serve
When you’re ready to serve, the jello shots are ready to go right in the glasses. If you want to pop them out for a fancier presentation, run a thin knife around the edge of each glass and gently coax the shot out. They should hold their shape beautifully. Arrange them on a platter and watch your guests lose their minds.
Cooking Tips & Techniques
I’ve made these jello shots more times than I care to admit, and I’ve collected a few hard-won tips along the way. Here’s what I wish someone had told me before I started.
Patience is not optional. I know it’s tempting to rush the chilling times, but each layer needs to be fully set before you pour the next one. If you’re in a hurry, this is not the recipe for you. Plan to make them the day before your party, and you’ll be stress-free on the day.
Watch your water temperature. The boiling water needs to be actually boiling—not hot from the tap, not microwaved for 30 seconds. Boiling water ensures the gelatin dissolves completely. If you use water that’s not hot enough, you’ll end up with grainy, uneven layers that don’t set properly.
Let the mixture cool before pouring. This is crucial, especially for the layers after the first one. If the mixture is too hot, it will melt the layer below it. I let mine cool for a full 5 minutes, and I test it by touching the side of the bowl—it should feel warm but not hot.
Use a squeeze bottle for precise pouring. This was a game-changer for me. Instead of using a measuring cup, I poured the gelatin mixture into a plastic squeeze bottle (the kind you use for condiments). It gave me total control over the amount going into each glass, and I didn’t spill a single drop. You can find them at any kitchen supply store or online.
Don’t skip the unflavored gelatin. The Jell-O boxes alone won’t give you a firm enough texture for these layered shots. The extra unflavored gelatin is what makes them hold their shape and gives them that satisfying, professional wobble. Trust the process.
Variations & Adaptations
Once you’ve mastered the classic candy corn jello shot, the possibilities are endless. Here are a few variations I’ve tried and loved.
Spiced Pumpkin Version
Swap the vanilla vodka for a pumpkin spice vodka (or add 1/2 teaspoon of pumpkin pie spice to the white layer). It gives the shots a cozy, autumnal flavor that’s perfect for Thanksgiving or a fall bonfire party.
Non-Alcoholic “Candy Corn” Jello
Replace the vodka with cold water and add 1 teaspoon of vanilla extract to each layer. These are great for kids, designated drivers, or anyone who wants the fun without the buzz. They taste exactly like candy corn, minus the burn.
Boozy Berry Twist
Instead of lemon and orange Jell-O, use strawberry and raspberry for a red-and-pink layered shot. Keep the white layer the same. These are perfect for Valentine’s Day or a Galentine’s party. The sweet cream layer balances the tart berries beautifully.
Coconut Cream Version
Replace the sweetened condensed milk in the white layer with coconut cream (the kind in a can, not the refrigerated kind). Use coconut-flavored rum instead of vodka. It gives the shots a tropical vibe that’s perfect for a summer luau or a beach-themed party.
Dietary Adjustments
For a sugar-free version, use sugar-free Jell-O and sugar-free sweetened condensed milk. The texture will be slightly different, but it still works. For a dairy-free white layer, use full-fat coconut milk instead of sweetened condensed milk, and add an extra packet of unflavored gelatin to help it set.
Serving & Storage Suggestions
These jello shots are best served cold, straight from the fridge. I like to arrange them on a white platter or a mirrored tray so the colors really pop. For a Halloween party, you can sprinkle a few candy corn pieces around the platter for decoration—just don’t let anyone eat them, because they’ll get stale and weird.
What to Serve Alongside: These shots pair beautifully with salty snacks like pretzels, popcorn, or tortilla chips. The sweetness of the jello shots balances the saltiness of the snacks perfectly. For a full Halloween spread, serve them alongside a spooky charcuterie board or some ghost-shaped pizza bites.
Storage: Store the jello shots in the refrigerator, covered with plastic wrap or in an airtight container. They’ll keep for up to 5 days, though they’re best within the first 2-3 days. Do not freeze them—freezing will ruin the texture and make them watery when thawed.
Reheating: You don’t reheat jello shots. That would be weird. But if you want to soften them slightly before serving (they can get a bit firm after a few days), let them sit at room temperature for about 10 minutes.
Flavor Development: Interestingly, the flavors actually meld and deepen after a day or two in the fridge. The vodka flavor becomes less sharp, and the sweetened condensed milk layer gets creamier. So if you can plan ahead, making these a day or two before your party is actually ideal.
Nutritional Information & Benefits
Let’s be real—these are a treat, not a health food. But here’s the nutritional breakdown for one jello shot, based on the recipe as written.
| Nutrient | Amount Per Shot |
|---|---|
| Calories | ~85 |
| Total Fat | 0.5g |
| Saturated Fat | 0.3g |
| Carbohydrates | 15g |
| Sugar | 13g |
| Protein | 2g |
| Sodium | 40mg |
Health Benefits: Gelatin is actually good for you—it’s a great source of collagen, which supports healthy skin, joints, and hair. The sweetened condensed milk provides calcium and protein. And the vodka? Well, let’s just say it’s good for your social life. (I’m kidding. Mostly.)
Dietary Considerations: This recipe contains dairy (sweetened condensed milk) and alcohol. It is gluten-free, as long as you use gluten-free vodka. It is not vegan, but you can make a vegan version using agar-agar instead of gelatin and coconut cream instead of sweetened condensed milk.
Conclusion
These candy corn jello shots are more than just a party trick—they’re a little piece of nostalgia, transformed into something fun and festive for the adults in the room. Every time I make them, I think of my grandmother’s kitchen, that avocado-green linoleum, and the way she trusted me with those tiny, important tasks. It’s a memory I can almost hold onto, and these jello shots bring me closer to it every single time.
I hope you’ll try this recipe and make it your own. Add a little extra vodka if that’s your thing. Use a different Jell-O flavor if you’re feeling adventurous. Arrange them on a platter that makes you happy. And when your friends gasp at how perfect they look, just smile and say, “It’s easier than it looks.” Because honestly? It is.
If you make these, I’d love to hear about it. Leave a comment below, tag me in your photos, or tell me about your own candy corn memory. And if you’re looking for more Halloween party inspiration, check out my creepy cocktail recipes or this no-bake Halloween desserts roundup. Happy Halloween, friends!
Frequently Asked Questions
Can I use a different type of alcohol?
Absolutely! Vanilla vodka is my favorite because it complements the sweet, creamy flavor of candy corn, but you can use plain vodka, white rum, or even a citrus-flavored vodka. Just avoid dark spirits like whiskey or bourbon, as they’ll muddy the colors.
Why did my layers bleed together?
This usually happens when you pour the next layer too soon. Each layer needs to be fully set—firm to the touch, not jiggly at all. Also, make sure your gelatin mixture has cooled to warm (not hot) before pouring it over the set layer. Hot liquid will melt the layer below it.
Can I make these in a large dish instead of individual shot glasses?
Yes! You can pour the layers into a 9×13-inch (23x33cm) baking dish and let them set. Once fully set, cut them into squares with a sharp knife. This is a great option if you don’t have enough shot glasses or if you’re serving a large crowd.
How far in advance can I make these?
You can make them up to 5 days in advance. In fact, they taste better after a day or two because the flavors have time to meld. Just keep them covered in the refrigerator. I usually make mine 2 days before the party for the best texture and flavor.
Can I use sugar-free Jell-O?
Yes, you can use sugar-free Jell-O for a lower-sugar version. Just keep in mind that sugar-free Jell-O sets a bit softer than regular Jell-O, so you may need to add an extra packet of unflavored gelatin to each layer to maintain the firm texture. I’ve tested it, and it works—it’s just a little more delicate.
Pin This Recipe!
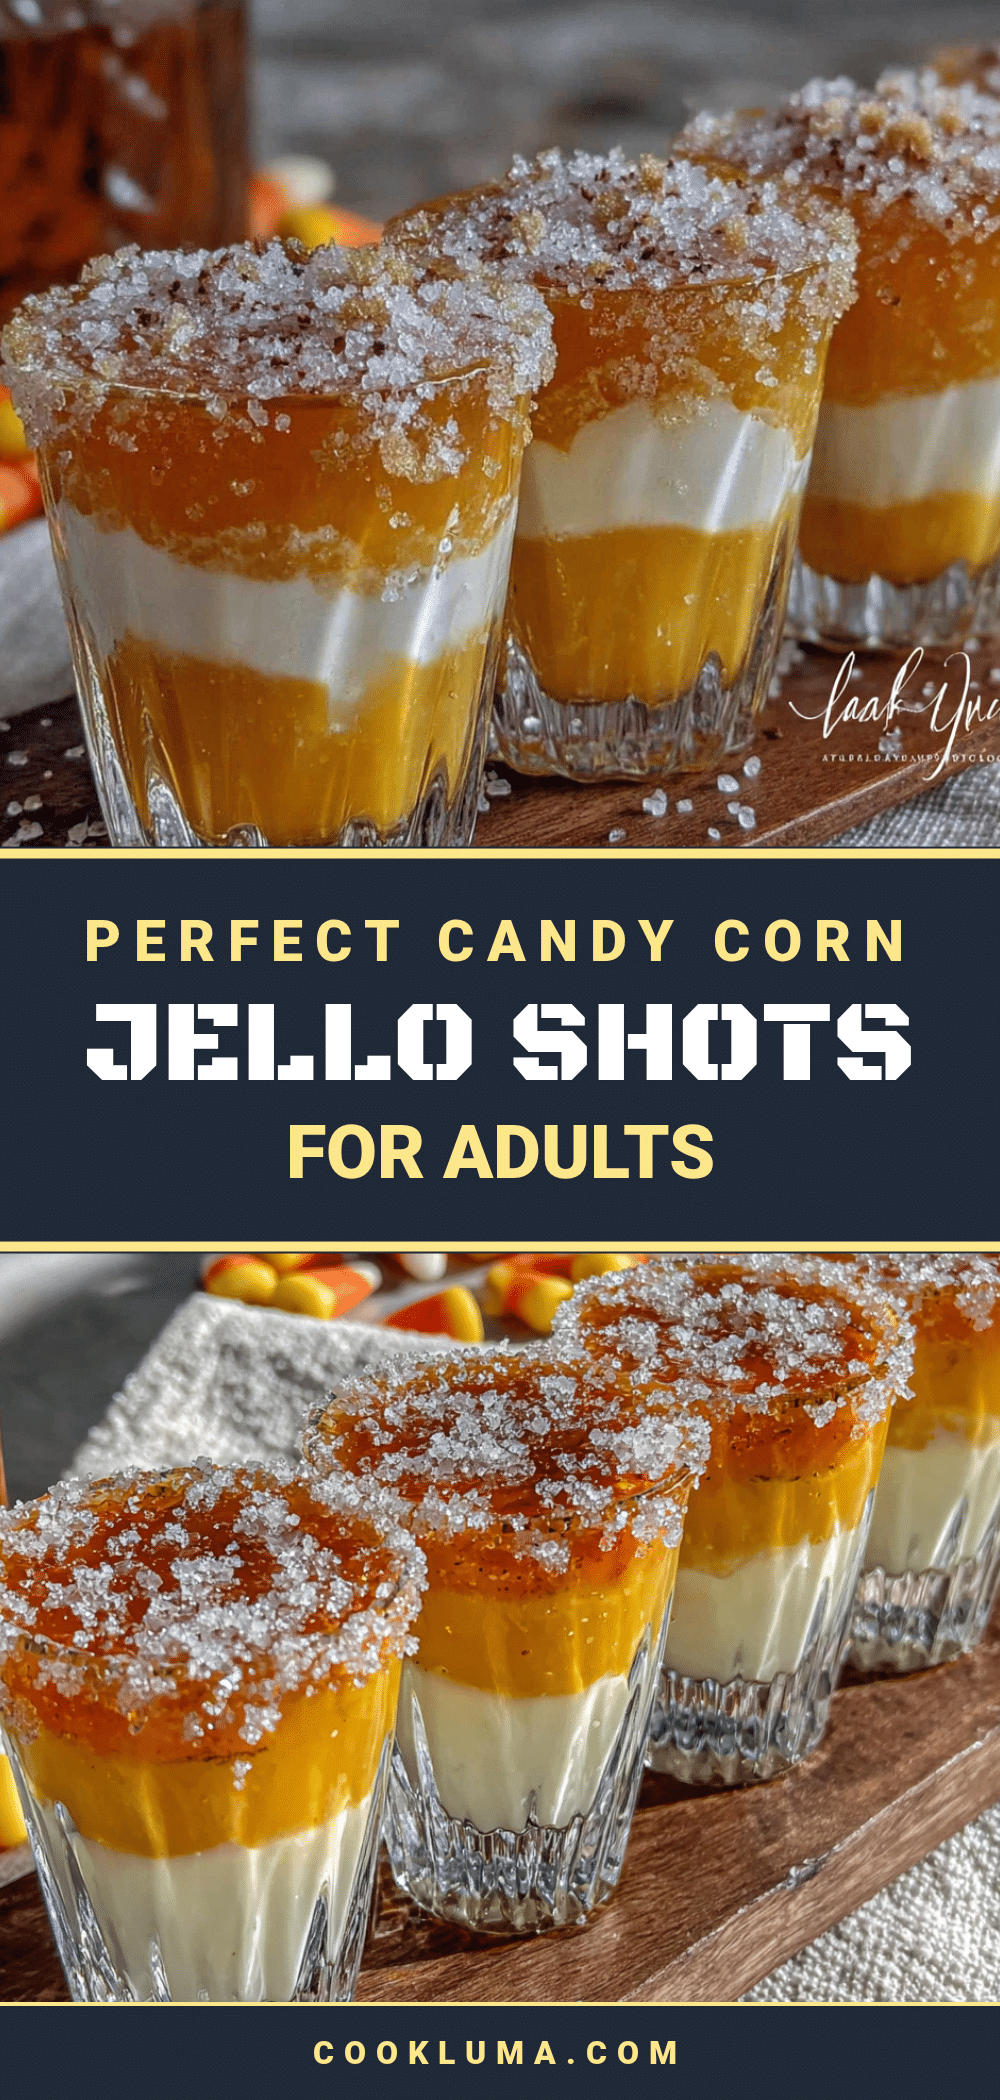
Perfect Candy Corn Jello Shots: Easy Adult Treat
These layered candy corn jello shots are a nostalgic, boozy treat perfect for Halloween parties. With three distinct layers of yellow, orange, and white, they’re surprisingly easy to make and guaranteed to impress your guests.
- Prep Time: 30 minutes
- Cook Time: 0 minutes
- Total Time: 4 hours (includes chilling)
- Yield: 24 servings 1x
- Category: Dessert
- Cuisine: American
Ingredients
- 1 box (85g / 3 oz) lemon Jell-O
- 1 packet (7g / 0.25 oz) unflavored gelatin
- 1 cup (240ml) boiling water
- 1/2 cup (120ml) vanilla vodka
- 1/4 cup (60ml) cold water
- 1 box (85g / 3 oz) orange Jell-O
- 1 packet (7g / 0.25 oz) unflavored gelatin
- 1 cup (240ml) boiling water
- 1/2 cup (120ml) vanilla vodka
- 1/4 cup (60ml) cold water
- 2 packets (14g / 0.5 oz) unflavored gelatin
- 1/2 cup (120ml) sweetened condensed milk
- 1 cup (240ml) boiling water
- 1/2 cup (120ml) vanilla vodka
- 1/4 cup (60ml) cold water
Instructions
- Arrange 24 shot glasses on a rimmed baking sheet.
- For the yellow layer: In a small bowl, combine lemon Jell-O and 1 packet unflavored gelatin. Add 1 cup boiling water and whisk for 2 minutes until dissolved. Add 1/4 cup cold water and 1/2 cup vanilla vodka, whisk again. Let cool 5 minutes. Pour about 1 tablespoon into each shot glass, filling one-third full. Chill for at least 45 minutes until firm.
- For the orange layer: In a clean bowl, combine orange Jell-O and 1 packet unflavored gelatin. Add 1 cup boiling water and whisk for 2 minutes. Add 1/4 cup cold water and 1/2 cup vanilla vodka, whisk again. Let cool 5 minutes. Once yellow layer is set, pour orange mixture on top, filling another one-third. Chill for 45 minutes to 1 hour.
- For the white layer: In a clean bowl, combine 2 packets unflavored gelatin with 1/4 cup cold water. Let bloom for 2 minutes. Add 1 cup boiling water and whisk until dissolved. Add 1/2 cup sweetened condensed milk and 1/2 cup vanilla vodka, whisk until smooth. Let cool 5 minutes. Pour on top of set orange layer, filling glasses to the top. Chill for at least 2 hours or overnight.
- Serve directly in shot glasses or run a thin knife around the edge to pop them out for a fancier presentation.
Notes
Patience is key—each layer must be fully set before adding the next. Use boiling water for proper gelatin dissolution. Let mixtures cool to warm before pouring to avoid melting previous layers. For precise pouring, use a squeeze bottle. These can be made up to 5 days in advance and taste better after a day or two.
Nutrition
- Serving Size: 1 jello shot
- Calories: 85
- Sugar: 13
- Sodium: 40
- Fat: 0.5
- Saturated Fat: 0.3
- Carbohydrates: 15
- Protein: 2
Keywords: candy corn, jello shots, Halloween, adult treat, layered jello, vanilla vodka, party dessert


