That cool, sticky wobble of Jell-O sliding off the spoon—right there, that texture instantly pulls me back to a humid summer afternoon in my grandma’s kitchen. The air was thick with the scent of sweet strawberries and the faint tang of whipped cream, and somehow, the clatter of mixing bowls and laughter blended into the soundtrack of those long, slow days. I remember poking holes into the golden cake she’d just baked, the spoon tapping rhythmically, before pouring over glistening red Jell-O, letting it seep deep and mingle with the crumb. It was her festive red white and blue layered Jell-O poke cake, the kind that made every holiday feel a little more personal, a little more joyous.
That cake was never just dessert—it was a quiet celebration, a tradition passed down with a wink and a nudge, a promise that summer wouldn’t slip away without its mark. I haven’t quite nailed her exact touch, but this layered Jell-O poke cake recipe carries that same spirit, the same playful layering of flavors and colors that stop you mid-bite. It’s a simple recipe with a few surprises, a dessert that’s as much about memory as it is about flavor. And honestly, it’s the kind of cake that invites you to slow down, savor, and maybe even make a little mess.
So, if you’re looking for a festive red white and blue layered Jell-O poke cake that feels less like a recipe and more like a story, one that’s easy yet full of personality, this one’s for you. It’s a sweet slice of summer and celebration all rolled into one.
Why You’ll Love This Recipe
After making this festive red white and blue layered Jell-O poke cake more times than I can count, I’ve come to appreciate what sets it apart from your average dessert. It’s sweet, colorful, and downright fun—all without fussing over complicated steps or unusual ingredients. Here’s why I keep coming back to it:
- Quick & Easy: You can have this festive dessert ready in under an hour, perfect for those last-minute holiday plans or casual get-togethers.
- Simple Ingredients: No fancy grocery runs here—basic pantry staples like boxed cake mix, Jell-O packs, and whipped topping make this recipe super accessible.
- Perfect for Summer Celebrations: Whether it’s Fourth of July, Memorial Day, or a backyard BBQ, this red white and blue cake screams festive and fits right in.
- Crowd-Pleaser: Kids and adults alike love the vibrant colors and the fun poke technique that makes it unique on any dessert table.
- Unbelievably Delicious: The moist cake infused with fruity Jell-O layers and fluffy whipped cream creates a texture combo that’s seriously addictive.
What really makes this poke cake stand out is the layering technique paired with the poke method. Instead of just mixing flavors, you’re creating distinct red, white, and blue layers that peek through, making every slice a vibrant surprise. I often tweak the strawberry Jell-O layer by folding in a bit of fresh chopped berries for that burst of natural sweetness—trust me, it’s worth it. This isn’t just another poke cake; it’s a cheerful centerpiece that brings smiles before the first bite even lands.
And let’s be honest, it’s the kind of recipe that feels like a little party in your mouth—without any stress in the kitchen. This cake has that nostalgic charm but with a light, refreshing twist that makes it a regular in my summer repertoire, alongside classics like my creamy strawberry shortcake ice cream bars.
What Ingredients You Will Need
This festive red white and blue layered Jell-O poke cake relies on simple, wholesome ingredients that come together to create bold flavor and a satisfying, colorful texture. Most of these are pantry staples, making it easy to whip up anytime you want to impress without stress.
- For the Cake Base:
- 1 box white cake mix (15.25 oz) – I recommend brands like Pillsbury for a moist crumb
- Ingredients called for on the cake mix box (usually eggs, oil, and water)
- For the Jell-O Layers:
- 1 small box strawberry Jell-O (3 oz) – fresh berries folded in optional for extra texture
- 1 small box blueberry Jell-O (3 oz)
- 1 small box lemon or vanilla flavored Jell-O (3 oz) – for the white layer
- For the Poke and Topping:
- 1 cup boiling water (for dissolving Jell-O)
- 1 cup cold water (for Jell-O mixing)
- 2 cups heavy whipping cream (chilled)
- 1/4 cup powdered sugar
- 1 tsp vanilla extract
Optional ingredients for customization:
- Fresh strawberries, blueberries, or raspberries for garnish
- Almond or coconut milk in place of water for a subtle flavor twist
- Non-dairy whipped topping for a vegan-friendly option
When choosing your white cake mix, look for one that’s fluffy but sturdy enough to hold the poke without crumbling. For the Jell-O, I prefer classic flavors from brands like Jell-O or store brands that dissolve cleanly and set firm. If fresh summer berries are in season, folding a spoonful into the strawberry Jell-O before pouring it over the cake makes a noticeable difference in flavor and texture—trust me, I’ve tried it both ways!
Equipment Needed
To make this festive red white and blue layered Jell-O poke cake, you won’t need much beyond the basics most home cooks already have:
- 9×13 inch baking pan (glass or metal) – glass gives you the visual bonus of seeing the layers from the side
- Mixing bowls (at least two, medium size)
- Electric mixer or hand whisk (an electric mixer makes whipping cream easier)
- Wooden spoon or silicone spatula
- Measuring cups and spoons
- Toothpick or fork for poking holes in the cake
- Kettle or pot for boiling water
- Refrigerator space for setting the Jell-O layers
If you don’t have an electric mixer, a sturdy whisk will do, but be prepared for a bit of an arm workout when whipping the cream. For the poke, a fork works just as well as a toothpick, and I find it actually makes bigger holes that let the Jell-O seep deeper—just depends on how much poke you want.
I’ve learned over the years that using a glass pan helps me gauge how well the layers have set, especially because this cake is as much about looks as it is taste. Baking pans with higher sides help keep everything neat, and if you can, chilling the pan before you start mixing the cream topping makes whipping faster. These little tricks save time and keep things tidy.
Preparation Method
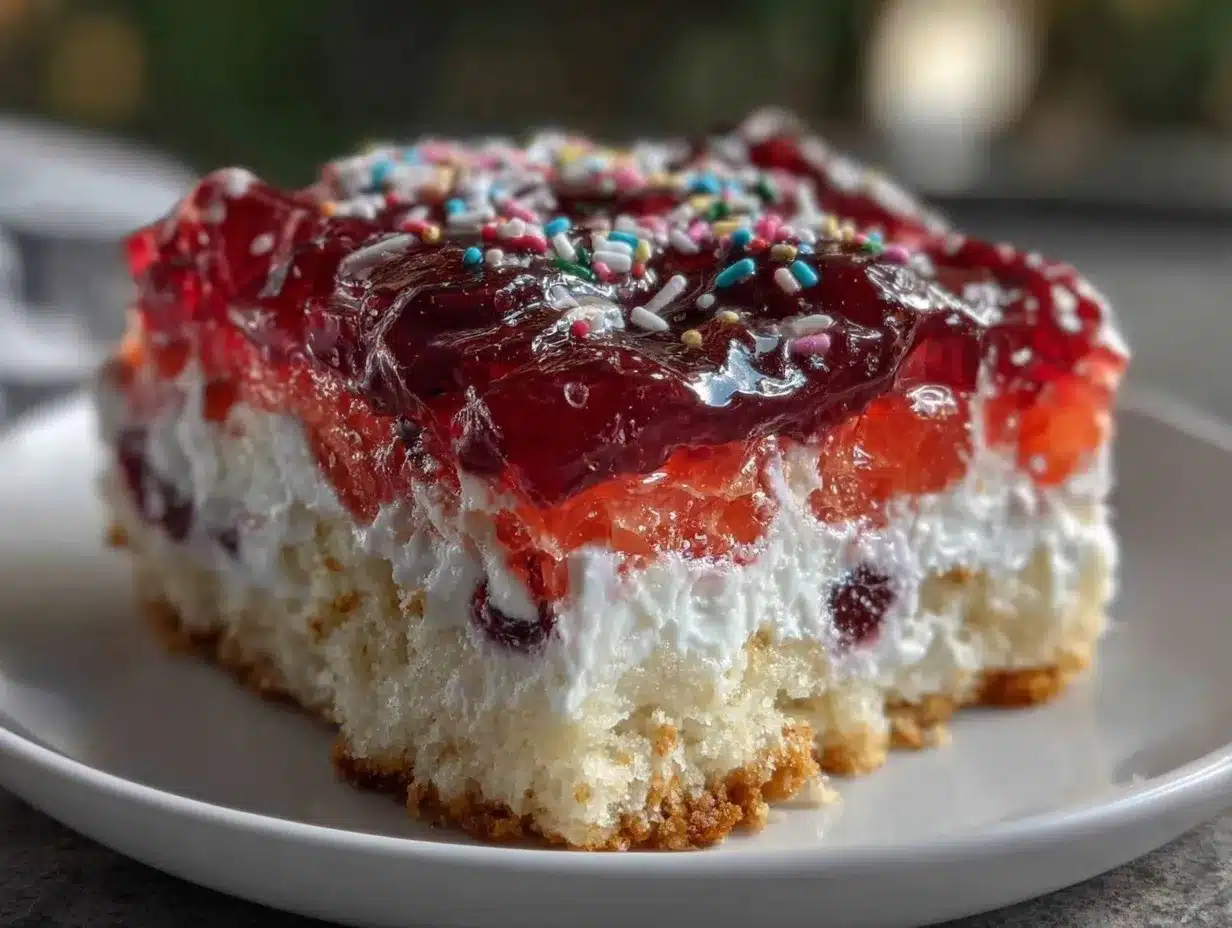
- Prepare the Cake: Preheat your oven to 350°F (175°C). Prepare the white cake mix according to the package instructions, usually combining the cake mix with eggs, oil, and water. Pour the batter into your greased 9×13 inch pan and bake for 28-32 minutes, or until a toothpick inserted in the center comes out clean. Let the cake cool completely, about 1 hour.
- Poke the Cake: Once cooled, use a fork or toothpick to poke holes all over the cake, about 1 inch apart. The holes should go all the way through the cake but not break it apart. This step lets the Jell-O seep into the cake, infusing it with flavor and moisture.
- Prepare the Jell-O Layers: For each Jell-O flavor (strawberry, lemon/vanilla, blueberry), dissolve one 3 oz box in 1 cup boiling water, stirring until completely dissolved. Then add 1 cup cold water to each and mix well. To make layering easier, prepare the strawberry first, then lemon, then blueberry.
- Add the First Layer: Pour the strawberry Jell-O evenly over the poked cake, making sure it seeps into the holes. Refrigerate for 20 minutes to start setting.
- Add the White Layer: After the strawberry layer firms up slightly, gently pour the lemon or vanilla Jell-O over the cake. Be careful not to disturb the first layer. Chill again for 20 minutes.
- Add the Blue Layer: Finally, pour the blueberry Jell-O over the white layer and refrigerate until fully set, about 2 hours or overnight for best results.
- Whip the Cream: While the Jell-O is setting, beat the cold heavy whipping cream, powdered sugar, and vanilla extract until soft peaks form. This usually takes 3-5 minutes with an electric mixer.
- Top and Serve: Spread the whipped cream evenly over the chilled cake. Garnish with fresh berries if desired. Keep refrigerated until ready to serve.
Tip: If you want to speed up the setting process between layers, placing the cake in the freezer for 10-15 minutes works well, but don’t let it freeze solid. Also, don’t skip the chilling step after poking and adding Jell-O—rushing this will cause the layers to blend and lose their beautiful separation.
Cooking Tips & Techniques
Honestly, the magic of this poke cake is all in the layering and timing, and getting that just right took me a few tries. Here are some pointers I’ve picked up along the way:
- Don’t overbake the cake: A moist, tender crumb holds the Jell-O better. If it’s too dry, the Jell-O won’t soak in as well, and the cake can crumble.
- Use cold water when mixing Jell-O: Adding cold water after dissolving keeps the gelatin from setting too fast, making it easier to pour and layer.
- Poke evenly: Space holes about an inch apart to give the Jell-O enough room to seep throughout the cake without it becoming soggy.
- Layer gently: Pour each Jell-O layer slowly over the back of a spoon or a spatula to avoid disturbing the layer beneath.
- Chill between layers: This is key for distinct colors. I learned the hard way that skipping this step results in a messy swirl instead of a patriotic layered look.
- Whip cream just right: Soft peaks work best—overwhipping can turn the cream grainy and less spreadable.
One time, I rushed the process and poured the blue Jell-O too soon. The layers ran together, and the cake lost its vibrant impact. Now, I always keep a timer nearby and use the chill breaks to tidy up the kitchen or prep other dishes—helps multitasking feel less frantic. Speaking of pairing, if you want something savory to balance the sweetness, my creamy pesto pasta salad is a fresh sidekick for summer celebrations.
Variations & Adaptations
This festive red white and blue layered Jell-O poke cake is surprisingly flexible, fitting a range of dietary needs and flavor twists. Here are a few ways I’ve played with it:
- Dietary Adjustments: Swap the white cake mix for a gluten-free version and use sugar-free Jell-O for a lower-carb option. I’ve also made it with dairy-free whipped topping, which works well, though the texture is slightly less creamy.
- Seasonal Flavors: Try raspberry Jell-O instead of strawberry in the summer, or use lime for a zesty white layer instead of lemon. The blue layer can be switched out for black cherry Jell-O for a richer color.
- Cooking Method: For a no-bake twist, use a prepared angel food cake or pound cake base instead of baking your own. The poke and layering steps remain the same.
- Flavor Boosts: Fold fresh or frozen berries into the Jell-O before pouring it onto the cake for texture and bursts of natural sweetness. Adding a splash of lemon juice to the whipped cream can brighten the topping.
My personal favorite variation includes folding diced fresh strawberries into the strawberry Jell-O layer—adds that homemade touch and a little surprise in every bite. If you’re interested in other berry-forward desserts, you might enjoy my creamy strawberry shortcake ice cream bars, which share that fresh fruit and creamy combo vibe.
Serving & Storage Suggestions
This festive red white and blue layered Jell-O poke cake is best served chilled, straight from the fridge. The whipped cream topping should be fresh and fluffy, and the Jell-O layers firm but yielding. Cut it into squares with a sharp knife for clean edges, wiping the blade between slices to keep layers distinct.
Pair it with light, refreshing beverages like iced tea, lemonade, or a sparkling berry mocktail to keep things balanced. It’s a perfect finish for a casual summer meal or a festive gathering, and the colorful layers always steal the show.
Store leftovers tightly covered in the refrigerator for up to 3 days. The Jell-O layers will continue to soften slightly, making the cake even more tender, but if left too long, it can become too soggy. Freezing isn’t recommended because the whipped cream won’t hold up well.
When reheating, just kidding—this one’s meant to stay cool! Instead, just pull it out of the fridge about 10 minutes before serving so it’s not ice cold, which helps the flavors bloom.
Nutritional Information & Benefits
This festive red white and blue layered Jell-O poke cake isn’t exactly health food, but it offers some perks worth noting. The cake base provides carbohydrates for quick energy, while the whipped cream adds a dose of calcium and fat for satisfaction. The Jell-O layers contribute minimal calories but plenty of vibrant color and flavor.
If you fold in fresh berries, you get antioxidants and vitamin C, which are always a welcome boost. Using sugar-free or reduced-sugar Jell-O can cut carbs and calories, making this dessert friendlier for those watching their intake.
For those with dietary restrictions, this recipe can be adapted to gluten-free and dairy-free versions, so it’s inclusive without sacrificing fun or flavor. I appreciate having this kind of dessert in my rotation when I want something festive but not fussy or heavy.
Conclusion
This festive red white and blue layered Jell-O poke cake is one of those recipes that feels like a warm hug from the past, with a playful, colorful twist that brightens any occasion. It’s easy to make, fun to share, and just the right balance of nostalgic and fresh. Whether you’re celebrating a holiday or just craving something sweet and cheerful, this cake is a winner.
Don’t hesitate to tweak the layers or add your own personal touch—you know, those little things that make a recipe truly yours. I love how this cake brings people together, and I hope it finds a place on your dessert table too.
If you try it, I’d love to hear how you made it your own or what memories it stirs up. Sharing recipes like this is what keeps the kitchen lively and traditions alive, so please leave a comment or share your version with friends and family. Here’s to sweet celebrations ahead!
FAQs
Can I use a homemade cake instead of a boxed mix?
Absolutely! A homemade white or yellow cake will work just fine. Just make sure it’s fully cooled before poking and layering with Jell-O.
How long should I let each Jell-O layer chill before adding the next?
About 20 minutes works well for each layer to firm up enough to support the next without blending colors.
Can I prepare this poke cake a day ahead?
Yes, in fact, chilling overnight helps the flavors meld and the Jell-O layers set perfectly.
What can I use if I don’t have heavy cream for the topping?
You can use store-bought whipped topping or a dairy-free alternative if needed, though fresh whipped cream has the best texture.
Is this recipe kid-friendly?
Definitely! The bright colors and fun poke technique make it a hit with kids, plus it’s simple enough to involve them in making it.
Pin This Recipe!
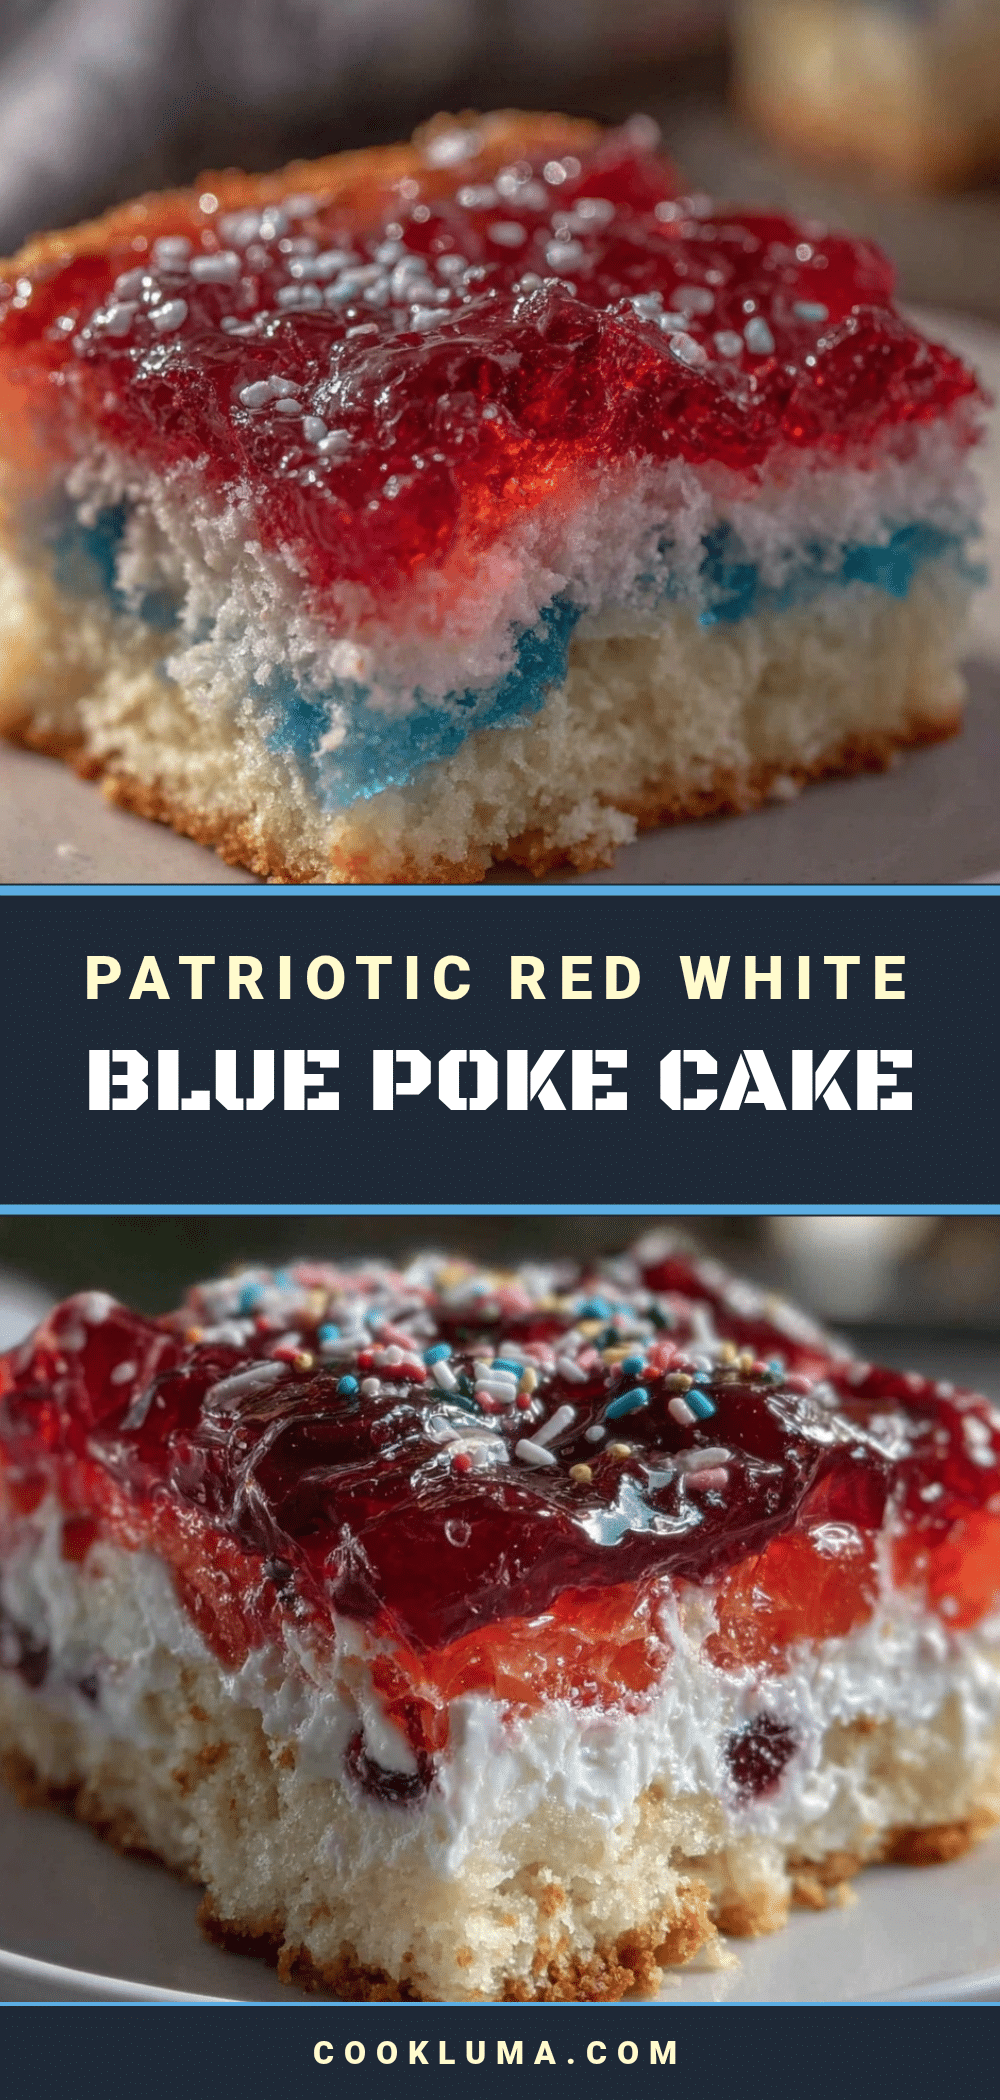
Festive Red White and Blue Layered Jell-O Poke Cake
A colorful and nostalgic layered Jell-O poke cake featuring red, white, and blue layers infused into a moist white cake, topped with whipped cream. Perfect for summer celebrations and holidays.
- Prep Time: 15 minutes
- Cook Time: 30 minutes
- Total Time: 1 hour 45 minutes
- Yield: 12 servings 1x
- Category: Dessert
- Cuisine: American
Ingredients
- 1 box white cake mix (15.25 oz)
- Ingredients called for on the cake mix box (usually eggs, oil, and water)
- 1 small box strawberry Jell-O (3 oz) – fresh berries folded in optional
- 1 small box blueberry Jell-O (3 oz)
- 1 small box lemon or vanilla flavored Jell-O (3 oz)
- 1 cup boiling water (for dissolving Jell-O)
- 1 cup cold water (for Jell-O mixing)
- 2 cups heavy whipping cream (chilled)
- 1/4 cup powdered sugar
- 1 tsp vanilla extract
- Optional: Fresh strawberries, blueberries, or raspberries for garnish
- Optional: Almond or coconut milk in place of water
- Optional: Non-dairy whipped topping for vegan option
Instructions
- Preheat oven to 350°F (175°C). Prepare the white cake mix according to package instructions, combining cake mix with eggs, oil, and water.
- Pour batter into greased 9×13 inch pan and bake for 28-32 minutes or until a toothpick inserted in the center comes out clean.
- Let the cake cool completely, about 1 hour.
- Use a fork or toothpick to poke holes all over the cake about 1 inch apart, going all the way through but not breaking the cake apart.
- For each Jell-O flavor (strawberry, lemon/vanilla, blueberry), dissolve one 3 oz box in 1 cup boiling water, stirring until dissolved, then add 1 cup cold water and mix well.
- Pour strawberry Jell-O evenly over the poked cake, making sure it seeps into the holes. Refrigerate for 20 minutes.
- Gently pour lemon or vanilla Jell-O over the strawberry layer without disturbing it. Chill for another 20 minutes.
- Pour blueberry Jell-O over the white layer and refrigerate until fully set, about 2 hours or overnight.
- While Jell-O is setting, beat cold heavy whipping cream, powdered sugar, and vanilla extract until soft peaks form (3-5 minutes).
- Spread whipped cream evenly over the chilled cake and garnish with fresh berries if desired.
- Keep refrigerated until ready to serve.
Notes
Use a glass pan to see layers clearly. Chill between Jell-O layers for distinct colors. Use cold water when mixing Jell-O to slow setting. Whip cream to soft peaks to avoid grainy texture. Fresh berries folded into strawberry Jell-O add natural sweetness. Freezing not recommended. Store leftovers covered in refrigerator up to 3 days.
Nutrition
- Serving Size: 1 slice (1/12th of c
- Calories: 320
- Sugar: 28
- Sodium: 280
- Fat: 18
- Saturated Fat: 11
- Carbohydrates: 38
- Fiber: 0.5
- Protein: 3
Keywords: Jell-O poke cake, layered cake, red white and blue dessert, patriotic cake, summer dessert, easy poke cake, festive cake


