The neighborhood fall potluck was in four hours and I’d completely forgotten. Everyone else would be bringing elaborate casseroles, artisanal pies, and those perfectly layered salads that look like they belong on a magazine cover. I had a sad-looking butternut squash sitting on my counter, some garlic that was starting to sprout, and a jar of dried herbs that had been in my cabinet since last Thanksgiving. Honestly, I considered just grabbing a bag of chips on the way. But something made me grab a knife instead. I mean, how hard could roasted squash be?
I chopped that squash in a bit of a panic, tossed it with whatever was in arm’s reach, and threw it in the oven while I frantically changed out of my sweatpants. The timer went off just as I was walking out the door, so I dumped the whole tray into a bowl and ran. Let me tell you, the look on my face when people started asking for the recipe was pure confusion. The dish that took me fifteen minutes of actual effort was the one that got devoured first. That’s the thing about this quick garlic herb roasted butternut squash cubes recipe — it makes you look like you tried way harder than you actually did. And honestly? That’s my favorite kind of cooking.
Why You’ll Love This Recipe
Look, I’ve tested this one more times than I care to admit. I’ve burned batches, under-seasoned batches, and batches where I forgot the garlic entirely (don’t ask). But after all those trials, I landed on a version that just works. This isn’t just another roasted vegetable recipe — it’s the one that converts people who swear they don’t like squash.
- Quick & Easy: From counter to table in under 35 minutes, with only about 10 minutes of hands-on work. Perfect for those nights when you’re running on empty.
- Simple Ingredients: You probably have garlic and dried herbs in your pantry right now. No fancy trips to specialty stores required.
- Perfect for Weeknights: This side dish comes together while you’re making the main course. Set it and forget it until the timer goes off.
- Crowd-Pleaser: I’ve served this to kids, picky eaters, and full-on food snobs. Empty tray every single time.
- Unbelievably Delicious: The edges get all caramelized and crispy while the inside stays tender and sweet. The garlic herb coating is pure magic.
What makes this version different from the rest is the technique — high heat, proper spacing on the pan, and a garlic-to-herb ratio I’ve dialed in over countless batches. No soggy squash here. Every cube comes out with those gorgeous browned edges that taste like candy. It’s comfort food that makes you feel good about eating your vegetables, and it pairs with almost any main dish you can think of.
What Ingredients You Will Need
This recipe uses simple, honest ingredients that work together to create something greater than the sum of their parts. The beauty is in the balance — sweet squash, pungent garlic, and aromatic herbs all getting cozy in a hot oven.
- Butternut squash, 1 medium (about 2-2.5 pounds) — Look for one that feels heavy for its size with firm, unblemished skin. You want a squash that’s got some heft to it.
- Olive oil, 3 tablespoons — I use extra virgin for flavor, but regular olive oil works fine too. The oil helps everything get crispy and carries the flavors deep into the squash.
- Garlic, 4 cloves, minced — Fresh garlic is non-negotiable here. The pre-minced stuff in a jar just doesn’t deliver the same punch. Trust me on this one.
- Dried rosemary, 1 teaspoon — Crush it between your fingers before adding to release those essential oils. It brings an earthy, pine-like aroma that pairs beautifully with squash.
- Dried thyme, 1 teaspoon — Subtle and slightly floral, thyme rounds out the herb profile without overwhelming anything.
- Dried oregano, 1/2 teaspoon — Just a touch for depth. You won’t taste it specifically, but you’ll notice if it’s missing.
- Salt, 1 teaspoon — I use kosher salt for its clean flavor and easy pinch-ability. Adjust based on your salt preference.
- Black pepper, 1/2 teaspoon, freshly ground — Freshly ground makes a difference here. The pre-ground stuff is fine in a pinch, but fresh adds a little something extra.
- Optional: Red pepper flakes, 1/4 teaspoon — For those who like a tiny kick of heat. Totally optional, but I love the contrast it creates.
For the best results, I recommend using a squash that’s been sitting at room temperature for a few days — they tend to be sweeter. If you’re in a rush, most grocery stores sell pre-cut butternut squash cubes in the produce section. They’ll work in a pinch, though they might not get quite as caramelized since they’ve already been exposed to air for a while.
Equipment Needed
You don’t need a fancy kitchen to pull this off. Here’s what you’ll need:
- Sharp chef’s knife — A dull knife is dangerous when cutting through hard squash. A good 8-inch chef’s knife makes the job so much easier.
- Vegetable peeler — For removing that tough outer skin. A Y-peeler works better than a straight one for squash curves.
- Large baking sheet — Half-sheet size (about 18×13 inches) is ideal. You want enough room for the cubes to spread out without crowding.
- Parchment paper (optional but recommended) — Makes cleanup a breeze and helps prevent sticking. I use it every time now after scrubbing one too many pans.
- Large mixing bowl — For tossing the squash with oil and seasonings. Any big bowl will do.
- Measuring spoons — For getting those herb ratios right. Eyeballing it works, but measuring ensures consistency.
If you don’t have parchment paper, you can grease the pan directly with a thin layer of oil. It works fine, just expect a bit more scrubbing afterward. And if you’re really short on time, some grocery stores sell peeled and cubed butternut squash in the produce section — just check the sell-by date and give it a sniff before buying.
Preparation Method
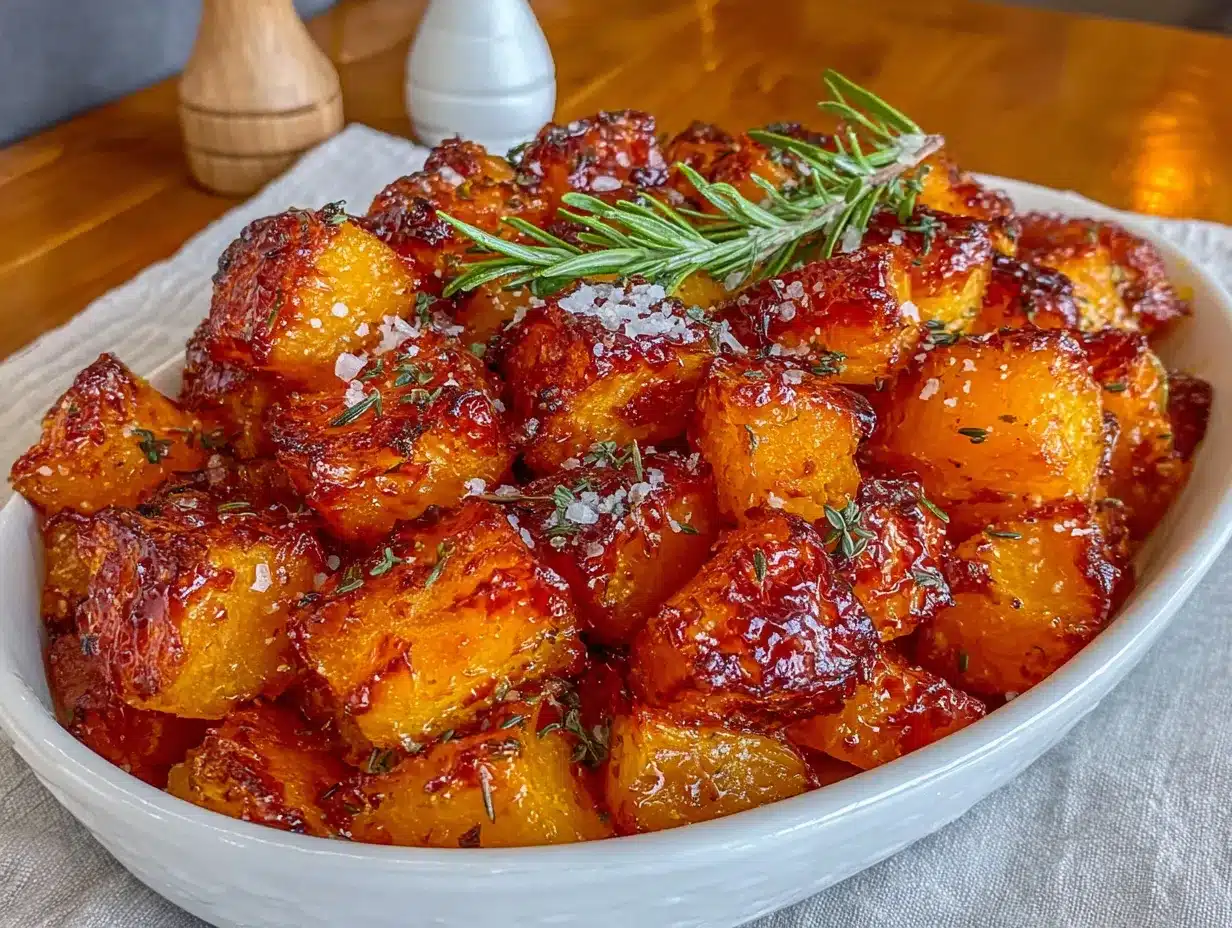
Let’s walk through this step by step. I’ve included all the little details I wish someone had told me the first time I made this.
- Preheat your oven to 425°F (220°C). This high heat is crucial for getting those caramelized edges. Don’t be tempted to lower it — you want the oven screaming hot when those squash cubes go in.
- Prepare the squash. Cut off both ends of the butternut squash with your sharp chef’s knife. Stand it upright on one flat end and slice down to remove the skin in strips, following the curve of the squash. You’ll lose a little flesh this way, but it’s faster than peeling with a vegetable peeler. If you prefer using a peeler, go for it — just be careful of those ridges.
- Cut the squash in half lengthwise. Scoop out the seeds and stringy bits with a spoon. Don’t throw those seeds away — you can roast them just like pumpkin seeds for a crunchy snack.
- Cube the squash. Cut each half into 1-inch thick slices, then into 1-inch strips, and finally into 1-inch cubes. Try to keep them uniform in size so they cook evenly. Some slightly smaller pieces are fine — they’ll just get extra crispy, which is honestly the best part.
- Mix the seasoning. In your large mixing bowl, combine the olive oil, minced garlic, dried rosemary, dried thyme, dried oregano, salt, pepper, and red pepper flakes if using. Give it a quick stir to combine.
- Toss the squash. Add the cubed squash to the bowl with the seasoned oil. Use your hands or a spatula to toss everything together until every piece is evenly coated. Take your time here — bare spots mean bland bites.
- Arrange on the baking sheet. Line your baking sheet with parchment paper if using. Spread the squash cubes in a single layer with space between each piece. If they’re touching or overlapping, they’ll steam instead of roast. Use two pans if you need to — crowding is the enemy of crispy.
- Roast for 25-30 minutes. Place the pan on the middle rack of your preheated oven. Halfway through (around the 12-15 minute mark), give the pan a shake or flip the cubes with a spatula for even browning.
- Check for doneness. The squash is ready when the edges are deep golden brown and caramelized, and you can easily pierce a cube with a fork. The inside should be tender but not mushy.
- Serve immediately. Transfer to a serving dish and enjoy while hot. The crispy edges are at their best right out of the oven.
A quick note: if your squash cubes are on the smaller side, start checking at 20 minutes. Larger cubes might need up to 35 minutes. Every oven runs a little differently, so trust your eyes and your fork more than the timer.
Cooking Tips & Techniques
I’ve made every mistake in the book with roasted squash, so you don’t have to. Here’s what I’ve learned the hard way:
Don’t crowd the pan. This is the number one mistake people make. When squash cubes are packed too tightly, they release steam instead of getting crispy. You want them to roast, not steam. If your pan looks full, grab a second one. It’s worth the extra dishes.
Get your oil-to-squash ratio right. Too little oil and the herbs won’t stick. Too much and you’ll end up with greasy, soggy cubes. Three tablespoons for a medium squash is the sweet spot I’ve landed on after many, many batches.
Crush your dried herbs before adding. Rub them between your palms or use a mortar and pestle. This releases the essential oils and makes the flavor way more intense. I didn’t do this for years and wondered why my roasted vegetables tasted flat.
Let the squash come to room temperature. If your squash has been sitting in the fridge, let it sit on the counter for 15-20 minutes before cutting. Cold squash is harder to cut and takes longer to cook evenly.
Use the right pan. Dark-colored baking sheets absorb more heat and can cause the bottoms to burn before the tops are done. Light-colored, heavy-gauge pans give the most even results. I learned this after scraping burnt squash off a cheap, dark pan more times than I’d like to admit.
Variations & Adaptations
This recipe is wonderfully flexible. Here are some variations I’ve tried and loved:
Maple-Balsamic Version: Add 1 tablespoon of maple syrup and 1 tablespoon of balsamic vinegar to the oil mixture. The sweetness caramelizes beautifully and creates almost candy-like squash. I make this version for holiday dinners and it disappears fast.
Spicy Chipotle Twist: Replace the dried herbs with 1 teaspoon of chipotle powder and 1/2 teaspoon of cumin. The smoky heat pairs surprisingly well with the sweet squash. My spice-loving friends request this one specifically.
Parmesan Crusted: Sprinkle 1/4 cup of grated Parmesan cheese over the squash cubes during the last 5 minutes of roasting. The cheese gets crispy and adds a salty, savory crust. Just be careful not to burn it — Parmesan goes from golden to black in seconds.
Herb Swap: If you don’t have the dried herbs listed, try using 2 teaspoons of Italian seasoning instead. It’s not quite the same, but it works in a pinch. Fresh herbs also work — use about three times the amount and add them halfway through roasting so they don’t burn.
Air Fryer Method: Cook at 400°F (200°C) for 15-18 minutes, shaking the basket halfway through. You’ll need to work in batches to avoid overcrowding. The results are incredibly crispy with slightly less cooking time.
Serving & Storage Suggestions
These roasted butternut squash cubes are incredibly versatile. Here’s how I like to serve and store them:
Serving: Serve hot or warm, right off the baking sheet. They’re fantastic as a side dish alongside roasted chicken, grilled steak, or baked fish. I also love tossing them into salads for extra texture and sweetness, or adding them to grain bowls with quinoa and a drizzle of tahini.
Temperature: These are at their peak right out of the oven when the edges are still crispy. They’re still good at room temperature, which makes them perfect for potlucks and buffets.
Storage: Store leftovers in an airtight container in the refrigerator for up to 5 days. The crispy edges will soften over time, but the flavor stays great.
Reheating: For best results, reheat in a 400°F (200°C) oven for 5-7 minutes. This brings back some of that crispy texture. The microwave works in a pinch but will make them soft — still tasty, just not as texturally exciting.
Freezing: Spread cooled squash cubes on a baking sheet and freeze until solid, then transfer to a freezer bag. They’ll keep for up to 3 months. Reheat directly from frozen in a hot oven for about 10 minutes.
The flavors actually deepen after a day in the fridge, so don’t be afraid to make these ahead. I sometimes double the batch just so I have leftovers for salads and bowls throughout the week.
Nutritional Information & Benefits
Here’s the approximate nutritional breakdown per serving (about 1 cup):
- Calories: 145
- Total Fat: 7g
- Saturated Fat: 1g
- Carbohydrates: 22g
- Fiber: 4g
- Sugar: 4g
- Protein: 2g
- Vitamin A: 457% of Daily Value
- Vitamin C: 52% of Daily Value
Butternut squash is packed with vitamin A in the form of beta-carotene, which supports eye health and immune function. It’s also a great source of vitamin C, potassium, and fiber. The olive oil provides healthy monounsaturated fats that help your body absorb all those fat-soluble vitamins.
This recipe is naturally gluten-free, dairy-free, and vegan. If you’re watching your sodium, feel free to reduce the salt to 1/2 teaspoon — the herbs and garlic provide plenty of flavor on their own.
Frequently Asked Questions
Can I use pre-cut butternut squash from the store?
Absolutely. Pre-cut squash saves time and works well in this recipe. Just keep in mind that pre-cut pieces are often smaller and more uniform, so check them at the 20-minute mark to avoid overcooking.
Why didn’t my squash get crispy?
Most likely, the pan was too crowded. Squash needs space to roast, not steam. Also, make sure your oven is fully preheated to 425°F and that you’re using enough oil to promote browning without drowning the cubes.
Can I use fresh herbs instead of dried?
Yes, but add them halfway through roasting. Fresh herbs burn more easily than dried ones. Use about three times the amount listed for dried herbs — so 3 teaspoons of fresh rosemary and 3 teaspoons of fresh thyme.
How do I cut butternut squash safely?
Use a sharp knife — dull knives are more dangerous because they slip. Cut a thin slice off the bottom so the squash sits flat. Then cut off the top, stand it upright, and slice down to remove the skin. Always curl your fingers under when holding the squash to keep your fingertips safe.
Can I make this recipe in advance for a party?
Yes, but with a caveat. Roast the squash up to a day ahead, then reheat in a hot oven for 5-7 minutes before serving. The texture won’t be quite as crispy as fresh, but the flavor will be even better. For best results, undercook slightly the first time so the reheating brings them to perfection.
Conclusion
This quick garlic herb roasted butternut squash cubes recipe has become my go-to for a reason. It’s the side dish that makes weeknight dinners feel special without adding stress to your evening. The combination of sweet, caramelized squash with aromatic garlic and herbs is simple but satisfying in a way that never gets old.
I love that this recipe works for so many occasions — a quiet Tuesday dinner, a holiday feast, or a last-minute potluck where you show up looking like you planned it all along. That’s the magic of a good recipe, isn’t it? It makes you look good while barely lifting a finger.
Give this one a try, and don’t be afraid to make it your own. Swap the herbs, add a pinch of heat, or drizzle on some maple syrup if that’s your thing. Cooking should be fun, not stressful. And if you end up with a few extra crispy edges that somehow don’t make it to the serving dish? Well, that’s between you and the baking sheet.
I’d love to hear how yours turns out. Drop a comment below and let me know what variations you tried — or if you found yourself scraping burnt bits off the pan like I did that first time. We’ve all been there, and honestly, that’s how we learn.
Pin This Recipe!
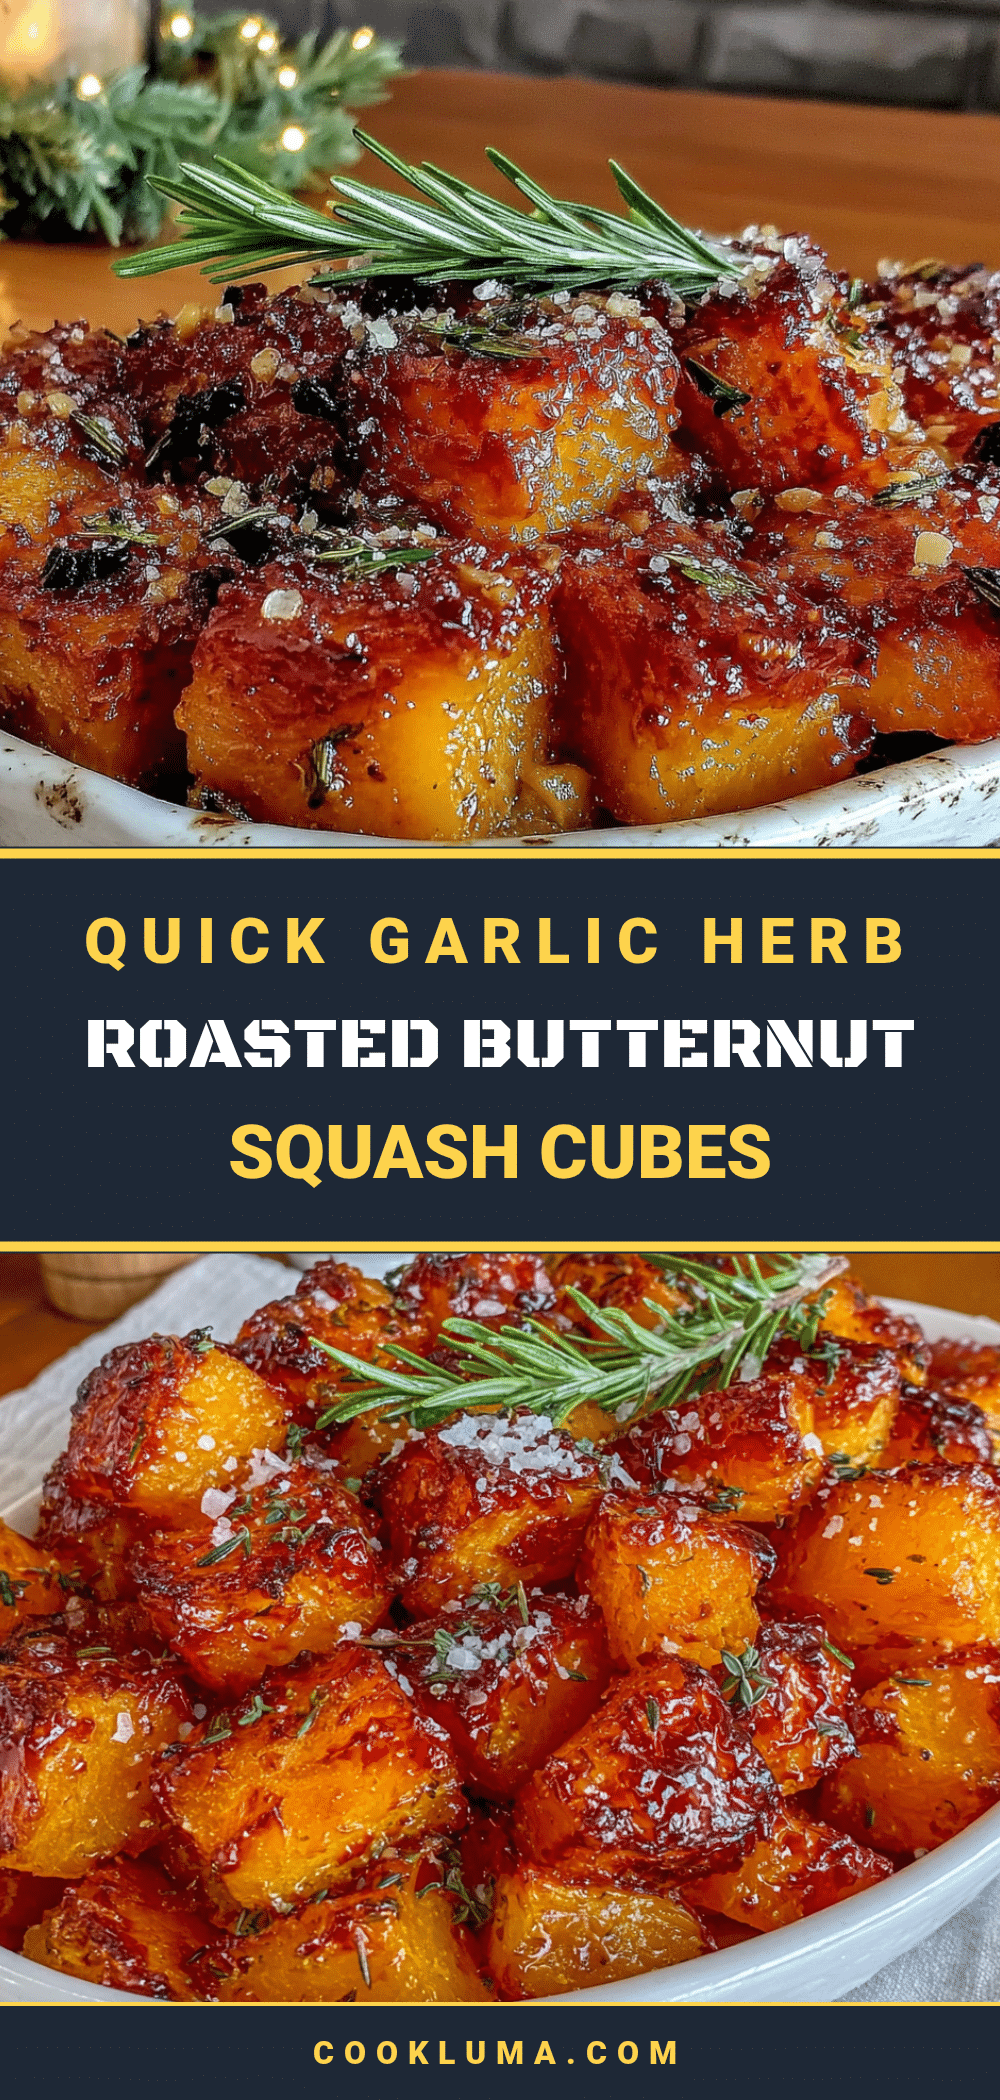
Best Easy Garlic Herb Roasted Butternut Squash Cubes
Quick and easy roasted butternut squash cubes with garlic and herbs, perfect for weeknights or potlucks. Caramelized edges and tender insides make this a crowd-pleaser.
- Prep Time: 10 minutes
- Cook Time: 25-30 minutes
- Total Time: 35-40 minutes
- Yield: 4 servings 1x
- Category: Side Dish
- Cuisine: American
Ingredients
- 1 medium butternut squash (about 2–2.5 pounds)
- 3 tablespoons olive oil
- 4 cloves garlic, minced
- 1 teaspoon dried rosemary
- 1 teaspoon dried thyme
- 1/2 teaspoon dried oregano
- 1 teaspoon kosher salt
- 1/2 teaspoon freshly ground black pepper
- 1/4 teaspoon red pepper flakes (optional)
Instructions
- Preheat your oven to 425°F (220°C).
- Prepare the squash: Cut off both ends, stand upright, and slice down to remove the skin in strips. Cut in half lengthwise and scoop out seeds and stringy bits.
- Cube the squash: Cut each half into 1-inch thick slices, then into 1-inch strips, and finally into 1-inch cubes.
- Mix the seasoning: In a large mixing bowl, combine olive oil, minced garlic, dried rosemary, dried thyme, dried oregano, salt, pepper, and red pepper flakes if using.
- Toss the squash: Add cubed squash to the bowl and toss until evenly coated.
- Arrange on a baking sheet: Line with parchment paper if desired. Spread squash cubes in a single layer with space between each piece.
- Roast for 25-30 minutes, flipping halfway through, until edges are deep golden brown and caramelized and squash is fork-tender.
- Serve immediately.
Notes
For best results, don’t crowd the pan. Crush dried herbs between your fingers before adding to release oils. Let squash come to room temperature before cutting for easier handling. Pre-cut squash from the store works in a pinch but may cook faster.
Nutrition
- Serving Size: 1 cup
- Calories: 145
- Sugar: 4
- Sodium: 590
- Fat: 7
- Saturated Fat: 1
- Carbohydrates: 22
- Fiber: 4
- Protein: 2
Keywords: roasted butternut squash, garlic herb squash, easy side dish, fall recipe, vegan, gluten-free


