My mother-in-law wasn’t trying to impress me. I’d stopped by to drop off a casserole dish she’d loaned me, and the smell of butter and vanilla hit me before I even got past the front door. It was a Tuesday afternoon in early December, not a holiday party or anything special. She was standing at the kitchen counter, a dish towel over her shoulder, cranking a little metal press like it was the most normal thing in the world.
Trays of perfect little stars and Christmas trees were lined up on the counter. I mean, honestly, they looked like something from a bakery window. And she just shrugged when I asked about them. “Oh, these? I make them every year. They’re nothing fancy.” But the way she said it—like it was no big deal—that’s what got me. She wasn’t showing off. She was just making cookies, the way she’d probably done for thirty years.
I stood there watching her press and bake, and I think I asked a hundred questions. She let me try the press myself, and let me tell you, my first few attempts were a mess. Stars with missing points, trees that looked more like blobs. She just laughed and said, “They’ll still taste good.” And she was right.
That afternoon changed how I think about holiday baking. It’s not about perfection. It’s about the ritual, the smell filling the house, the way a simple cookie can make people feel loved. Maybe you’ve been there—watching someone make something that seems impossible, only to realize they’ve been doing it so long it’s second nature. That’s what these Classic Iced Spritz Cookies are to me now. They’re the cookies I make every single December, and honestly, I can’t imagine the holidays without them.
Why You’ll Love This Recipe
Let’s face it—holiday baking can get complicated. Between rolling dough, chilling it, and hoping it doesn’t spread into a blob, some recipes feel more like a science experiment than a fun tradition. That’s why this Classic Iced Spritz Cookies recipe is such a game-changer. It’s simple, forgiving, and absolutely gorgeous without all the fuss.
- Quick & Easy: From start to finish, these cookies come together in under 30 minutes. No chilling time, no rolling pins, no mess. Just mix, press, and bake.
- Simple Ingredients: You probably already have everything in your pantry. Butter, sugar, flour, an egg, and vanilla. That’s it. No fancy extracts or hard-to-find specialty items.
- Perfect for the Holidays: These cookies look like they came from a bakery, but they’re so simple to make. Great for cookie exchanges, holiday platters, or just snacking while you wrap presents.
- Crowd-Pleaser: I’ve brought these to countless holiday parties, and they always disappear first. Kids love the shapes, and adults love that buttery, melt-in-your-mouth texture.
- Unbelievably Delicious: The texture is what gets me every time. They’re crisp on the edges, tender in the middle, and the icing adds just the right amount of sweetness.
What makes this recipe different from all the others? It’s the technique I learned from my mother-in-law that day. She taught me to use room-temperature butter (not too soft, not too cold) and to never overmix the dough. That’s the secret to getting those perfect, clean shapes that hold their detail in the oven. I’ve tested this recipe a dozen times over the years, and it never fails. It’s comfort food reimagined—faster, easier, but with the same soul-soothing satisfaction that makes the holidays feel special.
What Ingredients You Will Need
This recipe uses simple, wholesome ingredients to deliver that classic buttery flavor and tender texture you expect from a perfect spritz cookie. Most of these are pantry staples, which means you can whip up a batch anytime without a special trip to the store.
For the Cookies
- 1 cup (226g) unsalted butter, softened – I recommend using a good quality butter like Land O’Lakes or Kerrygold for the best flavor. Make sure it’s softened to room temperature, but not melted. (Softened butter creams better and gives you those clean, sharp shapes.)
- 2/3 cup (133g) granulated sugar – Regular white sugar works perfectly. Don’t substitute with brown sugar, as it will change the texture and make the cookies spread more.
- 1 large egg, room temperature – A room-temperature egg incorporates more smoothly into the creamed butter, giving you a more uniform dough.
- 1 teaspoon vanilla extract – Pure vanilla extract makes a noticeable difference. If you have vanilla bean paste, that works beautifully too.
- 1/2 teaspoon almond extract – This is my secret ingredient. It adds a subtle nutty flavor that makes these cookies taste extra special. (You can omit it if you prefer, but I really recommend trying it at least once.)
- 2 1/4 cups (281g) all-purpose flour – Spoon and level your flour for the most accurate measurement. Scooping directly from the bag can pack in too much flour and make the dough dry.
- 1/2 teaspoon salt – Fine sea salt or table salt works best. Salt balances the sweetness and enhances the buttery flavor.
For the Icing
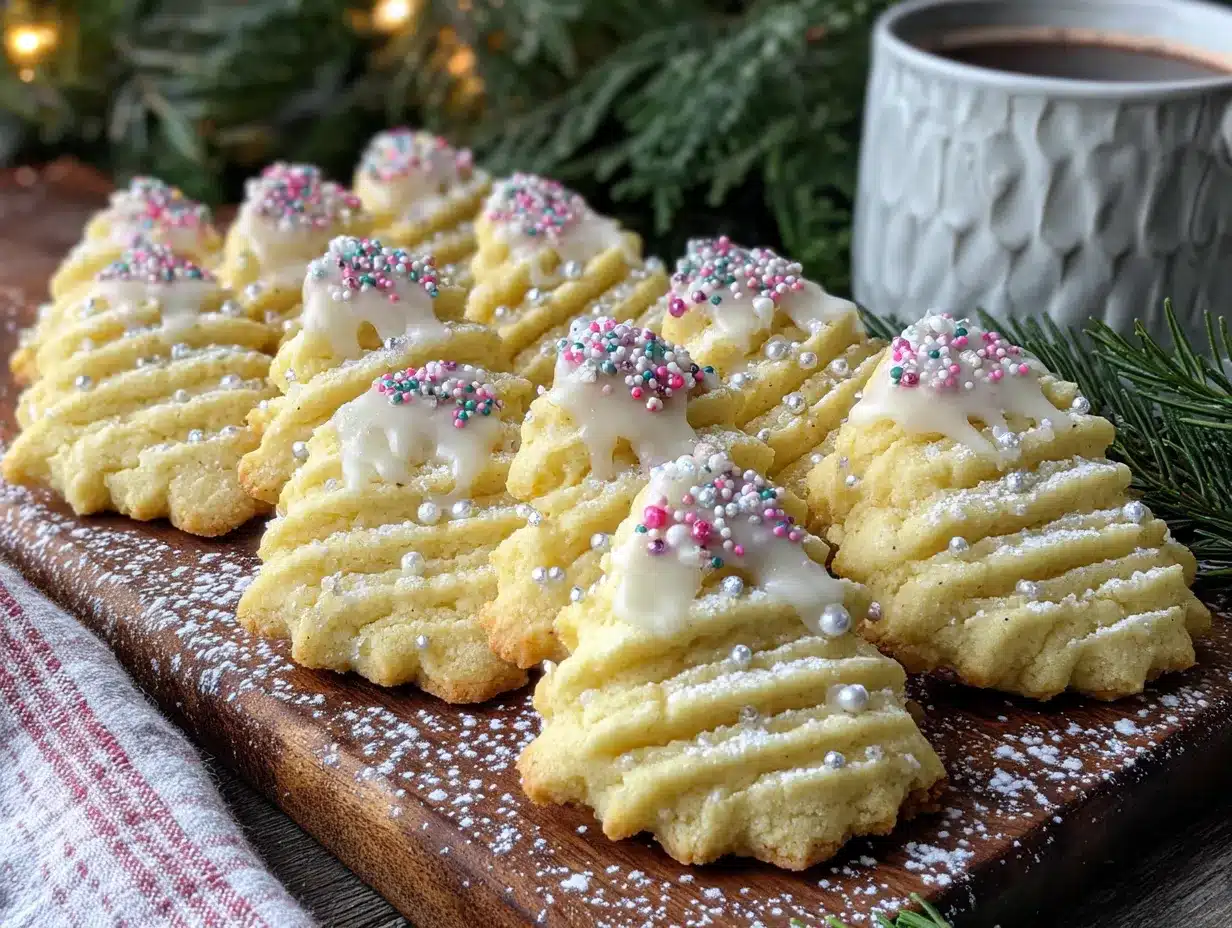
- 1 1/2 cups (180g) powdered sugar – Sift it first to avoid lumps in your icing.
- 2-3 tablespoons milk or heavy cream – Whole milk gives a nice consistency, but heavy cream makes the icing richer and more opaque. (Use dairy-free milk if needed.)
- 1/2 teaspoon vanilla extract – For flavor consistency.
- Food coloring (optional) – Gel food coloring works best because it doesn’t thin out the icing. I like using red and green for a classic holiday look.
- Sprinkles or sanding sugar (optional) – For decorating before the icing sets.
Substitution Guidance: If you need a dairy-free version, you can use vegan butter sticks (like Earth Balance) and a plant-based milk for the icing. The texture will be slightly different, but still delicious. For a gluten-free option, use a 1:1 gluten-free baking flour blend. I’ve tested this with King Arthur’s Measure for Measure flour, and it works great.
Equipment Needed
You don’t need much fancy equipment for these cookies, but a few specific tools make the process much easier.
- Electric mixer – A stand mixer with the paddle attachment is ideal, but a hand mixer works perfectly too. You need good creaming power for that light, tender texture.
- Cookie press – This is the star of the show. I use a Wilton cookie press, and it’s held up for years. If you don’t have one, you can check thrift stores or borrow from a friend. (I found my first one at a garage sale for three dollars!)
- Baking sheets – Light-colored, ungreased baking sheets work best. Dark sheets can cause the cookies to brown too quickly on the bottom.
- Parchment paper or silicone baking mats – These prevent sticking and make cleanup a breeze. I prefer silicone mats because they’re reusable and give consistent results.
- Cooling rack – Essential for letting the cookies cool completely before icing. If you don’t have one, you can let them cool on the baking sheet, but it takes longer.
- Small piping bags or zip-top bags – For drizzling the icing. You can also use a small spoon, but piping gives you more control.
Budget-Friendly Tip: Cookie presses can be pricey new, but they’re often available at secondhand stores or online marketplaces for a fraction of the cost. And honestly, if you don’t have one, you can shape the dough into small balls and flatten them with a fork for a different but still delicious cookie.
Preparation Method
Follow these steps carefully, and you’ll have perfect spritz cookies every time. I’ve included all the little tips I’ve learned over the years to help you avoid my early mistakes.
- Preheat your oven to 375°F (190°C). Place one rack in the center of the oven. Line your baking sheets with parchment paper or silicone mats. Don’t grease the sheets—the dough has enough butter and won’t stick to parchment.
- Cream the butter and sugar. In a large mixing bowl, beat the softened butter and granulated sugar together on medium speed for 2-3 minutes, until light and fluffy. Scrape down the sides of the bowl halfway through. (The mixture should look pale and airy. If it looks greasy or separated, your butter was too soft.)
- Add the egg and extracts. Beat in the egg, vanilla extract, and almond extract on low speed until just combined. Don’t overmix here—you just want everything incorporated. Scrape the bowl again to make sure the egg is evenly distributed.
- Mix the dry ingredients. In a separate bowl, whisk together the flour and salt. Gradually add the flour mixture to the wet ingredients, mixing on low speed. Stop as soon as the dough comes together. (Overmixing at this stage develops gluten and makes the cookies tough. You want a soft, pliable dough that holds together when pressed.)
- Load the cookie press. Fit your cookie press with the desired disk (I love the Christmas tree and star shapes). Fill the press with dough, following your press’s instructions. Hold the press perpendicular to the baking sheet, press down firmly, and lift straight up. (If the dough sticks to the press, your dough might be too warm. Pop it in the fridge for 10 minutes.)
- Bake the cookies. Place the cookies about 1 inch apart on the prepared baking sheets. They don’t spread much, so you can fit quite a few on one sheet. Bake for 8-10 minutes, until the edges are just barely golden. The centers should look set but not brown. (My first batch, I overbaked them by two minutes, and they were too crunchy. Watch them closely!)
- Cool completely. Let the cookies cool on the baking sheet for 2 minutes, then transfer them to a wire cooling rack. Let them cool completely before icing. (If you ice them while they’re warm, the icing will melt and run off.)
- Make the icing. In a small bowl, whisk together the powdered sugar, 2 tablespoons of milk or cream, and vanilla extract. Add more milk, 1 teaspoon at a time, until the icing is thick but pourable. It should flow slowly off a spoon. (If you’re using food coloring, divide the icing into bowls and add color a drop at a time.)
- Decorate the cookies. Transfer the icing to a small piping bag or a zip-top bag with a tiny corner snipped off. Drizzle the icing over the cooled cookies in a zigzag pattern. Add sprinkles immediately, before the icing sets. Let the icing harden completely, about 30 minutes.
Cooking Tips & Techniques
I’ve made these Classic Iced Spritz Cookies more times than I can count, and I’ve learned a few things the hard way. Here are my best tips to save you from my mistakes.
Temperature is everything. The biggest mistake people make with spritz cookies is having the dough too warm or too cold. If the dough is too warm, it will stick to the press and lose its shape. If it’s too cold, it won’t press out smoothly. Aim for a dough that’s cool to the touch but still pliable. If it gets too warm while you’re working, pop the whole batch in the fridge for 10-15 minutes.
Don’t skip the almond extract. I know it seems optional, but that little half teaspoon makes a huge difference. It adds a depth of flavor that makes these cookies taste more “bakery-quality.” If you don’t have almond extract, you can use an extra half teaspoon of vanilla instead.
Press firmly and lift straight up. When using the cookie press, hold it perpendicular to the baking sheet. Press down firmly, count to one, and lift straight up. No twisting or angling. If you pull away at an angle, the cookie will drag and lose its shape. (I ruined a whole tray my first time because I was pulling away too quickly.)
Chill the shaped cookies if needed. If your kitchen is warm and the cookies look a little soft after pressing, pop the baking sheet in the fridge for 10 minutes before baking. This helps them hold their shape better in the oven.
Work in batches. Only fill one or two baking sheets at a time. While one batch is baking, you can press the next batch. This keeps the dough at the right temperature and prevents it from getting too warm.
Bake one sheet at a time. For the most even baking, place only one baking sheet in the center of the oven at a time. If you try to bake two sheets at once, the cookies on the bottom rack might brown too quickly on the bottom.
Variations & Adaptations
One of the best things about this recipe is how versatile it is. You can change it up to suit your taste or the occasion.
Chocolate Spritz Cookies: Replace 1/4 cup of the all-purpose flour with 1/4 cup of unsweetened cocoa powder. Sift it together with the flour to avoid lumps. The chocolate version is amazing with a simple vanilla icing on top.
Lemon Spritz Cookies: Omit the almond extract and add 1 tablespoon of lemon zest and 1 teaspoon of lemon extract. The bright, citrusy flavor is perfect for spring or summer celebrations. I made these for a bridal shower once, and they were a huge hit.
Gluten-Free Version: Use a 1:1 gluten-free baking flour blend. I’ve had the best results with King Arthur’s Measure for Measure. The texture is slightly more crumbly, but the flavor is still fantastic. Just be gentle when pressing the cookies, as gluten-free dough can be more delicate.
Vegan Version: Substitute the butter with vegan butter sticks, use a flax egg (1 tablespoon ground flaxseed mixed with 3 tablespoons water), and use plant-based milk in the icing. The cookies won’t be quite as tender, but they’re still delicious and perfect for vegan holiday platters.
Flavor Twist: Add 1/2 teaspoon of ground cardamom or cinnamon to the flour mixture for a warm, spiced flavor. This is especially nice for Christmas baking. I tried this last year, and my husband said they tasted like “Christmas in a cookie.”
Serving & Storage Suggestions
These cookies are best served at room temperature, after the icing has fully set. Arrange them on a festive platter or in a cookie tin for gift-giving. They look beautiful layered with parchment paper in a decorative box.
Storage: Store the iced cookies in an airtight container at room temperature for up to 1 week. Layer them between sheets of wax paper or parchment to prevent the icing from sticking. If you’re stacking them, make sure the icing is completely hard before layering.
Freezer Instructions: You can freeze the un-iced cookies for up to 3 months. Place them in a single layer on a baking sheet and freeze until solid, then transfer to a freezer-safe container. When you’re ready to serve, thaw them at room temperature, then ice and decorate. (Don’t freeze the cookies after icing—the icing can get sticky and lose its shine.)
Reheating: These cookies don’t really need reheating, but if you want that fresh-from-the-oven warmth, pop them in a 300°F (150°C) oven for 3-4 minutes. Let them cool slightly before serving.
Flavor Development: Honestly, these cookies taste even better the next day. The flavors meld together, and the texture becomes perfectly tender. If you can resist eating them all on day one, you’re in for a treat on day two.
Nutritional Information & Benefits
While these are definitely a treat, here’s the estimated nutritional information per cookie (based on 48 cookies):
- Calories: 85
- Fat: 4.5g
- Carbohydrates: 10g
- Protein: 1g
- Sugar: 6g
Health Benefits: These cookies use real butter, which contains vitamins A, D, E, and K. The almond extract adds a touch of flavor without extra sugar. And honestly, the biggest benefit is the joy they bring. Holiday baking is about connection and tradition, and that has its own kind of nutritional value for the soul.
Dietary Considerations: This recipe contains dairy (butter, milk), eggs, and gluten (wheat flour). For dairy-free or gluten-free options, see the variations section above. The almond extract is safe for most diets, but if you have a nut allergy, simply omit it and use extra vanilla.
Conclusion
These Classic Iced Spritz Cookies have become a non-negotiable part of my holiday tradition. Every December, I pull out that cookie press, crank up the Christmas music, and spend an afternoon making batch after batch. They remind me of that Tuesday afternoon at my mother-in-law’s house, watching her work her magic like it was nothing.
I hope you give this recipe a try. Don’t worry if your first few cookies aren’t perfect—mine weren’t either. The beauty of these cookies is that they’re forgiving. Even the imperfect ones taste amazing. And honestly, the ones with the missing star points are always the ones everyone reaches for first.
I’d love to hear how yours turn out! Leave a comment below and let me know which shape you used, what color icing you chose, or any fun variations you tried. And if you share a photo on social media, tag me—I love seeing your holiday baking creations. Happy baking, friend.
Frequently Asked Questions
Why did my spritz cookies lose their shape in the oven?
This usually happens when the dough is too warm. If your kitchen is hot or the dough has been sitting out, the butter softens and the cookies spread. Try chilling the shaped cookies on the baking sheet for 10-15 minutes before baking.
Can I use margarine instead of butter?
I don’t recommend it. Butter gives these cookies their signature flavor and texture. Margarine has a higher water content, which can make the cookies spread more and lose their shape. Stick with real butter for the best results.
My cookie press keeps sticking. What am I doing wrong?
This is usually a temperature issue. If the dough is too warm, it will stick to the press. Try chilling the dough for 10-15 minutes. Also, make sure you’re using the press correctly—hold it perpendicular to the baking sheet and lift straight up without twisting.
How long do these cookies stay fresh?
Stored in an airtight container at room temperature, these cookies stay fresh for up to 1 week. The flavor actually improves after a day or two. You can also freeze the un-iced cookies for up to 3 months.
Can I make the dough ahead of time?
Absolutely. You can prepare the dough up to 3 days in advance and keep it in the refrigerator. Let it sit at room temperature for about 15 minutes before pressing, so it’s soft enough to work with. You can also freeze the dough for up to 3 months—just thaw it overnight in the fridge before using.
Pin This Recipe!
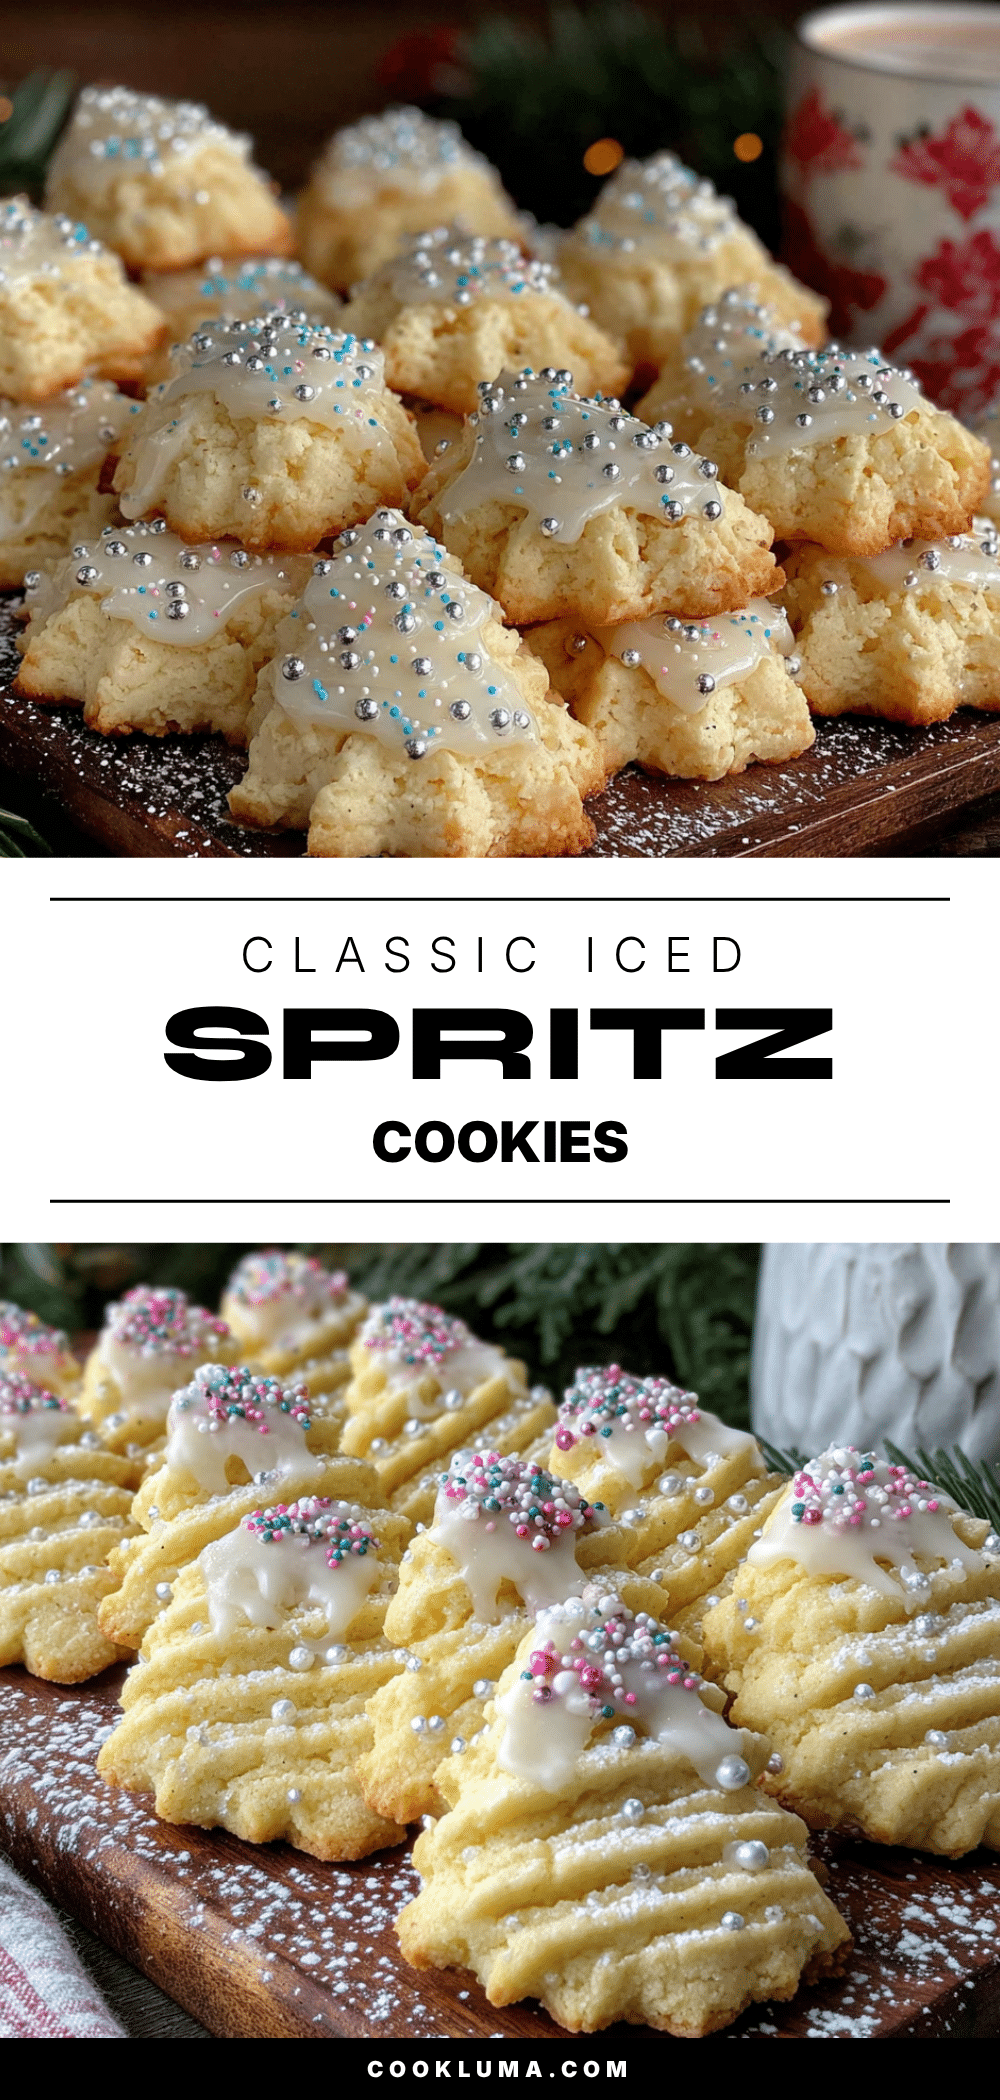
Best Classic Iced Spritz Cookies Recipe for a Perfect Holiday

These Classic Iced Spritz Cookies are buttery, tender, and beautifully decorated—perfect for holiday baking. Made with simple ingredients and a cookie press, they come together in under 30 minutes and are a crowd-pleasing favorite.
- Prep Time: 15 minutes
- Cook Time: 10 minutes
- Total Time: 25 minutes
- Yield: 48 cookies 1x
- Category: Dessert
- Cuisine: American
Ingredients
- 1 cup (226g) unsalted butter, softened
- 2/3 cup (133g) granulated sugar
- 1 large egg, room temperature
- 1 teaspoon vanilla extract
- 1/2 teaspoon almond extract
- 2 1/4 cups (281g) all-purpose flour
- 1/2 teaspoon salt
- 1 1/2 cups (180g) powdered sugar
- 2–3 tablespoons milk or heavy cream
- 1/2 teaspoon vanilla extract (for icing)
- Food coloring (optional)
- Sprinkles or sanding sugar (optional)
Instructions
- Preheat your oven to 375°F (190°C). Place one rack in the center of the oven. Line your baking sheets with parchment paper or silicone mats. Do not grease the sheets.
- In a large mixing bowl, beat the softened butter and granulated sugar together on medium speed for 2-3 minutes, until light and fluffy. Scrape down the sides of the bowl halfway through.
- Beat in the egg, vanilla extract, and almond extract on low speed until just combined. Scrape the bowl again to ensure even distribution.
- In a separate bowl, whisk together the flour and salt. Gradually add the flour mixture to the wet ingredients, mixing on low speed. Stop as soon as the dough comes together.
- Fit your cookie press with the desired disk. Fill the press with dough. Hold the press perpendicular to the baking sheet, press down firmly, and lift straight up.
- Place the cookies about 1 inch apart on the prepared baking sheets. Bake for 8-10 minutes, until the edges are just barely golden. The centers should look set but not brown.
- Let the cookies cool on the baking sheet for 2 minutes, then transfer them to a wire cooling rack. Cool completely before icing.
- In a small bowl, whisk together the powdered sugar, 2 tablespoons of milk or cream, and vanilla extract. Add more milk, 1 teaspoon at a time, until the icing is thick but pourable.
- Transfer the icing to a small piping bag or a zip-top bag with a tiny corner snipped off. Drizzle the icing over the cooled cookies in a zigzag pattern. Add sprinkles immediately. Let the icing harden completely, about 30 minutes.
Notes
Temperature is key: dough should be cool but pliable. If dough gets too warm, chill for 10-15 minutes. Don’t skip the almond extract—it adds depth. Press firmly and lift straight up when using the cookie press. For best results, bake one sheet at a time in the center of the oven. Cookies taste even better the next day.
Nutrition
- Serving Size: 1 cookie
- Calories: 85
- Sugar: 6
- Sodium: 50
- Fat: 4.5
- Saturated Fat: 2.5
- Carbohydrates: 10
- Protein: 1
Keywords: spritz cookies, iced spritz cookies, holiday cookies, Christmas cookies, butter cookies, cookie press cookies


