Honestly, I thought swapping out peanut butter for sunflower butter in kids’ sandwiches sounded like a mistake until the first time my niece took a bite and didn’t just like it—she insisted on seconds. I was so skeptical because, you know, peanut butter has that iconic nutty punch that seems hard to replace. But after watching her devour these tiny little sandwiches packed with smooth sunflower butter and sweet jam, I had to admit: this combo works, and it works well. The texture is creamy, not too sticky, and the jam adds just the right amount of fruity sweetness without overpowering the mild sunflower flavor.
It wasn’t immediate love on my part though. I first tried making these sandwiches for a school event where peanuts were a no-go. I figured, “Fine, sunflower butter, let’s see what you’ve got.” The first batch was a bit dry—lesson learned: the right jam really matters. Once I used a slightly runnier berry jam, the result was a little sandwich that made everyone smile. The sandwiches have since become a staple for quick snacks and lunchboxes, especially because they’re easy to make, allergy-friendly, and kid-approved.
What stuck with me was how these mini sandwiches bring a little joy and ease to hectic afternoons. They’re small enough for little hands and just the right size to feel like a treat, not a chore to eat. Plus, they don’t leave the sticky mess that peanut butter sometimes does (thank goodness). So, while I was a stubborn skeptic at first, this recipe quietly won me over—because it’s practical, tasty, and just plain fun for kids to eat. That’s why I keep making these easy sunflower butter and jam mini sandwiches, and why I think you might want to try them too.
Why You’ll Love This Recipe
After making this recipe over and over, I can say it’s one of those simple wins in the kitchen that really pays off. Here’s why these easy sunflower butter and jam mini sandwiches stand out:
- Quick & Easy: You can whip these up in under 10 minutes—perfect for busy mornings or last-minute snack attacks.
- Simple Ingredients: No need for fancy or hard-to-find items. Most of these are pantry staples or easy to grab at any grocery store.
- Perfect for Allergy-Sensitive Kids: Sunflower butter is a fantastic alternative for children with nut allergies, making this recipe safe and inclusive.
- Crowd-Pleaser: Whether it’s a playdate, school lunch, or a quick after-school bite, these mini sandwiches always get nods of approval.
- Unbelievably Delicious: The creamy sunflower butter paired with just the right jam balances sweetness and richness for a comforting, yet light snack.
What makes this recipe different is the attention to balance and portion size. I’ve found that mini sandwiches are easier for kids to handle, and the sunflower butter’s mild flavor makes them less overwhelming than some other nut or seed butters. Plus, by choosing a jam that’s not overly thick or overly sweet, the sandwich holds together nicely without turning into a mess. This isn’t just a substitution recipe—it’s a thoughtfully adapted snack that kids genuinely enjoy, which, honestly, is no small feat.
It’s the kind of recipe that helps me feel confident when packing lunchboxes or preparing snacks because I’m handing over something both tasty and safe. Plus, they’re just cute little bites that bring a smile without any fuss. That’s why they’ve earned a permanent spot in my go-to kid-friendly recipes.
What Ingredients You Will Need
This recipe uses simple, wholesome ingredients to deliver bold flavor and satisfying texture without the fuss. The ingredients are mostly pantry staples, and you can easily swap things depending on what you have—or your kids’ preferences.
- Sunflower Butter: Smooth texture works best here for easy spreading. I prefer brands like SunButter because it’s creamy and not too oily.
- Jam or Jelly: Choose a fruit jam with a good balance of sweetness and acidity. I like strawberry or mixed berry jams for their vibrant flavor. Avoid overly thick or chunky jams, which can make sandwiches messy.
- Bread: Soft white or whole wheat sandwich bread works well. For mini sandwiches, crustless bread makes for neat bites and is easier for kids to eat. You can buy pre-sliced crustless bread or simply trim off the crusts yourself.
- Optional Extras:
- Honey (for a touch of extra sweetness if desired)
- A pinch of cinnamon mixed into the sunflower butter for subtle warmth
- Banana slices for added texture and nutrition
If you want to make this gluten-free, look for gluten-free sandwich bread options. For dairy-free diets, this recipe is naturally compliant since it doesn’t call for any dairy ingredients.
Equipment Needed
- A sharp bread knife for trimming crusts and cutting mini sandwiches cleanly
- A butter knife or small spreading knife for the sunflower butter and jam
- A small round cookie cutter or sandwich cutter (about 2–3 inches in diameter) to create fun mini sandwich shapes
- A cutting board for assembling and slicing
If you don’t have a sandwich cutter, no worries—using a small glass or cup to cut rounds works just as well. I also keep a silicone spatula handy to scrape every last bit of sunflower butter out of the jar (kids can be surprisingly persuasive about that!). For budget-friendly options, you can skip the cutter entirely and cut the sandwiches into small rectangles or triangles.
Preparation Method
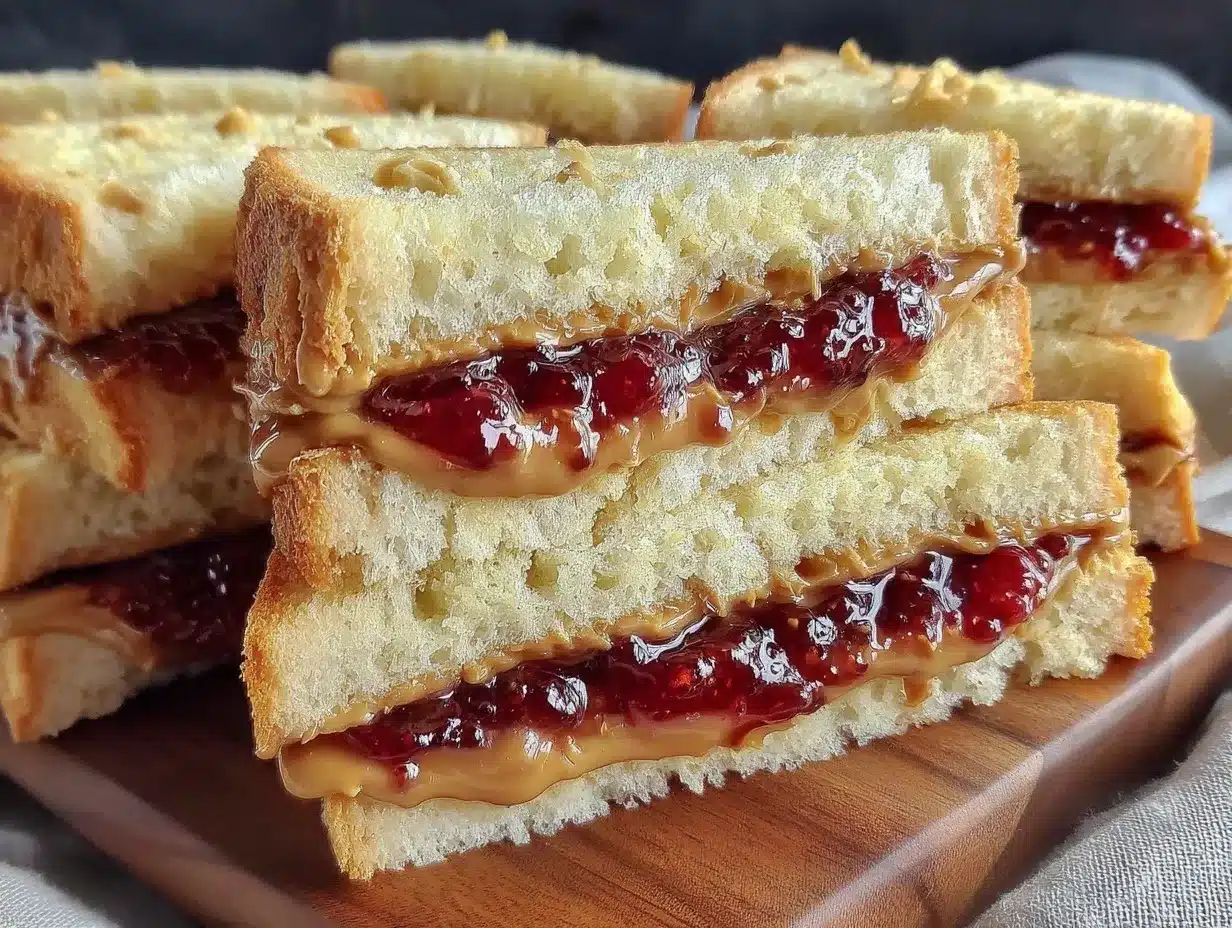
- Trim the Bread: Lay out your sandwich bread slices on a cutting board. Use a sharp knife to carefully cut off the crusts for a soft, uniform bite. This usually takes about 3 minutes for a batch of 6 slices.
- Spread the Sunflower Butter: Using a butter knife, spread about 1 tablespoon (15 ml) of smooth sunflower butter evenly over one side of each bread slice. Aim for a thin but thorough layer to avoid the sandwich getting too thick or sticky.
- Add the Jam: On half of the slices, spread about 1 teaspoon (5 ml) of your chosen jam over the sunflower butter. If you want to keep the jam on one slice instead of both, that’s fine—just avoid overloading to prevent sogginess.
- Assemble the Sandwiches: Place the jam-topped slices on top of the plain sunflower butter slices, so the fillings meet in the middle. Press gently to seal.
- Cut into Mini Sandwiches: Use your round sandwich cutter or a small cup to cut out mini sandwich circles. You should get about 3–4 mini sandwiches from each whole sandwich, depending on the size of your cutter.
- Optional Extras: If you want, add a thin slice of banana inside before closing the sandwich for a slight twist. Or sprinkle a dash of cinnamon on the sunflower butter for extra flavor before adding jam.
- Serve or Store: These mini sandwiches are best eaten fresh but can be stored in an airtight container in the fridge for up to 24 hours. If packing for later, separate layers with parchment paper to avoid sticking.
Watch out for the jam making the bread soggy if you prepare too far in advance. Also, spreading the sunflower butter first acts as a moisture barrier and keeps the bread from getting soggy too quickly. If you notice the sandwiches are a bit dry, a tiny drizzle of honey inside can make a subtle difference.
Cooking Tips & Techniques
While this recipe is straightforward, a few tips can help you get consistently great results every time.
- Go Smooth for Easy Spreading: Chunky sunflower butter tends to tear the bread and makes spreading tricky. Smooth varieties glide on easily and create a better sandwich texture.
- Don’t Overload the Jam: Too much jam can cause the bread to get soggy and fall apart. A thin, even layer works best, especially when making mini sandwiches.
- Trim Crusts for Uniformity: Removing crusts makes the sandwiches easier to eat for little fingers and helps create fun, neat shapes.
- Press Gently but Firmly: When assembling, press the sandwich halves together just enough to hold without squeezing out the fillings.
- Use Fresh Bread: Slightly stale bread will crumble or be harder to cut cleanly. Fresh, soft bread is key.
- Keep It Cool: If prepping ahead, keep sandwiches refrigerated and separate layers to prevent sticking. This also keeps the sunflower butter from becoming too oily.
I once faced a mess where the jam leaked out everywhere because I was too generous—lesson learned! Also, when making these alongside other snacks like a fresh cucumber salad, timing matters. Prepare sandwiches last so they stay fresh and don’t dry out while you’re finishing other dishes, like the refreshing fresh crispy cucumber feta salad.
Variations & Adaptations
You can easily customize these mini sandwiches to suit different tastes and dietary needs. Here are a few ideas I’ve tried or heard from friends:
- Flavor Swaps: Try swapping the jam for apple butter or mashed ripe banana for a less sweet, more natural option.
- Gluten-Free Option: Use gluten-free sandwich bread to keep this snack safe for kids with gluten sensitivities.
- Added Crunch: Sprinkle some finely chopped toasted seeds like pumpkin or flaxseed inside for extra texture and nutrition.
- Different Nut Butters: If allergies aren’t a concern, almond or cashew butter can substitute sunflower butter for a different nutty profile.
- Seasonal Twists: In summer, swap the jam for fresh smashed berries or a homemade fruit spread like the easy small-batch fig jam for seasonal sweetness.
My personal favorite variation is adding a sprinkle of chia seeds mixed into the sunflower butter before spreading. It adds a subtle crunch and a nutritional boost without changing the kid-friendly flavor.
Serving & Storage Suggestions
These mini sandwiches are perfect served fresh and slightly chilled. They’re great for lunchboxes, snack plates, or even as part of a casual party spread. Here’s how I like to serve and store them:
- Serving Temperature: Serve chilled or at room temperature—both work well. Kids often prefer them slightly chilled on hot days.
- Presentation: Arrange mini sandwiches on a colorful plate or tiered tray for an inviting snack. They pair well with crunchy veggies or a light fruit salad.
- Storage: Store leftovers in an airtight container in the refrigerator for up to 24 hours. Place parchment paper between layers to avoid sticking.
- Reheating: These sandwiches are best eaten cold or at room temperature. Warming them can make the bread soggy and the jam runny.
- Flavor Development: The flavors meld nicely after a short rest, but too long in the fridge might make the bread a bit soggy, so plan to enjoy within a day.
For a complete lunchbox, I often add some crunchy carrot sticks or pair these mini sandwiches with a simple dip like hummus. Speaking of easy, balanced meals, these sandwiches fit nicely alongside quick dishes like the easy Korean ground beef bibimbap rice bowl when you want a fuss-free family meal.
Nutritional Information & Benefits
This recipe offers a good balance of protein, healthy fats, and carbohydrates, making it a satisfying snack or light meal for kids. Here’s a rough estimate per serving (about 3 mini sandwiches):
| Nutrient | Amount |
|---|---|
| Calories | 220 kcal |
| Protein | 6 g |
| Carbohydrates | 28 g |
| Fat | 9 g |
| Fiber | 3 g |
| Sugar | 10 g (mostly from jam) |
Sunflower butter is rich in vitamin E, magnesium, and healthy fats, which support brain health and energy levels in growing kids. The jam provides natural fruit sugars plus some antioxidants, depending on the fruit used. This snack is naturally gluten-free if using the right bread and free from common allergens like peanuts, which makes it a safer choice for many families.
Conclusion
These easy sunflower butter and jam mini sandwiches have quietly become one of my favorite kid-friendly snacks. They’re simple to make, allergy-conscious, and have just the right balance of flavors and textures that kids actually want to eat. Whether you’re packing lunchboxes or need a quick snack that’s fuss-free, this recipe fits the bill.
Feel free to tweak the jam or add-ins to match your child’s tastes—after all, that’s part of what makes cooking for kids rewarding. I love these sandwiches because they bring a little calm to busy days and always earn a smile or two.
If you try this recipe, I’d love to hear how you customize it! Drop a comment or share your twists. Here’s to easy, tasty snacks that keep kids happy and parents sane.
FAQs
Can I use crunchy sunflower butter instead of smooth?
You can, but smooth sunflower butter spreads more easily and keeps the bread from tearing. Crunchy versions might make the sandwich a bit messier for little hands.
How long can I store these mini sandwiches?
Keep them in an airtight container in the fridge for up to 24 hours. Beyond that, the bread may get soggy, especially if the jam is very moist.
Are these sandwiches suitable for kids with nut allergies?
Yes! Sunflower butter is a safe alternative for many nut-allergic kids, but always check labels for cross-contamination warnings.
What type of jam works best?
Choose a smooth, not-too-thick jam like strawberry or mixed berry. Avoid chunky jams to keep the sandwiches neat and easy to eat.
Can I freeze these mini sandwiches?
Freezing isn’t recommended since the bread and jam texture can change, becoming soggy or crumbly when thawed.
Pin This Recipe!
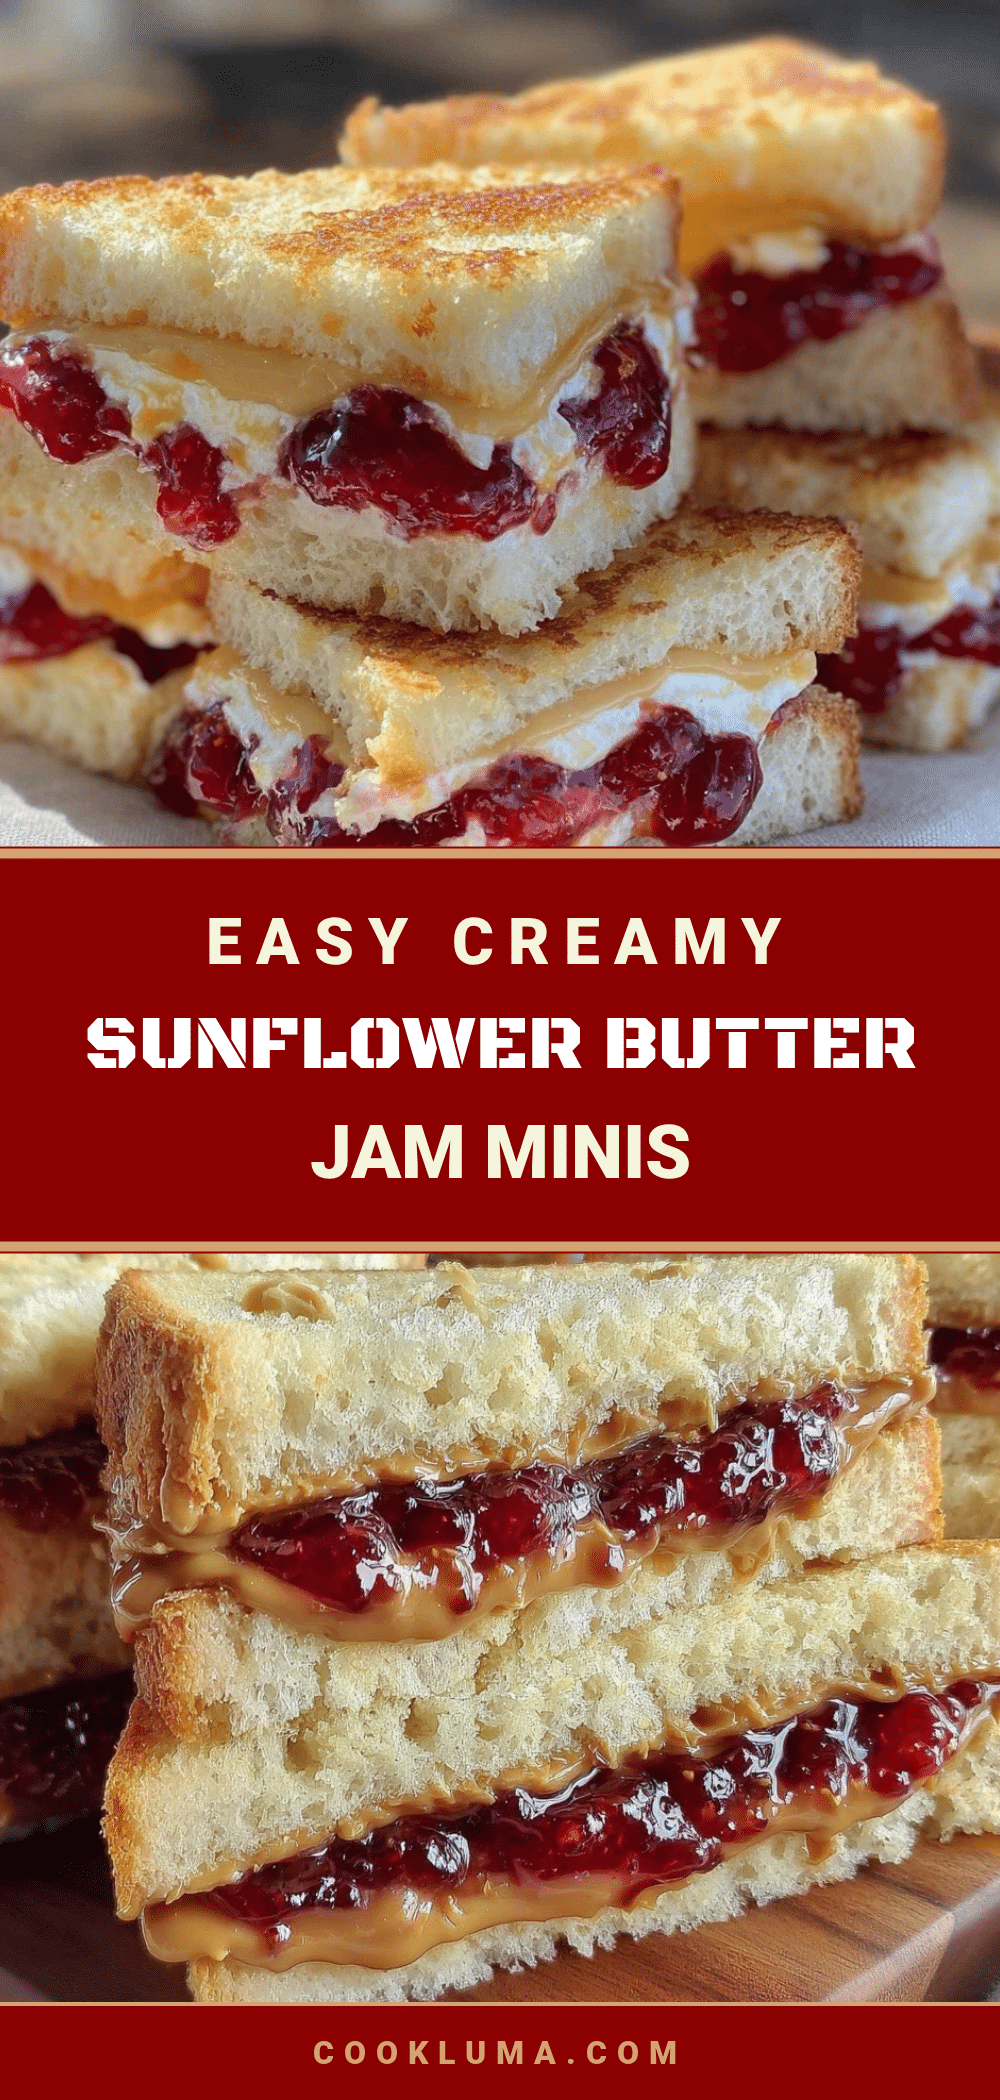
Easy Sunflower Butter and Jam Mini Sandwiches Recipe for Kids

These mini sandwiches combine smooth sunflower butter and sweet jam for a kid-friendly, allergy-conscious snack that’s quick and easy to make.
- Prep Time: 5 minutes
- Cook Time: 0 minutes
- Total Time: 5 minutes
- Yield: 6 servings
- Category: Snack
- Cuisine: American
Ingredients
- Smooth sunflower butter (about 1 tablespoon per slice)
- Jam or jelly (about 1 teaspoon per slice), preferably strawberry or mixed berry
- Soft white or whole wheat sandwich bread, crusts removed
- Optional: honey for extra sweetness
- Optional: pinch of cinnamon mixed into sunflower butter
- Optional: banana slices
Instructions
- Trim the bread: Cut off the crusts from sandwich bread slices using a sharp knife.
- Spread the sunflower butter evenly over one side of each bread slice using a butter knife.
- Spread jam on half of the slices over the sunflower butter, using about 1 teaspoon per slice.
- Assemble sandwiches by placing jam-topped slices on top of plain sunflower butter slices, pressing gently to seal.
- Cut sandwiches into mini rounds using a 2–3 inch round cookie cutter or small cup, yielding about 3–4 mini sandwiches per whole sandwich.
- Optional: add a thin slice of banana inside or sprinkle cinnamon on sunflower butter before adding jam.
- Serve fresh or store in an airtight container in the refrigerator for up to 24 hours, separating layers with parchment paper.
Notes
Use smooth sunflower butter for easy spreading and to avoid tearing bread. Avoid overly thick or chunky jams to prevent sogginess. Store sandwiches in the fridge up to 24 hours with parchment paper between layers. Prepare sandwiches last to keep fresh. Optional add-ins like banana slices or cinnamon add flavor and nutrition.
Nutrition
- Serving Size: About 3 mini sandwic
- Calories: 220
- Sugar: 10
- Fat: 9
- Carbohydrates: 28
- Fiber: 3
- Protein: 6
Keywords: sunflower butter, jam, mini sandwiches, kid-friendly, allergy-friendly, nut-free, quick snack, lunchbox ideas


