Crunchy, almost crackling under your teeth, and that unmistakable shimmer of briny liquid clinging to every ridge — that’s the whole point of these Quick Garlic Dill Refrigerator Pickles. The way the cucumber slices snap sharply, holding onto their fresh, vibrant green hue while soaking up all that garlicky dill goodness, is what made me keep this recipe front and center in my fridge. Honestly, I’ve always been a texture person in the kitchen. Flavor’s crucial, sure, but the first thing that pulls me in is how the food feels. These pickles? They feel alive — crisp and fresh, like a little burst of summer that wakes up your mouth.
I remember the exact moment I stumbled on this recipe. I was tired of the usual jarred stuff that’s either too mushy or overly sour. I wanted something quick but with that homemade zing — you know, the kind that makes you close your eyes and forget about time for a second. So I grabbed some cucumbers from the farmers’ market, fresh garlic, and dill, and improvised a brine that was simple but packed a punch. The next day, I pulled the jar from the fridge and was greeted with that perfect firm snap and a garlicky, herbaceous aroma that just made the kitchen feel cozy.
What stuck with me is how these pickles became my go-to snack, an unexpected crunch in sandwiches, and even a bright punch alongside dishes like my creamy pesto pasta salad. They’re not some complicated ferment that takes weeks—just 24 hours to get that fresh, tangy, satisfying bite. That little jar of pickles reminds me that sometimes the simplest textures and flavors are the ones worth obsessing over. No pretension, just pure, crisp joy.
Why You’ll Love This Recipe
From my kitchen to yours, these Quick Garlic Dill Refrigerator Pickles are a tiny jar of convenience and flavor that you’ll come back to again and again. Here’s why they’ve earned a permanent spot in my fridge:
- Quick & Easy: Ready in just 24 hours, perfect for last-minute cravings or when you need a fast homemade touch.
- Simple Ingredients: You don’t need fancy spices or hard-to-find items; everything is likely already in your pantry or fridge.
- Perfect for Any Occasion: They brighten up sandwiches, burgers, or even your mid-afternoon snack time.
- Crowd-Pleaser: Kids, adults, picky eaters—they all love the crunchy texture and zingy garlic dill flavor.
- Unbelievably Delicious: The balance of fresh garlic and dill with just the right amount of tang hits all the right notes.
What sets this recipe apart? Well, it’s that blend of fresh garlic with dill that isn’t overpowering but lingers just enough to make each bite interesting. Plus, using refrigerator pickling means you skip the long wait and get that satisfying crunch without any complicated fermentation. I’ve tried other quick pickle recipes before, but this one nails the perfect brine ratio and crispness every time — no soggy disappointments here.
Honestly, once you try these, you start noticing the little ways pickles can transform a meal. I often add a few slices to my Korean ground beef bibimbap for a refreshing crunch that cuts through the richness. It’s comforting, fresh, and surprisingly addictive — the kind of recipe that makes you feel like you’ve got a secret weapon in your culinary arsenal.
What Ingredients You Will Need
This recipe uses simple, wholesome ingredients to deliver bold flavor and satisfying texture without the fuss. Most of these are pantry staples or easy to find fresh, so no stress on hunting for exotic items.
- Cucumbers: 4 medium Kirby cucumbers or Persian cucumbers, sliced into ¼-inch thick rounds (Kirby cucumbers are ideal for their firm texture and thin skins)
- Fresh Dill: About 4 sprigs of fresh dill, roughly chopped (adds that classic dill aroma and flavor)
- Garlic: 3-4 cloves, peeled and smashed (for that punch of garlicky warmth)
- White Vinegar: 1 cup (240 ml), preferably distilled white vinegar for a clean, tart flavor)
- Water: 1 cup (240 ml), to balance out the vinegar’s acidity
- Salt: 1 tablespoon kosher salt or pickling salt (avoid iodized salt to keep the brine clear and pure)
- Sugar: 1 teaspoon granulated sugar (optional, to mellow out the sharpness slightly)
- Black Peppercorns: 1 teaspoon whole (adds a subtle spicy note without overpowering)
- Red Pepper Flakes: ½ teaspoon (optional, if you like a little kick)
I recommend using a trusted brand like Diamond crystal kosher salt — it dissolves nicely and won’t leave any gritty bits. If you want to swap for a gluten-free variation, all of these ingredients are naturally gluten-free, so you’re good to go. For a dairy-free diet, this recipe is naturally safe, too.
In warmer months, I sometimes swap dill for fresh tarragon or add some mustard seeds for a slightly different flavor profile. But honestly, the classic garlic dill combo is what keeps me coming back, especially when paired with a rich dish like the creamy one-pan marry me chicken.
Equipment Needed
- Glass Jar or Container: A quart-sized (1-liter) jar or airtight container works best for marinating the pickles. Glass is preferred to avoid any reaction with the vinegar.
- Sharp Knife: For slicing the cucumbers evenly — a chef’s knife or a serrated knife both work well.
- Measuring Cups and Spoons: Essential for the right balance of brine ingredients.
- Mixing Bowl: To combine the brine before pouring it over the cucumbers.
- Cutting Board: Preferably non-slip to make slicing easier and safer.
If you don’t have a quart-sized jar, any clean glass container that can be tightly sealed will do. I once used a repurposed mason jar from an old jam, and it worked perfectly. Just make sure it has enough room for the cucumbers and brine without being overcrowded to maintain crispness.
For those who love gadgets, a mandoline slicer can speed up the cucumber slicing and keep the thickness consistent, which helps the pickles soak evenly. But honestly, a knife is just fine — I often slice by hand without issue. Just keep your fingers safe!
Preparation Method
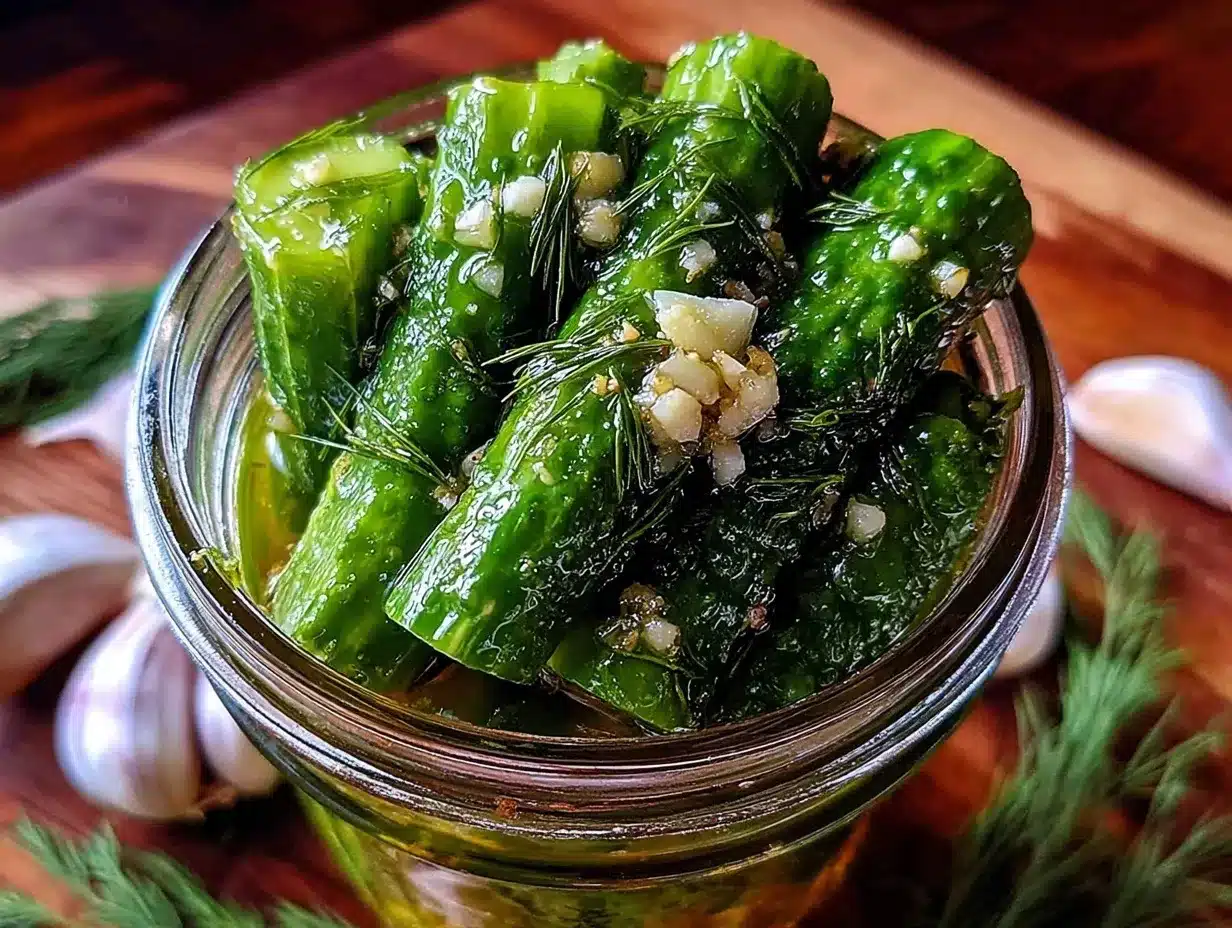
- Prepare the cucumbers: Rinse the cucumbers thoroughly and slice them into ¼-inch (about 6 mm) thick rounds. Uniform slices help the brine penetrate evenly and keep that satisfying crunch. This should take about 5-7 minutes.
- Make the brine: In a mixing bowl, combine 1 cup (240 ml) white vinegar, 1 cup (240 ml) water, 1 tablespoon kosher salt, and 1 teaspoon sugar. Stir until the salt and sugar dissolve completely — it usually takes about 2 minutes. You want a clear, slightly salty-sweet liquid.
- Add aromatics: Toss in the smashed garlic cloves, fresh dill sprigs, black peppercorns, and red pepper flakes if using. Give it a gentle stir to distribute the flavors. This step is crucial for that garlicky dill punch.
- Pack the jar: Place the cucumber slices tightly but not squished into your clean jar or container. Make sure you leave a little room at the top for the brine. Layer the garlic and dill among the cucumbers as you go to distribute flavor nicely. This usually takes 5 minutes.
- Pour the brine: Slowly pour the brine over the cucumbers until they are fully submerged. Use a spoon to press them down gently if needed. The cucumbers should be completely covered to pickle evenly and avoid spoilage.
- Seal and refrigerate: Close the jar with the lid tightly and place it in the fridge. Let the pickles sit for at least 24 hours before tasting. The longer they sit (up to 3 days), the more intense the flavor, but that first day is magic for crispness and fresh zing.
- Enjoy: After 24 hours, open the jar and enjoy your crunchy garlic dill pickles! They make a fantastic snack or a bright topping for sandwiches and burgers.
Tip: If your pickles ever taste too vinegary or salty, try rinsing a slice briefly under cold water before eating. That little trick saved me a few times when I got a bit heavy-handed with the salt.
Cooking Tips & Techniques
Getting perfect refrigerator pickles isn’t rocket science, but a few little tricks make all the difference.
- Keep the cucumbers cold: Before slicing, refrigerate cucumbers to help retain that snap. Warm cucumbers can get soggy quickly once in the brine.
- Don’t skip the salt type: Kosher or pickling salt dissolves cleanly. I once used table salt and ended up with cloudy brine and a weird texture—lesson learned!
- Smash the garlic: Instead of finely mincing, smashing the cloves releases a mellow garlic essence without overpowering the pickles. Plus, it’s easier to fish out if you want less garlic bite.
- Use fresh dill: Dried dill just won’t give you the same vibrant flavor or aroma. Fresh dill sprigs are inexpensive and last well if stored properly.
- Press cucumbers gently: When packing the jar, don’t cram the slices too tight, or they’ll bruise and lose crunch. But don’t leave too much air either — a snug fit is ideal.
- Patience is key: The magic happens after 24 hours, but if you’re impatient, try one slice at 12 hours. It’s crunchy but a bit milder.
One time, I tried heating the brine to dissolve salt faster, but it softened the cucumbers slightly — so I prefer mixing the brine cold. This keeps the cucumbers crisp and fresh, just like a quick pickle should be.
Variations & Adaptations
This recipe is a fantastic base for a range of quick pickle adventures. Here are some ways to customize to your taste or dietary needs:
- Spicy Kick: Add sliced jalapeños or increase red pepper flakes for a fiery punch. I once made a batch with fresh chili slices that disappeared in no time.
- Herb Swap: Use fresh tarragon, cilantro, or basil instead of dill for a different aromatic profile. Tarragon pairs beautifully if you want a slightly anise-like note.
- Low-Sodium: Reduce the salt by half and add a splash of lemon juice for brightness. The flavor is lighter but still delicious.
- Sweet & Tangy: Increase the sugar to 2 tablespoons and add a cinnamon stick for a sweet-spiced version. Great for pairing with rich dishes.
- Vegan & Allergy-Friendly: Naturally, this recipe is vegan and gluten-free. Just be sure to check your vinegar brand if you have specific allergies.
I tried a version with fresh ginger slices last summer, which added a nice zing and paired wonderfully with a homemade honey miso glazed salmon. It’s fun to experiment and find your favorite combo.
Serving & Storage Suggestions
Serve these pickles chilled straight from the fridge for that satisfying crunch and refreshing snap. They’re the perfect tangy companion to sandwiches, burgers, or even as a palate cleanser between bites of rich meals.
If you’re hosting, arrange them on a small platter alongside cheese and crackers or include them in a picnic basket for a fresh bite. They also pair well with creamy dishes like the creamy roasted butternut squash soup where the acidity cuts through the richness.
Store your pickles in the refrigerator in a sealed jar or container. They will keep their crunchiness and flavor for up to 2 weeks, but honestly, they rarely last that long in my house. For best texture, avoid leaving pickles out at room temperature for long periods.
When reheating isn’t an option here, but if you find the pickles getting a bit too tart over time, a quick rinse under cold water can balance the flavor and soften the bite slightly. Flavors deepen with time, but that initial 24-hour mark is where the magic crunch happens.
Nutritional Information & Benefits
These Quick Garlic Dill Refrigerator Pickles are low in calories (about 10-15 calories per serving of 3-4 slices) and naturally fat-free. They provide a good source of vitamin K from the fresh dill and some antioxidants from garlic.
The vinegar and salt in the brine can aid digestion and have preservative properties, while the cucumbers themselves offer hydration and fiber. This recipe is gluten-free, vegan, and fits well into low-carb and keto diets.
I appreciate how this snack fits effortlessly into a health-conscious lifestyle without sacrificing flavor or texture — a rare combo that’s both satisfying and refreshing.
Conclusion
These Quick Garlic Dill Refrigerator Pickles are proof that you don’t need to wait weeks or wrestle with complex fermentation to enjoy fresh, crunchy homemade pickles. Their bright, garlicky, and herbaceous punch makes them an easy favorite in my kitchen and hopefully in yours, too.
Feel free to tweak the garlic intensity, spice level, and herbs to match your mood or meal. I love that this recipe invites personalization while keeping things straightforward and delicious. Every time I open that jar, it feels like a little celebration of texture and flavor that’s ready on my schedule.
Give this recipe a try, and I’d love to hear how you make it your own — leave a comment or share your twists! Happy pickling and crunching!
Frequently Asked Questions
How long do these refrigerator pickles last?
Stored properly in the fridge, they stay fresh and crunchy for up to 2 weeks. The flavor intensifies over time, but the best texture is within the first 3-4 days.
Can I use other types of cucumbers?
Yes! Persian and Kirby cucumbers are best for crunch, but regular slicing cucumbers work too. Just peel if the skin is thick or waxed.
Is it necessary to use fresh dill?
Fresh dill gives the best flavor and aroma. Dried dill won’t provide the same brightness but can be used in a pinch (use about 1 teaspoon dried).
Can I make these pickles spicy?
Absolutely! Adding sliced jalapeños or increasing red pepper flakes gives a nice heat. Adjust to your spice preference.
Do I have to boil the brine?
Nope! For these quick refrigerator pickles, room temperature brine works best to keep the cucumbers crisp and fresh.
Pin This Recipe!
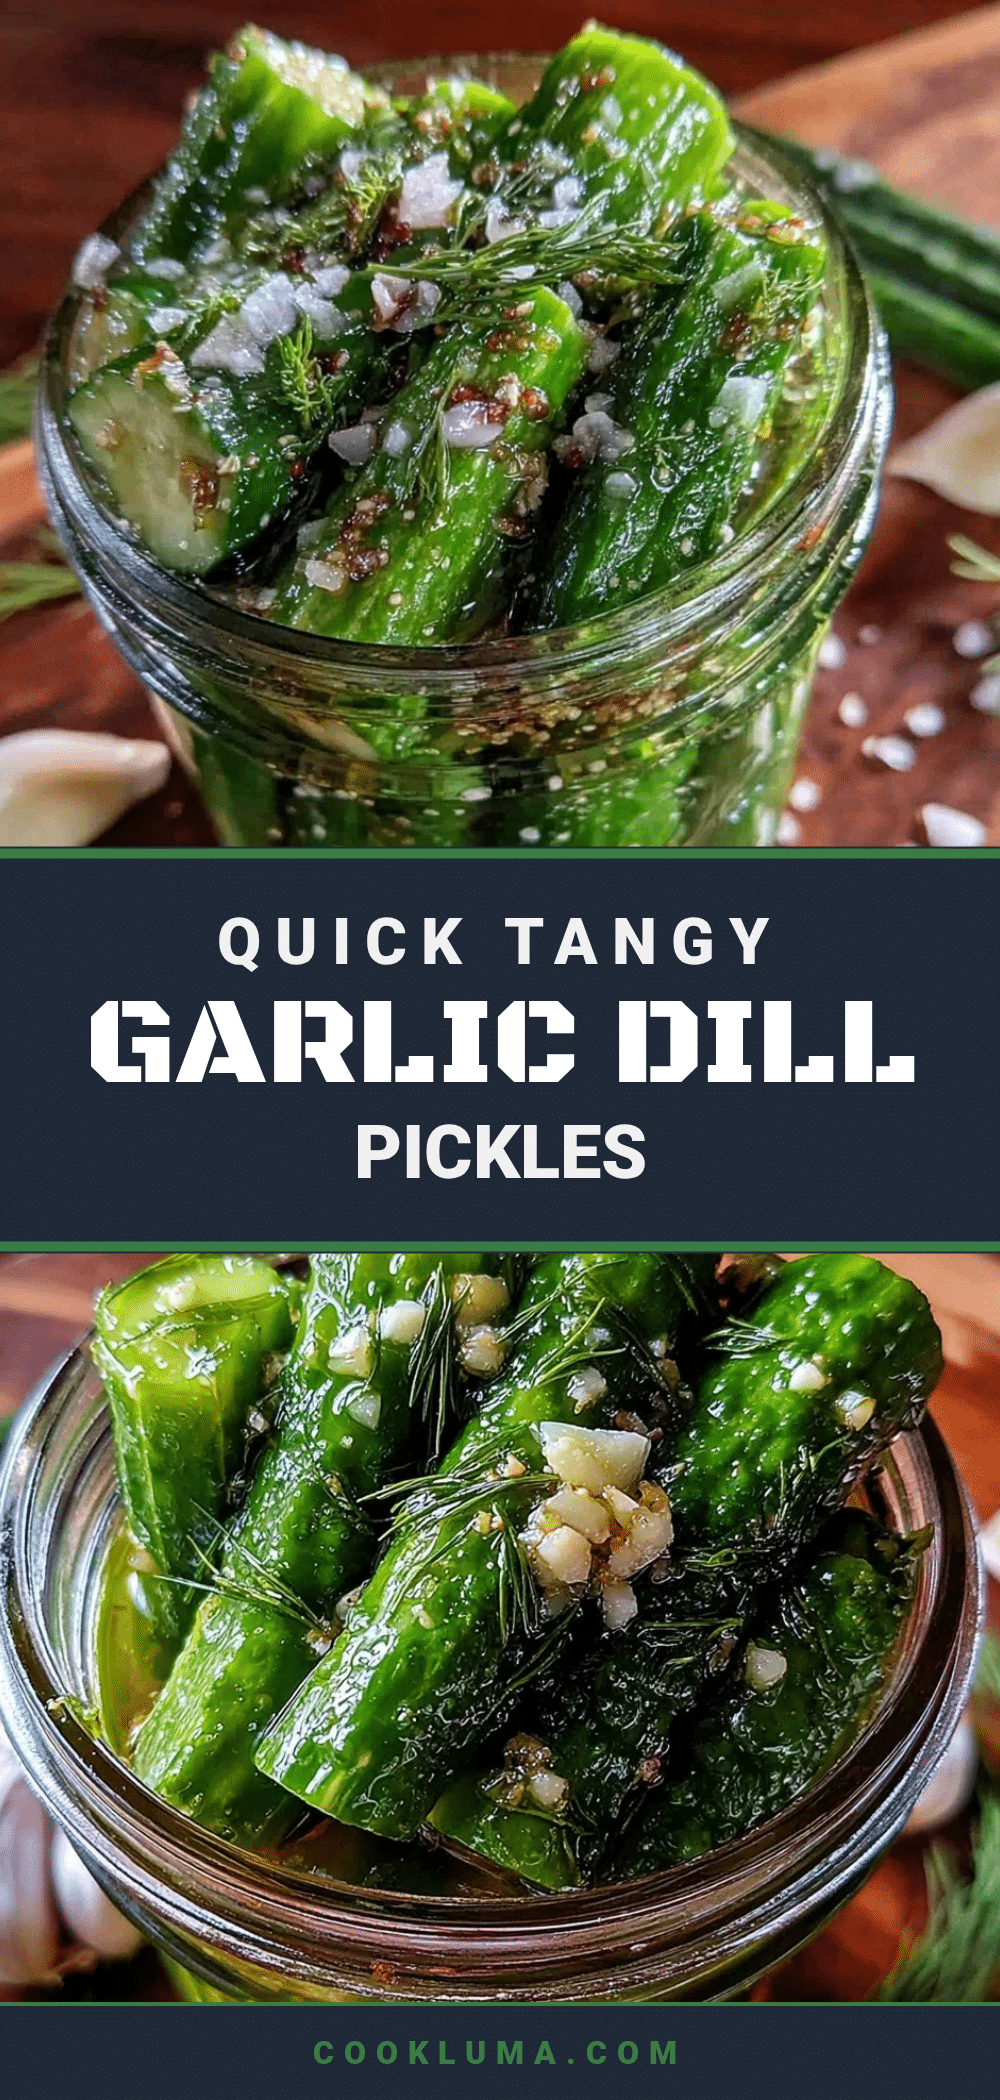
Quick Garlic Dill Refrigerator Pickles
Crunchy, garlicky dill pickles ready in just 24 hours, perfect for a fresh, tangy snack or sandwich topping.
- Prep Time: 10 minutes
- Cook Time: 0 minutes
- Total Time: 24 hours
- Yield: 4 servings 1x
- Category: Condiment
- Cuisine: American
Ingredients
- 4 medium Kirby cucumbers or Persian cucumbers, sliced into 1/4-inch thick rounds
- 4 sprigs fresh dill, roughly chopped
- 3–4 cloves garlic, peeled and smashed
- 1 cup (240 ml) white vinegar (preferably distilled)
- 1 cup (240 ml) water
- 1 tablespoon kosher salt or pickling salt
- 1 teaspoon granulated sugar (optional)
- 1 teaspoon whole black peppercorns
- 1/2 teaspoon red pepper flakes (optional)
Instructions
- Rinse the cucumbers thoroughly and slice into 1/4-inch thick rounds.
- In a mixing bowl, combine white vinegar, water, kosher salt, and sugar. Stir until salt and sugar dissolve completely.
- Add smashed garlic cloves, fresh dill sprigs, black peppercorns, and red pepper flakes if using. Stir gently.
- Pack cucumber slices tightly but not squished into a clean quart-sized glass jar or airtight container, layering garlic and dill among the cucumbers.
- Pour the brine over the cucumbers until fully submerged. Press down gently if needed.
- Seal the jar tightly and refrigerate for at least 24 hours before tasting. Flavor intensifies up to 3 days.
- Enjoy chilled as a snack or topping for sandwiches and burgers.
Notes
Keep cucumbers cold before slicing to retain crunch. Use kosher or pickling salt to avoid cloudy brine. Smash garlic cloves instead of mincing for mellow flavor. Do not boil brine to keep cucumbers crisp. If pickles taste too salty or vinegary, rinse briefly under cold water before eating.
Nutrition
- Serving Size: 3-4 pickle slices
- Calories: 1015
- Sugar: 1
- Sodium: 800
- Carbohydrates: 2
- Fiber: 0.5
Keywords: quick pickles, garlic dill pickles, refrigerator pickles, easy pickles, crunchy pickles, homemade pickles, no fermentation pickles


