My niece asked why I couldn’t just bake the cheese straws in one big sheet and then break them into pieces. I started to explain why that wouldn’t work—then stopped. She was eight, and she’d just watched me roll out individual strips of dough for fifteen minutes, muttering under my breath about how tedious it was.
I mean, I was the adult here. I’d been making cheese straws for years. I knew they needed that perfect, uniform shape for even baking. But honestly? Watching her little face scrunch up in confusion, I realized I didn’t have a great answer. So I did it. I pressed the whole batch into one giant rectangle, baked it, and let it cool. Then I broke it into jagged, uneven shards that looked exactly like—well, exactly like severed fingers.
Let me tell you, I felt pretty silly. All those years of meticulously cutting individual straws, and the best version I ever made came from a second grader’s suggestion. The texture was somehow better—crispier edges, softer centers, and those irregular, bone-like pieces that made everyone at the party do a double-take.
That’s how these Wholesome Severed Finger Cheese Straws were born. Not from some fancy test kitchen or a chef’s clever trick. From a kid who didn’t know any better and an adult who finally listened. Maybe you’ve been there—that moment when you realize the “right way” isn’t the only way, and sometimes the messiest path leads to the best result.
Why You’ll Love This Recipe
These aren’t your average cheese straws. They’re a conversation starter, a party trick, and genuinely delicious—all rolled into one hauntingly good snack. Here’s why they work so well:
- Unbelievably Easy : No rolling individual strips. Mix, press, bake, break. You’re done in under 25 minutes.
- Simple Ingredients : You probably have everything in your fridge and pantry right now. No special trips required.
- Perfect for Halloween : They look gruesome but taste amazing. Kids love them, adults can’t stop eating them.
- Crowd-Pleaser : I’ve brought these to parties, potlucks, and family dinners. They disappear faster than anything else on the table.
- Actually Wholesome : Made with real cheese, whole wheat flour, and no weird preservatives. You can feel good about serving them.
What makes these different from every other cheese straw recipe out there? It’s the texture. Baking them as one sheet creates this incredible contrast—crispy, almost caramelized edges with a tender, cheesy interior that melts in your mouth. Plus, the irregular breaking pattern means every piece looks like a genuine, slightly horrifying finger segment. It’s comfort food with a creepy twist, and honestly, it’s the kind of recipe that makes you close your eyes after the first bite.
What Ingredients You Will Need
This recipe uses simple, wholesome ingredients to deliver bold flavor and satisfying crunch. Most are pantry staples, which makes these perfect for last-minute Halloween parties or surprise guests.
For the Cheese Straw Dough:
- 1 ½ cups all-purpose flour (I use King Arthur for consistent results; whole wheat pastry flour works too)
- ½ cup whole wheat flour (adds nuttiness and fiber; you can use all-purpose if you prefer)
- 1 teaspoon baking powder
- ½ teaspoon salt
- ¼ teaspoon cayenne pepper (optional, but it adds a subtle warmth that makes the cheese pop)
- ½ cup cold unsalted butter, cut into small cubes (must be cold—this is key for flakiness)
- 2 cups sharp cheddar cheese, grated (I recommend Kerrygold or Cabot for bold flavor; pre-shredded won’t melt as smoothly)
- ¼ cup cold water (add more if needed, one tablespoon at a time)
For the Topping:
- 1 large egg, beaten (for wash; gives that golden, glossy finish)
- Flaky sea salt (Maldon is my favorite—those little crystals make a big difference)
- Optional: sesame seeds, poppy seeds, or everything bagel seasoning (adds texture and visual interest)
Ingredient Tips: Use block cheese and grate it yourself. Pre-shredded cheese has anti-caking agents that prevent it from melting properly. Trust me on this—I learned the hard way when my first batch came out greasy and sad. Also, make sure your butter is genuinely cold. If it softens while you’re working, pop the dough in the fridge for ten minutes before baking.
Equipment Needed
You don’t need much for this recipe, which is part of its charm. Here’s what you’ll need:
- Baking sheet (a standard half-sheet pan works perfectly)
- Parchment paper (non-negotiable—it prevents sticking and makes cleanup a breeze)
- Large mixing bowl
- Pastry cutter or two forks (for cutting butter into flour; a food processor works in a pinch)
- Rolling pin (or a wine bottle—I’ve done it, it works)
- Pastry brush (for the egg wash; a clean paintbrush works too)
- Sharp knife or bench scraper (for scoring the dough before baking)
I picked up my pastry cutter at a thrift store for two dollars, and it’s been going strong for years. Don’t feel pressured to buy fancy equipment. A fork works fine, though your arm might get a workout.
Preparation Method
- Preheat your oven to 375°F (190°C). Line a baking sheet with parchment paper. This is one of those steps you don’t want to skip—cold oven, sad straws.
- Mix the dry ingredients. In a large bowl, whisk together both flours, baking powder, salt, and cayenne pepper. Make sure everything is evenly distributed. I usually do this while my butter is still in the fridge, so everything stays cold.
- Cut in the butter. Add the cold butter cubes to the flour mixture. Using a pastry cutter or two forks, work the butter into the flour until it resembles coarse meal with pea-sized butter pieces. Don’t overwork it—you want those little butter chunks to create flaky layers. If the butter starts feeling warm, pop the bowl in the fridge for five minutes.
- Add the cheese. Toss the grated cheddar into the flour-butter mixture. Use your hands to gently distribute it. The cheese should be well-coated but not mushed in. This is where you’ll start getting excited—the smell is incredible.
- Add the water. Drizzle the cold water over the mixture and stir with a fork until the dough just comes together. It should look shaggy and slightly dry. If it’s too crumbly, add another tablespoon of water. If it’s sticky, add a sprinkle of flour. You’re looking for a dough that holds together when pinched but isn’t wet.
- Shape the dough. Turn the dough onto a lightly floured surface. Pat it into a rectangle about ½-inch thick. Don’t knead it—just press it together gently. If it cracks at the edges, that’s fine. You’re going to break it later anyway.
- Transfer to baking sheet. Carefully lift the dough onto your prepared baking sheet. Use your hands or a rolling pin to gently press it into an even rectangle, about 10×8 inches. Try to keep it uniform in thickness so it bakes evenly.
- Score the dough. Using a sharp knife or bench scraper, lightly score the dough into finger-sized strips. Don’t cut all the way through—just mark the surface. This helps you break them later without crushing the edges. I usually make lines about 1-inch apart.
- Apply egg wash and toppings. Brush the beaten egg evenly over the surface. Sprinkle with flaky sea salt and any additional seeds you’re using. The egg wash gives that beautiful golden color, so don’t skimp.
- Bake. Place the baking sheet in the preheated oven and bake for 18-22 minutes, until the edges are deep golden brown and the center is firm to the touch. The smell will fill your kitchen—it’s intoxicating. If the edges brown faster than the center, rotate the pan halfway through.
- Cool completely. Let the sheet cool on a wire rack for at least 10 minutes. This is crucial—if you try to break them while they’re warm, they’ll crumble into dust. Trust me, I’ve made that mistake more than once.
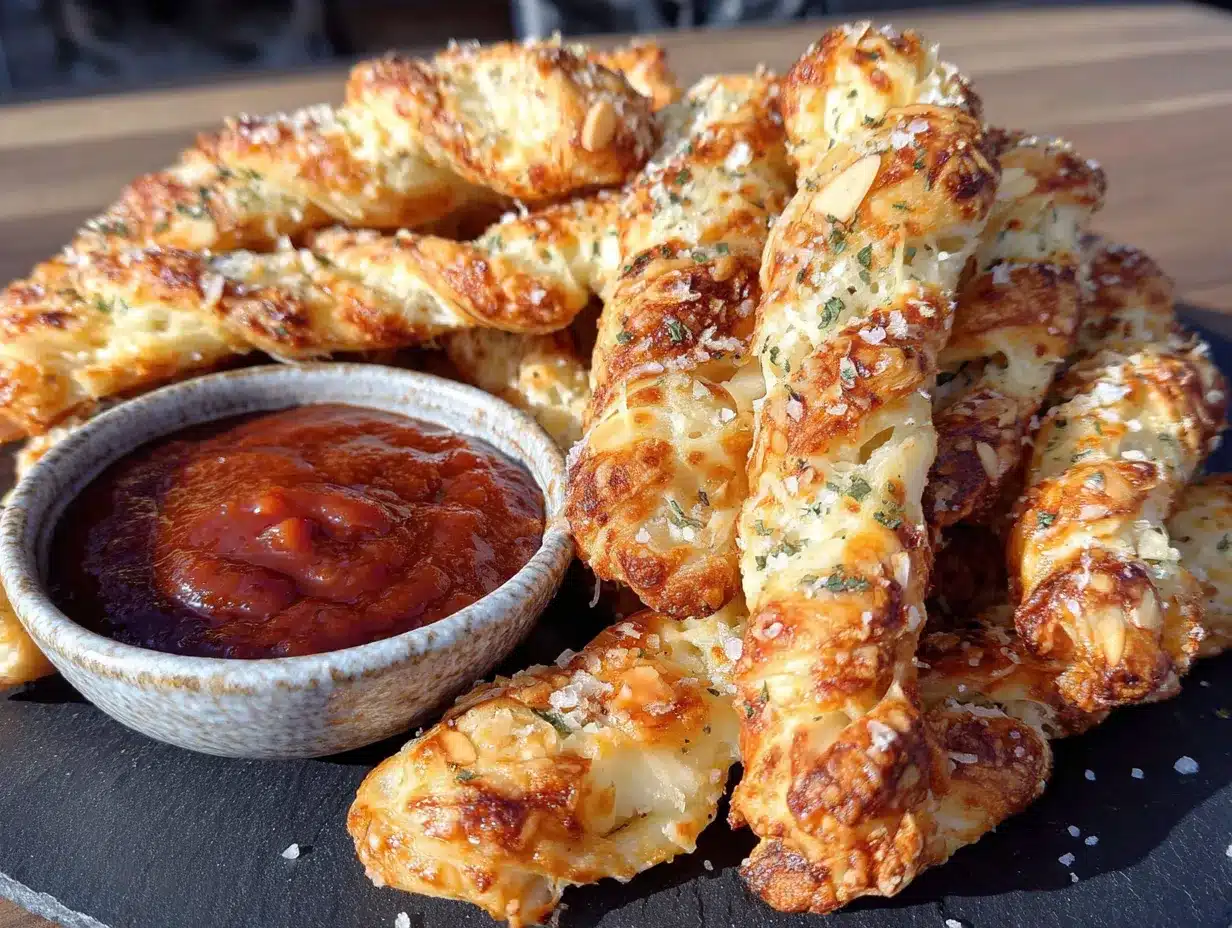
- Break into fingers. Once completely cool, use your hands to break the sheet along the scored lines. Some pieces will be perfect fingers; others will be jagged shards. Embrace the imperfection—it adds to the creepy effect. For extra realism, trim the ends slightly to look like knuckles or fingernails.
Cooking Tips & Techniques
I’ve made this recipe more times than I care to admit, and I’ve learned a few things along the way. Here’s what I wish someone had told me:
Keep everything cold. Warm butter = flat, greasy straws. If your kitchen is warm, chill your bowl and flour before starting. I’ve even frozen my butter for 15 minutes before cutting it in. The cold butter creates steam pockets as it bakes, giving you those flaky layers.
Don’t overwork the dough. I ruined my first three batches by kneading them like bread. Cheese straw dough is fragile—treat it gently. Overworking develops gluten, which makes them tough instead of tender. You want shaggy, not smooth.
Watch the edges. The edges of the sheet will brown faster than the center. If they’re getting too dark, tent them with foil for the last 5 minutes. I learned this after burning the edges on a batch I was bringing to a Halloween party. Let’s just say charred fingers weren’t the look I was going for.
Let them cool completely. I know it’s tempting to dig in while they’re warm, but patience pays off. Warm cheese straws are soft and bendy. Cooled ones are crisp and snappy. If you’re serving them later, you can re-crisp them in a 300°F oven for 5 minutes.
Use a sharp knife for scoring. A dull blade will drag through the dough and ruin the clean edges. I use a bench scraper for the straightest lines. If you want more realistic finger shapes, vary the width of your strips slightly—no two fingers are exactly the same.
Variations & Adaptations
One of the best things about this recipe is how flexible it is. Here are some variations I’ve tried and loved:
Spicy Bloody Mary Fingers: Add 1 tablespoon of tomato paste and ½ teaspoon of smoked paprika to the dough. The red tint gives them an even more gruesome appearance, and the smoky flavor is incredible. I made these for a Halloween brunch and they were gone in minutes.
Gluten-Free Version: Substitute the all-purpose flour with a 1:1 gluten-free baking blend (I like Bob’s Red Mill). Add 1 teaspoon of xanthan gum if your blend doesn’t include it. The texture will be slightly more crumbly, but still delicious.
Herb & Garlic Fingers: Add 1 teaspoon of garlic powder and 2 tablespoons of finely chopped fresh rosemary to the dry ingredients. The herb flecks look like dirt or grime, which adds to the creepy factor. Plus, the garlic and rosemary complement the cheddar beautifully.
Vegan Adaptation: Use vegan butter and nutritional yeast instead of cheese. The flavor won’t be identical, but it’s surprisingly good. Add a pinch of turmeric for color and ½ teaspoon of smoked paprika for depth. I tested this for a friend with dairy allergies, and even the cheese lovers approved.
Extra-Crispy Fingers: Roll the dough slightly thinner—about ¼-inch—and bake for 2-3 minutes longer. These are perfect for dipping in marinara sauce or a creamy ranch dip. Just be careful not to overbake them.
Serving & Storage Suggestions
These cheese straws are best served at room temperature, which makes them ideal for parties. Arrange them on a platter in a way that emphasizes the finger-like shapes—I like to scatter them haphazardly, as if they’ve been dropped. For extra drama, place a small bowl of marinara sauce at the center for dipping. Call it “blood” and watch your guests squirm with delight.
They pair wonderfully with a crisp white wine or a cold beer. For a non-alcoholic option, try sparkling water with a splash of cranberry juice—the deep red color complements the theme. If you’re serving them as part of a Halloween spread, add some “witches’ fingers” (cucumber sticks with almond nail tips) and “eyeball” deviled eggs for a full creepy spread.
Storage: Store cooled cheese straws in an airtight container at room temperature for up to 5 days. Do not refrigerate—the moisture will make them soft. If they lose their crunch, re-crisp them in a 300°F oven for 5 minutes. They’ll taste almost as good as fresh.
Freezing: You can freeze the unbaked dough for up to 3 months. Shape it into a rectangle, wrap tightly in plastic wrap, and place in a freezer bag. When ready to bake, thaw in the refrigerator overnight, then proceed with the recipe. Alternatively, bake the full sheet, cool completely, and freeze the broken pieces in a single layer on a baking sheet. Once frozen, transfer to a freezer bag. Reheat directly from frozen at 350°F for 8-10 minutes.
The flavors actually develop over time—day-old cheese straws have a deeper, more complex taste. Just make sure they stay dry. Humidity is the enemy of crispness.
Nutritional Information & Benefits
While these are definitely an indulgence, they’re not as bad as you might think. Here’s the approximate nutritional breakdown per serving (about 4-5 finger pieces):
| Nutrient | Amount |
|---|---|
| Calories | 220 |
| Total Fat | 14g |
| Saturated Fat | 9g |
| Cholesterol | 45mg |
| Sodium | 320mg |
| Total Carbohydrates | 16g |
| Dietary Fiber | 1g |
| Sugars | 0g |
| Protein | 8g |
The whole wheat flour adds a bit of fiber and nutrients compared to all-purpose flour alone. Sharp cheddar cheese is a good source of calcium and protein. If you’re watching your sodium, reduce the added salt or use a low-sodium cheese. For a lower-fat option, use part-skim mozzarella mixed with a sharp cheddar for flavor.
These are naturally vegetarian and can be made gluten-free or vegan with the substitutions mentioned above. They’re not suitable for those with dairy allergies unless adapted. From a wellness perspective, I see these as a treat—something to enjoy mindfully, not something to feel guilty about. They’re made with real ingredients, and that counts for something.
Conclusion
These Wholesome Severed Finger Cheese Straws turned out to be one of those happy accidents that I keep coming back to. They’re creepy enough to delight Halloween guests, but delicious enough to earn a spot in your regular snack rotation. The fact that they’re made with simple, wholesome ingredients just makes them better.
I love how they bring people together—the initial shock, the laughter, and then the quiet munching as everyone reaches for another piece. There’s something special about food that makes people smile, even as they’re pretending to be horrified.
I’d love to hear how yours turn out! Did you try any variations? Did your guests scream or laugh? Drop a comment below and share your creation—I read every single one. And if you’re looking for more fun, spooky recipes, check out my Halloween snack board or these mummy pigs in a blanket for the full spread.
Happy haunting—and happy snacking!
Frequently Asked Questions
Can I make these ahead of time?
Absolutely. You can prepare the dough up to 2 days in advance and keep it wrapped in the fridge. Or bake them fully and store in an airtight container for up to 5 days. Just re-crisp them before serving.
Why did my cheese straws turn out greasy?
This usually happens when the butter is too warm or the dough is overworked. Make sure your butter is cold and handle the dough as little as possible. Also, using pre-shredded cheese can cause greasiness due to anti-caking agents.
Can I use different types of cheese?
Yes! Sharp cheddar is classic, but you can use gouda, pepper jack, or even a mix of parmesan and mozzarella. Just avoid very soft cheeses like brie—they won’t hold up in the oven.
How do I make them look more like real fingers?
Vary the width of your strips slightly. After breaking, trim one end to look like a fingernail using a small knife. You can also press an almond slice into one end before baking for a realistic nail effect.
Can I freeze the baked cheese straws?
Yes! Freeze them in a single layer on a baking sheet, then transfer to a freezer bag. They’ll keep for up to 3 months. Reheat directly from frozen at 350°F for 8-10 minutes to restore crispness.
Pin This Recipe!
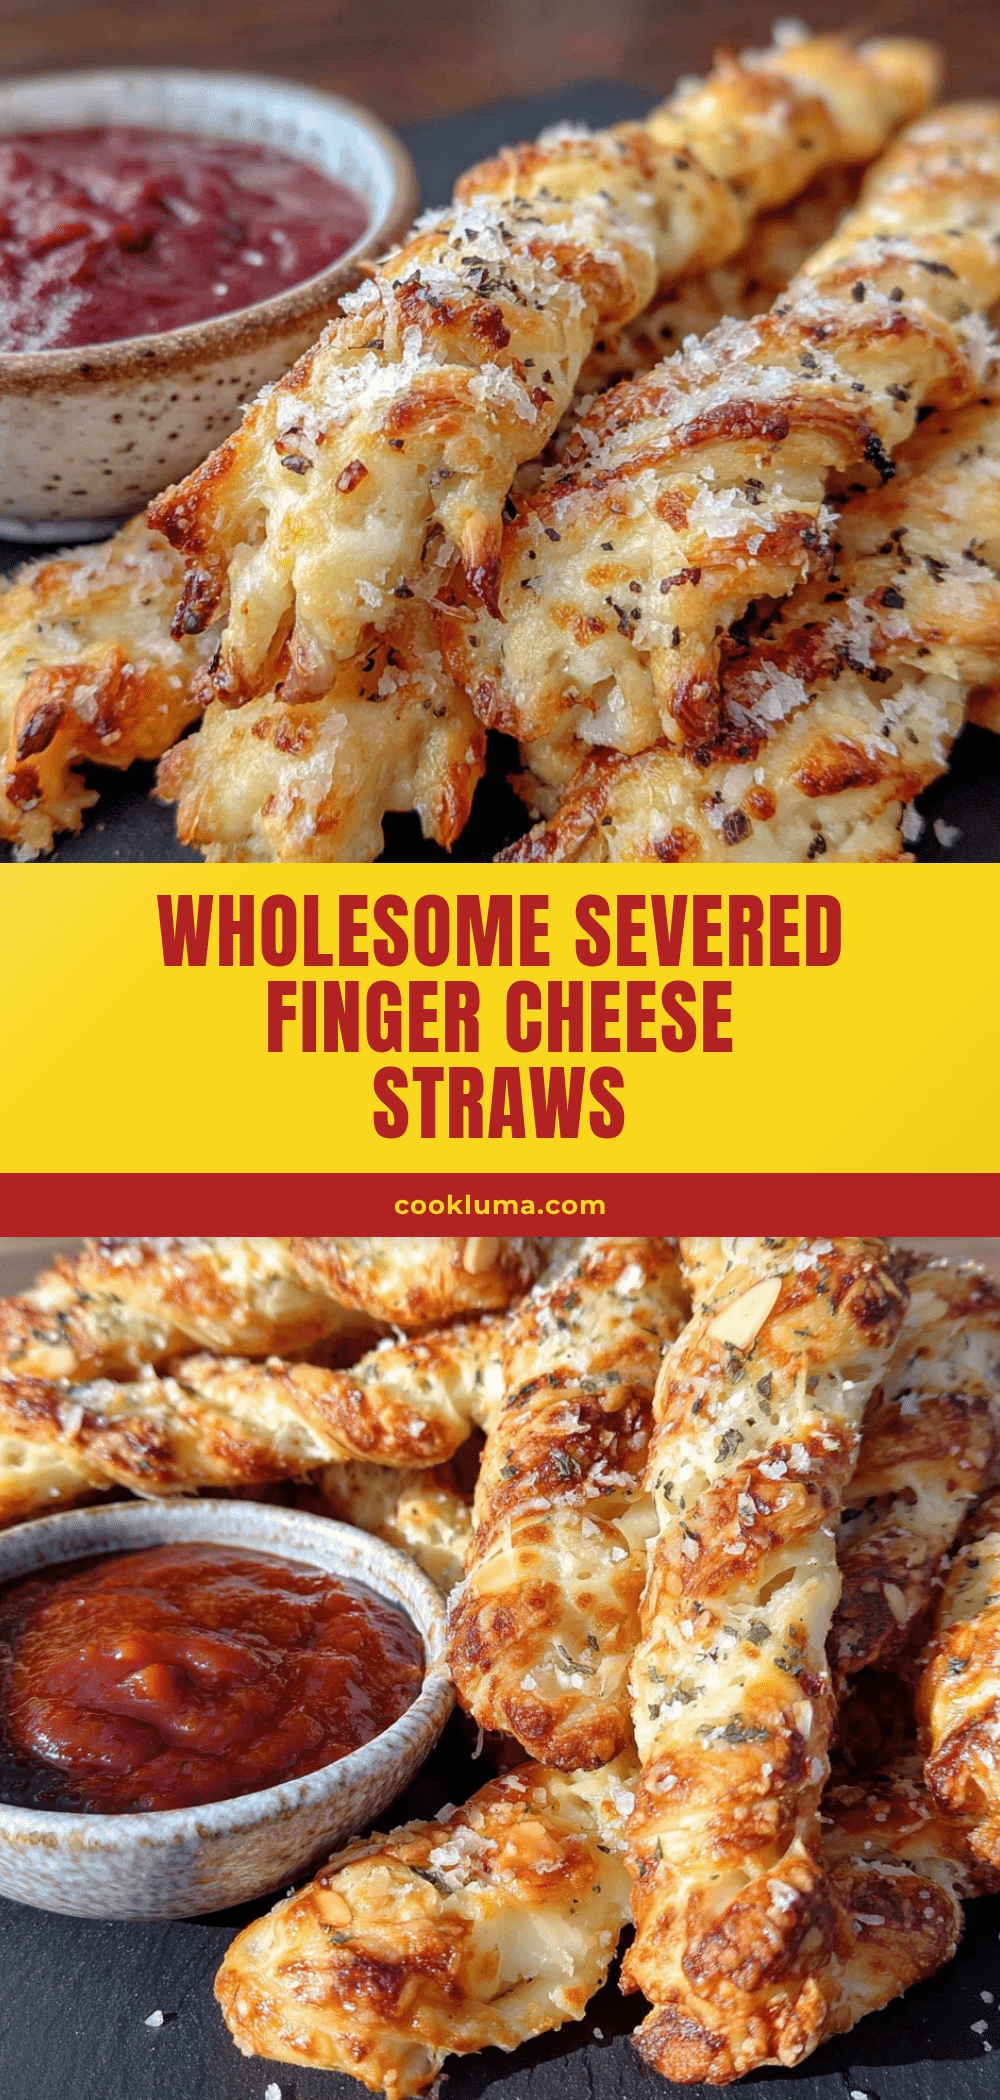
Wholesome Severed Finger Cheese Straws

These creepy yet delicious cheese straws are baked as one sheet and broken into finger-like pieces, creating a perfect Halloween snack with crispy edges and a tender, cheesy interior.
- Prep Time: 15 minutes
- Cook Time: 20 minutes
- Total Time: 35 minutes
- Yield: 4 servings 1x
- Category: Appetizer
- Cuisine: American
Ingredients
- 1 ½ cups all-purpose flour
- ½ cup whole wheat flour
- 1 teaspoon baking powder
- ½ teaspoon salt
- ¼ teaspoon cayenne pepper (optional)
- ½ cup cold unsalted butter, cut into small cubes
- 2 cups sharp cheddar cheese, grated
- ¼ cup cold water (add more if needed, one tablespoon at a time)
- 1 large egg, beaten (for egg wash)
- Flaky sea salt (for topping)
- Optional: sesame seeds, poppy seeds, or everything bagel seasoning
Instructions
- Preheat your oven to 375°F (190°C). Line a baking sheet with parchment paper.
- In a large bowl, whisk together both flours, baking powder, salt, and cayenne pepper.
- Add the cold butter cubes to the flour mixture. Using a pastry cutter or two forks, work the butter into the flour until it resembles coarse meal with pea-sized butter pieces.
- Toss the grated cheddar into the flour-butter mixture. Use your hands to gently distribute it.
- Drizzle the cold water over the mixture and stir with a fork until the dough just comes together. It should look shaggy and slightly dry.
- Turn the dough onto a lightly floured surface. Pat it into a rectangle about ½-inch thick. Don’t knead it.
- Carefully lift the dough onto your prepared baking sheet. Use your hands or a rolling pin to gently press it into an even rectangle, about 10×8 inches.
- Using a sharp knife or bench scraper, lightly score the dough into finger-sized strips about 1-inch apart. Don’t cut all the way through.
- Brush the beaten egg evenly over the surface. Sprinkle with flaky sea salt and any additional seeds you’re using.
- Bake for 18-22 minutes, until the edges are deep golden brown and the center is firm to the touch. Rotate the pan halfway through if edges brown faster.
- Let the sheet cool on a wire rack for at least 10 minutes.
- Once completely cool, use your hands to break the sheet along the scored lines into finger-like pieces.
Notes
Keep all ingredients cold for flaky layers. Do not overwork the dough. Let cool completely before breaking. For extra realism, trim ends to look like knuckles or fingernails. Store in an airtight container at room temperature for up to 5 days. Re-crisp in a 300°F oven for 5 minutes if needed.
Nutrition
- Serving Size: 4-5 finger pieces
- Calories: 220
- Sodium: 320
- Fat: 14
- Saturated Fat: 9
- Carbohydrates: 16
- Fiber: 1
- Protein: 8
Keywords: cheese straws, Halloween snack, finger food, cheddar, party appetizer, creepy snack, easy cheese straws


