My nephew Leo asked why I couldn’t just dump the can of green chiles straight into the pot with the pasta. I started to explain why that wouldn’t work—something about the timing of the cheese sauce and the need for a proper roux. Then I stopped. Honestly, I had no good reason. I was just being stubborn, repeating what I’d always done without questioning it. So I shrugged, handed him the can, and said, “Go for it.” He dumped them in right after the broth, and you know what? The whole pot smelled incredible. That night, we ate a mac and cheese that was creamier, tangier, and more alive than any I’d made before. Leo didn’t say “I told you so.” He didn’t have to. I just sat there, fork halfway to my mouth, realizing I’d been overcomplicating this dish for years.
This Spooky Green Chili Mac and Cheese is the result of that humbling Tuesday night. It’s a one-pot wonder that comes together in about 30 minutes, and the green chiles do more than just add heat—they bring a bright, slightly smoky acidity that cuts through the richness of the cheese. The color is a little eerie, a little fun, perfect for Halloween dinner or any fall night when you want something cozy with a twist. I mean, let’s face it: regular mac and cheese is great, but sometimes you need a dish that surprises you. This one surprises you from the very first bite.
Maybe you’ve been there—stuck in your ways with a recipe you’ve made a hundred times, convinced your method is the only method. I get it. But this Spooky Green Chili Mac and Cheese is proof that breaking the rules (or letting a ten-year-old break them for you) can lead to something genuinely better. It’s become my go-to for busy weeknights, potlucks, and especially Halloween parties where the kids want something fun and the adults want something actually delicious. One pot, minimal cleanup, maximum flavor. Let me tell you, it stays with you.
Why You’ll Love This Recipe
I’ve tested this Spooky Green Chili Mac and Cheese more times than I care to admit, and each time it gets better. Here’s why it deserves a permanent spot in your dinner rotation:
- Quick & Easy: This comes together in about 30 minutes, start to finish. Perfect for those nights when you walk in the door starving and need dinner on the table before anyone starts snacking on the ingredients.
- Simple Ingredients: No fancy grocery trips needed. You likely already have pasta, cheese, milk, and broth in your kitchen. The green chiles are the only “special” ingredient, and they’re available in any standard grocery store.
- Perfect for Halloween & Fall Gatherings: The green hue is naturally spooky without any artificial coloring. It’s great for Halloween parties, fall potlucks, or just a cozy night in when the weather turns chilly.
- Crowd-Pleaser: I’ve served this to kids, adults, and even picky eaters who “don’t like spicy food.” The green chiles are mild and add flavor without overwhelming heat. Everyone goes back for seconds.
- Unbelievably Delicious: The texture is ultra-creamy, the cheese pulls beautifully, and the green chiles add a subtle kick that makes this mac and cheese unforgettable. It’s not just another version—it’s the best version.
This isn’t just good mac and cheese. It’s the kind that makes you close your eyes after the first bite. It’s comfort food reimagined—faster, more flavorful, but with the same soul-soothing satisfaction. Perfect for impressing guests without stress, or turning a simple Tuesday into something memorable.
What Ingredients You Will Need
This recipe uses simple, wholesome ingredients to deliver bold flavor and satisfying texture without the fuss. Most of these are pantry staples, and the green chiles are easy to find year-round.
For the Mac and Cheese
- 1 pound elbow macaroni (or any short pasta like cavatappi or shells)
- 4 cups low-sodium chicken or vegetable broth (I prefer Kitchen Basics brand for consistent flavor)
- 1 cup whole milk (adds richness; use 2% if needed)
- 2 cans (4 ounces each) diced green chiles, mild or medium heat (I like Ortega or Hatch for the best smoky flavor)
- 4 tablespoons unsalted butter
- 3 tablespoons all-purpose flour
- 2 cups shredded sharp cheddar cheese (freshly shredded melts better than pre-shredded)
- 1 cup shredded Monterey Jack cheese (for extra creaminess)
- ½ cup sour cream (adds tang and silky texture)
- 1 teaspoon garlic powder
- ½ teaspoon onion powder
- ½ teaspoon smoked paprika
- Salt and black pepper to taste
For the Topping (Optional but Recommended)
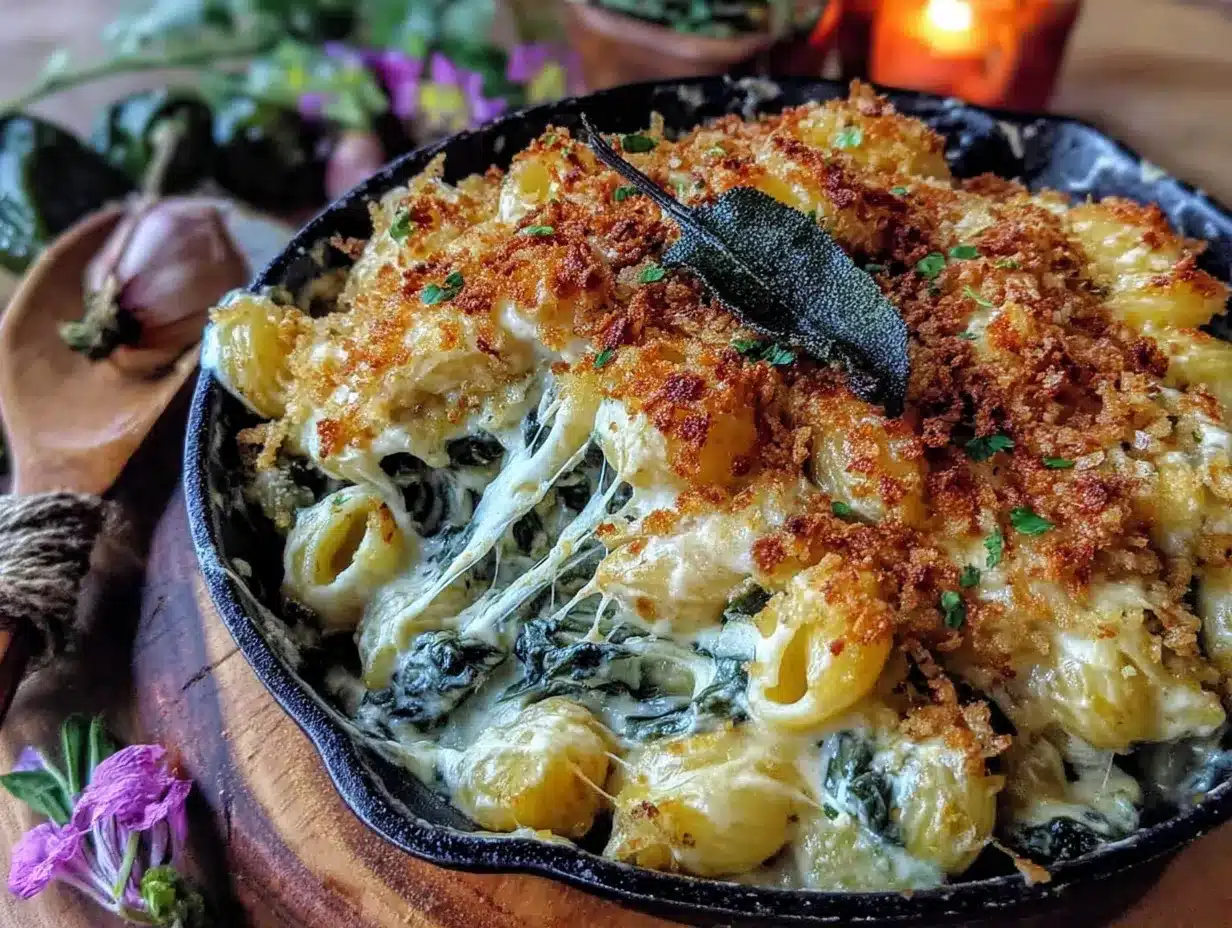
- ½ cup panko breadcrumbs
- 2 tablespoons melted butter
- ¼ cup grated Parmesan cheese
Ingredient Selection Tips: Look for firm, small-curd cheeses for best melting. If you can find Hatch green chiles, they have a distinct smoky flavor that really shines here. For a spicier version, use medium or hot green chiles. In summer, you can roast and dice fresh green chiles instead of canned—just make sure to remove the skins.
Substitution Guidance: Use gluten-free pasta and a 1:1 gluten-free flour blend for a gluten-free version. Swap the sour cream with plain Greek yogurt or dairy-free coconut yogurt if needed. For a dairy-free option, use plant-based butter, milk, and cheese shreds—though the texture will be slightly different.
Equipment Needed
You don’t need much for this one-pot wonder, which is part of the beauty. Here’s what you’ll need:
- Large Dutch oven or heavy-bottomed pot (5-6 quart capacity is ideal)
- Wooden spoon or silicone spatula for stirring
- Cheese grater (freshly grated cheese makes a huge difference)
- Measuring cups and spoons
- Small bowl for the panko topping mixture
- Oven-safe baking dish (if you want to broil the topping—optional)
I’ve made this in a cheaper stainless steel pot, and it worked fine, but a Dutch oven holds heat more evenly and prevents scorching on the bottom. If you don’t have a Dutch oven, any heavy-bottomed pot will do—just stir a little more frequently. A cast-iron skillet also works if you’re making a smaller batch.
For the topping, I like to transfer the mac and cheese to a baking dish and broil it for 2-3 minutes to get that golden crust. But honestly, it’s just as good straight from the pot without the extra step.
Preparation Method
This Spooky Green Chili Mac and Cheese comes together in one pot, which means less cleanup and more time enjoying dinner. Follow these steps carefully, and you’ll have a creamy, flavorful dish every time.
- Start the pasta: In your large Dutch oven or pot, combine the 4 cups of broth, 1 cup of milk, and 1 pound of elbow macaroni. Yes, you’re cooking the pasta directly in the liquid—no need for a separate pot of water. Bring this to a boil over medium-high heat, stirring occasionally to prevent the pasta from sticking.
- Add the green chiles: Once the liquid is boiling, stir in both cans of diced green chiles (undrained). This is the step Leo insisted on, and it’s genius—the chiles infuse the pasta as it cooks, making every bite flavorful. Reduce the heat to medium-low and let it simmer, stirring every 2-3 minutes, until the pasta is al dente and most of the liquid is absorbed. This takes about 10-12 minutes. Don’t walk away—pasta can go from perfect to mushy fast.
- Make the roux: When the pasta is done, push it to one side of the pot and add the 4 tablespoons of butter to the empty space. Let it melt completely, then sprinkle the 3 tablespoons of flour over the melted butter. Stir the butter and flour together with a wooden spoon until it forms a thick paste—this is your roux. Cook it for 1 minute to get rid of the raw flour taste.
- Build the cheese sauce: Stir the roux into the pasta mixture until everything is evenly coated. The sauce will look a little thin at first, but don’t worry. Add the garlic powder, onion powder, smoked paprika, and a pinch of salt and pepper. Stir well.
- Add the cheese: Reduce the heat to low. Gradually add the shredded cheddar and Monterey Jack cheese, a handful at a time, stirring constantly until each addition is fully melted before adding the next. This slow addition prevents the cheese from clumping and ensures a silky smooth sauce. Once all the cheese is melted, stir in the ½ cup of sour cream. The sauce will thicken beautifully as it sits.
- Taste and adjust: Give the mac and cheese a taste. Add more salt, pepper, or smoked paprika if needed. Remember that the green chiles add some heat, so if you prefer a milder dish, stick with mild chiles. If you want more kick, add a pinch of cayenne or use medium/hot chiles.
- Optional crispy topping: If you want that golden, crunchy crust, preheat your broiler. In a small bowl, mix the ½ cup panko breadcrumbs, 2 tablespoons melted butter, and ¼ cup grated Parmesan cheese. Transfer the mac and cheese to an oven-safe baking dish, sprinkle the topping evenly over the surface, and broil for 2-3 minutes until golden brown. Watch it closely—broilers can burn things in seconds.
- Rest before serving: Let the mac and cheese sit for 5 minutes before serving. This allows the sauce to thicken slightly and the flavors to meld together. Serve hot, and watch it disappear.
Sensory Cue: When the pasta is done, it should be tender but still have a slight bite. The sauce should coat the back of a spoon—if it seems too thin, let it sit for a few more minutes off the heat; it will thicken as it cools.
Cooking Tips & Techniques
After making this Spooky Green Chili Mac and Cheese more times than I can count, I’ve picked up a few tricks that make a real difference. Here’s what I’ve learned:
Don’t overcook the pasta. This is the most common mistake. Since the pasta cooks directly in the broth and milk, it can go from perfect to mushy quickly. Start checking it at the 8-minute mark. You want it al dente because it will continue to cook slightly when you add the cheese and sour cream.
Grate your own cheese. I know, I know—pre-shredded cheese is convenient. But it’s coated with anti-caking agents that prevent it from melting smoothly. Freshly grated cheddar and Monterey Jack melt into a silky, cohesive sauce. Trust me on this one. I learned the hard way when my first batch turned out grainy.
Low heat is your friend. When adding the cheese, keep the heat on low. High heat can cause the cheese to seize up and become greasy. Patience here pays off. If the sauce looks like it’s separating, remove the pot from the heat entirely and stir vigorously—it usually comes back together.
Timing the green chiles. Adding the chiles early, as Leo suggested, allows their flavor to permeate the pasta. But if you want more texture and a pop of fresh green flavor, reserve half a can and stir it in at the very end, just before serving. Both methods work, but the early addition gives you a more integrated flavor.
Multitasking strategy: While the pasta is simmering, shred your cheese and mix the panko topping. This way, everything is ready when you need it. I’ve forgotten to shred the cheese before starting, and scrambling to grate it while the pasta is perfectly done is not fun.
Variations & Adaptations
This Spooky Green Chili Mac and Cheese is incredibly versatile. Here are some ways to make it your own:
Spicy Southwest Version: Add ½ cup of corn kernels (frozen or canned) and ½ cup of black beans along with the green chiles. Top with crushed tortilla chips instead of panko for a crunchy, Tex-Mex twist. I made this for a game day party, and it was gone in 20 minutes.
Smoky Bacon Version: Cook 6 slices of bacon until crispy, crumble them, and stir half into the mac and cheese before serving. Sprinkle the rest on top along with the panko topping. The smoky, salty bacon pairs beautifully with the green chiles. Just be aware—this version disappears fastest.
Vegetable-Packed Version: Sauté 1 cup of diced bell peppers and 1 cup of chopped spinach in a little oil before starting the pasta. Add them to the pot with the broth. This adds color, nutrients, and a subtle sweetness that balances the heat.
Dairy-Free Adaptation: Use unsweetened oat milk or almond milk instead of whole milk, and dairy-free butter and cheese shreds. The texture will be slightly less creamy, but still delicious. I’ve tested this with Violife cheddar shreds, and it works surprisingly well.
Protein Boost: Stir in 2 cups of shredded rotisserie chicken or cooked ground beef along with the cheese. This turns the mac and cheese into a complete meal. Perfect for nights when you need something hearty and filling.
Serving & Storage Suggestions
This Spooky Green Chili Mac and Cheese is best served hot, straight from the pot or baking dish. The creamy sauce and tender pasta are at their peak right after cooking. Here’s how to serve and store it:
Serving Temperature: Serve immediately while the cheese is still molten and the sauce is silky. If you’ve added the panko topping, the contrast between the crunchy top and creamy interior is pure magic.
Presentation: For a Halloween party, serve it in a black cauldron or a dark-colored pot to emphasize the “spooky” green color. Garnish with a few whole green chiles or a sprinkle of smoked paprika for contrast. It’s a fun conversation starter.
Complementary Dishes: This mac and cheese pairs well with a simple side salad dressed with a tangy vinaigrette to cut through the richness. Grilled chicken or roasted vegetables also make great accompaniments. For a complete meal, serve it alongside slow cooker pork carnitas for a protein-packed dinner.
Storage: Store leftovers in an airtight container in the refrigerator for up to 4 days. The sauce will thicken as it cools, so don’t be alarmed if it looks less saucy the next day.
Reheating: The best way to reheat is on the stovetop over medium-low heat with a splash of milk or broth to loosen the sauce. Stir frequently until heated through. You can also microwave individual portions in 30-second bursts, stirring between each. Avoid reheating at high power, as it can make the cheese greasy.
Freezing: This mac and cheese freezes surprisingly well. Let it cool completely, then transfer to a freezer-safe container. Freeze for up to 3 months. Thaw overnight in the refrigerator, then reheat on the stovetop with a little milk. The texture won’t be quite as creamy as fresh, but it’s still delicious.
Flavor Development: Interestingly, the flavors meld and deepen overnight. Some people prefer this mac and cheese the next day, when the green chile heat has mellowed and the cheese sauce has fully absorbed into the pasta. If you have the patience, make it a day ahead and reheat it—it’s a different, but equally wonderful, experience.
Nutritional Information & Benefits
This Spooky Green Chili Mac and Cheese is comfort food at its finest, but it also has some surprising nutritional perks. Here’s a breakdown:
Estimated Nutritional Values (per serving, based on 8 servings):
- Calories: 480
- Protein: 22g
- Carbohydrates: 45g
- Fat: 24g
- Fiber: 3g
- Calcium: 350mg (35% DV)
- Iron: 2.5mg (14% DV)
Health Benefits of Key Ingredients: Green chiles are rich in vitamin C and capsaicin, which can boost metabolism and reduce inflammation. The cheese provides calcium and protein, while the whole milk adds vitamin D. Using low-sodium broth helps control the salt content.
Dietary Considerations: This recipe can be made gluten-free with simple swaps. It’s naturally vegetarian (use vegetable broth). For a lower-fat version, use reduced-fat cheese and 2% milk—the texture will be slightly less creamy but still satisfying.
Potential Allergens: This recipe contains dairy and gluten. For dairy-free or gluten-free adaptations, see the variations section above.
I’m not a nutritionist, but I do believe in balance. This mac and cheese is rich and indulgent, but it’s made with real ingredients and no artificial anything. Pair it with a green salad or roasted vegetables, and you’ve got a meal that feels both satisfying and nourishing.
Conclusion
This Spooky Green Chili Mac and Cheese is more than just a Halloween novelty—it’s a genuinely delicious, one-pot comfort meal that deserves a spot in your regular dinner rotation. The green chiles add a subtle warmth and tangy brightness that transforms classic mac and cheese into something special. And the best part? It all comes together in about 30 minutes with minimal cleanup.
I love this recipe because it reminds me that sometimes the best ideas come from the most unexpected places—like a stubborn cook finally listening to a kid with a can of chiles. It’s proof that you don’t have to overcomplicate things to get amazing results. Whether you’re making it for a Halloween party, a fall potluck, or just a cozy Tuesday night, this mac and cheese delivers every single time.
Now I want to hear from you! Have you tried this recipe? Did you add your own twist? Drop a comment below and let me know how it turned out. And if you loved it, share it with a friend who needs a little spooky comfort in their life. Happy cooking, and don’t be afraid to break a few rules along the way!
Frequently Asked Questions
Can I use fresh green chiles instead of canned?
Absolutely! If you have access to fresh Hatch or Anaheim chiles, roast them under the broiler until the skins are blackened, then peel, seed, and dice them. Use about ½ cup of roasted chiles in place of each 4-ounce can. The flavor will be even smokier and more complex.
How do I prevent the mac and cheese from becoming too thick?
The sauce will thicken as it sits, especially after refrigeration. To keep it creamy, don’t overcook the pasta—make sure there’s still a little liquid in the pot when you add the cheese. When reheating, always add a splash of milk or broth to loosen the sauce.
Can I make this recipe in an Instant Pot?
Yes! Use the sauté function to melt the butter and make the roux, then add the broth, milk, pasta, and green chiles. Pressure cook on high for 4 minutes, then quick release. Stir in the cheese and sour cream until melted. The texture will be slightly different but still delicious.
Is this recipe very spicy?
Not at all if you use mild green chiles. They add flavor and a very mild warmth, similar to a gentle tingle. For a spicier version, use medium or hot chiles, or add a pinch of cayenne pepper. You can always adjust the heat level to suit your family’s preferences.
Can I double this recipe for a crowd?
Definitely! Simply double all ingredients and use a larger pot (at least 8 quarts). The cooking time may increase slightly—just keep an eye on the pasta and stir frequently. For a party, I recommend making it in a large baking dish and broiling the panko topping for that impressive golden crust.
Pin This Recipe!
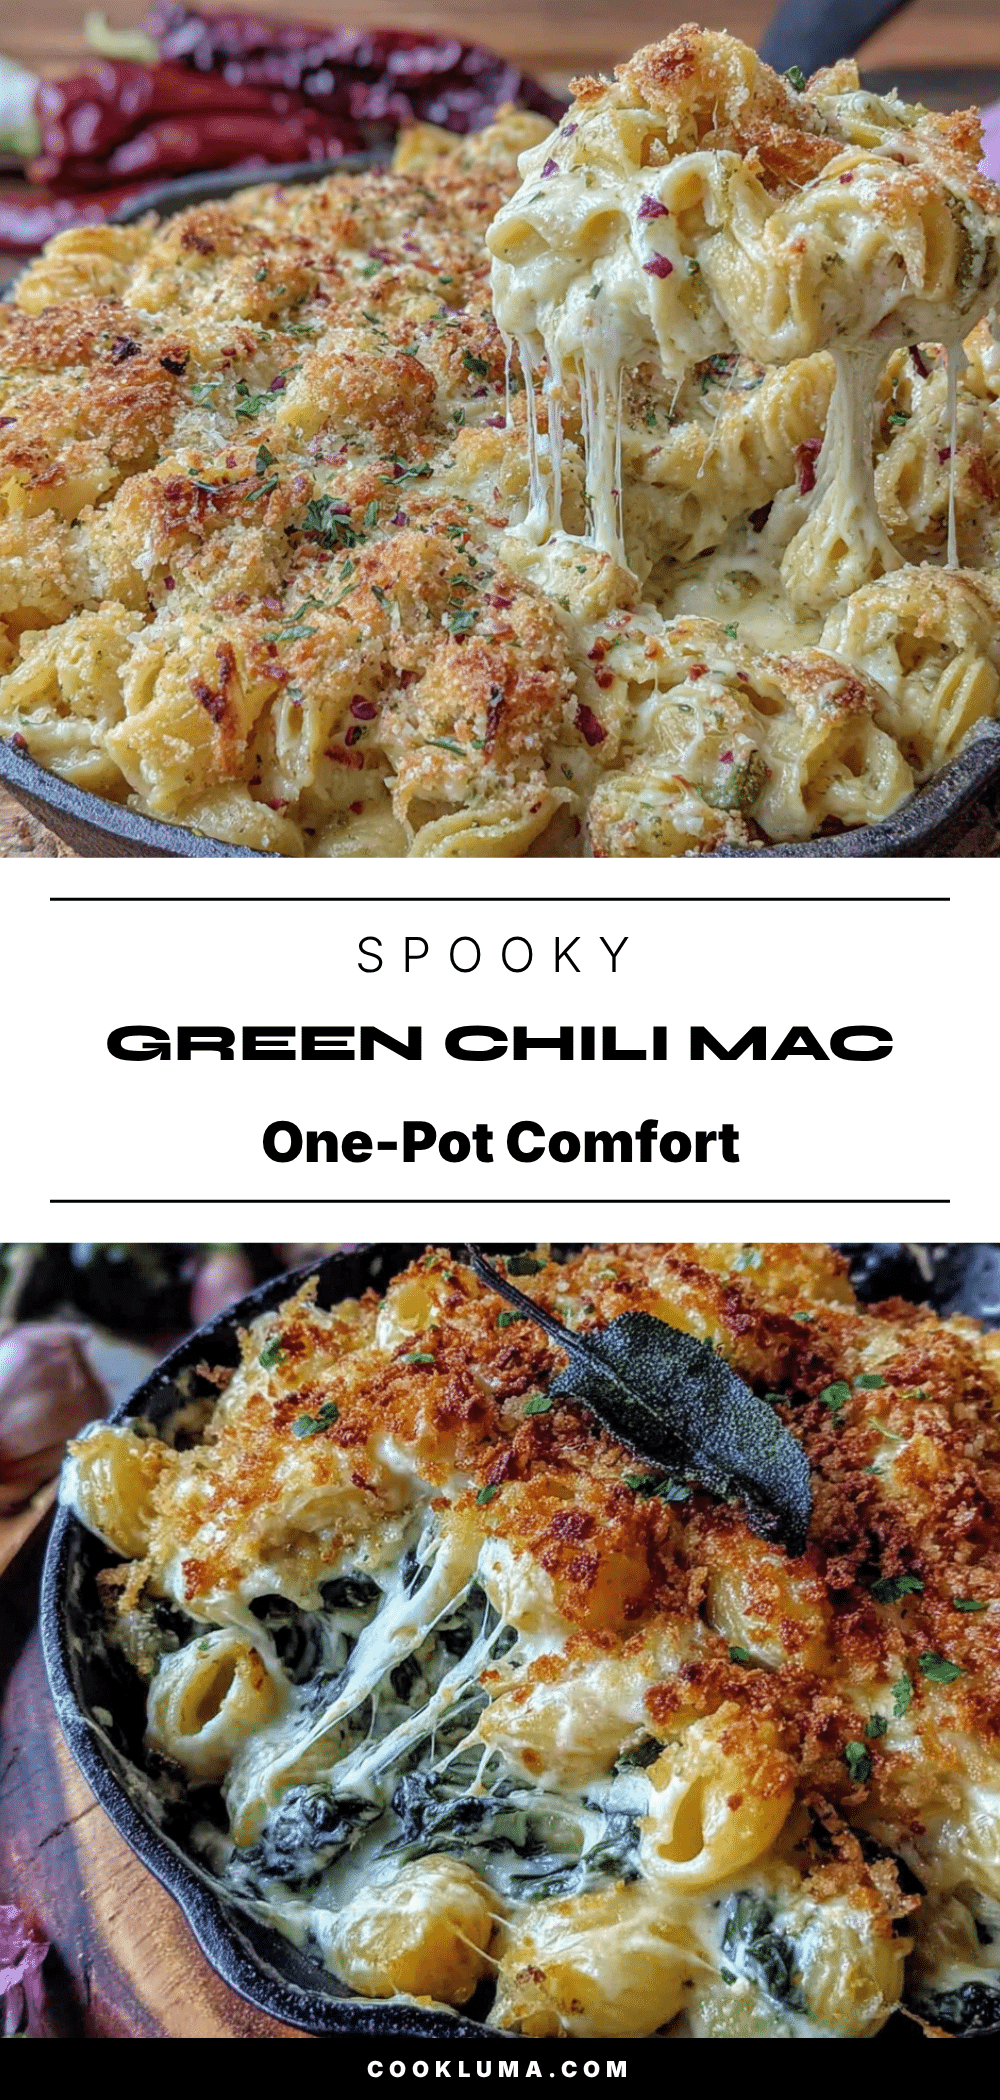
Spooky Green Chili Mac and Cheese – Easy One-Pot Comfort

This Spooky Green Chili Mac and Cheese is a one-pot wonder that comes together in about 30 minutes. The green chiles add a bright, slightly smoky acidity that cuts through the richness of the cheese, creating a creamy, tangy, and unforgettable comfort dish perfect for Halloween or any fall night.
- Prep Time: 10 minutes
- Cook Time: 20 minutes
- Total Time: 30 minutes
- Yield: 8 servings 1x
- Category: Main Course
- Cuisine: American
Ingredients
- 1 pound elbow macaroni (or any short pasta like cavatappi or shells)
- 4 cups low-sodium chicken or vegetable broth
- 1 cup whole milk
- 2 cans (4 ounces each) diced green chiles, mild or medium heat
- 4 tablespoons unsalted butter
- 3 tablespoons all-purpose flour
- 2 cups shredded sharp cheddar cheese (freshly shredded)
- 1 cup shredded Monterey Jack cheese
- ½ cup sour cream
- 1 teaspoon garlic powder
- ½ teaspoon onion powder
- ½ teaspoon smoked paprika
- Salt and black pepper to taste
- ½ cup panko breadcrumbs (optional topping)
- 2 tablespoons melted butter (optional topping)
- ¼ cup grated Parmesan cheese (optional topping)
Instructions
- In a large Dutch oven or pot, combine 4 cups broth, 1 cup milk, and 1 pound elbow macaroni. Bring to a boil over medium-high heat, stirring occasionally.
- Once boiling, stir in both cans of diced green chiles (undrained). Reduce heat to medium-low and simmer, stirring every 2-3 minutes, until pasta is al dente and most liquid is absorbed (about 10-12 minutes).
- Push pasta to one side of the pot and add 4 tablespoons butter to the empty space. Let melt, then sprinkle 3 tablespoons flour over the butter. Stir to form a roux and cook for 1 minute.
- Stir the roux into the pasta mixture until evenly coated. Add garlic powder, onion powder, smoked paprika, and a pinch of salt and pepper. Stir well.
- Reduce heat to low. Gradually add shredded cheddar and Monterey Jack cheese, a handful at a time, stirring constantly until each addition is fully melted. Stir in ½ cup sour cream.
- Taste and adjust seasoning with more salt, pepper, or smoked paprika if needed.
- Optional crispy topping: Preheat broiler. Mix ½ cup panko breadcrumbs, 2 tablespoons melted butter, and ¼ cup grated Parmesan. Transfer mac and cheese to an oven-safe baking dish, sprinkle topping evenly, and broil 2-3 minutes until golden brown.
- Let mac and cheese rest for 5 minutes before serving. Serve hot.
Notes
Don’t overcook the pasta; start checking at 8 minutes. Grate your own cheese for best melting. Keep heat low when adding cheese to prevent seizing. For more texture, reserve half a can of green chiles and stir in at the end. Let mac and cheese rest 5 minutes before serving to thicken sauce.
Nutrition
- Serving Size: 1 serving (about 1 c
- Calories: 480
- Sugar: 5
- Sodium: 680
- Fat: 24
- Saturated Fat: 14
- Carbohydrates: 45
- Fiber: 3
- Protein: 22
Keywords: green chili mac and cheese, one-pot mac and cheese, Halloween mac and cheese, spicy mac and cheese, comfort food, easy dinner


