The church bake sale was in twelve hours and I’d completely forgotten. Not just a little forgotten — the kind of forgotten where you’re lying in bed at 10 PM and suddenly sit bolt upright, remembering that you signed up for “dessert for 50” three weeks ago. Everyone else would be bringing their grandmother’s heirloom pecan pie or those perfect little French tarts that look like they belong in a bakery window. I had a can of pumpkin puree, a box of graham crackers, and roughly zero patience left. Honestly, I almost just showed up with a store-bought pie and called it a day.
But then I remembered this trick I’d stumbled on a few months ago — making pumpkin pie in a bar form with a pressed crust. No rolling, no crimping, no worrying about the filling leaking out. I threw it together in about twenty minutes, crust and all, and slid it into the fridge to set while I panicked about what to wear the next morning. The next day, I cut it into neat little squares, tossed them on a platter, and braced myself for the inevitable side-eye from the woman who brings the seven-layer dip every year.
Here’s the thing — those bars disappeared first. Before the fancy pies. Before the homemade cookies. People kept coming back, grabbing another square, asking for the recipe. One guy actually asked if I’d cater his Thanksgiving. I just laughed and told him the truth — I’d forgotten about the bake sale until the night before and threw this together with stuff I already had. Maybe you’ve been there, scrambling at the last minute for something that doesn’t look like a last-minute scramble. These quick pumpkin pie bars with graham cracker crust became my accidental signature dessert, and honestly, I’ve never looked back.
Why You’ll Love These Quick Pumpkin Pie Bars
Let me tell you why this recipe has become my go-to for every fall gathering, busy weeknight craving, and last-minute dessert emergency. I’ve tested this version more times than I can count, tweaking the ratios until the texture hit that perfect sweet spot between creamy and firm.
- Quick & Easy: From start to finish, these bars come together in under 30 minutes of active time. The oven does most of the work, and you don’t need any fancy equipment or pastry skills.
- Simple Ingredients: You probably have most of these in your kitchen right now. No trips to specialty stores, no hunting down obscure ingredients — just pantry staples that work every time.
- Perfect for Fall Gatherings: Whether it’s a potluck, Thanksgiving potluck, or just a Tuesday night craving, these bars fit right in. They travel well, cut neatly, and don’t need any fussy presentation.
- Crowd-Pleaser: I’ve served these to kids, adults, picky eaters, and self-proclaimed pumpkin haters. They always come back for seconds. The graham cracker crust adds that buttery crunch that even non-pumpkin people love.
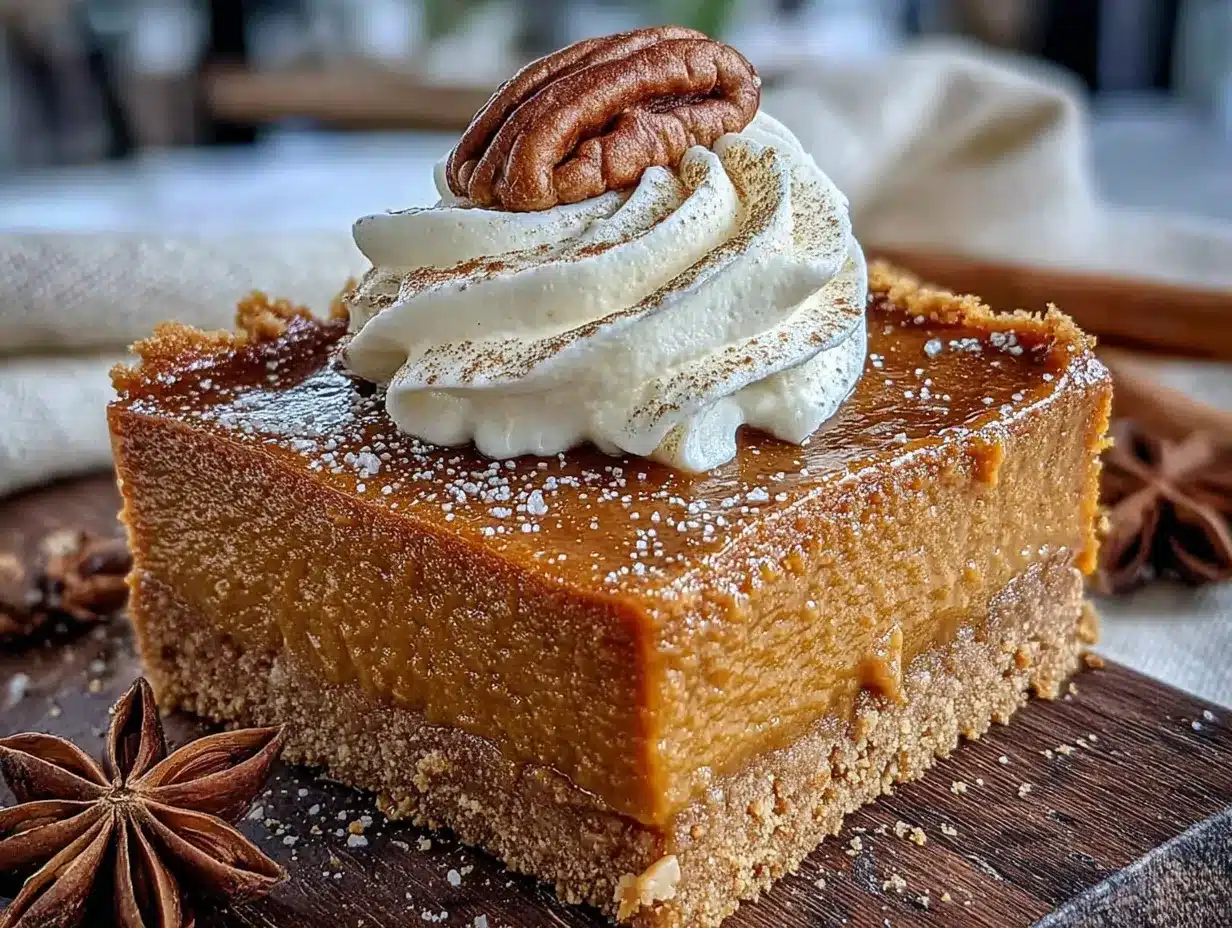
- Unbelievably Delicious: The texture is what gets people — creamy and rich like a classic pumpkin pie, but with a firmer, sliceable consistency that holds up beautifully in bar form. The spiced filling pairs perfectly with the sweet, crunchy crust.
What makes this different from every other pumpkin bar recipe out there? It’s the ratio. I spent weeks testing different amounts of pumpkin puree, eggs, and sweetener until I found the combination that gives you that classic pie filling texture without being too soft or too dense. Plus, the graham cracker crust is pre-baked just enough to stay crisp underneath the filling — no soggy bottoms here.
This is the kind of dessert that makes you close your eyes after the first bite. It’s comfort food at its finest — familiar, warm, and completely satisfying. And the best part? You can make it on a busy weeknight without breaking a sweat.
What Ingredients You Will Need
This recipe uses simple, wholesome ingredients to deliver that classic pumpkin pie flavor without any fuss. Most of these are pantry staples, especially if you do any fall baking.
For the Graham Cracker Crust
- Graham cracker crumbs — 2 cups (about 16 full sheets, crushed finely). I recommend using a food processor for the most even texture, but a zip-top bag and rolling pin work too. You want fine, sand-like crumbs for the best crust.
- Granulated sugar — 1/4 cup (adds sweetness and helps the crust hold together)
- Unsalted butter — 1/2 cup (1 stick), melted (use salted butter and skip the salt if that’s all you have)
- Salt — 1/4 teaspoon (balances the sweetness)
For the Pumpkin Filling
- Pumpkin puree — 1 can (15 ounces), not pumpkin pie filling. Make sure you grab 100% pure pumpkin. I prefer Libby’s for its consistent texture and flavor.
- Sweetened condensed milk — 1 can (14 ounces) (this gives the filling that rich, creamy texture without needing to cook a custard on the stovetop)
- Large eggs — 2, at room temperature (room temperature eggs blend more smoothly into the filling)
- Vanilla extract — 1 teaspoon (pure vanilla makes a difference here)
- Pumpkin pie spice — 2 teaspoons (or make your own: 1 teaspoon cinnamon, 1/2 teaspoon ginger, 1/4 teaspoon nutmeg, 1/4 teaspoon cloves)
- Ground cinnamon — 1/2 teaspoon (extra warmth and depth)
- Salt — 1/4 teaspoon (enhances all the flavors)
Optional Topping
- Whipped cream — for serving (homemade or store-bought, both work great)
- Caramel sauce — for drizzling (adds a lovely salty-sweet finish)
If you’re dairy-free, you can substitute the butter with a plant-based butter stick (not margarine) and use a can of full-fat coconut milk in place of the sweetened condensed milk. The texture will be slightly different, but still delicious. For a gluten-free option, use gluten-free graham crackers or crushed gluten-free cookies for the crust.
Equipment Needed
- 9×9-inch baking pan — this size gives you nice, thick bars. An 8×8 works too, but your bars will be slightly taller and need a few extra minutes of baking.
- Parchment paper — for easy removal and cleanup. Trust me on this one.
- Food processor or zip-top bag — for crushing graham crackers
- Medium mixing bowl — for the crust ingredients
- Large mixing bowl — for the filling
- Whisk — for beating the filling smooth
- Measuring cups and spoons
- Spatula — for spreading the crust evenly
- Cooling rack — for cooling the bars completely before slicing
I’ve made this recipe with a glass baking dish, a metal pan, and even a disposable foil pan in a pinch. They all work fine — just keep an eye on the baking time, as glass tends to hold heat longer. If you don’t have a food processor, you can crush the graham crackers by hand. It takes a few extra minutes, but it’s a great way to work out some frustration.
Preparation Method
Preheat your oven to 350°F (175°C). Line your 9×9-inch baking pan with parchment paper, leaving a little overhang on two opposite sides. This will make lifting the bars out later so much easier.
- Make the crust: In a medium bowl, combine the graham cracker crumbs, 1/4 cup sugar, and 1/4 teaspoon salt. Pour in the melted butter and stir with a fork until every crumb is moistened. The mixture should look like wet sand and hold together when you squeeze it.
- Press the crust: Dump the crumb mixture into your prepared pan. Use the bottom of a measuring cup or a flat glass to press it down firmly and evenly. Don’t skip this step — a tightly packed crust holds together much better. Press it all the way to the edges and into the corners. Bake for 10 minutes, then set aside to cool slightly while you make the filling.
- Make the filling: In a large bowl, whisk the eggs until they’re light and frothy — about 30 seconds. Add the pumpkin puree, sweetened condensed milk, vanilla extract, pumpkin pie spice, cinnamon, and 1/4 teaspoon salt. Whisk until everything is completely combined and smooth. The mixture should be thick but pourable, with a beautiful orange color. Scrape down the sides and bottom of the bowl to make sure there are no hidden lumps.
- Pour and bake: Pour the pumpkin filling over the warm crust. Spread it gently with a spatula to make sure it reaches all the corners. Tap the pan on the counter a few times to release any air bubbles. Bake for 35 to 40 minutes, or until the edges are set and the center jiggles just slightly when you gently shake the pan. The filling will continue to set as it cools.
- Cool completely: Place the pan on a cooling rack and let it cool to room temperature. This usually takes about 1 to 2 hours. Then transfer to the refrigerator and chill for at least 2 hours, or overnight. This is the hardest part, I know — but the bars need this time to set properly so they cut cleanly.
- Slice and serve: Once fully chilled, use the parchment paper overhang to lift the entire block out of the pan. Place it on a cutting board and use a sharp knife to cut into squares. Wipe the knife clean between cuts for the neatest edges. Serve cold or at room temperature, with whipped cream or a drizzle of caramel sauce if you’re feeling fancy.
Pro tip: For the cleanest slices, chill the bars for at least 4 hours or overnight. A hot knife also helps — run it under hot water, dry it off, then slice. Repeat this between each cut for perfect, bakery-style bars.
Cooking Tips & Techniques
I’ve made this recipe at least a dozen times, and I’ve learned a few things the hard way so you don’t have to.
Don’t overbake the filling. This is the most common mistake I see people make. Pumpkin pie filling continues to cook and set after it comes out of the oven. If you wait until the center is completely firm, you’ll end up with dry, cracked bars. Pull them out when the center still has a slight wobble — like jello, not like liquid. That jiggle is your friend.
Press the crust firmly. I cannot stress this enough. A loosely packed crust will crumble and fall apart when you try to cut or serve the bars. Use the flat bottom of a glass or a measuring cup and really lean into it. I usually press in layers — first the edges, then the center, then go over the whole thing again.
Room temperature eggs matter. Cold eggs can cause the filling to seize up or create a slightly lumpy texture. If you forgot to take them out of the fridge, place them in a bowl of warm water for 5 minutes before using. Same goes for the pumpkin puree — let it sit on the counter for 15 minutes if you can.
Let them chill overnight if possible. I know, I know — you want to eat them now. But the flavor actually improves after a full night in the fridge. The spices meld together, the texture becomes perfectly creamy, and the crust stays crisp. Plus, they cut so much more cleanly. I once served these after only 2 hours of chilling and they were good, but the next day they were incredible.
Watch your pan size. If you use an 8×8 pan instead of 9×9, your bars will be thicker and need about 5 extra minutes of baking time. If you use a 9×13, they’ll be thinner and need about 5 minutes less. Adjust accordingly and keep an eye on them.
One time, I forgot to add the sugar to the crust. The bars still tasted fine, but the crust was a little bland and didn’t hold together as well. Now I always double-check my ingredients before mixing. Learn from my mistakes, friends.
Variations & Adaptations
This recipe is surprisingly flexible. Here are a few ways I’ve adapted it over the years:
Gluten-Free Version: Use gluten-free graham crackers or crushed gluten-free shortbread cookies for the crust. I’ve also used crushed almonds mixed with a little coconut flour in a pinch. The texture is different — more nutty and crumbly — but still delicious.
Dairy-Free Version: Substitute the butter with a high-quality plant-based butter. For the filling, use a can of full-fat coconut cream mixed with 1/4 cup maple syrup in place of sweetened condensed milk. The filling will be slightly less sweet and a little more coconut-forward, but it works beautifully.
Spiced-Up Version: Add 1/4 teaspoon of cayenne pepper or chipotle powder to the filling for a subtle heat that pairs surprisingly well with pumpkin. I tried this on a whim last fall and it was a hit at a Halloween party. Just a tiny pinch — you want warmth, not fire.
Chocolate Lover’s Version: Sprinkle 1/2 cup of chocolate chips over the warm crust before pouring in the filling. The chocolate melts into a fudgy layer that complements the pumpkin beautifully. Dark chocolate chips work best here — they’re not too sweet.
Crunchy Topping Version: Before baking, sprinkle the top with a mixture of 1/4 cup chopped pecans, 2 tablespoons brown sugar, and 1 tablespoon melted butter. It creates a crunchy, candied top that adds texture and flavor. Just watch the last few minutes of baking so the nuts don’t burn.
My personal favorite variation? I add a tablespoon of bourbon to the filling and use a pecan shortbread crust. It’s not for everyone, but it’s my little secret indulgence during the holidays.
Serving & Storage Suggestions
These quick pumpkin pie bars are best served chilled or at room temperature. I actually prefer them straight from the fridge — the texture is firmer and the flavors taste more pronounced. If you’re serving them at a gathering, take them out about 15 minutes before serving so they soften slightly.
For presentation, I like to cut them into 16 neat squares and arrange them on a white platter. A dollop of whipped cream on each square and a light dusting of cinnamon makes them look fancy with almost zero effort. If you’re feeling extra, drizzle caramel sauce over the top and sprinkle with flaky sea salt.
These bars pair beautifully with a hot cup of coffee, spiced chai, or even a glass of cold milk. For a fall brunch, serve them alongside a pumpkin spice latte or apple cider. They also make a great dessert after a hearty soup or chili dinner.
Storage: Place leftover bars in an airtight container in the refrigerator for up to 5 days. I like to layer them between sheets of parchment paper so they don’t stick together. The flavor actually improves after a day or two as the spices continue to meld.
Freezing: These bars freeze beautifully. Wrap individual squares in plastic wrap, then place them in a freezer-safe bag or container. They’ll keep for up to 3 months. To thaw, just move them to the refrigerator overnight, or let them sit at room temperature for about 30 minutes. I always keep a stash in my freezer for unexpected guests or late-night cravings.
Reheating: If you prefer warm bars, pop an individual square in the microwave for 10 to 15 seconds. Just be careful not to overheat, or the crust can get soggy. You can also warm them in a 300°F oven for about 5 minutes.
One thing I’ve noticed — these bars actually taste better the next day. Something about the flavors settling overnight makes them even more delicious. So if you can, make them a day ahead. Your future self will thank you.
Nutritional Information & Benefits
Here’s the approximate nutritional breakdown for one bar (based on 16 servings):
| Nutrient | Amount per Serving |
|---|---|
| Calories | 245 |
| Total Fat | 12g |
| Saturated Fat | 7g |
| Cholesterol | 55mg |
| Sodium | 210mg |
| Total Carbohydrates | 32g |
| Dietary Fiber | 2g |
| Sugars | 22g |
| Protein | 4g |
These bars offer more than just great taste. Pumpkin is packed with vitamin A, which supports eye health and immune function. It’s also a good source of fiber, which helps with digestion and keeps you feeling full longer. The eggs provide high-quality protein, and the butter adds a touch of healthy fat for satiety.
If you’re watching your sugar intake, you can reduce the sugar in the crust to 2 tablespoons and use a sugar-free sweetened condensed milk alternative. The texture will be slightly less creamy, but still very good. For a lower-calorie option, skip the whipped cream topping and enjoy the bars on their own.
This recipe is vegetarian-friendly and can be made gluten-free or dairy-free with the substitutions mentioned earlier. It does contain dairy, eggs, and gluten in its standard form, so keep that in mind for guests with allergies.
Conclusion
These quick pumpkin pie bars with graham cracker crust have saved me more times than I can count. From forgotten bake sales to last-minute dinner parties to those evenings when I just need something sweet and comforting, they never let me down. They’re proof that you don’t need hours in the kitchen or a long list of fancy ingredients to make something truly special.
What I love most about this recipe is how forgiving it is. You can tweak the spices, swap the crust, add toppings, or make it dairy-free, and it still works. It’s the kind of recipe that becomes a part of your regular rotation because it’s reliable, delicious, and easy to remember.
I’d love to hear how these turn out for you. Did you add your own twist? Did they disappear as fast as mine always do? Drop a comment below and let me know — and don’t forget to share your photos. Happy baking, friends. You’ve got this.
Frequently Asked Questions
Can I use pumpkin pie filling instead of pumpkin puree?
I wouldn’t recommend it. Pumpkin pie filling already has sugar and spices added, so your bars will end up overly sweet and the spice balance will be off. Stick with 100% pure pumpkin puree for the best results. If that’s all you have, reduce the sugar and spices by about half and see how it goes.
Why did my crust fall apart?
This usually happens when the crust isn’t pressed firmly enough into the pan or when there isn’t enough butter to hold the crumbs together. Make sure you’re using the full 1/2 cup of melted butter and really pressing the mixture down with a flat surface. A tightly packed crust is key to clean slices.
Can I make these bars ahead of time?
Absolutely. In fact, I recommend it. These bars taste even better after a day in the fridge. You can make them up to 2 days ahead and store them in an airtight container in the refrigerator. They also freeze beautifully for up to 3 months.
How do I know when the bars are done baking?
The edges should be set and slightly puffed, while the center should jiggle just a little when you gently shake the pan. Think of it like jello — it should wobble, not slosh. The filling will continue to set as it cools, so don’t wait for the center to be completely firm.
Can I use a different crust?
Yes! Shortbread cookies, vanilla wafers, or even crushed ginger snaps all make excellent crusts for these bars. If you’re using a sweeter cookie, you can reduce the sugar in the crust slightly. Ginger snaps add a lovely spicy kick that pairs beautifully with the pumpkin filling.
Pin This Recipe!
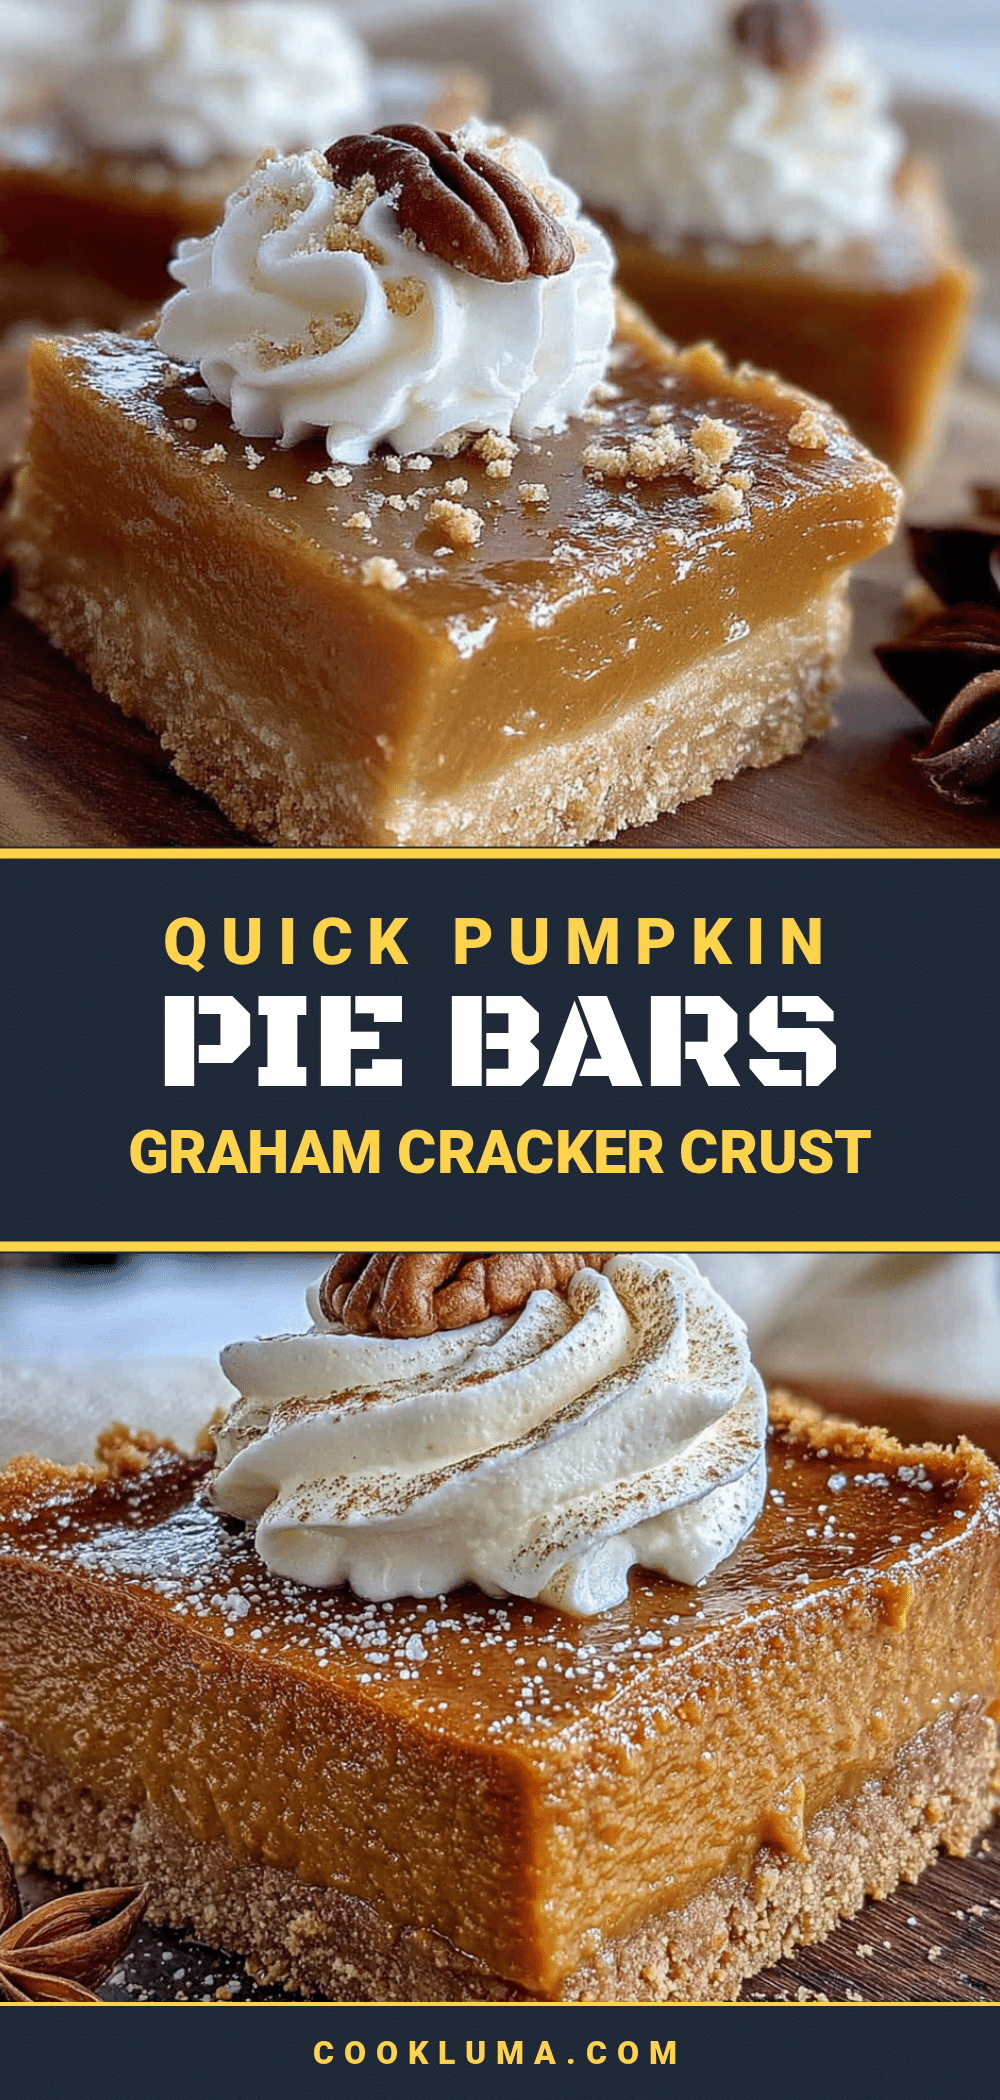
Quick Pumpkin Pie Bars with Easy Graham Cracker Crust
These quick pumpkin pie bars with a buttery graham cracker crust are the perfect last-minute dessert for fall gatherings. Creamy, spiced pumpkin filling sits atop a crisp crust, making for an easy, crowd-pleasing treat that comes together in under 30 minutes of active time.
- Prep Time: 20 minutes
- Cook Time: 40 minutes
- Total Time: 4 hours 20 minutes (includes chilling)
- Yield: 16 servings 1x
- Category: Dessert
- Cuisine: American
Ingredients
- 2 cups graham cracker crumbs (about 16 full sheets, finely crushed)
- 1/4 cup granulated sugar
- 1/2 cup unsalted butter, melted
- 1/4 teaspoon salt
- 1 can (15 ounces) pumpkin puree (not pumpkin pie filling)
- 1 can (14 ounces) sweetened condensed milk
- 2 large eggs, at room temperature
- 1 teaspoon vanilla extract
- 2 teaspoons pumpkin pie spice
- 1/2 teaspoon ground cinnamon
- 1/4 teaspoon salt
- Whipped cream, for serving (optional)
- Caramel sauce, for drizzling (optional)
Instructions
- Preheat oven to 350°F (175°C). Line a 9×9-inch baking pan with parchment paper, leaving overhang on two opposite sides.
- Make the crust: In a medium bowl, combine graham cracker crumbs, 1/4 cup sugar, and 1/4 teaspoon salt. Pour in melted butter and stir with a fork until every crumb is moistened (mixture should look like wet sand).
- Press the crust: Dump crumb mixture into prepared pan. Use the bottom of a measuring cup or flat glass to press it down firmly and evenly. Bake for 10 minutes, then set aside to cool slightly.
- Make the filling: In a large bowl, whisk eggs until light and frothy (about 30 seconds). Add pumpkin puree, sweetened condensed milk, vanilla extract, pumpkin pie spice, cinnamon, and 1/4 teaspoon salt. Whisk until completely combined and smooth.
- Pour and bake: Pour pumpkin filling over warm crust. Spread gently with a spatula to reach all corners. Tap pan on counter a few times to release air bubbles. Bake for 35 to 40 minutes, until edges are set and center jiggles slightly when shaken.
- Cool completely: Place pan on a cooling rack and cool to room temperature (1 to 2 hours). Then refrigerate for at least 2 hours, or overnight.
- Slice and serve: Use parchment overhang to lift entire block out of pan. Place on cutting board and cut into squares with a sharp knife. Serve cold or at room temperature, with whipped cream or caramel sauce if desired.
Notes
For cleanest slices, chill bars for at least 4 hours or overnight. Use a hot knife (run under hot water, dry, then slice) for perfect edges. Don’t overbake; center should jiggle slightly when done. Press crust firmly to prevent crumbling.
Nutrition
- Serving Size: 1 bar
- Calories: 245
- Sugar: 22
- Sodium: 210
- Fat: 12
- Saturated Fat: 7
- Carbohydrates: 32
- Fiber: 2
- Protein: 4
Keywords: pumpkin pie bars, graham cracker crust, quick dessert, fall dessert, pumpkin bars, easy pumpkin recipe


