The summer I turned thirty, I found myself at a dusty antique shop in a tiny town called Mineral Point. I was there because my car had overheated, and while the mechanic worked his magic, I wandered into this cramped little shop that smelled like old paper and cinnamon. The owner, a woman named Gertie who had to be at least eighty, barely looked up from her crossword puzzle. But when I picked up a worn, spiral-bound cookbook from 1972, she snorted and said, “That one’s got the pie recipe that won the county fair three years running.”
I wasn’t expecting cooking advice from a crossword-obsessed antique dealer, but there I was, flipping through a stained page while my car got fixed. And honestly? That cookbook turned out to be a goldmine. The pumpkin pie recipe inside was written in faded blue ink, with notes in the margins like “add extra nutmeg” and “don’t skip the vodka trick for the crust.” I copied it onto a napkin—the only paper I had—and stuffed it in my glove compartment. That napkin sat there for two months before I finally tried it. Now, I can’t imagine a fall gathering without this perfect pumpkin pie from scratch with homemade buttery crust.
The first time I made it for a dinner party, I forgot to chill the dough long enough and ended up with a crust that slid halfway down the pan. My friend Dave, who’s a professional baker, just laughed and said, “Looks like a modern art piece.” But the filling? People went quiet after the first bite. That’s the kind of reaction you want when you’re hosting, right? The kind where someone actually stops mid-conversation to take another forkful. This recipe has become my secret weapon for Thanksgiving, potlucks, and any gathering where I want to look like I have my act together—even when my crust is sliding sideways.
Why You’ll Love This Recipe
Let me tell you why this pumpkin pie is different from every other recipe you’ve tried. I’ve tested this version at least a dozen times, tweaking the spice blend and the crust technique until it was just right. Here’s what makes it stand out:
- Quick & Easy : The filling comes together in under 15 minutes, and the crust only needs about 10 minutes of active work. Most of the time is hands-off baking and chilling.
- Simple Ingredients : You probably already have most of these in your pantry. No weird extracts or hard-to-find spices here.
- Perfect for Hosting : This pie is made for dinner parties and holiday tables. It slices cleanly, looks gorgeous, and tastes even better the next day.
- Crowd-Pleaser : I’ve served this to everyone from picky toddlers to my uncle who “doesn’t like pumpkin,” and it always gets devoured.
- Unbelievably Delicious : The filling is silky and spiced just right, while the crust is flaky and buttery without being greasy. It’s the kind of pie that makes people close their eyes after the first bite.
What makes this version special is the technique. Most pumpkin pie recipes use a standard pie crust that gets soggy within hours. But this homemade buttery crust uses a little trick—replacing some of the water with vodka—that keeps it flaky and crisp even after the filling sits in it. Plus, the filling has a perfectly balanced spice blend that lets the pumpkin flavor shine without being overwhelmed by cinnamon. It’s not just another pumpkin pie; it’s your new go-to recipe for impressing guests without stress.
I mean, honestly, there’s something magical about pulling a golden-brown pie out of the oven when your house is full of guests. The smell alone makes people gather in the kitchen. And when you tell them you made the crust from scratch? You’ll look like a hero. This recipe gives you that confidence, even if you’ve never made a pie crust before.
What Ingredients You Will Need
This recipe uses simple, wholesome ingredients to deliver that classic pumpkin pie flavor with a buttery, flaky crust. Most of these are pantry staples, and I’ve included notes on substitutions so you can adapt it to what you have on hand.
For the Homemade Buttery Crust
- All-purpose flour : 1 ¼ cups (150g) — I prefer King Arthur Flour for consistent results
- Salt : ½ teaspoon — fine sea salt works best
- Sugar : 1 teaspoon — just a touch to balance the savory notes
- Unsalted butter : ½ cup (1 stick or 113g), very cold and cut into small cubes — this is key for a flaky crust
- Ice water : 3 to 4 tablespoons — as cold as possible
- Vodka : 2 tablespoons — yes, vodka! It adds moisture without developing gluten, keeping the crust tender (adds flakiness)
If you don’t have vodka, you can use all ice water, but the crust won’t be quite as flaky. I learned this trick from Cook’s Illustrated years ago, and it’s never failed me. The alcohol evaporates during baking, so don’t worry about the taste.
For the Pumpkin Filling
- Pumpkin puree : 1 can (15 oz or 425g) — use pure pumpkin, not pumpkin pie filling. I recommend Libby’s for its consistent texture and flavor
- Brown sugar : ¾ cup (150g), packed — light or dark both work; dark gives a deeper molasses flavor
- Granulated sugar : ¼ cup (50g)
- Large eggs : 3, at room temperature — room temperature eggs blend more smoothly into the filling
- Heavy cream : 1 cup (240ml) — this makes the filling extra rich and silky. You can substitute half-and-half for a lighter version
- Vanilla extract : 1 teaspoon — pure vanilla adds warmth
- Ground cinnamon : 2 teaspoons — I use Saigon cinnamon for its bold, sweet flavor
- Ground ginger : 1 teaspoon
- Ground nutmeg : ½ teaspoon — freshly grated is amazing if you have it
- Ground cloves : ¼ teaspoon — a little goes a long way
- Salt : ½ teaspoon — enhances all the flavors
For the spices, feel free to adjust based on your preference. Some people like more ginger, others prefer extra cinnamon. I’ve found this ratio to be the sweet spot where no single spice overpowers the pumpkin. If you’re using a pumpkin pie spice blend, use about 2 teaspoons instead of the individual spices.
One thing I’ve learned from testing: don’t use fresh pumpkin puree unless you’ve cooked and strained it really well. Canned pumpkin is actually more consistent and gives a smoother texture. I know it sounds counterintuitive, but trust me on this one.
Equipment Needed
You don’t need a fancy kitchen to make this pie, but having the right tools makes the process smoother. Here’s what you’ll need:
- 9-inch pie dish — glass or ceramic works best for even baking. I use a Pyrex dish that I’ve had for years
- Rolling pin — a standard rolling pin is fine; if you don’t have one, a wine bottle works in a pinch (I’ve done it!)
- Large mixing bowls — one for the crust, one for the filling
- Pastry cutter or two forks — for cutting butter into the flour
- Plastic wrap — for chilling the dough
- Whisk — for blending the filling smoothly
- Measuring cups and spoons — accuracy matters in baking
- Kitchen scale (optional but helpful) — for precise flour measurements
- Pie weights or dried beans — for blind baking the crust. I keep a bag of dried pinto beans just for this purpose
- Parchment paper or aluminum foil — to line the crust before adding weights
- Cooling rack — to let the pie cool evenly
If you’re new to pie-making and don’t want to invest in a pastry cutter, two forks work perfectly fine. Just work quickly so the butter stays cold. And if you don’t have pie weights, dried beans are a budget-friendly alternative that you can reuse for years.
Preparation Method
Let’s walk through this step by step. I’ve included timing estimates and little cues so you know exactly what to look for at each stage.
Step 1: Make the Crust Dough (10 minutes + 1 hour chilling)
In a large bowl, whisk together the flour, salt, and sugar. Add the cold butter cubes and toss them in the flour to coat. Using a pastry cutter or two forks, cut the butter into the flour until the mixture looks like coarse meal with some pea-sized butter pieces remaining. You want visible chunks of butter—that’s what creates flaky layers.
In a small bowl, combine 3 tablespoons of ice water with the vodka. Drizzle this over the flour mixture and stir with a fork until the dough starts to come together. If it seems dry, add the remaining tablespoon of ice water. The dough should hold together when squeezed but shouldn’t be sticky. Turn it out onto a piece of plastic wrap, shape it into a disk about 1 inch thick, and wrap tightly. Refrigerate for at least 1 hour, or up to 3 days.
Tip from experience: I once forgot to add the vodka and just used water. The crust was tougher and less flaky. The vodka really does make a difference, so don’t skip it if you can help it.
Step 2: Roll Out the Dough (15 minutes)
On a lightly floured surface, roll the chilled dough into a 12-inch circle, about ⅛ inch thick. Rotate the dough occasionally and add more flour as needed to prevent sticking. Carefully transfer the dough to your 9-inch pie dish by rolling it around your rolling pin and unrolling it over the dish. Gently press the dough into the bottom and up the sides. Trim the overhang to about ½ inch, then fold it under and crimp the edges with your fingers or a fork. Place the crust in the refrigerator for 30 minutes while you preheat the oven.
Step 3: Blind Bake the Crust (20 minutes)
Preheat your oven to 375°F (190°C). Line the chilled crust with parchment paper or foil, leaving some overhang. Fill with pie weights or dried beans, making sure they reach the edges. Bake for 15 minutes, then carefully remove the weights and parchment. Prick the bottom of the crust with a fork (this prevents bubbles) and bake for another 5 to 8 minutes, until the bottom looks dry and lightly golden. Set aside to cool slightly.
I learned the hard way that skipping the blind bake leads to a soggy bottom crust. The filling is wet, and if the crust isn’t partially baked first, it never fully crisps up.
Step 4: Make the Filling (10 minutes)
While the crust cools, make the filling. In a large bowl, whisk together the pumpkin puree, brown sugar, and granulated sugar until smooth. Add the eggs one at a time, whisking well after each. Pour in the heavy cream and vanilla, and whisk until fully combined. Sprinkle in the cinnamon, ginger, nutmeg, cloves, and salt, and whisk until the filling is completely smooth and uniform.
Here’s a trick: taste the filling before you pour it in. It’s safe since there are no raw eggs in the mixture yet (okay, there are, but a tiny taste won’t hurt). Adjust the spices if needed. I usually end up adding a pinch more ginger because I love the warmth it brings.
Step 5: Bake the Pie (50 to 60 minutes)
Pour the filling into the pre-baked crust. Place the pie on the middle rack of your oven and bake at 375°F (190°C) for 50 to 60 minutes. The edges should be set, and the center should jiggle slightly when you gently shake the pan—like Jell-O, not like liquid. If the crust edges start browning too quickly, cover them with a pie shield or strips of foil after about 30 minutes.
When it’s done, transfer the pie to a cooling rack and let it cool completely, at least 2 hours. The filling will continue to set as it cools. For the cleanest slices, refrigerate the pie for at least 4 hours or overnight before serving.
Step 6: Serve and Enjoy
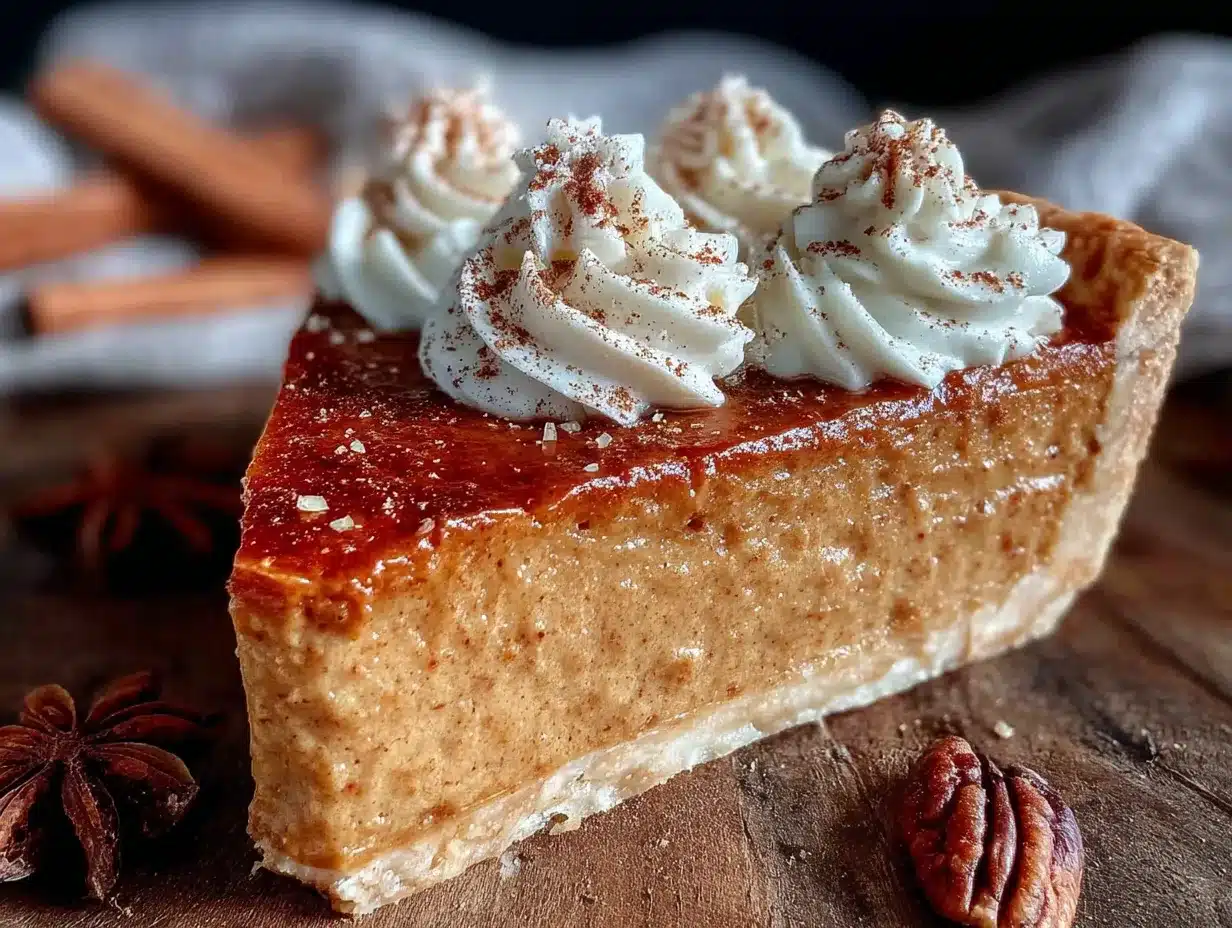
Slice and serve at room temperature or slightly chilled. A dollop of whipped cream is classic, but it’s also amazing on its own. The crust should be flaky and buttery, and the filling should be silky smooth with that perfect spice balance.
Cooking Tips & Techniques
After making this pie more times than I can count, I’ve picked up a few tricks that make the process easier and the results more consistent.
Keep everything cold. For the flakiest crust, your butter, water, and even your flour should be cold. I sometimes pop my flour in the freezer for 10 minutes before starting. If the butter starts to soften while you’re cutting it in, refrigerate the bowl for 5 minutes before proceeding.
Don’t overwork the dough. This is the most common mistake I see. Mix the dough just until it holds together. Overmixing develops gluten, which makes the crust tough instead of tender. If your dough feels sticky, add a little more flour rather than kneading it.
Use a pie shield. I used to struggle with burnt crust edges until I bought a silicone pie shield. Now I just pop it on after 30 minutes of baking, and the edges come out perfectly golden. A strip of foil works just as well if you fold it over the edges.
Let the pie cool completely. I know it’s tempting to cut into it while it’s still warm, but the filling needs time to set. If you slice it too soon, you’ll end up with a runny mess. Patience pays off here.
Make it ahead of time. This pie actually tastes better the next day. The spices meld together, and the texture becomes even more silky. If you’re hosting a dinner party, make it the day before and refrigerate it overnight. One less thing to worry about on the day of your gathering.
Honestly, my biggest failure with this recipe was the time I tried to rush the chilling process. I only chilled the crust for 20 minutes instead of an hour, and it shrunk down the sides of the pan during blind baking. The pie still tasted good, but it looked like a sad, shrunken version of itself. Lesson learned: don’t skip the chill time.
Variations & Adaptations
One of the things I love about this recipe is how adaptable it is. Here are some variations I’ve tried and loved:
Spiced Rum Pumpkin Pie
Replace the vanilla extract with 2 tablespoons of spiced rum. It adds a warm, complex flavor that pairs beautifully with the pumpkin. I made this for a Friendsgiving party, and it was gone in 20 minutes.
Maple Pecan Crust
Add ¼ cup of finely chopped pecans to the crust dough along with 1 tablespoon of maple syrup (reduce the ice water slightly to compensate). The nuts add a lovely crunch and the maple syrup complements the pumpkin filling perfectly.
Dairy-Free Version
Use cold coconut oil or vegan butter in place of the butter for the crust. For the filling, substitute the heavy cream with full-fat coconut milk. The texture will be slightly different, but it’s still delicious. I tested this for a friend with a dairy allergy, and she said it was the best pumpkin pie she’d had in years.
Extra Spicy Pumpkin Pie
If you like a bold spice profile, add ¼ teaspoon of ground cardamom and a pinch of white pepper to the filling. The cardamom adds an almost floral warmth, while the white pepper gives a subtle heat that catches you by surprise.
Gluten-Free Crust
Substitute the all-purpose flour with a gluten-free flour blend that contains xanthan gum (I like Bob’s Red Mill 1-to-1). The dough will be more fragile, so handle it gently and chill it well before rolling. The filling is naturally gluten-free, so this adaptation is easier than you might think.
Serving & Storage Suggestions
This pie is at its best when served at room temperature or slightly chilled. If you’ve refrigerated it overnight, let it sit on the counter for about 30 minutes before slicing. The texture softens just enough to be perfectly creamy without being runny.
For presentation, I like to top each slice with a dollop of lightly sweetened whipped cream and a dusting of cinnamon. If I’m feeling fancy, I’ll add a few candied pecans or a drizzle of caramel sauce on the plate. It makes the pie look restaurant-worthy with minimal effort.
Storage is simple: cover the pie loosely with plastic wrap or foil and refrigerate for up to 5 days. The crust will stay flaky for the first 2 to 3 days, then gradually soften. I honestly prefer the flavor on day 2 or 3 because the spices have had time to meld.
You can also freeze this pie for up to 3 months. Wrap it tightly in plastic wrap, then a layer of foil, and freeze it whole or in individual slices. To thaw, transfer it to the refrigerator overnight. Reheat individual slices in a 350°F (175°C) oven for about 10 minutes if you want that just-baked warmth.
If you’re hosting a dinner party, this pie pairs beautifully with a crisp apple cider or a cup of spiced chai. For a boozy pairing, a bourbon old fashioned or a dark rum cocktail complements the warm spices perfectly.
Nutritional Information & Benefits
Here’s the approximate nutritional breakdown for one slice of this pumpkin pie (based on 8 servings):
- Calories : 380
- Total Fat : 22g
- Saturated Fat : 13g
- Cholesterol : 115mg
- Sodium : 320mg
- Total Carbohydrates : 42g
- Dietary Fiber : 3g
- Sugars : 28g
- Protein : 6g
Pumpkin is packed with vitamin A, which is great for eye health and immune function. It’s also a good source of fiber and potassium. The eggs and cream add protein and calcium, while the spices—especially cinnamon and ginger—have anti-inflammatory properties.
If you’re watching your sugar intake, you can reduce the brown sugar to ½ cup and the granulated sugar to 2 tablespoons. The pie will be less sweet but still delicious. For a lower-fat option, substitute the heavy cream with evaporated milk, which cuts the fat content significantly while keeping the texture creamy.
This pie contains gluten (from the crust), dairy, and eggs, so it’s not suitable for those with allergies to those ingredients. But the variations section above has options for adapting it to different dietary needs.
Conclusion
This perfect pumpkin pie from scratch with homemade buttery crust is more than just a dessert—it’s the kind of recipe that becomes a tradition. Every time I make it, I think about Gertie and that dusty antique shop, and I smile. It’s proof that the best recipes often come from the most unexpected places.
I hope you give this recipe a try. Don’t be intimidated by the crust—it’s simpler than you think, and the results are so worth it. And if your crust slides down the pan like mine did the first time? Just laugh it off and keep going. The filling will save you, I promise.
I’d love to hear how it turns out for you. Did you try any of the variations? Did you discover a new spice combination that works better? Drop a comment below and share your experience. And if you’re looking for more hosting-friendly desserts, check out our classic apple pie recipe or these pumpkin cheesecake bars for another crowd-pleasing option. Happy baking, friend!
Frequently Asked Questions
Can I use store-bought pie crust instead of making it from scratch?
Absolutely! While the homemade buttery crust is a highlight of this recipe, a good-quality store-bought crust will still work. Just blind bake it according to the package instructions before adding the filling. The pie will still be delicious, just not quite as flaky.
Why did my pie crust shrink during baking?
This usually happens when the dough isn’t chilled enough before baking, or if it was overworked during mixing. Make sure to chill the crust for at least 30 minutes before blind baking, and handle the dough as little as possible. If your crust still shrinks, don’t worry—just patch it up with extra dough and keep going.
Can I make this pie without eggs?
Yes, you can substitute each egg with ¼ cup of unsweetened applesauce or a flax egg (1 tablespoon ground flaxseed mixed with 3 tablespoons water, left to sit for 5 minutes). The texture will be slightly denser, but it will still be tasty. I’ve tested it with applesauce, and it worked well.
How do I know when the pie is done baking?
The edges should be set and slightly puffed, while the center should jiggle gently when you shake the pan—like Jell-O, not like liquid. If you insert a knife near the center, it should come out clean. The internal temperature should reach 175°F (80°C).
Can I use fresh pumpkin instead of canned?
You can, but be prepared for extra work. Fresh pumpkin has more water content than canned, so you’ll need to roast it, puree it, and then strain it through cheesecloth to remove excess moisture. Otherwise, your filling will be too watery. Canned pumpkin is actually more consistent and reliable for baking, so I recommend sticking with it.
Pin This Recipe!
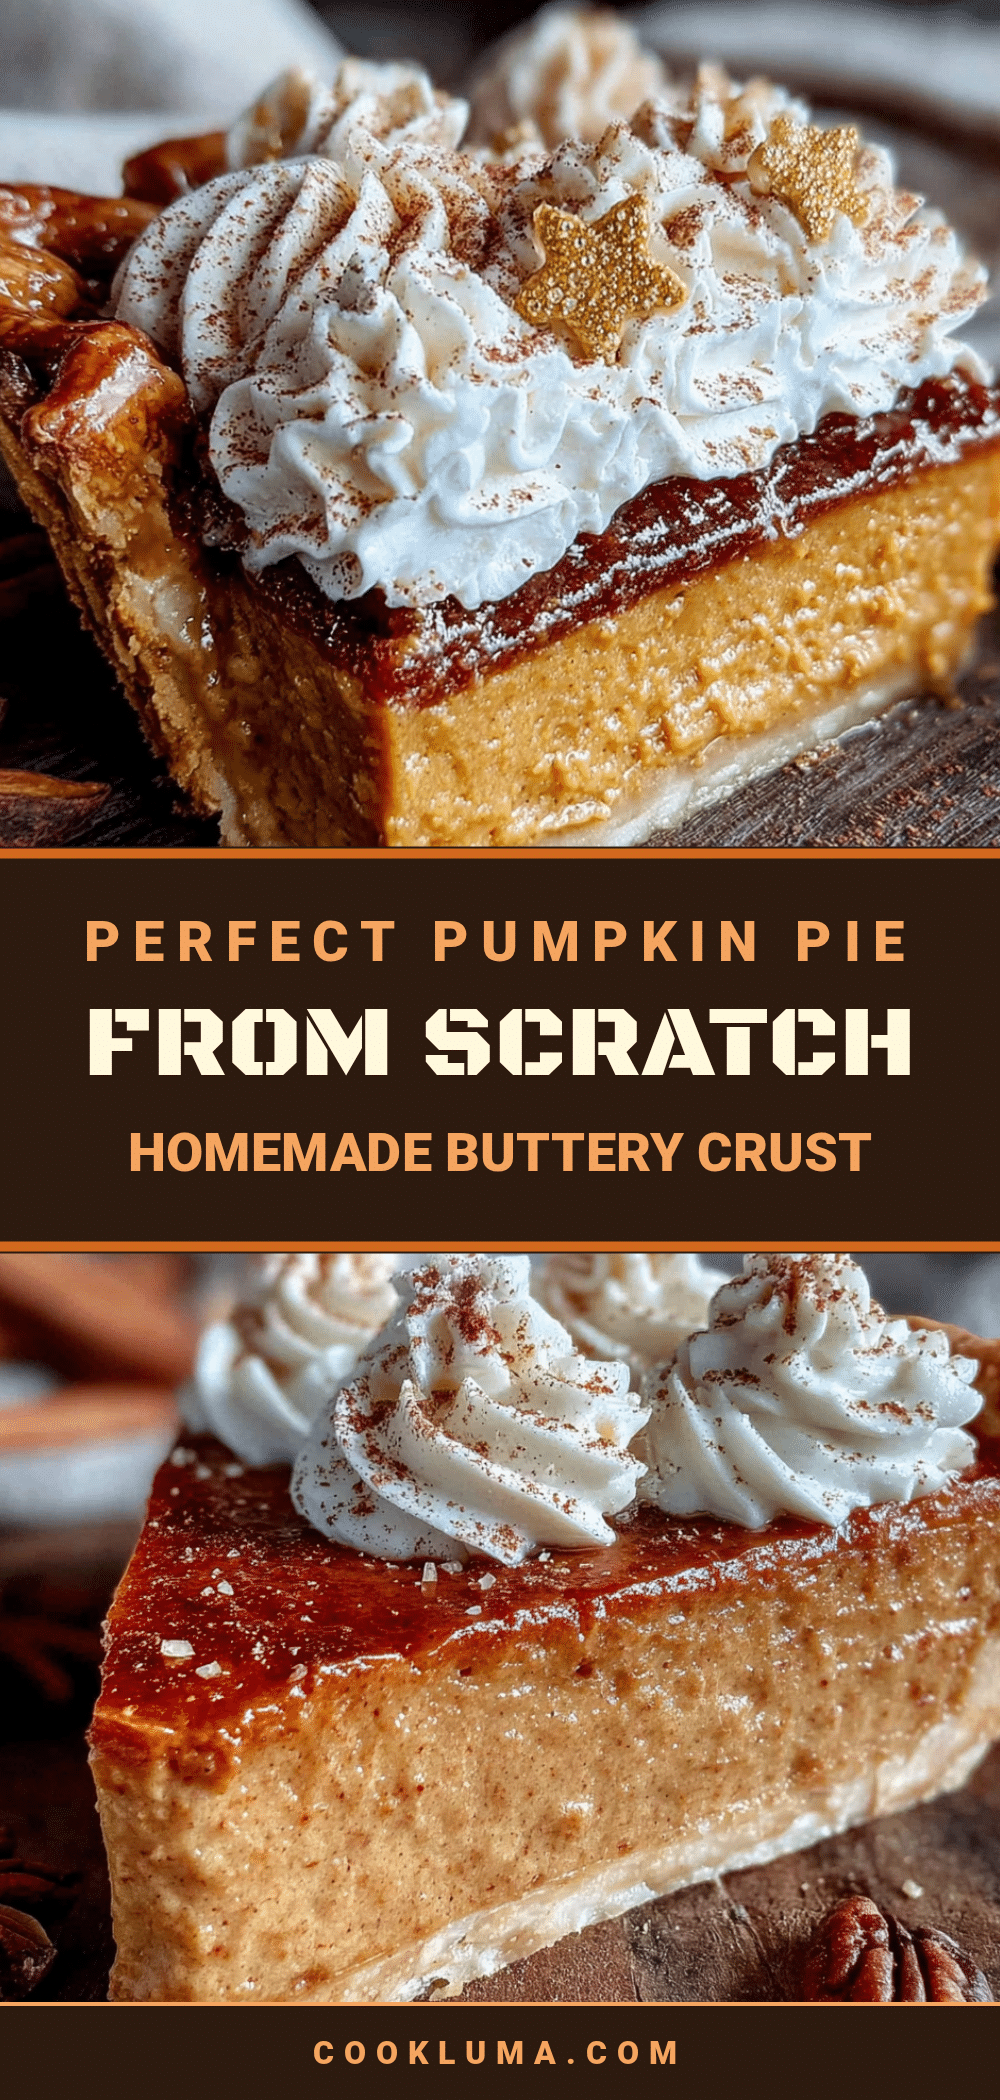
Perfect Pumpkin Pie from Scratch with Easy Buttery Crust
This perfect pumpkin pie from scratch with homemade buttery crust is more than just a dessert—it’s the kind of recipe that becomes a tradition. The filling is silky and spiced just right, while the crust is flaky and buttery without being greasy.
- Prep Time: 15 minutes
- Cook Time: 50 minutes
- Total Time: 2 hours 5 minutes (plus chilling time)
- Yield: 8 servings 1x
- Category: Dessert
- Cuisine: American
Ingredients
- 1 ¼ cups (150g) all-purpose flour
- ½ teaspoon fine sea salt
- 1 teaspoon sugar
- ½ cup (1 stick or 113g) unsalted butter, very cold and cut into small cubes
- 3 to 4 tablespoons ice water
- 2 tablespoons vodka
- 1 can (15 oz or 425g) pumpkin puree (not pumpkin pie filling)
- ¾ cup (150g) packed brown sugar (light or dark)
- ¼ cup (50g) granulated sugar
- 3 large eggs, at room temperature
- 1 cup (240ml) heavy cream
- 1 teaspoon vanilla extract
- 2 teaspoons ground cinnamon (preferably Saigon cinnamon)
- 1 teaspoon ground ginger
- ½ teaspoon ground nutmeg (freshly grated if possible)
- ¼ teaspoon ground cloves
- ½ teaspoon salt
Instructions
- Make the crust dough: In a large bowl, whisk together flour, salt, and sugar. Add cold butter cubes and toss to coat. Using a pastry cutter or two forks, cut butter into flour until mixture resembles coarse meal with some pea-sized butter pieces remaining.
- In a small bowl, combine 3 tablespoons ice water with vodka. Drizzle over flour mixture and stir with a fork until dough starts to come together. If dry, add remaining tablespoon ice water. Turn out onto plastic wrap, shape into a 1-inch thick disk, wrap tightly, and refrigerate for at least 1 hour or up to 3 days.
- Roll out the dough: On a lightly floured surface, roll chilled dough into a 12-inch circle, about ⅛ inch thick. Transfer to a 9-inch pie dish, press into bottom and up sides. Trim overhang to ½ inch, fold under, and crimp edges. Refrigerate for 30 minutes while preheating oven.
- Blind bake the crust: Preheat oven to 375°F (190°C). Line chilled crust with parchment paper or foil, leaving overhang. Fill with pie weights or dried beans. Bake for 15 minutes, then carefully remove weights and parchment. Prick bottom with a fork and bake for another 5 to 8 minutes until bottom is dry and lightly golden. Set aside to cool slightly.
- Make the filling: In a large bowl, whisk together pumpkin puree, brown sugar, and granulated sugar until smooth. Add eggs one at a time, whisking well after each. Pour in heavy cream and vanilla, whisk until combined. Sprinkle in cinnamon, ginger, nutmeg, cloves, and salt, and whisk until smooth and uniform.
- Bake the pie: Pour filling into pre-baked crust. Place on middle rack of oven and bake at 375°F (190°C) for 50 to 60 minutes. Edges should be set, center should jiggle slightly like Jell-O. If crust edges brown too quickly, cover with a pie shield or foil after about 30 minutes.
- Cool and serve: Transfer pie to a cooling rack and let cool completely, at least 2 hours. For cleanest slices, refrigerate for at least 4 hours or overnight before serving. Serve at room temperature or slightly chilled, optionally with whipped cream.
Notes
For the flakiest crust, keep all ingredients cold. Don’t overwork the dough. Use a pie shield or foil to prevent crust edges from burning. Let pie cool completely before slicing. This pie tastes even better the next day. For a dairy-free version, use cold coconut oil or vegan butter in the crust and full-fat coconut milk in the filling. For a gluten-free crust, substitute all-purpose flour with a gluten-free flour blend containing xanthan gum.
Nutrition
- Serving Size: 1 slice
- Calories: 380
- Sugar: 28
- Sodium: 320
- Fat: 22
- Saturated Fat: 13
- Carbohydrates: 42
- Fiber: 3
- Protein: 6
Keywords: pumpkin pie, homemade pie crust, buttery crust, Thanksgiving dessert, fall dessert, pumpkin dessert, from scratch


