My neighbor, a woman named Clara who tends a community garden plot with the patience of a saint, watched me one October afternoon as I wrestled a bag of sad-looking carrots out of my grocery tote. I was complaining—honestly, just venting—about how my kids had suddenly decided vegetables were the enemy. She didn’t say anything at first. Then she reached into her own canvas bag and pulled out three knobby, dirt-crusted parsnips, a bunch of carrots with their feathery tops still attached, and a single beet the size of a fist. “Roast these,” she said. “Maple syrup. Butter. Salt. They’ll eat them.” I was skeptical. My kids could spot a hidden vegetable from across the room. But Clara wasn’t offering a recipe; she was offering a solution born from her own years of feeding a picky family. I took the vegetables home, not entirely convinced.
That evening, I scrubbed the dirt off those root vegetables—the carrots were a bit crooked, the parsnip had a wormhole I had to cut around—and tossed them with a little oil, a generous drizzle of maple syrup, and a pat of butter. I roasted them until the edges caramelized and the kitchen smelled like a warm hug. When I set the pan on the table, my oldest, who had been prepared to stage a protest, actually reached for a carrot. Then another. My youngest, the pickiest eater I know, ate an entire parsnip without asking what it was. I mean, I almost fell off my chair. Clara had been right. The sweetness of the maple syrup, the way roasting concentrates the natural sugars in the vegetables, and that tiny bit of butter—it was a magic trick, plain and simple.
This recipe for maple roasted root vegetables has become a regular in our house, especially during the fall and winter months when root vegetables are at their best and cheapest. Maybe you’ve been there—staring at a bag of carrots, wondering how to get your family to eat them without a fight. This is the answer. It’s not complicated. It doesn’t require a dozen ingredients or any fancy techniques. It’s just a handful of humble vegetables, transformed by heat and a little sweetness into something everyone at the table will actually want to eat. I keep making it because it works, every single time, and because it reminds me of Clara’s quiet confidence. She knew that sometimes the best recipes aren’t taught—they’re just shared.
Why You’ll Love This Recipe
This isn’t just another side dish. This is the one that turns vegetable skeptics into believers. I’ve tested it more times than I can count, tweaking the temperature, the cut of the vegetables, the amount of maple syrup, to get it just right. Here’s why this version stands out from the rest:
- Kid-Approved & Budget-Friendly: Root vegetables are some of the most affordable produce items at the grocery store. A few carrots, parsnips, and a single beet cost pennies per serving, yet they roast up into something that feels special. My kids, who once turned their noses up at roasted broccoli, actually ask for these. The natural sweetness from the maple syrup and the caramelization process makes them irresistible.
- Simple Ingredients, Maximum Flavor: You likely have most of these ingredients in your kitchen right now. There’s no need for a special trip to a fancy market. The magic happens with just olive oil, maple syrup, butter, salt, and pepper. The roasting process does all the heavy lifting, concentrating the flavors and creating those gorgeous, caramelized edges.
- Perfect for Busy Weeknights & Holiday Tables: This recipe comes together in about 40 minutes, with only about 10 minutes of active prep time. It’s easy enough for a Tuesday night dinner with roasted chicken or pork chops, yet elegant enough to grace your Thanksgiving or Christmas table. It’s a chameleon dish that fits any occasion.
- Unbelievably Delicious Texture: The combination of tender, creamy interiors and slightly crispy, caramelized exteriors is pure comfort food. The parsnips offer a subtle, nutty sweetness, the carrots are classic and familiar, and the beets add an earthy depth and a stunning pop of color. Together, they create a medley that is greater than the sum of its parts.
- Meal Prep & Leftover Friendly: These roasted vegetables reheat beautifully. The flavors even deepen and meld together overnight. I often make a double batch on Sunday to use throughout the week—tossed into salads, added to grain bowls, or simply reheated as a quick side. It’s a smart, resourceful way to feed your family well without extra effort.
This recipe is the kind that makes you close your eyes after the first bite—not because it’s fancy, but because it’s so fundamentally satisfying. It’s comfort food reimagined: healthier, faster, but with the same soul-soothing quality of a dish that took hours to prepare. It’s perfect for impressing guests without any stress, or for turning a simple Tuesday meal into something memorable.
What Ingredients You Will Need
This recipe relies on a short list of humble, wholesome ingredients that work together to create something truly special. The vegetables themselves are the stars, and the simple glaze enhances their natural sweetness without overwhelming it. Here’s what you’ll need:
- Carrots: 1 pound (about 450g), peeled and cut into 2-inch sticks. I prefer medium-sized carrots for the best balance of sweetness and texture. If you can find them with their tops still on, even better—they tend to be fresher. For a sweeter, more tender result, look for carrots that are firm and not too thick.
- Parsnips: 1 pound (about 450g), peeled and cut into 2-inch sticks. Parsnips have a wonderfully nutty, slightly sweet flavor that becomes almost buttery when roasted. They can sometimes have a woody core, especially if they are large. If you notice a tough center, simply cut it out before roasting.
- Beets: 1 medium beet (about 6-8 ounces or 170-225g), peeled and cut into 1-inch chunks. I recommend using just one beet for this recipe, especially if you’re serving it to kids. Its earthy flavor can be strong, and a little goes a long way in a mixed dish. Red beets will turn the other vegetables a lovely pink hue, which my kids think is fun, but if you prefer to keep the colors separate, you can use golden beets instead.
- Olive Oil: 2 tablespoons (30 ml). A good quality extra virgin olive oil adds a fruity note and helps the vegetables caramelize beautifully. You can substitute with avocado oil for a more neutral flavor.
- Maple Syrup: 2 tablespoons (30 ml) of pure maple syrup. Please use the real stuff, not pancake syrup. The pure maple syrup has a complex, woody sweetness that is essential to the dish. I recommend Grade A Dark Amber for a more robust flavor that stands up well to roasting.
- Unsalted Butter: 1 tablespoon (14g), melted. The butter adds a richness and helps with browning. If you are dairy-free, you can substitute with a high-quality vegan butter or simply use an extra tablespoon of olive oil.
- Salt: ½ teaspoon (or to taste). I use kosher salt for its clean flavor and easy pinch-ability. Sea salt works just as well.
- Black Pepper: ¼ teaspoon (or to taste). Freshly ground black pepper is always best for its pungent, aromatic kick.
- Optional Garnish: 1 tablespoon of fresh parsley or thyme, chopped. A sprinkle of fresh herbs at the end adds a pop of color and a fresh, herbaceous note that balances the sweetness. It’s a small touch that makes a big difference.
Equipment Needed
You don’t need a lot of fancy gear to make this recipe, which is part of its charm. Here’s what you’ll need:
- Baking Sheet: A large, rimmed baking sheet (also called a half-sheet pan) is ideal. The rim is important to catch any juices and prevent a mess in your oven. I prefer a heavy-duty aluminum or steel sheet for even heat distribution. A non-stick sheet works too, but you might need to add a minute or two to the roasting time.
- Parchment Paper: While not strictly necessary, lining your baking sheet with parchment paper makes for incredibly easy cleanup. The caramelized maple syrup can be sticky, and parchment prevents it from bonding to the pan.
- Chef’s Knife: A sharp chef’s knife is essential for cutting the firm root vegetables into uniform pieces. A dull knife is a safety hazard and will make the prep work frustrating.
- Cutting Board: A sturdy, large cutting board gives you plenty of room to work. I recommend a wooden or plastic board that won’t slide around on your counter.
- Vegetable Peeler: A good swivel peeler makes quick work of peeling carrots, parsnips, and beets. I’ve used the same Y-shaped peeler for years—it’s a simple, inexpensive tool that never lets me down.
- Mixing Bowl: A large bowl for tossing the vegetables with the oil, maple syrup, and seasonings. A glass or stainless steel bowl works perfectly.
- Measuring Spoons: For accurately measuring the olive oil, maple syrup, and salt.
If you don’t have parchment paper, you can grease the baking sheet lightly with oil or cooking spray. Just be prepared for a bit more scrubbing when you wash the pan. I’ve also used a silicone baking mat with great success—it’s reusable and provides a non-stick surface that’s easy to clean.
Preparation Method
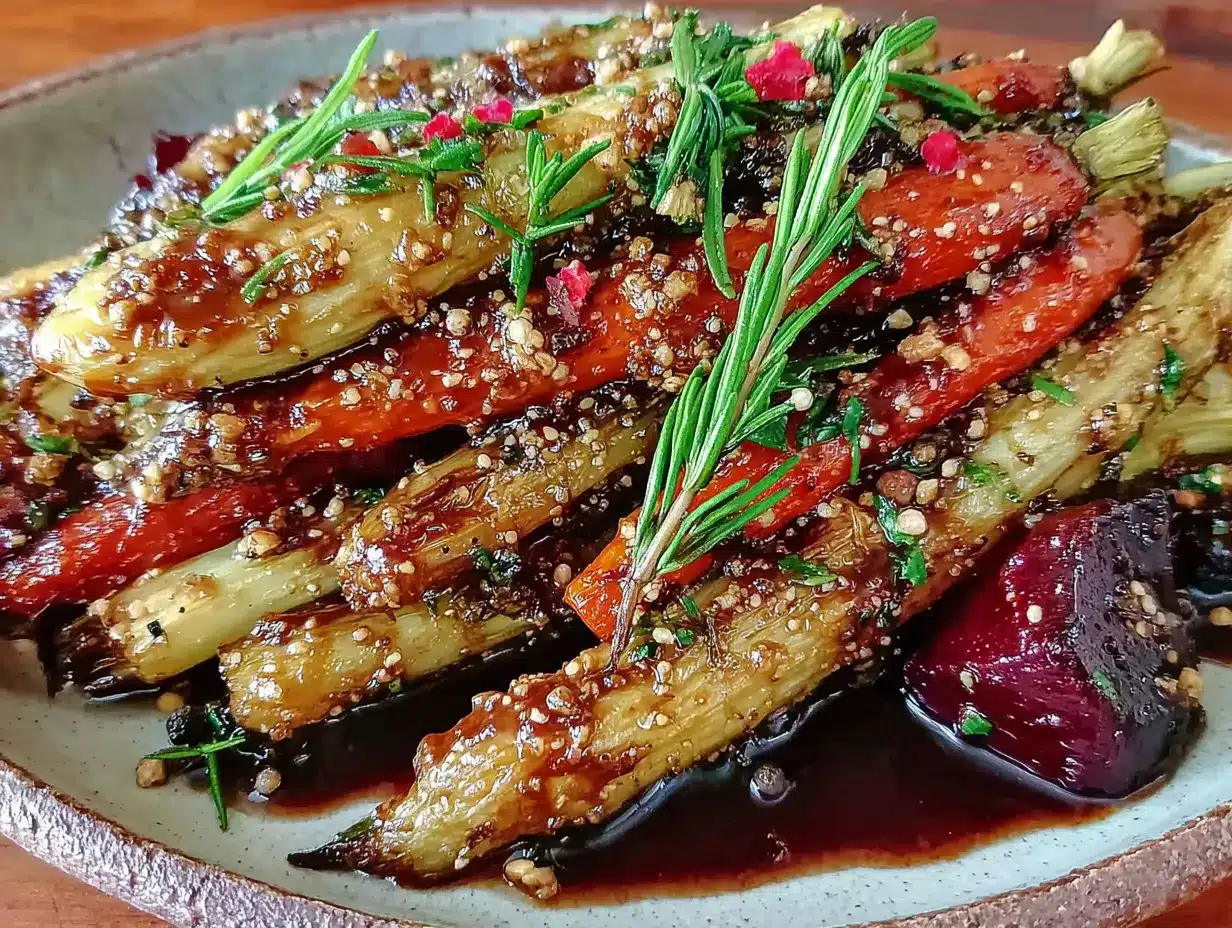
Making these maple roasted root vegetables is straightforward, but a few small details make a big difference. Follow these steps for the best results.
- Preheat your oven to 400°F (200°C). Getting the oven hot is the first and most important step. A high heat is essential for caramelization, which is where all the flavor and color come from. While the oven heats, line a large, rimmed baking sheet with parchment paper for easy cleanup.
- Prepare the vegetables. Start by peeling the carrots, parsnips, and beet. For the carrots and parsnips, trim off the tops and the very tip of the root. Cut them into sticks about 2 inches long and about ½ inch thick. Try to keep them a uniform size so they cook evenly. For the beet, cut it into 1-inch chunks. Be careful with the beet—its juice can stain your hands and cutting board. I like to cut the beet last to avoid pink-tinged carrots and parsnips.
- Combine the glaze. In a small bowl or measuring cup, whisk together the olive oil, melted butter, and maple syrup. This simple mixture is the secret to the dish’s irresistible sweet and savory glaze. Don’t skip the butter—it adds a richness that oil alone can’t replicate.
- Toss the vegetables. Place the prepared carrots, parsnips, and beet chunks in a large mixing bowl. Pour the maple-butter mixture over the top. Add the salt and a generous grind of black pepper. Use your hands or a spatula to toss everything together until every piece of vegetable is evenly coated. This ensures consistent flavor and browning.
- Spread in a single layer. Pour the coated vegetables onto the prepared baking sheet. Spread them out into a single, even layer. This is crucial. If the vegetables are crowded or overlapping, they will steam instead of roast, and you won’t get that beautiful caramelization. If necessary, use two baking sheets to give them enough room.
- Roast for 20 minutes. Place the baking sheet on the middle rack of your preheated oven. Roast for 20 minutes without disturbing them. This initial roast allows the bottoms to begin browning.
- Flip and continue roasting. After 20 minutes, remove the pan from the oven. Use a spatula to flip the vegetables, turning them over so the other side can brown. Return the pan to the oven and roast for another 15-20 minutes, or until the vegetables are tender when pierced with a fork and the edges are deeply caramelized and slightly crispy. The total roasting time is typically 35-40 minutes, but it can vary depending on the size of your vegetable pieces and your individual oven.
- Rest and garnish. Remove the pan from the oven and let the vegetables rest for a minute or two on the pan. This allows the glaze to set slightly. Transfer them to a serving dish. If you like, sprinkle with fresh chopped parsley or thyme for a final touch of color and freshness. Serve hot or warm.
A personal tip: I once forgot to flip the vegetables halfway through—I got distracted by a phone call—and the bottoms were a bit too dark. They were still delicious, but the texture was less even. So set a timer! It’s a small step that makes a big difference.
Cooking Tips & Techniques
Over the many times I’ve made this recipe, I’ve learned a few things the hard way. Here are my best tips to ensure your root vegetables turn out perfectly every time.
- Cut for even cooking: The single most important factor for evenly cooked vegetables is uniform size. If you cut your carrot sticks thicker than your parsnip sticks, the carrots will be underdone when the parsnips are perfect. Take the extra minute to make sure everything is roughly the same size. I aim for sticks that are about ½ inch thick.
- Don’t overcrowd the pan: I cannot stress this enough. Give those vegetables some space! If they are crammed together, they will steam and release moisture, which prevents caramelization. You want them to be in a single layer with a little breathing room between each piece. If you are doubling the recipe, use two baking sheets.
- Use the right temperature: 400°F (200°C) is the sweet spot for roasting root vegetables. It’s hot enough to caramelize the natural and added sugars without burning them. If your oven runs hot, you can drop the temperature to 375°F (190°C) and add a few extra minutes.
- Flip halfway through: This ensures even browning on all sides. It’s a simple step that makes a huge difference in the final texture and appearance. Don’t skip it!
- Watch the beets: Beets can be a bit unpredictable. They sometimes take a little longer to become tender than carrots or parsnips. If you are concerned, you can cut your beet chunks slightly smaller than the other vegetables, or give them a 5-minute head start in the oven before adding the carrots and parsnips.
- My biggest failure: The first time I made this, I used way too much maple syrup. I thought, “More syrup = more delicious,” right? Wrong. The vegetables were swimming in a sticky, overly sweet liquid that burned on the pan and tasted like candy, not dinner. The 2-tablespoon measurement is perfect—it provides sweetness without overpowering the earthy flavor of the vegetables.
Variations & Adaptations
This recipe is a wonderful base, and it’s easy to adapt to your family’s tastes or what you have on hand. Here are a few of my favorite variations.
- Add Other Root Vegetables: Sweet potatoes, rutabaga, turnips, or celery root all roast beautifully with this same glaze. Just make sure to cut them into similar-sized pieces. Sweet potatoes cook a bit faster, so check them a few minutes early.
- Make it Savory: For a less sweet version, reduce the maple syrup to 1 tablespoon and add a clove of minced garlic and a sprig of fresh rosemary or thyme to the roasting pan. The herbs infuse the oil and create a wonderfully savory, aromatic dish.
- Spice It Up: Add ½ teaspoon of ground cinnamon, a pinch of cayenne pepper, or ¼ teaspoon of smoked paprika to the glaze before tossing. A little warmth from cinnamon complements the sweetness of the maple and carrots beautifully, especially in the fall.
- Dietary Adaptations: This recipe is naturally gluten-free. To make it vegan, simply substitute the butter with an additional tablespoon of olive oil or a high-quality vegan butter. It will still be rich and delicious.
- Different Cooking Methods: You can also cook these vegetables in an air fryer. Toss them with the glaze, then cook at 375°F (190°C) for 15-20 minutes, shaking the basket halfway through, until tender and caramelized. You may need to work in batches to avoid overcrowding the basket.
I once tried a variation with a balsamic glaze instead of maple syrup. I swapped the maple for 2 tablespoons of balsamic vinegar and added a teaspoon of honey. It was tangy and complex, and my husband loved it, but my kids preferred the original maple version. It just goes to show—you can always tweak things to please your own crowd.
Serving & Storage Suggestions
These maple roasted root vegetables are incredibly versatile. Here’s how to serve and store them.
- Serving Temperature: They are best served hot, straight from the oven, when the edges are still crispy and the glaze is glossy. However, they are also delicious at room temperature, making them a great option for potlucks or holiday buffets.
- Presentation: For a beautiful presentation, arrange the vegetables on a platter rather than piling them in a bowl. This shows off the varied colors and textures. A sprinkle of fresh parsley or thyme and a pinch of flaky sea salt right before serving adds a professional touch.
- What to Serve With Them: These vegetables are a fantastic side dish for roasted chicken, pork chops, meatloaf, or a simple roasted turkey breast. They also pair beautifully with hearty grain bowls—try them over quinoa or farro with a dollop of yogurt and some fresh arugula. For a vegetarian main, serve them alongside a lentil loaf or stuffed acorn squash.
- Storage: Store any leftovers in an airtight container in the refrigerator for up to 4 days. The flavors will continue to meld, and they are almost as good the next day.
- Reheating: The best way to reheat them is in a hot oven or toaster oven. Spread them on a baking sheet and warm at 350°F (175°C) for 5-10 minutes, until heated through and the edges crisp up again. You can also reheat them in a skillet over medium heat with a tiny splash of water or broth. Avoid the microwave, as it will make them soggy.
- Freezing: While the texture will be softer, you can freeze these roasted vegetables. Spread them on a baking sheet to flash-freeze, then transfer to a freezer-safe bag. They will keep for up to 3 months. Reheat directly from frozen in a hot oven.
I find the leftovers are perfect for chopping up and tossing into a lunch salad with some leftover chicken and a simple vinaigrette. The sweetness of the roasted vegetables is a wonderful counterpoint to a tangy dressing.
Nutritional Information & Benefits
This recipe is not only delicious but also packed with nutrients. Here is an approximate nutritional breakdown per serving (based on 4 servings):
- Calories: 180-200
- Fat: 8-10g
- Carbohydrates: 28-32g
- Fiber: 5-7g
- Sugar: 15-18g (mostly from the vegetables and maple syrup)
- Protein: 2-3g
- Vitamin A: Over 300% of the Daily Value (from carrots)
- Vitamin C: 20-25% of the Daily Value
- Potassium: 10-15% of the Daily Value
- Health Benefits: Root vegetables are nutritional powerhouses. Carrots are famously rich in beta-carotene, which is excellent for eye health and immune function. Parsnips are a great source of fiber and folate, and beets are known for their ability to support healthy blood pressure and improve athletic performance due to their natural nitrates. The olive oil provides healthy monounsaturated fats.
- Dietary Considerations: This recipe is naturally gluten-free, nut-free, and can be made vegan with a simple swap. It is also relatively low in calories for a satisfying side dish.
- Allergen Note: Contains dairy (butter). As mentioned, this can be easily substituted to make the recipe dairy-free.
I love that I can serve this to my family knowing it’s doing them good, without them even realizing it. The natural sweetness makes it feel like a treat, but it’s really just a very healthy way to eat your vegetables.
Conclusion
This recipe for maple roasted root vegetables is more than just a side dish—it’s a reliable, crowd-pleasing solution for busy families. It proves that you don’t need complicated techniques or expensive ingredients to create something truly memorable. With just a few humble vegetables, a touch of maple syrup, and a hot oven, you can transform a simple meal into something everyone at the table will love.
I encourage you to make this recipe your own. Play with the vegetable combinations, adjust the sweetness to your liking, and don’t be afraid to experiment with different herbs and spices. That’s the beauty of cooking—it’s a conversation between you, your ingredients, and the people you’re feeding.
Honestly, this recipe has become a staple in my kitchen because it works. It turns a potential dinner table battle into a moment of shared enjoyment. It’s the dish I turn to when I need a win, and it never lets me down. If you make this, I would love to hear how it went. Did your kids eat the beets? Did you try a new spice blend? Leave a comment below and share your experience. Happy cooking!
Frequently Asked Questions
Can I use frozen vegetables for this recipe?
I don’t recommend using frozen vegetables for this recipe. Frozen vegetables contain a lot of water, which will release during roasting and prevent them from caramelizing properly. You will end up with soggy, steamed vegetables instead of the crispy, golden-brown results you want. Stick with fresh root vegetables for the best texture and flavor.
How do I prevent the beets from staining the other vegetables?
If you want to keep the colors separate, you can roast the beets on a separate baking sheet. Alternatively, you can use golden beets instead of red beets. Golden beets have a milder, sweeter flavor and won’t stain the carrots and parsnips pink. My kids actually love the pink hue, so I usually just mix them all together!
Can I prepare the vegetables ahead of time?
Yes, you can! You can peel and cut the carrots, parsnips, and beets up to a day in advance. Store them in a sealed container or a zip-top bag in the refrigerator. When you are ready to cook, simply toss them with the glaze and roast. This is a great time-saver for busy weeknights or holiday meal prep.
Why are my roasted vegetables not getting crispy?
The most common reason for soggy roasted vegetables is overcrowding the pan. If the vegetables are too close together, they steam instead of roast. Make sure they are in a single, even layer with some space between each piece. Another reason could be that your oven temperature is too low. Make sure it is fully preheated to 400°F (200°C) before you put the vegetables in.
What is the best way to reheat leftovers?
The best way to reheat these roasted vegetables is in the oven or a toaster oven. Spread them on a baking sheet and warm them at 350°F (175°C) for 5-10 minutes. This will help them regain their crispy edges. Avoid the microwave, as it will make them soft and mushy. The leftovers are also delicious cold, chopped up in a salad.
Pin This Recipe!
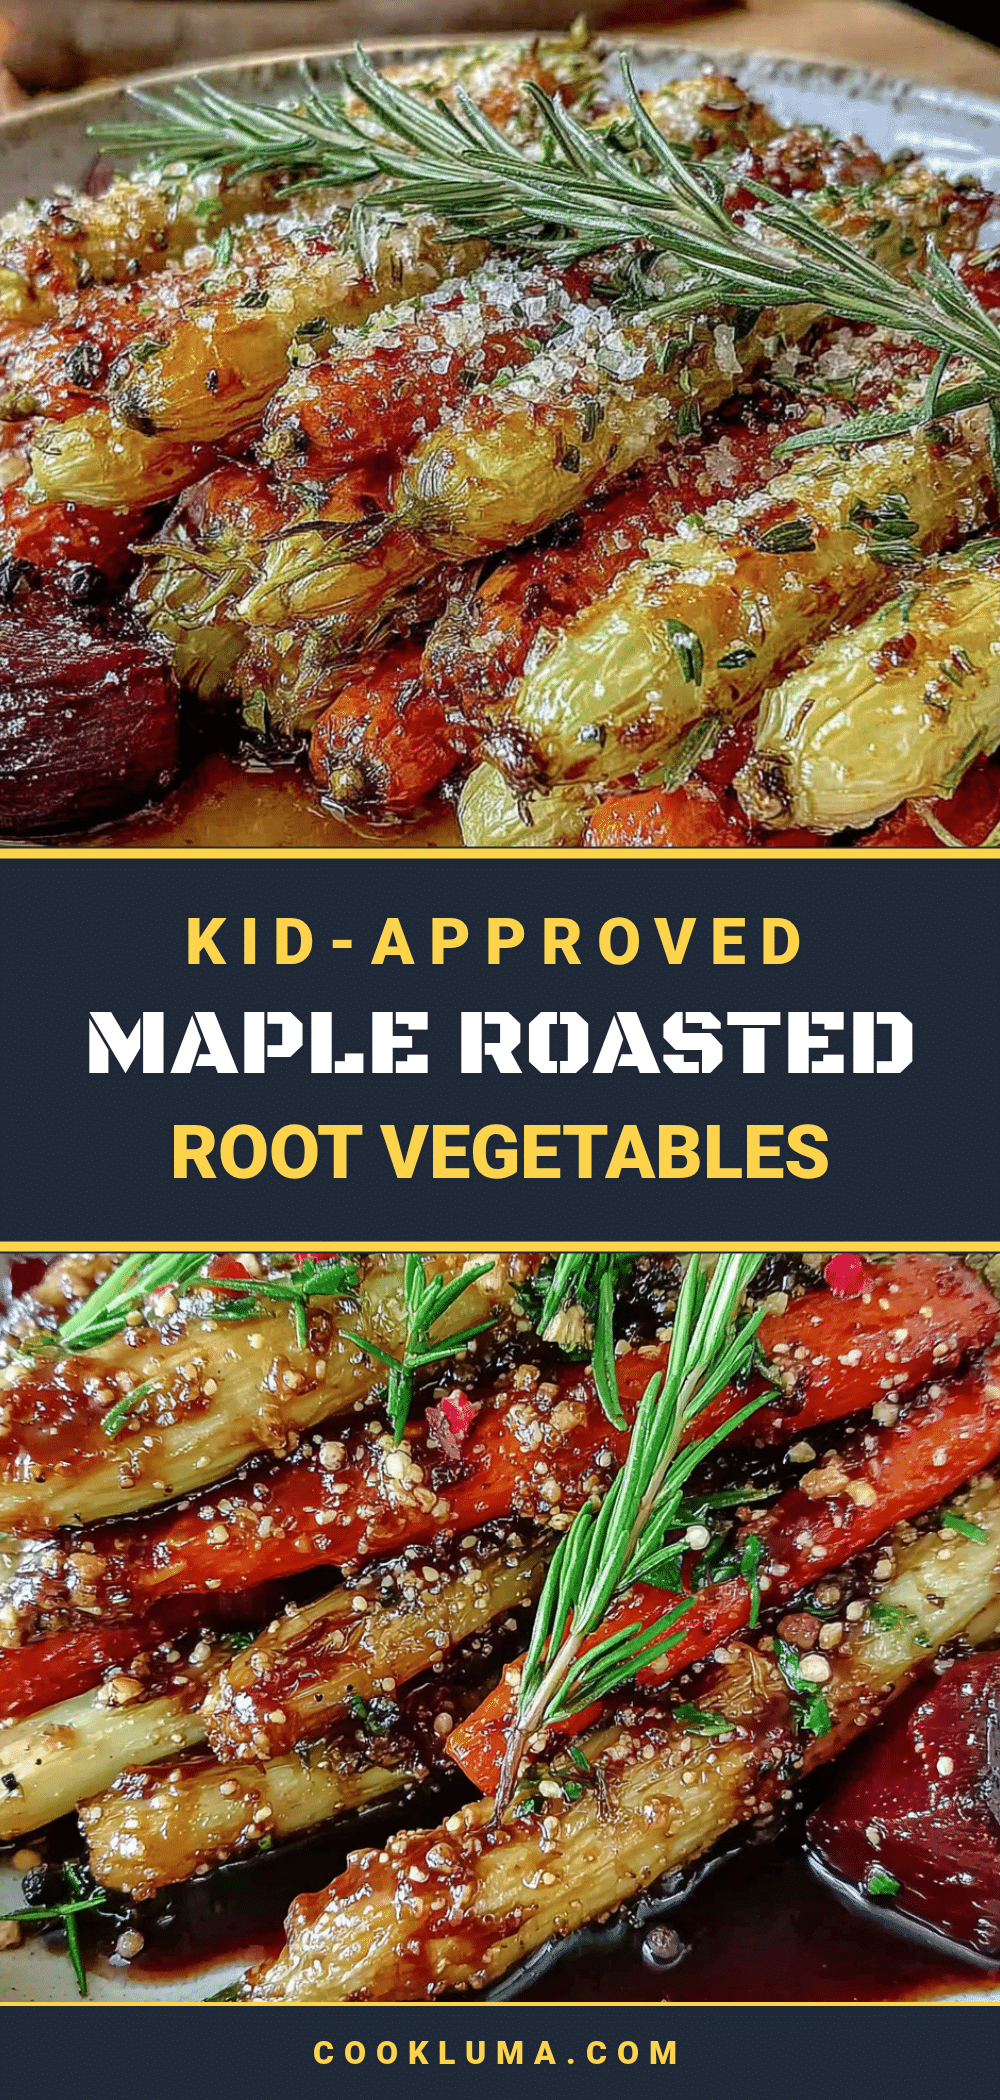
Maple Roasted Root Vegetables: Easy Kid-Approved Side Dish
This easy maple roasted root vegetable recipe transforms humble carrots, parsnips, and beets into a sweet, caramelized side dish that even picky eaters will love. Ready in about 40 minutes with simple ingredients, it’s perfect for busy weeknights or holiday tables.
- Prep Time: 10 minutes
- Cook Time: 35-40 minutes
- Total Time: 45-50 minutes
- Yield: 4 servings 1x
- Category: Side Dish
- Cuisine: American
Ingredients
- 1 pound (about 450g) carrots, peeled and cut into 2-inch sticks
- 1 pound (about 450g) parsnips, peeled and cut into 2-inch sticks
- 1 medium beet (about 6–8 ounces or 170-225g), peeled and cut into 1-inch chunks
- 2 tablespoons (30 ml) olive oil
- 2 tablespoons (30 ml) pure maple syrup
- 1 tablespoon (14g) unsalted butter, melted
- ½ teaspoon kosher salt (or to taste)
- ¼ teaspoon black pepper (or to taste)
- 1 tablespoon fresh parsley or thyme, chopped (optional garnish)
Instructions
- Preheat your oven to 400°F (200°C). Line a large, rimmed baking sheet with parchment paper.
- Prepare the vegetables: Peel the carrots, parsnips, and beet. Trim the tops and tips of the carrots and parsnips, then cut them into sticks about 2 inches long and ½ inch thick. Cut the beet into 1-inch chunks.
- Combine the glaze: In a small bowl or measuring cup, whisk together the olive oil, melted butter, and maple syrup.
- Toss the vegetables: Place the prepared carrots, parsnips, and beet chunks in a large mixing bowl. Pour the maple-butter mixture over the top. Add the salt and a generous grind of black pepper. Toss until every piece is evenly coated.
- Spread in a single layer: Pour the coated vegetables onto the prepared baking sheet and spread them out into a single, even layer. Avoid overcrowding.
- Roast for 20 minutes: Place the baking sheet on the middle rack and roast for 20 minutes without disturbing.
- Flip and continue roasting: Remove the pan, flip the vegetables with a spatula, and return to the oven. Roast for another 15-20 minutes, until tender and deeply caramelized (total 35-40 minutes).
- Rest and garnish: Let the vegetables rest on the pan for 1-2 minutes. Transfer to a serving dish and sprinkle with fresh herbs if desired. Serve hot or warm.
Notes
For even cooking, cut vegetables into uniform sizes. Do not overcrowd the pan—use two baking sheets if needed. If beets are large, cut them slightly smaller than the other vegetables. For a vegan version, substitute butter with an additional tablespoon of olive oil or vegan butter. Leftovers reheat best in the oven at 350°F for 5-10 minutes.
Nutrition
- Serving Size: 1 serving (about 1 c
- Calories: 190
- Sugar: 16
- Sodium: 320
- Fat: 9
- Saturated Fat: 2.5
- Carbohydrates: 30
- Fiber: 6
- Protein: 2.5
Keywords: roasted root vegetables, maple roasted vegetables, easy side dish, kid-friendly vegetables, healthy side dish, fall vegetables, winter vegetables, caramelized vegetables


