Lighter Mini Chicken Pot Pies for Friendsgiving
My friend Jenna had refused to bring anything to Friendsgiving for six years. Six years. She’d show up empty-handed with a bottle of wine and a sheepish shrug, claiming she “couldn’t compete” with the spread. I always told her it wasn’t a competition—it was about hanging out, eating too much, and falling asleep on someone’s couch. But she was stubborn. Then last November, I made these lighter mini chicken pot pies just for myself—a test recipe I was tinkering with for the blog. I set them on the counter to cool and went to answer the door. When I came back, Jenna was standing at the kitchen island, fork in hand, caught mid-bite with this look on her face like she’d been discovered committing a crime. “Okay,” she said, mouth half-full. “I’ll bring these.” Honestly, I don’t think I’ve ever felt more validated. That’s the thing about these little pies—they sneak up on you. You think you know what a chicken pot pie tastes like, and then this lighter, brighter version comes along and proves you wrong. Maybe you’ve been there, skeptical of anything claiming to be “lighter” but still good. Let me tell you—this one actually delivers.
Why You’ll Love This Recipe
These lighter mini chicken pot pies aren’t just another healthy compromise. They’re genuinely delicious, and I’ve tested them enough times to know they hold up against the full-fat classics. Here’s why they work so well for Friendsgiving—or really any gathering where you want to eat well without feeling weighed down.
- Quick & Easy : Comes together in under 45 minutes, which is a lifesaver when you’re juggling multiple dishes for a potluck.
- Simple Ingredients : No fancy grocery trips needed. You probably have most of these in your kitchen right now.
- Perfect for Friendsgiving : Individual portions mean no fighting over the last piece, and they travel beautifully.
- Crowd-Pleaser : I’ve watched self-proclaimed pot pie snobs go back for seconds—and thirds.
- Unbelievably Delicious : The filling is creamy without being heavy, and the phyllo topping gives you that buttery crunch without the calorie bomb of traditional pie crust.
What makes these different from every other chicken pot pie recipe out there? It’s the technique. Instead of a heavy cream sauce, I use a blend of Greek yogurt and a touch of milk to create that silky texture. And instead of a double crust, I top each mini pie with layers of phyllo dough brushed with a little olive oil. You get all the comfort, none of the regret. I mean, the first time I made these, I actually closed my eyes after the first bite—not because I was being dramatic, but because I couldn’t believe how good they turned out. They’re comfort food reimagined: lighter, faster, but with the same soul-soothing satisfaction. Perfect for impressing your friends without spending all day in the kitchen.
What Ingredients You Will Need
This recipe uses simple, wholesome ingredients to deliver that cozy pot pie flavor without the heavy cream and butter. Most of these are pantry staples, which makes these mini pies perfect for a last-minute Friendsgiving contribution.
- For the Filling:
- 2 tablespoons olive oil (divided)
- 1 pound boneless, skinless chicken breasts, cut into bite-sized pieces
- 1 medium yellow onion, diced
- 2 carrots, peeled and diced
- 2 celery stalks, diced
- 3 cloves garlic, minced
- 1/3 cup all-purpose flour
- 2 cups low-sodium chicken broth
- 1/2 cup whole milk (or unsweetened almond milk for dairy-free)
- 1/2 cup plain Greek yogurt (I prefer Fage for its thickness)
- 1 cup frozen peas
- 1 teaspoon dried thyme
- 1/2 teaspoon dried rosemary
- Salt and black pepper to taste
- For the Topping:
- 8 sheets phyllo dough, thawed
- 2 tablespoons olive oil (for brushing)
- Flaky sea salt for sprinkling
A few notes on ingredients: I recommend using low-sodium chicken broth so you can control the salt level. If you only have full-sodium broth on hand, just reduce the added salt. For the Greek yogurt, make sure it’s plain and full-fat or 2%—nonfat can curdle when heated. And if you’re using frozen phyllo, remember to thaw it overnight in the refrigerator. Trust me, I’ve tried rushing that step and ended up with a crumbly mess.
For substitutions, you can swap the chicken for leftover turkey (perfect post-Thanksgiving), or use rotisserie chicken to save time. If you need a gluten-free version, use a gluten-free all-purpose flour blend for the roux and skip the phyllo—top with a gluten-free biscuit or puff pastry instead. And if you’re dairy-free, use unsweetened oat milk and a dairy-free yogurt alternative.
Equipment Needed
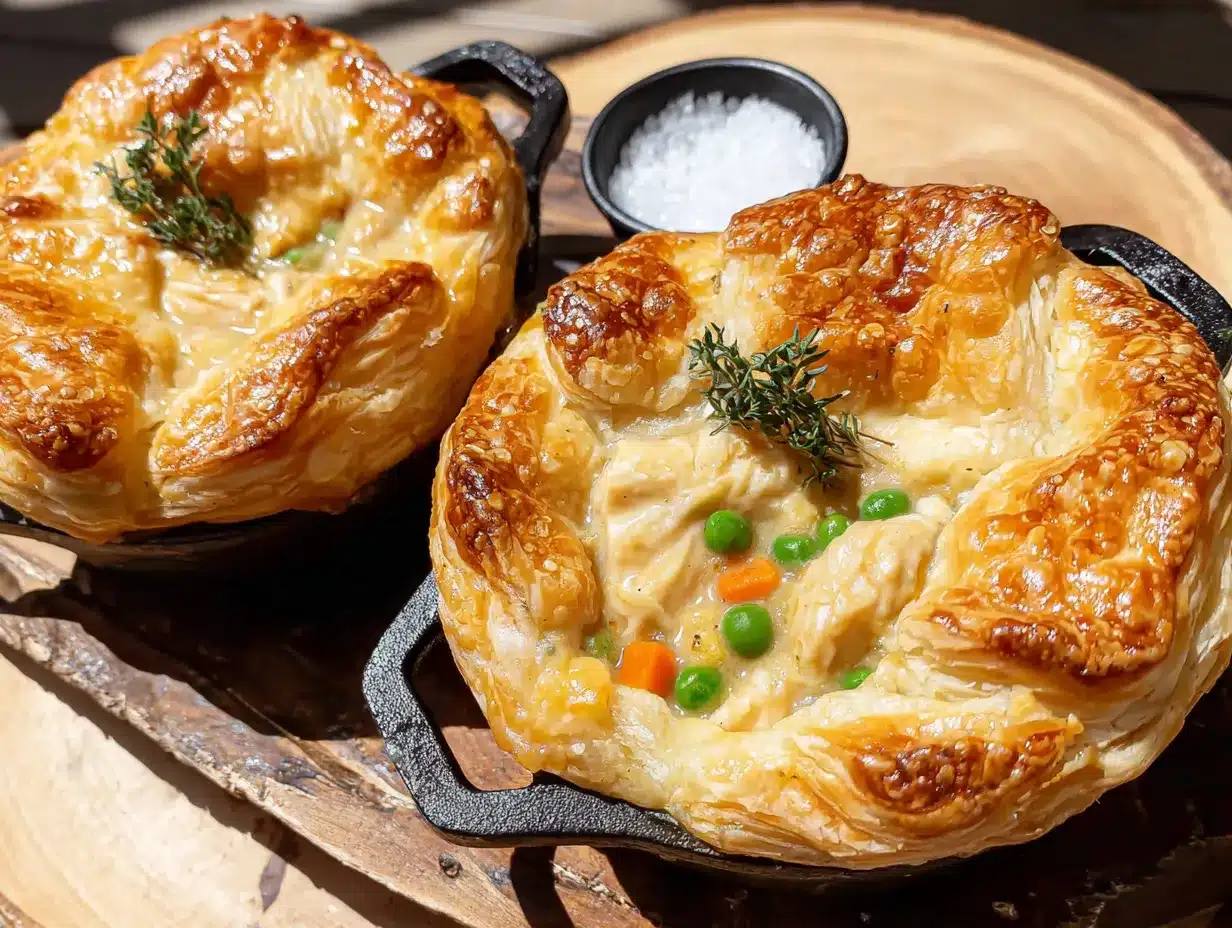
You don’t need much for these mini pot pies, which is part of their charm. Here’s what you’ll want to have on hand:
- 4 (8-ounce) ramekins or oven-safe baking dishes
- A large skillet or sauté pan (I use a 12-inch nonstick)
- A medium saucepan
- A whisk (for the sauce—no lumps allowed!)
- A pastry brush (for the phyllo)
- A sharp knife and cutting board
- Measuring cups and spoons
If you don’t have ramekins, you can use a standard muffin tin—just divide the filling evenly among 8 cups and top with smaller phyllo squares. Or go rustic and use one 9-inch pie dish for a family-style version. I’ve done both, and honestly, the muffin tin version is great for parties because everyone gets their own perfectly portioned pie. Just increase the baking time by about 5 minutes if using a single dish.
One tip: if you’re using new ramekins, wash them first and make sure they’re completely dry. I once skipped this step and ended up with watery condensation at the bottom of my pies. Lesson learned.
Preparation Method
Let’s get cooking. These mini pot pies come together in about 45 minutes, and most of that is hands-off baking time.
- Preheat your oven to 375°F (190°C). Place your ramekins on a baking sheet for easy handling—trust me, you don’t want to juggle hot ramekins later.
- Cook the chicken. Heat 1 tablespoon of olive oil in your large skillet over medium-high heat. Add the chicken pieces in a single layer (work in batches if needed). Season with a pinch of salt and pepper. Cook for 4-5 minutes per side until golden brown and cooked through. Transfer to a plate and set aside. The chicken should be sizzling when it hits the pan—that’s how you get that nice color.
- Sauté the vegetables. Reduce the heat to medium. Add the remaining 1 tablespoon of olive oil to the same skillet. Toss in the onion, carrots, and celery. Cook for 5-6 minutes, stirring occasionally, until the vegetables have softened and the onion is translucent. Add the minced garlic and cook for another 30 seconds until fragrant. Your kitchen should smell amazing at this point—if it doesn’t, your garlic might be burning.
- Make the roux. Sprinkle the flour over the vegetables and stir constantly for 1-2 minutes. This cooks out the raw flour taste. The mixture will look a bit pasty—that’s exactly what you want.
- Build the sauce. Slowly pour in the chicken broth while whisking continuously to prevent lumps. Then add the milk, whisking until smooth. Bring the mixture to a gentle simmer—you’ll see small bubbles around the edges. Let it cook for 2-3 minutes until it thickens enough to coat the back of a spoon.
- Finish the filling. Remove the skillet from the heat. Stir in the Greek yogurt until fully incorporated—this adds creaminess without the heaviness of cream. Add the frozen peas, cooked chicken, thyme, rosemary, and salt and pepper to taste. Give everything a good stir. The filling should be thick but still spoonable. If it looks too thick, add a splash of broth or milk.
- Assemble the pies. Divide the filling evenly among your 4 ramekins. I use about 3/4 cup per ramekin. Let the filling cool slightly while you prepare the phyllo topping.
- Prepare the phyllo. Carefully unroll the phyllo dough and cover it with a slightly damp kitchen towel—phyllo dries out fast and becomes impossible to work with. Take one sheet and brush it lightly with olive oil. Layer another sheet on top and brush again. Repeat until you have 4 layers. Cut the stacked phyllo into 4 squares, each slightly larger than your ramekin tops. Repeat with the remaining 4 sheets to make 4 topped pies total.
- Top and bake. Place one phyllo square on top of each ramekin, pressing the edges gently over the sides. Cut a small slit in the center of each to let steam escape. Sprinkle with a pinch of flaky sea salt. Bake for 18-22 minutes until the phyllo is golden brown and crisp, and the filling is bubbling around the edges. The tops should look like little golden hats—gorgeous.
- Rest and serve. Let the pies cool on a wire rack for 5-10 minutes. This is crucial—the filling will be molten hot straight out of the oven. I learned this the hard way when I burned the roof of my mouth during a taste test. Patience, my friend.
Cooking Tips & Techniques
Over the years, I’ve made enough pot pie mistakes to fill a cookbook. Here are the lessons that actually stuck.
Don’t skip the roux. I know it’s tempting to just dump everything in and hope for the best, but that flour-and-broth step is what gives you that velvety sauce. Cook the flour for at least a minute—raw flour tastes like paste, and nobody wants that.
Watch your heat with Greek yogurt. Yogurt can curdle if you add it to a boiling hot mixture. That’s why I always take the skillet off the heat first and let it cool for about a minute before stirring in the yogurt. If you’re nervous, you can temper the yogurt by mixing a few spoonfuls of the hot sauce into it before adding it to the pan.
Phyllo is finicky but forgiving. If your phyllo tears, don’t panic. Just patch it with another piece and brush with a little more oil. The layers will hide any imperfections once baked. And if your phyllo cracks because it dried out? You waited too long—keep it covered with that damp towel.
Season as you go. I season the chicken, then the vegetables, then the sauce. Layering flavor is the secret to a pot pie that tastes complex instead of flat. Taste the filling before you assemble—if it’s bland now, it’ll be bland later.
Make ahead tip. You can prep the filling up to 2 days in advance and store it in the fridge. When you’re ready to bake, just reheat it slightly on the stove (it will have thickened), assemble with the phyllo, and bake. Perfect for Friendsgiving when you’re juggling a dozen dishes.
Variations & Adaptations
One of the best things about this recipe is how adaptable it is. Here are a few ways I’ve tweaked it over the years:
- Vegetarian Version: Swap the chicken for 2 cups of diced mushrooms and an extra cup of mixed vegetables like corn or green beans. The mushrooms add that umami depth you’d miss from the chicken.
- Gluten-Free Adaptation: Use a gluten-free all-purpose flour blend for the roux (I like Bob’s Red Mill 1-to-1). Skip the phyllo and top with gluten-free biscuits or a simple gluten-free puff pastry.
- Spicy Twist: Add 1/2 teaspoon of smoked paprika and a pinch of cayenne pepper to the sauce. Top with a sprinkle of chopped fresh chives before serving. My brother-in-law requests this version every year.
- Herb Garden Variation: In summer, I swap the dried herbs for fresh—1 tablespoon each of fresh thyme and rosemary leaves, finely chopped. The brightness is incredible.
- Mini Muffin Tin Version: For bite-sized appetizers, press the filling into a greased mini muffin tin, top with small phyllo squares, and bake for 12-15 minutes. Perfect for Friendsgiving grazing.
Honestly, the herb garden version is my personal favorite. I grow thyme in a pot on my kitchen windowsill, and there’s something so satisfying about snipping it fresh for these pies. It makes the whole process feel a little more intentional, you know?
Serving & Storage Suggestions
These mini pot pies are best served warm, straight from the oven. I like to let them rest for 5 minutes so the filling sets up a bit—it makes for cleaner servings and fewer burnt tongues. If you’re bringing them to a Friendsgiving, bake them at home, wrap the ramekins in foil, and reheat in the host’s oven at 350°F for 10 minutes before serving.
For presentation, place each ramekin on a small plate or napkin. Garnish with a sprig of fresh thyme or a sprinkle of chopped parsley for color. They pair beautifully with a simple green salad dressed with lemon vinaigrette—the acidity cuts through the richness of the filling.
Storage: Leftover pot pies (if you have any!) can be covered and refrigerated for up to 3 days. The phyllo will soften slightly, but the flavor actually gets better as it sits. To reheat, pop them in a 350°F oven for 10-15 minutes until warmed through. I don’t recommend microwaving—the phyllo turns into a soggy mess.
Freezer instructions: Assemble the pies completely but don’t bake them. Wrap each ramekin tightly in plastic wrap, then foil. Freeze for up to 3 months. To bake from frozen, remove the wrapping, place on a baking sheet, and bake at 375°F for 30-35 minutes until golden and bubbling. You might need to add 5 minutes for the phyllo to crisp up properly.
Nutritional Information & Benefits
These lighter mini chicken pot pies clock in at roughly 380 calories per serving (one ramekin). Here’s the breakdown per serving:
- Calories: 380
- Protein: 32g
- Carbohydrates: 28g
- Fat: 14g
- Fiber: 4g
- Sugar: 6g
The Greek yogurt adds protein and probiotics without the saturated fat of heavy cream. The phyllo topping uses significantly less butter than traditional pie crust—just a light brushing of olive oil. And the vegetables provide a solid dose of vitamin A from the carrots and fiber from the peas and celery.
If you’re watching your sodium, use low-sodium broth and go easy on the added salt. The herbs do a lot of the heavy lifting for flavor. And if you’re on a lower-carb plan, you can skip the phyllo entirely and serve the filling over roasted cauliflower rice—still delicious, I promise.
I’m not a nutritionist, but I’ve learned to listen to how food makes me feel. These pies leave me satisfied but not sluggish—exactly what I want after a Friendsgiving feast. No food coma required.
FAQs
Can I use puff pastry instead of phyllo?
Absolutely! Cut puff pastry into rounds slightly larger than your ramekins, brush with egg wash, and bake as directed. The texture will be flakier and richer—still delicious, just a bit heavier.
How do I prevent the phyllo from getting soggy?
Make sure your filling isn’t too watery before assembling. Let it cool slightly—the steam needs to escape before you seal it with the phyllo. Also, cutting a slit in the top allows steam to vent during baking.
Can I make these in advance for a party?
Yes! Assemble the pies (without baking) up to 24 hours ahead. Cover and refrigerate. Bake just before serving, adding 5 minutes to the baking time since they’ll be cold from the fridge.
What if I don’t have ramekins?
Use a muffin tin! Divide the filling among 8 muffin cups and top with smaller phyllo squares. Bake for 15-18 minutes. They won’t be as deep, but they’re perfect for appetizers or smaller portions.
Can I use leftover turkey instead of chicken?
Absolutely—this is a fantastic post-Thanksgiving recipe. Shred or dice leftover turkey and use it in place of the chicken. Reduce the cooking time slightly since the turkey is already cooked.
Conclusion
These lighter mini chicken pot pies have become my signature Friendsgiving dish, and I think they deserve a spot on your table too. They’re proof that you can have comfort food without the heavy aftermath—creamy, satisfying, and just a little bit indulgent in all the right ways. Whether you’re feeding a crowd or just treating yourself on a cozy night in, these little pies deliver.
I’d love to hear how yours turn out. Did you try a variation? Did your friends go back for thirds like mine did? Drop a comment below and share your experience—I read every single one. And if you’re looking for more Friendsgiving inspiration, check out my 10 Friendsgiving appetizers under 30 minutes for dishes that come together fast. Happy cooking, and remember—the best meals are the ones shared with people you love.
Pin This Recipe!
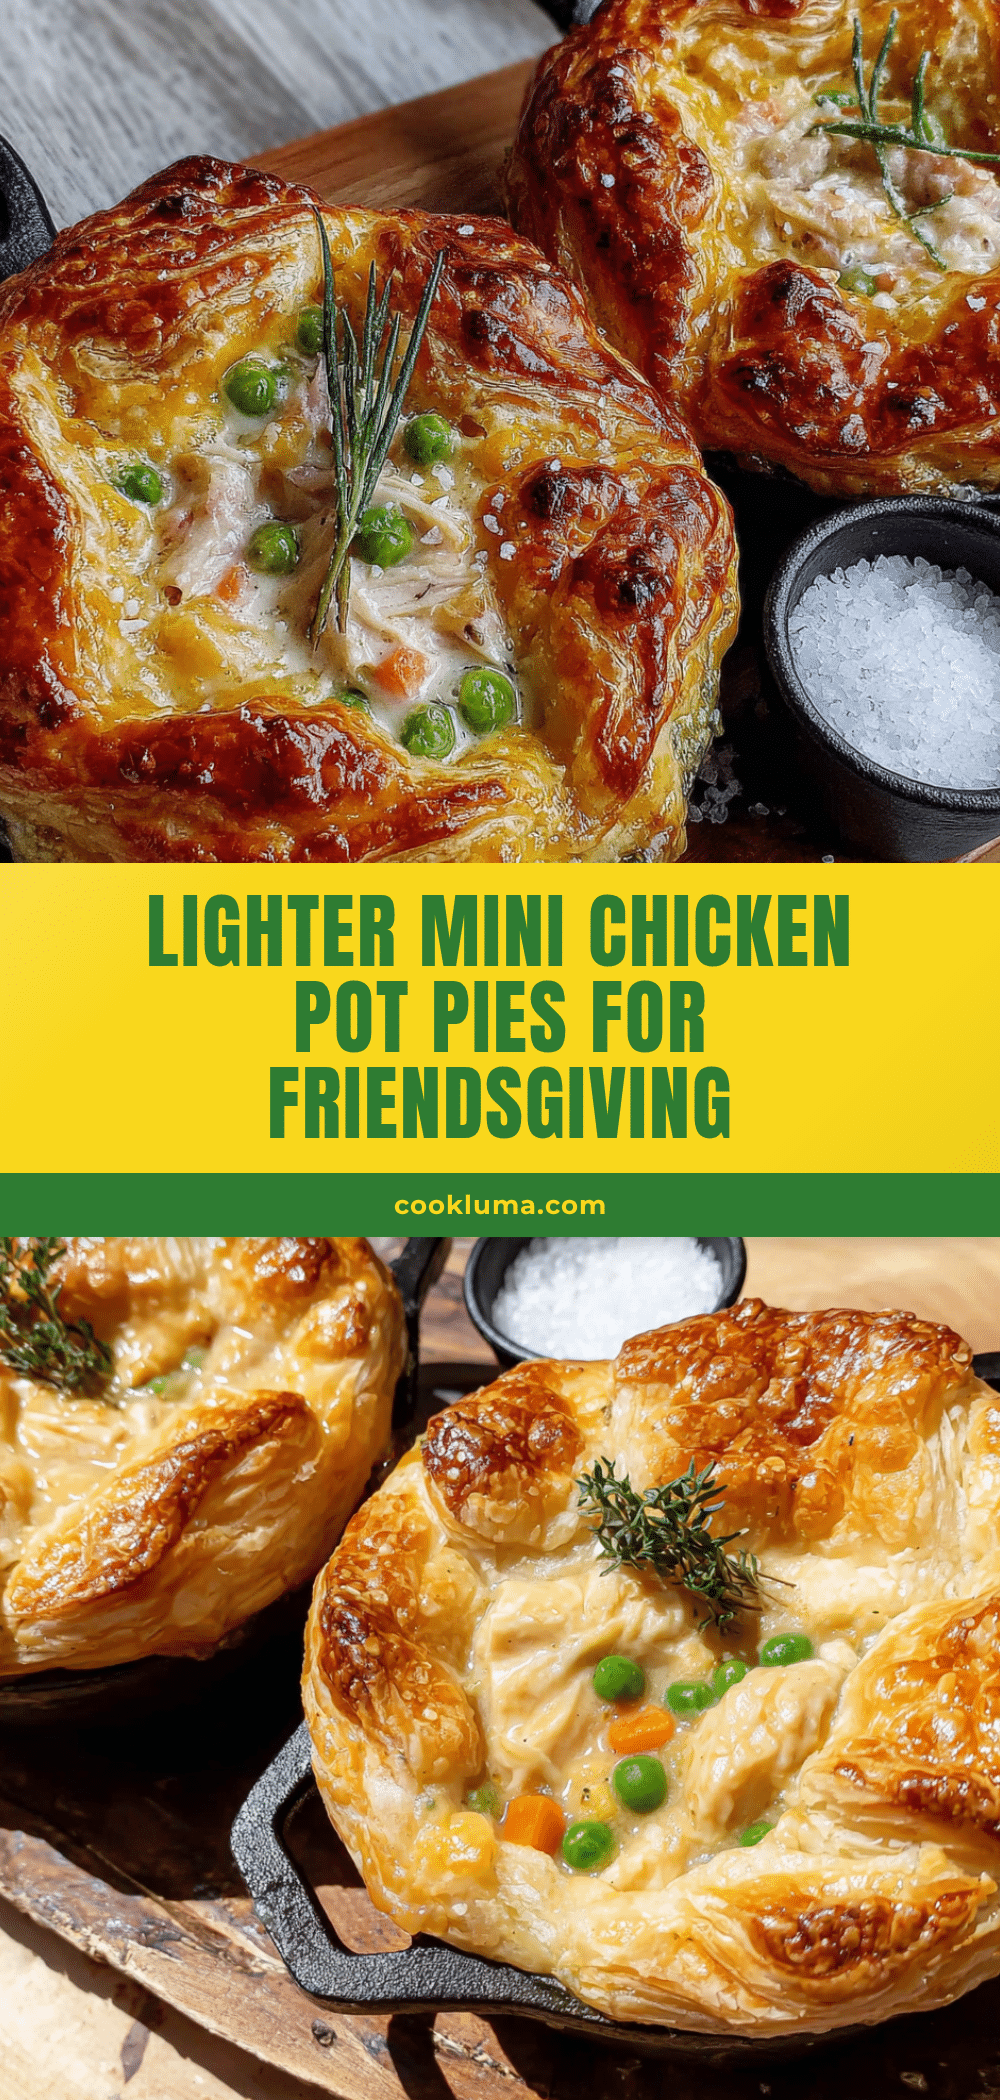
Lighter Mini Chicken Pot Pies for Friendsgiving

These lighter mini chicken pot pies are creamy, satisfying, and perfect for Friendsgiving. Made with a Greek yogurt sauce and phyllo topping, they deliver all the comfort without the heavy cream and butter.
- Prep Time: 15 minutes
- Cook Time: 30 minutes
- Total Time: 45 minutes
- Yield: 4 servings 1x
- Category: Main Course
- Cuisine: American
Ingredients
- 2 tablespoons olive oil, divided
- 1 pound boneless, skinless chicken breasts, cut into bite-sized pieces
- 1 medium yellow onion, diced
- 2 carrots, peeled and diced
- 2 celery stalks, diced
- 3 cloves garlic, minced
- 1/3 cup all-purpose flour
- 2 cups low-sodium chicken broth
- 1/2 cup whole milk (or unsweetened almond milk for dairy-free)
- 1/2 cup plain Greek yogurt (preferably full-fat or 2%)
- 1 cup frozen peas
- 1 teaspoon dried thyme
- 1/2 teaspoon dried rosemary
- Salt and black pepper to taste
- 8 sheets phyllo dough, thawed
- 2 tablespoons olive oil (for brushing phyllo)
- Flaky sea salt for sprinkling
Instructions
- Preheat your oven to 375°F (190°C). Place your ramekins on a baking sheet for easy handling.
- Cook the chicken: Heat 1 tablespoon of olive oil in a large skillet over medium-high heat. Add the chicken pieces in a single layer (work in batches if needed). Season with a pinch of salt and pepper. Cook for 4-5 minutes per side until golden brown and cooked through. Transfer to a plate and set aside.
- Sauté the vegetables: Reduce the heat to medium. Add the remaining 1 tablespoon of olive oil to the same skillet. Toss in the onion, carrots, and celery. Cook for 5-6 minutes, stirring occasionally, until softened and the onion is translucent. Add the minced garlic and cook for another 30 seconds until fragrant.
- Make the roux: Sprinkle the flour over the vegetables and stir constantly for 1-2 minutes to cook out the raw flour taste.
- Build the sauce: Slowly pour in the chicken broth while whisking continuously to prevent lumps. Then add the milk, whisking until smooth. Bring the mixture to a gentle simmer and let it cook for 2-3 minutes until it thickens enough to coat the back of a spoon.
- Finish the filling: Remove the skillet from the heat. Stir in the Greek yogurt until fully incorporated. Add the frozen peas, cooked chicken, thyme, rosemary, and salt and pepper to taste. Stir well. The filling should be thick but still spoonable.
- Assemble the pies: Divide the filling evenly among 4 (8-ounce) ramekins (about 3/4 cup per ramekin). Let the filling cool slightly while you prepare the phyllo topping.
- Prepare the phyllo: Carefully unroll the phyllo dough and cover it with a slightly damp kitchen towel. Take one sheet and brush it lightly with olive oil. Layer another sheet on top and brush again. Repeat until you have 4 layers. Cut the stacked phyllo into 4 squares, each slightly larger than your ramekin tops. Repeat with the remaining 4 sheets to make 4 topped pies total.
- Top and bake: Place one phyllo square on top of each ramekin, pressing the edges gently over the sides. Cut a small slit in the center of each to let steam escape. Sprinkle with a pinch of flaky sea salt. Bake for 18-22 minutes until the phyllo is golden brown and crisp, and the filling is bubbling around the edges.
- Rest and serve: Let the pies cool on a wire rack for 5-10 minutes before serving. The filling will be very hot.
Notes
Use low-sodium chicken broth to control salt level. For Greek yogurt, use plain full-fat or 2%—nonfat can curdle when heated. Thaw phyllo dough overnight in the refrigerator. If phyllo tears, patch with another piece and brush with more oil. Let filling cool slightly before topping to prevent soggy phyllo. Make ahead: Prepare filling up to 2 days in advance and refrigerate. Freezer instructions: Assemble pies completely but don’t bake; wrap tightly and freeze for up to 3 months. Bake from frozen at 375°F for 30-35 minutes.
Nutrition
- Serving Size: 1 ramekin
- Calories: 380
- Sugar: 6
- Fat: 14
- Carbohydrates: 28
- Fiber: 4
- Protein: 32
Keywords: mini chicken pot pie, lighter pot pie, Friendsgiving recipe, individual pot pie, healthy comfort food, Greek yogurt pot pie, phyllo pot pie


