The woman at the community garden plot next to mine watched me fumbling with a bag of pumpkin seeds and a jar of peanut butter last October. I was trying to make some kind of protein snack, and honestly, it was going pretty badly. She didn’t say a word at first, just reached into her own basket and pulled out a container of what looked like the most perfect, creamy peanut butter mixture I had ever seen. “For the kids’ Halloween party,” she said with a shrug, “but I make them lighter so I don’t feel guilty eating half the batch myself.” That moment, right there in the dirt and the autumn chill, was how I first learned about the magic behind these light no-bake peanut butter spiderweb bars.
Her name was Clara, and she was a retired schoolteacher who spent more time in her garden than in her kitchen. We ended up talking for almost an hour while the sun went down, and she told me about her trick for cutting calories without cutting flavor. She used a combination of creamy peanut butter and a light, fluffy base that made the bars taste indulgent but didn’t leave you feeling heavy. I mean, I’ve made plenty of no-bake treats before, but there was something about her version that felt different — it was like she had cracked some kind of code for making healthy-ish desserts that actually tasted like the real thing.
I went home that evening and immediately started experimenting. The first batch I made was a total mess — I used too much sweetener and the bars never set properly. But Clara’s method stuck with me, and after a few tries, I landed on this version that feels like it belongs at every Halloween table without sabotaging your week of healthy eating. Maybe you’ve been there, standing in front of a table full of sugar-laden treats, wondering if there’s a way to join the fun without the guilt. These bars are that answer. Let me tell you, they’ve become my go-to for every fall gathering since that day in the garden.
Why You’ll Love This Recipe
These light no-bake peanut butter spiderweb bars are the kind of recipe that makes you wonder why you ever bothered with complicated baking. I’ve tested this version at least a dozen times, tweaking the ratios and trying different sweeteners until I got it just right. Here’s what makes them truly special:
- Quick & Easy : Comes together in under 20 minutes of active time, with no oven required. Perfect for those last-minute Halloween party invites or when you need a treat without heating up the kitchen.
- Simple Ingredients : You probably have most of these in your pantry right now. No fancy flours, no obscure sweeteners — just real, recognizable ingredients that work together beautifully.
- Perfect for Halloween : The spiderweb design is genuinely fun to create, and kids absolutely love helping with the drizzling part. It’s a crowd-pleaser that looks impressive without being fussy.
- Lighter Than You’d Expect : This isn’t one of those recipes that sacrifices taste for health. By using a clever combination of peanut butter and a light base, you get all the creamy, nutty satisfaction with fewer calories and less sugar.
- Unbelievably Delicious : The texture is what gets everyone — it’s firm enough to hold its shape but melts in your mouth with that perfect peanut butter creaminess. Honestly, I’ve seen people reach for these over full-sugar brownies.
What sets these bars apart from every other no-bake treat I’ve tried is the technique. Instead of using heavy cream or loads of butter, this recipe relies on a light, airy texture that makes each bite feel indulgent without being heavy. It’s comfort food reimagined — healthier, faster, but with the same soul-soothing satisfaction that makes you close your eyes after that first bite. Perfect for impressing guests without stress, or turning a simple Halloween snack into something memorable.
What Ingredients You Will Need
This recipe uses simple, wholesome ingredients to deliver bold flavor and satisfying texture without the fuss. Most of these are pantry staples, which makes these bars incredibly easy to whip up whenever the craving strikes.
- 1 cup creamy peanut butter (I recommend using a natural peanut butter like Justin’s or Smucker’s Natural for the best texture — avoid the overly oily brands that separate too much)
- 1/3 cup honey or maple syrup (adds natural sweetness; use maple syrup for a vegan option)
- 1/4 cup coconut flour (helps bind the bars without making them dense; regular flour won’t work the same way)
- 1/2 cup unsweetened shredded coconut (adds texture and a subtle tropical note)
- 1/4 cup dark chocolate chips (for the spiderweb design; use dairy-free chips if needed)
- 1 tablespoon coconut oil (helps the chocolate drizzle smoothly)
- 1/2 teaspoon vanilla extract (enhances the overall flavor profile)
- Pinch of sea salt (balances the sweetness and brings out the peanut butter flavor)
For the spiderweb design, you’ll also want a small piping bag or a zip-top bag with the corner snipped off. I’ve tried using a fork for the drizzle pattern, but honestly, a piping bag gives you much more control and makes the web look cleaner.
A quick note on peanut butter: look for one that’s creamy and has a smooth consistency. If your peanut butter is too thick, you can warm it slightly in the microwave (about 10-15 seconds) to make it easier to mix. I’ve made the mistake of using a super chunky peanut butter once, and the bars didn’t hold together as well. Stick with creamy for the best results.
For the coconut flour, make sure it’s fresh — old coconut flour can taste stale and won’t absorb moisture the same way. If you don’t have coconut flour, you can substitute with almond flour, though the texture will be slightly different and the bars might be a bit more delicate.
Equipment Needed
You don’t need much for these light no-bake peanut butter spiderweb bars, which is part of their charm. Here’s what you’ll need:
- 8×8 inch baking pan (glass or metal both work fine; I prefer glass so I can see the sides)
- Parchment paper (for lining the pan — this makes lifting the bars out so much easier)
- Medium mixing bowl (for combining the base ingredients)
- Small microwave-safe bowl (for melting the chocolate)
- Spatula or wooden spoon (for mixing; a silicone spatula works best for scraping every bit)
- Piping bag or small zip-top bag (for the spiderweb design)
- Measuring cups and spoons (accuracy matters here, especially with the coconut flour)
If you don’t have an 8×8 pan, you can use a 9×9 pan — the bars will just be slightly thinner and might need a bit less chilling time. I’ve also used a loaf pan before and made thicker bars, which worked great but required a longer chill time to set properly. As for the piping bag, a simple zip-top bag with the corner snipped off works perfectly. No need to buy anything fancy.
Preparation Method
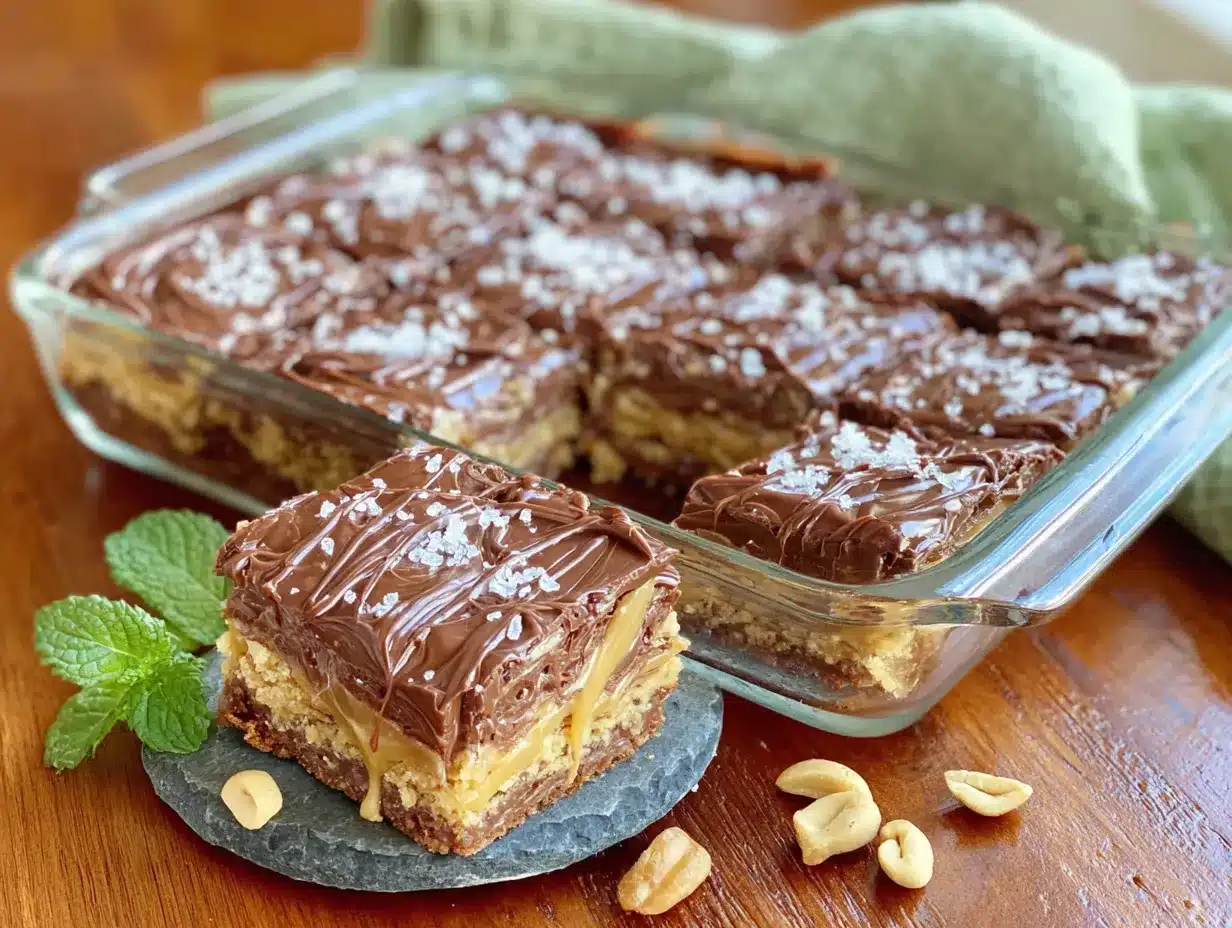
- Line your 8×8 pan with parchment paper, leaving some overhang on two sides. This will make it easy to lift the bars out later. I like to spray the pan lightly with cooking spray first to help the parchment stick.
- In a medium mixing bowl, combine 1 cup creamy peanut butter and 1/3 cup honey or maple syrup. Stir until smooth and well combined. The mixture should be thick but spoonable. If it seems too stiff, microwave the peanut butter for 10 seconds before mixing.
- Add 1/4 cup coconut flour, 1/2 cup unsweetened shredded coconut, 1/2 teaspoon vanilla extract, and a pinch of sea salt. Mix thoroughly until everything is evenly distributed. The dough should come together into a cohesive ball that holds its shape when pressed. If it feels too dry, add a teaspoon of water or milk; if too wet, add another tablespoon of coconut flour.
- Transfer the mixture to the prepared pan. Press it down firmly and evenly using your hands or the bottom of a measuring cup. Make sure it’s compacted well — this prevents the bars from crumbling later. I usually spend about a minute pressing it down, paying extra attention to the corners.
- Place the pan in the refrigerator and chill for at least 30 minutes. This allows the bars to firm up before you add the chocolate spiderweb. While this chills, prepare your chocolate drizzle.
- In a small microwave-safe bowl, combine 1/4 cup dark chocolate chips and 1 tablespoon coconut oil. Microwave in 20-second intervals, stirring between each, until fully melted and smooth. Be careful not to overheat — chocolate can seize up if it gets too hot. Let it cool slightly for about 2 minutes before using.
- Remove the chilled bars from the refrigerator. Lift them out using the parchment paper overhang and place them on a cutting board or flat surface.
- Transfer the melted chocolate to your piping bag or zip-top bag. Snip off a tiny corner — start small, you can always cut more later. The thinner the opening, the more control you’ll have.
- Create the spiderweb design: Start by piping a small circle of chocolate in the center of each bar. Then pipe concentric circles around it, spacing them about 1/2 inch apart. Using a toothpick or a knife, gently drag lines from the center outward through all the circles, creating the web effect. Wipe the toothpick clean between each line for a cleaner look.
- Return the bars to the refrigerator and chill for another 20-30 minutes, or until the chocolate is fully set. Slice into squares or bars using a sharp knife. For cleaner cuts, wipe the knife between slices.
A sensory cue for you: the base mixture should feel slightly tacky but not sticky when pressed. If it sticks to your fingers, you need a bit more coconut flour. The finished bars should be firm enough to hold their shape at room temperature for a few hours, making them perfect for parties or potlucks.
Cooking Tips & Techniques
After making these light no-bake peanut butter spiderweb bars more times than I can count, I’ve picked up a few tricks that make the process smoother and the results more consistent.
Don’t skip the chill time. I know it’s tempting to rush through, especially if you’re craving something sweet, but the chilling is what gives these bars their structure. I once tried to cut them after only 15 minutes in the fridge, and they were a sticky mess. Give them the full 30 minutes for the base, and another 20-30 for the chocolate to set.
Use room temperature peanut butter. Cold peanut butter is hard to mix and won’t incorporate evenly with the other ingredients. If your peanut butter has been in the fridge, let it sit out for 15 minutes before starting. Or, as I mentioned, a quick 10-second zap in the microwave works wonders.
Press firmly and evenly. This is probably the most common mistake I see. If you don’t press the mixture down firmly enough, the bars will be crumbly and fall apart. Use the bottom of a measuring cup or a flat glass to really compact it. I like to lay a piece of parchment paper over the top and press with my hands first, then use the measuring cup for the final press.
Practice the spiderweb on a piece of parchment first. If you’re nervous about the design, do a quick test drizzle on a piece of parchment paper before going for the bars. It takes the pressure off and lets you get a feel for the piping control. I did this the first few times, and it helped a lot.
Let the chocolate cool slightly. If you pipe hot chocolate onto the cold bars, it can melt the surface and create a messy look. Let the melted chocolate sit for 2-3 minutes before piping. It should still be fluid but not hot to the touch.
Variations & Adaptations
One of the best things about these light no-bake peanut butter spiderweb bars is how easily they adapt to different tastes and dietary needs. Here are some variations I’ve tried and loved:
- Vegan Version : Use maple syrup instead of honey, and make sure your chocolate chips are dairy-free. Everything else is already plant-based. I’ve made this version for my vegan friends, and they couldn’t tell the difference.
- Nut-Free Option : Substitute the peanut butter with sunflower seed butter or tahini. The flavor will be different, but the texture works beautifully. Just note that sunflower seed butter can turn green when combined with baking soda — since we’re not using any, you’re safe here.
- Extra Crunchy : Add 1/4 cup of chopped peanuts or crushed pretzels to the base mixture. This adds a wonderful crunch that contrasts with the creamy texture. I’ve done this for parties, and it’s always a hit.
- Chocolate Lover’s Twist : Instead of just a spiderweb on top, mix 2 tablespoons of cocoa powder into the base mixture. This creates a chocolate-peanut butter combo that’s absolutely irresistible. You might need to add an extra tablespoon of honey to balance the bitterness.
- Seasonal Swaps : For a fall twist, add 1/2 teaspoon of pumpkin pie spice to the base. For spring, try a drizzle of white chocolate instead of dark. The possibilities are endless.
I’ve personally tried the chocolate lover’s twist version, and it’s become my go-to for when I need a serious chocolate fix. The cocoa powder adds depth without making the bars heavy, and the spiderweb on top looks even more striking against the darker base.
Serving & Storage Suggestions
These light no-bake peanut butter spiderweb bars are best served chilled, straight from the refrigerator. The cool temperature keeps them firm and makes the chocolate spiderweb snappy. I like to cut them into 16 small squares for parties, or 9 larger bars for a more generous serving.
For presentation, arrange them on a white platter to make the spiderweb design pop. You can also dust them with a tiny bit of cocoa powder or powdered sugar for an extra touch. If you’re serving them at a Halloween party, place them on a cake stand with some fake spiderwebs around the base for a fun, thematic display.
Storage Instructions:
- Refrigerator : Store in an airtight container for up to 1 week. Layer them with parchment paper between each layer to prevent sticking. The flavors actually meld together and improve after a day or two.
- Freezer : These bars freeze beautifully. Place them in a single layer on a baking sheet and freeze until solid, then transfer to a freezer-safe container. They’ll keep for up to 3 months. Thaw in the refrigerator for about 30 minutes before serving.
- Room Temperature : If you’re taking them to a party, they’ll hold up at room temperature for 2-3 hours. Just keep them out of direct sunlight or heat.
One thing I love about these bars is how the texture evolves. On day one, they’re firm and snappy. By day three, they become slightly softer and more fudge-like. Both versions are delicious, so don’t worry if they don’t disappear immediately.
Nutritional Information & Benefits
Here’s the estimated nutritional breakdown per bar (based on 16 servings):
- Calories : 175
- Fat : 12g (mostly healthy fats from peanut butter and coconut)
- Carbohydrates : 14g
- Fiber : 3g
- Sugar : 9g (naturally occurring from honey and chocolate)
- Protein : 6g
These light no-bake peanut butter spiderweb bars are a great source of healthy fats and protein from the peanut butter, which helps keep you full and satisfied. The coconut flour adds fiber, which aids digestion and helps stabilize blood sugar. Compared to traditional no-bake treats that use loads of butter and sugar, these bars are significantly lighter without sacrificing flavor.
They’re naturally gluten-free and can easily be made vegan and nut-free with the substitutions mentioned above. The dark chocolate drizzle provides antioxidants, and the honey offers a touch of natural sweetness with some antimicrobial benefits. For anyone watching their sugar intake, you can reduce the honey to 1/4 cup and use sugar-free chocolate chips.
Conclusion
These light no-bake peanut butter spiderweb bars have become a staple in my Halloween rotation, and I honestly don’t see that changing anytime soon. They’re the kind of recipe that proves you don’t need to choose between eating well and having fun with your food. Whether you’re making them for a kids’ party, a potluck, or just because you want a treat that won’t leave you feeling sluggish, these bars deliver on every level.
I love how adaptable they are — you can dress them up for a holiday or keep them simple for an everyday snack. The spiderweb design is genuinely fun to create, and I always get a kick out of seeing people’s faces when they realize how easy it is. Plus, knowing they’re lighter than most treats makes that second bar feel a lot less guilty.
I’d love to hear how yours turn out! Leave a comment below and let me know if you tried any variations or if the spiderweb design gave you any trouble. Share this recipe with a friend who needs a healthier Halloween option, and don’t forget to tag me in your photos on social media. Happy Halloween, and happy snacking!
Frequently Asked Questions
Can I use crunchy peanut butter instead of creamy?
You can, but the bars won’t hold together as well. The crunchy pieces create air pockets that can make the bars more crumbly. If you only have crunchy, try pulsing it in a food processor a few times to break down the chunks, or add an extra tablespoon of coconut flour to help bind everything.
How long do these bars need to chill before serving?
The base needs at least 30 minutes in the refrigerator, and then another 20-30 minutes after adding the chocolate spiderweb. For the best texture, I recommend chilling them for a full hour total. If you’re in a hurry, you can pop them in the freezer for 15 minutes instead, but keep an eye on them so they don’t freeze solid.
Can I use a different sweetener besides honey or maple syrup?
Yes, you can use agave nectar or brown rice syrup as a substitute. Keep in mind that different sweeteners have different levels of sweetness, so you may need to adjust the amount. Liquid stevia can also work, but start with just a few drops and taste as you go — it’s much sweeter than honey.
Why did my chocolate seize up when I melted it?
Chocolate can seize if it comes into contact with even a tiny amount of water. Make sure your bowl and utensils are completely dry before melting. Also, avoid overheating the chocolate — use short 20-second bursts in the microwave and stir well between each. If your chocolate does seize, you can try adding a teaspoon of coconut oil to smooth it out.
Can I make these bars ahead of time for a party?
Absolutely! In fact, they taste even better after a day or two in the refrigerator as the flavors meld together. Make them up to 3 days in advance and store them in an airtight container in the fridge. Just wait to add the spiderweb design until the day you plan to serve them, so the chocolate stays looking fresh and clean.
Pin This Recipe!
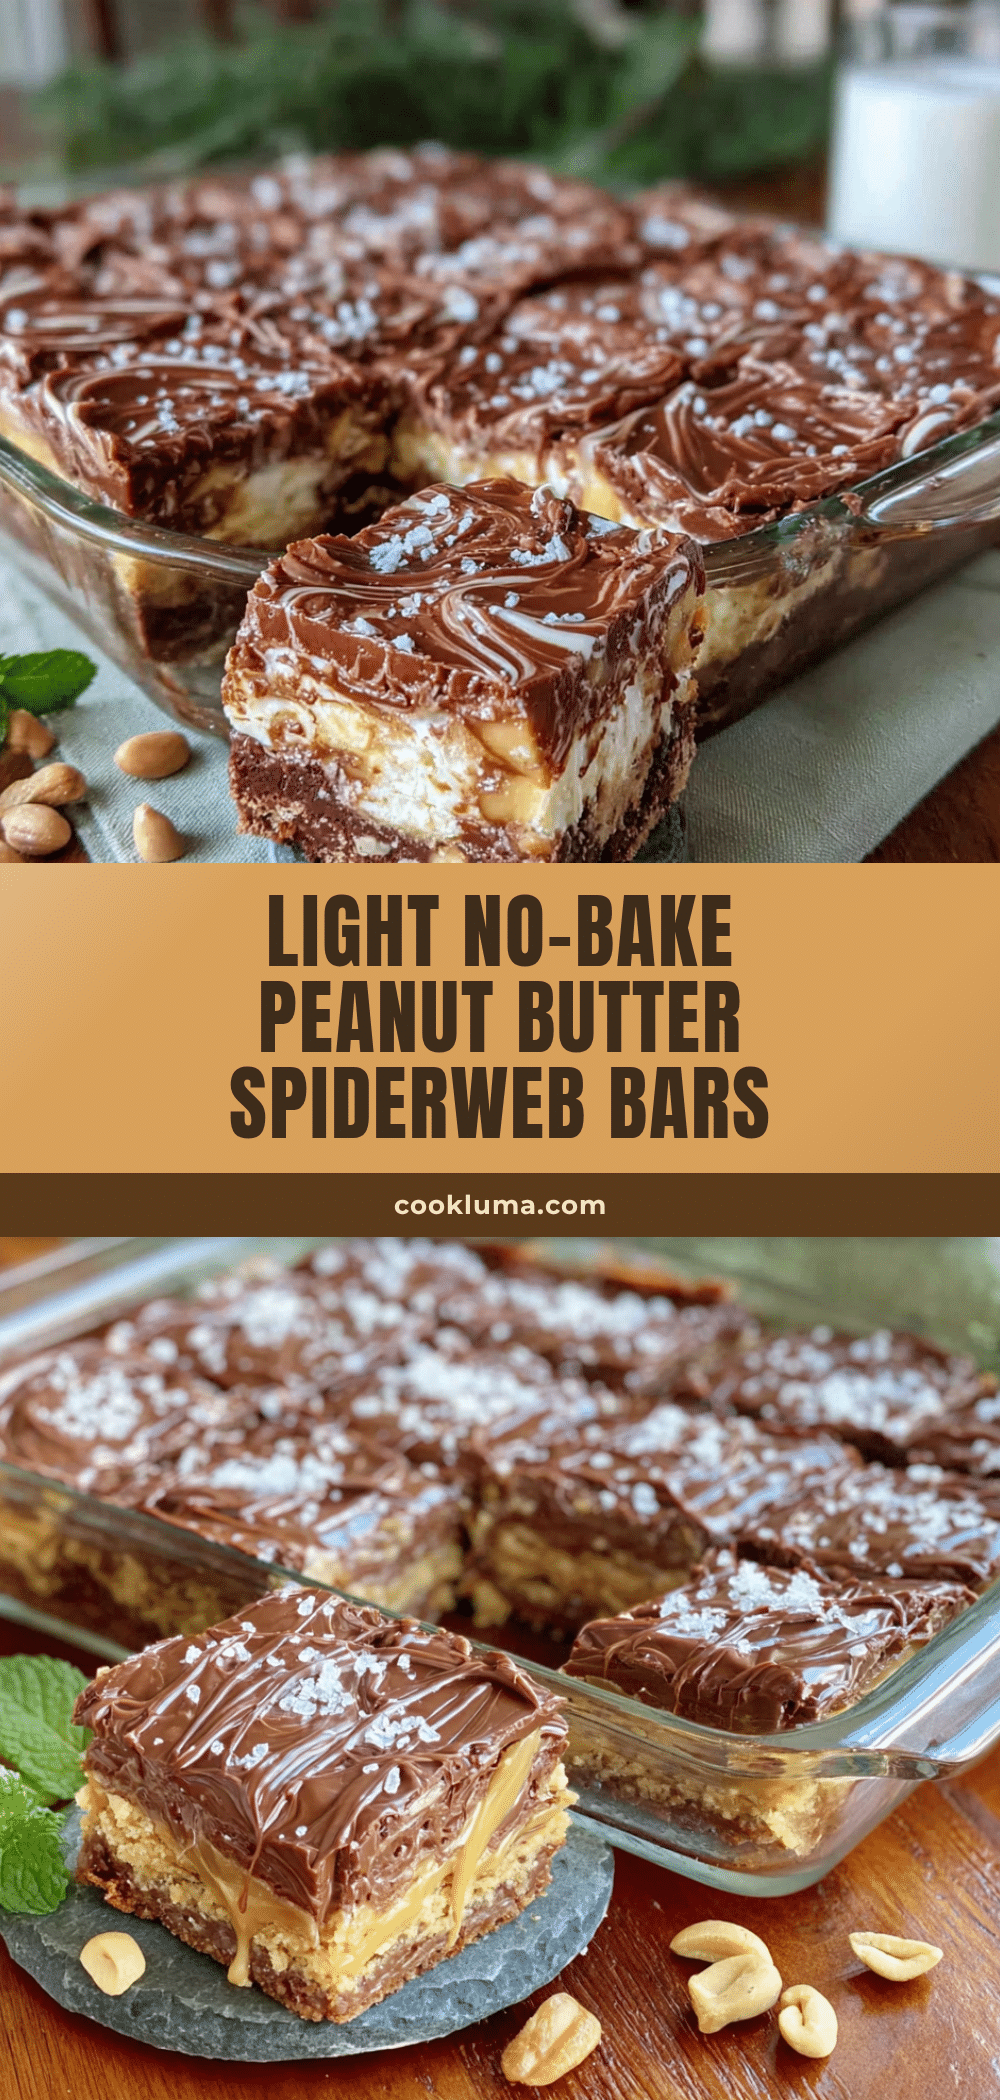
Light No-Bake Peanut Butter Spiderweb Bars: Easy Halloween Treat

These light no-bake peanut butter spiderweb bars are a healthier Halloween treat that comes together in under 20 minutes of active time. With a creamy peanut butter base and a fun spiderweb design, they’re perfect for parties without the guilt.
- Prep Time: 20 minutes
- Cook Time: 0 minutes
- Total Time: 1 hour 10 minutes (including chilling)
- Yield: 16 servings 1x
- Category: Dessert
- Cuisine: American
Ingredients
- 1 cup creamy peanut butter
- 1/3 cup honey or maple syrup
- 1/4 cup coconut flour
- 1/2 cup unsweetened shredded coconut
- 1/4 cup dark chocolate chips
- 1 tablespoon coconut oil
- 1/2 teaspoon vanilla extract
- Pinch of sea salt
Instructions
- Line your 8×8 pan with parchment paper, leaving some overhang on two sides. Lightly spray the pan with cooking spray to help the parchment stick.
- In a medium mixing bowl, combine 1 cup creamy peanut butter and 1/3 cup honey or maple syrup. Stir until smooth and well combined. If too stiff, microwave the peanut butter for 10 seconds before mixing.
- Add 1/4 cup coconut flour, 1/2 cup unsweetened shredded coconut, 1/2 teaspoon vanilla extract, and a pinch of sea salt. Mix thoroughly until the dough comes together into a cohesive ball. If too dry, add a teaspoon of water or milk; if too wet, add another tablespoon of coconut flour.
- Transfer the mixture to the prepared pan. Press it down firmly and evenly using your hands or the bottom of a measuring cup, paying extra attention to the corners.
- Place the pan in the refrigerator and chill for at least 30 minutes to firm up before adding the chocolate spiderweb.
- In a small microwave-safe bowl, combine 1/4 cup dark chocolate chips and 1 tablespoon coconut oil. Microwave in 20-second intervals, stirring between each, until fully melted and smooth. Let cool slightly for about 2 minutes.
- Remove the chilled bars from the refrigerator. Lift them out using the parchment paper overhang and place on a cutting board or flat surface.
- Transfer the melted chocolate to a piping bag or zip-top bag. Snip off a tiny corner.
- Create the spiderweb design: Pipe a small circle of chocolate in the center of each bar, then pipe concentric circles around it, spacing them about 1/2 inch apart. Using a toothpick or knife, gently drag lines from the center outward through all the circles, creating the web effect. Wipe the toothpick clean between each line.
- Return the bars to the refrigerator and chill for another 20-30 minutes, or until the chocolate is fully set. Slice into squares or bars using a sharp knife, wiping the knife between slices for cleaner cuts.
Notes
Don’t skip the chill time; it gives the bars structure. Use room temperature peanut butter for easier mixing. Press the mixture firmly to prevent crumbling. Practice the spiderweb design on parchment first if nervous. Let the chocolate cool slightly before piping to avoid melting the surface. Store in an airtight container in the refrigerator for up to 1 week, or freeze for up to 3 months.
Nutrition
- Serving Size: 1 bar (based on 16 s
- Calories: 175
- Sugar: 9
- Sodium: 95
- Fat: 12
- Saturated Fat: 4
- Carbohydrates: 14
- Fiber: 3
- Protein: 6
Keywords: no-bake, peanut butter, spiderweb, Halloween, healthy dessert, gluten-free, easy treat


