It was 11:47 PM on a random Wednesday, and I had a very specific, almost aggressive craving for something sweet. You know that feeling? The one where a granola bar just won’t cut it, and the idea of baking an entire batch of cookies feels like a full-on life commitment I wasn’t ready to make. I didn’t have the butter softening on the counter, and honestly, I didn’t have the energy to cream anything. But I did have a bag of white chocolate chips leftover from a holiday project, a can of sweetened condensed milk that was somehow always in my pantry, and a jar of rainbow sprinkles winking at me from the back of the cupboard. The idea hit me like a lightning bolt—what if I just melted everything together, poured it into a pan, and called it a win?
I mean, I was skeptical at first. Could something this simple actually taste like a sugar cookie? The answer, my friends, is a resounding yes. The texture is this perfect middle ground—creamy, dense, and melts in your mouth exactly like the soft center of a frosted sugar cookie. The sprinkles add that little crunch and a pop of color that honestly makes me smile every time I open the fridge. I poured the mixture into a pan, scraped the bowl clean with my finger (because, let’s be real, that’s the cook’s tax), and waited impatiently for it to set. That first bite was pure, quiet vindication. This is the recipe that proved to me that you don’t need an oven, a mixer, or a ton of time to make something that tastes like a genuine treat. It’s the kind of recipe you keep in your back pocket for those late-night moments or when you need a last-minute dessert for a gathering. Maybe you’ve been there, staring into your pantry, hoping for inspiration to strike. Well, consider this your sign.
Why You’ll Love This Recipe
This isn’t just another fudge recipe. It’s a game-changer for anyone who wants a homemade dessert without the hassle. I’ve tested this with different types of chocolate chips, different sprinkles, and even a few pan sizes to make sure it works every single time. Here’s why it stands out from the crowd.
- Quick & Easy: It comes together in about 5 minutes of active prep time. Seriously, you just melt, stir, and pour. It’s perfect for those moments when you need a dessert now.
- Simple Ingredients: You only need four main ingredients. No fancy extracts, no obscure baking supplies. You likely have everything in your pantry right this second.
- Perfect for Last-Minute Gifting: Need a hostess gift or a treat for a holiday party? This fudge sets in the fridge in about 2 hours. Wrap it up in a cute box, and you look like a hero.
- Crowd-Pleaser: I’ve brought this to potlucks and family gatherings, and it disappears faster than almost anything else. Kids love the sprinkles, and adults love the nostalgic sugar cookie flavor.
- Unbelievably Delicious: The texture is what gets me every time. It’s not grainy or overly sweet. It’s perfectly creamy with a slight bite from the sprinkles. It’s comfort food, simplified.
What makes this recipe different is the technique. Instead of using a complicated sugar cookie base, we’re using white chocolate and a touch of vanilla and almond extract to nail that classic flavor profile. It’s a clever shortcut that delivers the same soul-soothing satisfaction without turning on your oven. It’s the kind of treat that makes you close your eyes after the first bite, not because it’s fancy, but because it’s just so perfectly simple.
What Ingredients You Will Need
This recipe uses simple, wholesome (well, delicious) ingredients to deliver that classic sugar cookie flavor without any fuss. Here’s what you need to grab.
- White Chocolate Chips (3 cups): This is the base of our fudge. I recommend using a good quality brand like Ghirardelli or Guittard for the smoothest melt and creamiest texture. Avoid “white morsels” that are labeled as candy melts, as they don’t melt as smoothly. (They contain different fats that can make the fudge grainy.)
- Sweetened Condensed Milk (1 can, 14 ounces): This is the magic ingredient that gives fudge its signature creamy, dense texture. It also adds sweetness and helps the white chocolate melt into a silky smooth mixture. Don’t confuse it with evaporated milk—they are not the same!
- Unsalted Butter (2 tablespoons): A little butter adds richness and a lovely sheen to the fudge. It also helps the fudge set up with a slightly softer, more melt-in-your-mouth texture. If you only have salted butter, just reduce the added salt by a pinch.
- Vanilla Extract (1 teaspoon): This is your primary flavor agent. It gives the fudge that warm, sweet, classic cookie flavor. Use pure vanilla extract if you have it—the flavor is much richer than imitation.
- Almond Extract (¼ teaspoon): This is the secret ingredient! A tiny splash of almond extract is what truly makes this taste like a sugar cookie. It adds a subtle, nutty, almost floral note that is unmistakable. Be careful not to overdo it—a little goes a long way.
- Salt (¼ teaspoon): Salt is crucial. It balances the sweetness and enhances all the other flavors. Don’t skip it, or your fudge will taste one-dimensional.
- Rainbow Sprinkles (½ cup, plus more for topping): These add the classic sugar cookie look and a delightful little crunch. I prefer jimmies (the long, skinny sprinkles) over nonpareils (the little round balls), as they don’t bleed their color into the white fudge as much. You can use any color or theme you like!
Equipment Needed
You don’t need a fancy kitchen to make this. Here’s what you’ll need.
- 8×8-inch Baking Pan: This is the perfect size for a thick, satisfying fudge. If you only have a 9×9-inch pan, your fudge will be a little thinner and set a bit faster.
- Parchment Paper or Aluminum Foil: You’ll line your pan with this to create a “sling,” which makes it incredibly easy to lift the whole block of fudge out once it’s set. I prefer parchment paper because it’s non-stick, but foil works fine too (just lightly grease it).
- Medium-Sized Saucepan: You’ll use this to melt everything together. A heavy-bottomed saucepan is best to prevent scorching.
- Rubber Spatula: Essential for stirring the mixture and scraping every last bit of fudge into the pan. A silicone spatula is heat-resistant and perfect for this job.
- Measuring Cups and Spoons: For accuracy. Eyeballing the almond extract can lead to a fudge that tastes more like marzipan than sugar cookies.
- Sharp Knife: For cutting the fudge into neat squares after it sets. Run it under hot water, wipe it dry, and you’ll get clean cuts every time.
That’s it! No mixer, no double boiler (though you can use one if you prefer), no complicated gadgets. This is a truly minimalist recipe.
Preparation Method
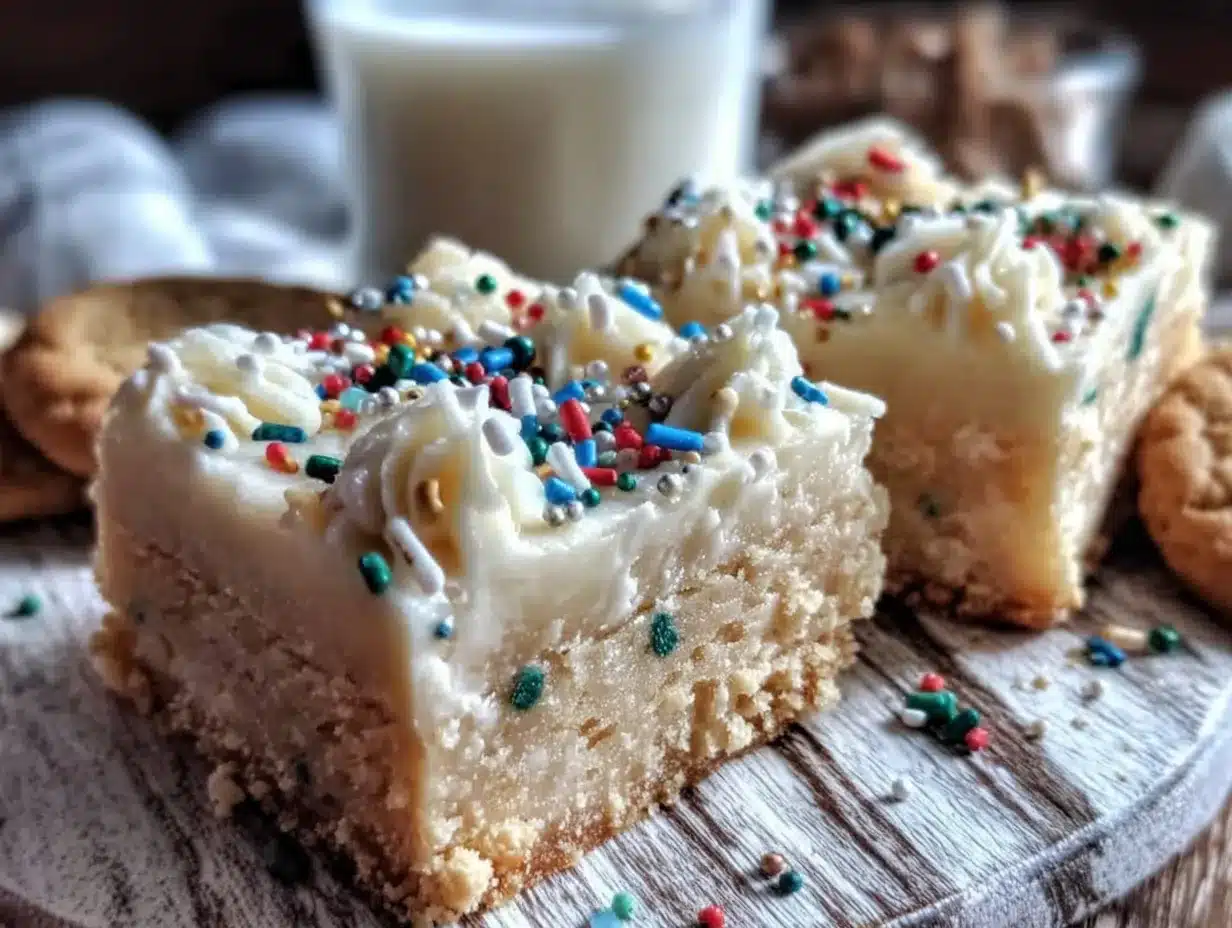
Alright, let’s get to the good part. This is so simple, you’ll wonder why you ever bought fudge from the store. Follow these steps, and you’ll have perfect fudge every time.
- Prepare Your Pan: Line your 8×8-inch baking pan with a piece of parchment paper, leaving a couple of inches of overhang on two opposite sides. This is your “sling.” If you’re using foil, press it in smoothly and lightly grease it with butter or non-stick spray. Set the pan aside.
- Melt the Base: Place your saucepan over low heat. Add the 3 cups of white chocolate chips, the full can of sweetened condensed milk, and the 2 tablespoons of unsalted butter. Do not turn the heat up. Low and slow is the key to smooth fudge. Stir constantly with your rubber spatula. It will look thick and lumpy at first, but be patient.
- Watch for the Melt: As the mixture warms, the white chocolate will begin to soften and melt into the condensed milk. Keep stirring! This whole process should take about 4-5 minutes. You’re looking for a completely smooth, glossy, and thick mixture. There should be no lumps of unmelted chocolate.
- Flavor It: Once the mixture is completely smooth and melted, remove the saucepan from the heat immediately. Stir in the 1 teaspoon of vanilla extract, the ¼ teaspoon of almond extract, and the ¼ teaspoon of salt. Give it a good final stir to make sure everything is evenly distributed. The smell at this point is incredible—like a bakery!
- Add the Sprinkles: Let the mixture cool in the pan for just one minute. This is important—if you add the sprinkles to the hot fudge immediately, they might start to melt and bleed their colors. After a minute, gently fold in ½ cup of your rainbow sprinkles. Don’t overmix, or the colors might streak.
- Pour and Spread: Pour the fudge mixture into your prepared pan. Use your spatula to spread it into an even layer. It’s thick, so you’ll need to work it into the corners. Don’t worry about it being perfectly smooth on top; it will settle as it sets.
- Top with Sprinkles: While the fudge is still wet, sprinkle a generous tablespoon or two of additional sprinkles over the top. Press them down very lightly with your fingers or the back of a spoon so they stick.
- Chill to Set: Place the pan in the refrigerator, uncovered, for at least 2 hours. The fudge needs to be completely firm to the touch before you cut it. You can leave it in for up to 4 hours if you have the time. Don’t rush this step!
- Cut and Serve: Once the fudge is fully set, use the parchment paper sling to lift the entire block out of the pan. Place it on a cutting board. Use a sharp knife to cut it into 1-inch squares. For the cleanest cuts, wipe the knife blade clean between each slice.
And that’s it. You’ve just made the easiest, most delicious sugar cookie fudge of your life.
Cooking Tips & Techniques
I’ve made this fudge more times than I can count, and I’ve learned a few things along the way. Here are my best tips to ensure your success.
- The Low Heat Rule: This is the most important tip. White chocolate is delicate. If you overheat it, it will seize up, turning into a gritty, clumpy mess. Always melt it over low heat and stir constantly. If you’re nervous, you can use a double boiler (a heatproof bowl set over a pot of simmering water) for even gentler heat.
- Don’t Skip the Almond Extract: I know it seems like a small, optional thing, but it is the key to that authentic sugar cookie flavor. It adds a depth that vanilla alone can’t achieve. Just be precise—a little too much, and it can taste like cherry or marzipan.
- The Sprinkle Timing: I learned this one the hard way. I once dumped the sprinkles into the piping hot fudge, and by the time I poured it into the pan, the fudge had turned a sad, streaky pink. Letting the mixture cool for just 60 seconds before adding the sprinkles prevents the colors from bleeding.
- Patience is a Virtue: I know it’s tempting to cut into the fudge after an hour, but trust me—wait the full 2 hours. If you cut it too soon, it will be soft and sticky, and your clean squares will turn into a messy pile of delicious goo. The fridge is your friend here.
- Room Temperature Ingredients: While not strictly necessary, making sure your butter is at room temperature can help it incorporate more smoothly into the melted chocolate, resulting in an even creamier texture.
Variations & Adaptations
This recipe is a fantastic base for all sorts of fun variations. Don’t be afraid to make it your own!
- Holiday Sprinkle Fudge: Swap the rainbow sprinkles for seasonal ones. Red and green for Christmas, pastels for Easter, orange and black for Halloween. It’s an instant holiday-themed treat.
- Chocolate Lover’s Twist: For a cookies-and-cream version, stir in ½ cup of crushed Oreo cookies along with the sprinkles. The dark chocolate against the sweet white fudge is amazing.
- Citrus Sugar Cookie Fudge: Add the zest of one lemon or orange along with the vanilla extract. The bright citrus flavor cuts through the sweetness beautifully and adds a refreshing twist. I tried this last summer, and it was a huge hit at a picnic.
- Nutty Crunch: Toast ½ cup of chopped pecans or almonds and fold them in with the sprinkles. The toasty flavor and crunchy texture add a whole new dimension.
- Gluten-Free Friendly: This recipe is naturally gluten-free, as long as you check the labels on your white chocolate chips and sprinkles. Most are, but it’s always a good idea to verify for anyone with celiac disease.
Serving & Storage Suggestions
This fudge is delicious any way you serve it, but here are a few ideas to make it even better.
- Serving Temperature: This fudge is best served cold, straight from the fridge. It has a firm, creamy texture that is incredibly satisfying. It will soften at room temperature, so if you’re serving it at a party, keep it on a chilled platter.
- Presentation: Arrange the squares on a pretty plate or in a festive cupcake liner. A light dusting of powdered sugar over the top before serving can make it look extra special.
- Storage: Store your fudge in an airtight container in the refrigerator. It will stay fresh for up to two weeks. I like to layer it between sheets of parchment paper to prevent the pieces from sticking together.
- Freezing: This fudge freezes beautifully! Place the cut squares on a baking sheet and freeze until solid. Then transfer them to a freezer-safe bag or container. They will keep for up to 3 months. Thaw in the refrigerator overnight before serving.
- Flavor Development: Honestly, the fudge tastes even better the next day. The flavors have time to meld together, and the texture becomes even more perfectly creamy. So don’t be afraid to make it a day ahead!
Nutritional Information & Benefits
Let’s be honest—this is a treat, not a health food. But that doesn’t mean we can’t be mindful. A 1-inch square of this fudge contains approximately 120-150 calories, depending on the exact ingredients you use.
- Energy Source: This fudge provides a quick source of energy from carbohydrates and fats. It’s a perfect little pick-me-up when you need a sweet boost.
- Calcium: The sweetened condensed milk and white chocolate do provide a small amount of calcium.
- Portion Control: Because it’s so rich and satisfying, a small square is usually enough to hit that sweet spot. It’s a great way to indulge without overdoing it.
- Dietary Considerations: This recipe is naturally gluten-free and vegetarian. For a dairy-free version, you can try using a dairy-free white chocolate alternative and a can of coconut sweetened condensed milk. The texture will be slightly different, but it still works!
I believe in balance. Enjoying a piece of this fudge after a long day is a small, joyful moment that makes eating well feel sustainable and happy.
Conclusion
This Light & Easy Sugar Cookie Fudge is more than just a recipe—it’s a solution. It’s the answer to a late-night craving, the hero of a last-minute potluck, and the easiest way to make someone’s day a little sweeter. It proves that you don’t need a lot of time, energy, or fancy equipment to create something genuinely delicious. I love it because it’s forgiving, foolproof, and always brings a smile to people’s faces.
I encourage you to make this your own. Use your favorite sprinkles, add a pinch of your favorite spice, or just enjoy it exactly as written. When you do, I’d love to hear about it! Leave a comment below and let me know how it turned out. Did you try a fun variation? Share your photos on social media and tag me—I can’t wait to see your creations. Now go make some fudge. You deserve it.
Frequently Asked Questions
Can I use milk chocolate or dark chocolate chips instead of white chocolate?
Technically, yes, but it won’t taste like a sugar cookie. The white chocolate provides the neutral, sweet base that mimics the flavor of a cookie. If you use milk or dark chocolate, you’ll get a delicious chocolate fudge, but it will be a completely different recipe.
My fudge turned out grainy. What went wrong?
This usually happens if the mixture was overheated. Remember to melt everything over low heat and remove it from the stove as soon as it’s smooth. Using low-quality white chocolate chips can also cause a grainy texture.
Can I make this in the microwave?
Absolutely! Place the white chocolate chips, condensed milk, and butter in a microwave-safe bowl. Heat in 30-second intervals, stirring well after each, until completely smooth. Be careful not to overheat. Then proceed with the recipe as written.
How long does this fudge last at room temperature?
It will soften and become quite sticky at room temperature. For the best texture and safety, it’s best to store it in the refrigerator. If you are serving it at a party, it can sit out for up to 2 hours before it starts to get too soft.
Can I use a different type of sprinkle?
Yes! Jimmies (the long, skinny kind) are my top recommendation. Nonpareils (the tiny round balls) work but can bleed color more easily. Sanding sugar or coarse sugar will add a great crunch but won’t add as much color. Avoid using large, hard candies or chocolate chips as a topping, as they won’t stick well.
Pin This Recipe!
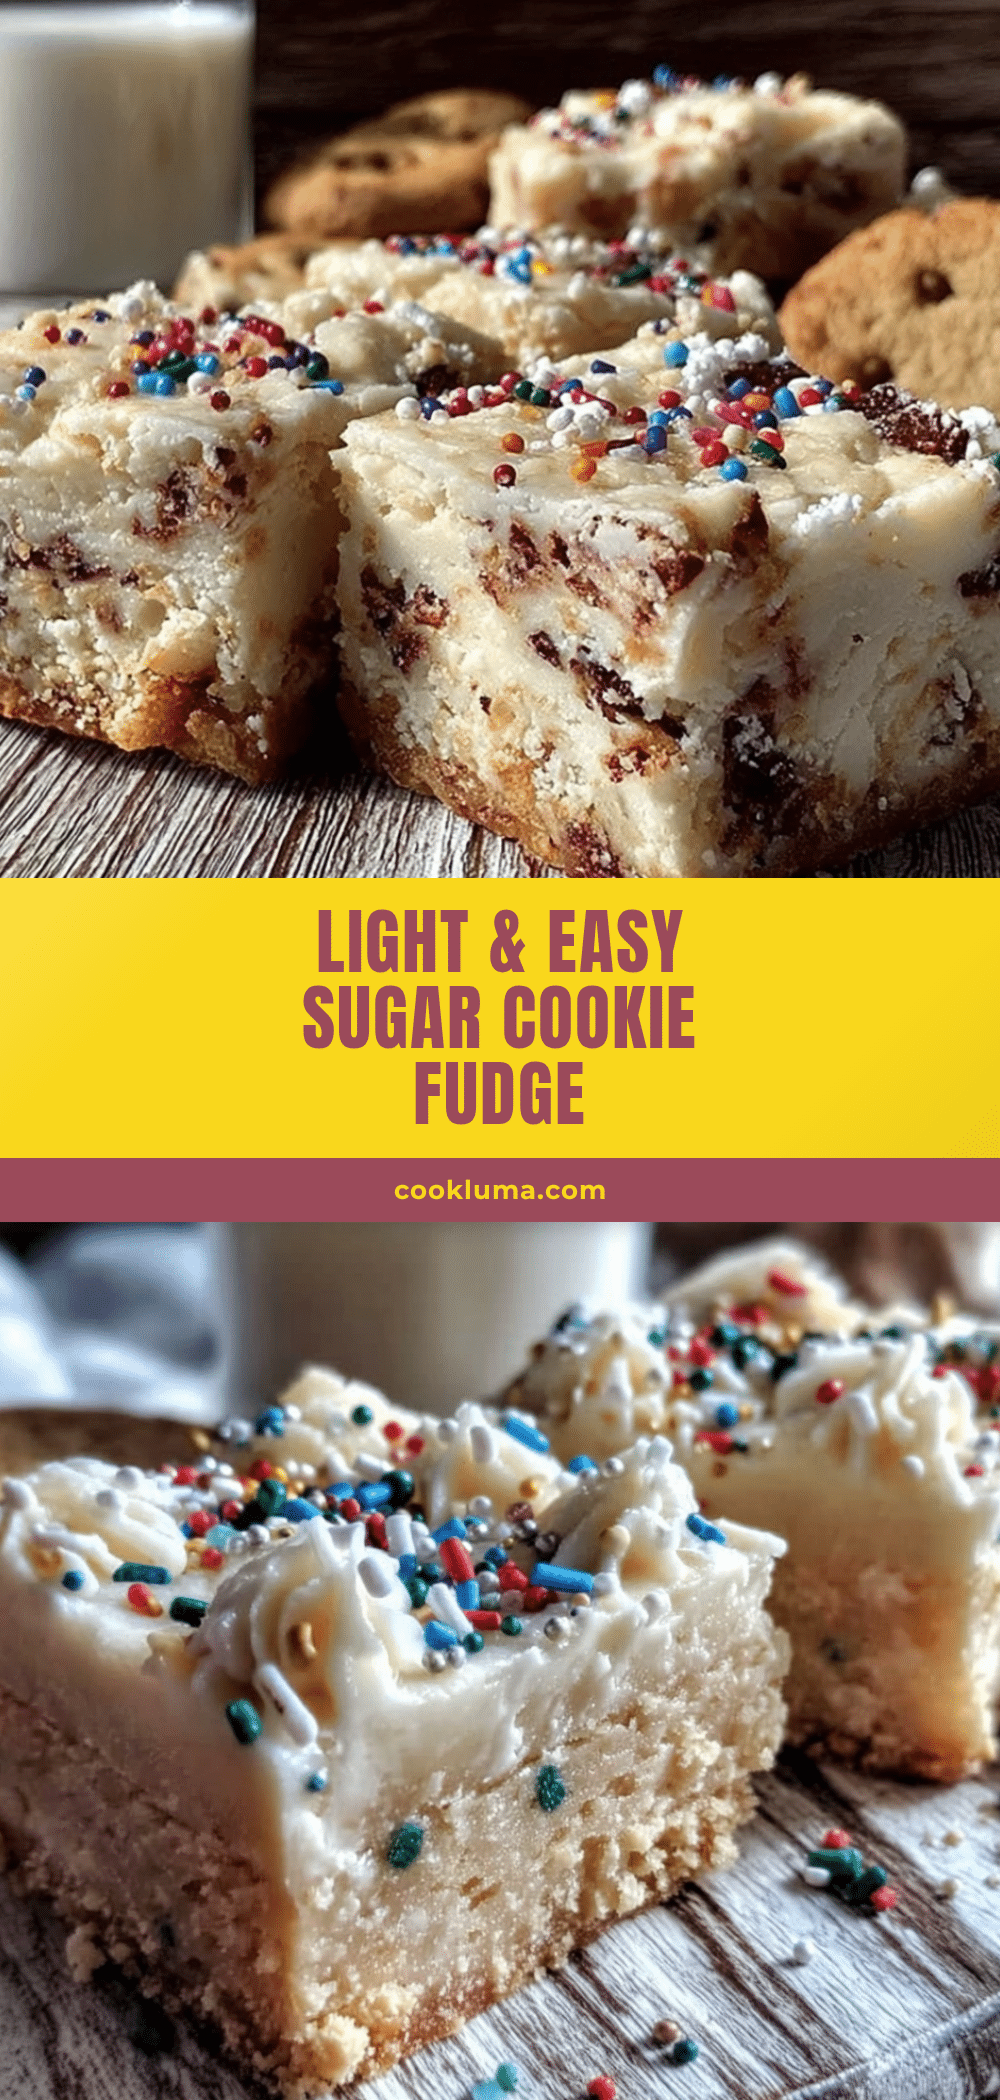
Light & Easy Sugar Cookie Fudge – Best 5-Minute Treat
This creamy, melt-in-your-mouth sugar cookie fudge comes together in just 5 minutes with only 4 main ingredients. It’s the perfect last-minute dessert for late-night cravings, potlucks, or holiday gifting.
- Prep Time: 5 minutes
- Cook Time: 5 minutes
- Total Time: 2 hours 10 minutes (includes chilling time)
- Yield: 36 servings (1-inch squares) 1x
- Category: Dessert
- Cuisine: American
Ingredients
- 3 cups white chocolate chips (recommended: Ghirardelli or Guittard)
- 1 can (14 ounces) sweetened condensed milk
- 2 tablespoons unsalted butter
- 1 teaspoon vanilla extract
- ¼ teaspoon almond extract
- ¼ teaspoon salt
- ½ cup rainbow sprinkles (jimmies preferred), plus more for topping
Instructions
- Line an 8×8-inch baking pan with parchment paper, leaving overhang on two opposite sides to create a sling. Set aside.
- In a medium saucepan over low heat, combine white chocolate chips, sweetened condensed milk, and butter. Stir constantly until completely smooth and melted, about 4-5 minutes. Do not overheat.
- Remove from heat immediately. Stir in vanilla extract, almond extract, and salt until well combined.
- Let the mixture cool in the pan for 1 minute, then gently fold in ½ cup of rainbow sprinkles. Do not overmix.
- Pour the fudge mixture into the prepared pan and spread into an even layer using a rubber spatula.
- While still wet, sprinkle additional sprinkles on top and press lightly to adhere.
- Refrigerate uncovered for at least 2 hours, or until completely firm.
- Use the parchment sling to lift the fudge out of the pan. Cut into 1-inch squares with a sharp knife, wiping the blade clean between cuts.
- Serve cold or store in an airtight container in the refrigerator.
Notes
Use good quality white chocolate chips for smoothest texture. Do not overheat the mixture or it may become grainy. Let the mixture cool for 1 minute before adding sprinkles to prevent color bleeding. For clean cuts, run knife under hot water and wipe dry between slices. Fudge can be frozen for up to 3 months.
Nutrition
- Serving Size: 1 square (1-inch)
- Calories: 135
- Sugar: 16
- Sodium: 45
- Fat: 7
- Saturated Fat: 4
- Carbohydrates: 17
- Protein: 2
Keywords: sugar cookie fudge, easy fudge, 5-minute fudge, no-bake dessert, white chocolate fudge, sprinkle fudge, last-minute dessert, holiday fudge


