This was supposed to be a batch of fancy chocolate-dipped pretzels for a grown-up Halloween party. I had the good dark chocolate melting, the fancy sprinkles ready to go, and I was feeling pretty proud of myself. Then my three-year-old wandered into the kitchen, took one look at the pretzel rods, and asked if we could make them look like “scary fingers.” I laughed, handed him a green candy melt, and figured we’d make a mess together. What came out was nothing like the elegant party treat I’d planned—and honestly, so much better. These Kid-Friendly Witch Finger Pretzel Rods are now the thing my kids ask for every October, and I wouldn’t trade that for any fancy party snack. Maybe you’ve been there too—trying to pull off something Pinterest-perfect while a little voice asks for something way more fun.
The thing is, these pretzel rods are the perfect Halloween project. They look gross enough to impress the neighborhood kids, but they taste like salty-sweet candy-covered pretzels. And the best part? You don’t need to be a pastry chef or even a particularly patient parent to pull them off. I mean, let’s be real—if I can make these while my toddler “helps” by eating the almond slivers, anyone can. They’ve become our go-to Halloween tradition, and I keep making them because they’re the one thing that makes my kids light up without making me want to pull my hair out.
Why You’ll Love This Recipe
Let me tell you why these spooky pretzel rods have earned a permanent spot in our Halloween rotation. I’ve tested this recipe at least a dozen times with different candy melts, different toppings, and even different pretzel brands. What I’m sharing today is the version that works every single time—no melting disasters, no cracked “fingernails,” just perfectly creepy little witch fingers that taste amazing.
- Quick & Easy: From start to finish, you’re looking at about 20 minutes of active work. The hardest part is waiting for the candy coating to set, which is totally hands-off time.
- Simple Ingredients: You only need four main ingredients—pretzel rods, green candy melts, almond slivers, and a few decorating items. Nothing fancy, nothing hard to find.
- Perfect for Halloween Parties: These are the life of the party, I swear. Kids go crazy for them, and adults secretly love them too. They’re great for classroom treats, Halloween playdates, or just a fun afternoon project.
- Crowd-Pleaser: The salty-sweet combo is impossible to resist. Plus, they’re naturally nut-free if you skip the almond slivers, so most kids can enjoy them.
- Unbelievably Fun: There’s something about eating a “witch finger” that makes everyone giggle. It’s the kind of treat that creates memories, not just full bellies.
What makes these different from other witch finger recipes you might have seen? I figured out the trick to getting the candy coating smooth without it pooling at the bottom of the pretzel. I also found that using a specific brand of candy melts makes a huge difference in how well they stick and how vibrant the green color is. This isn’t just another Halloween craft—it’s the version that actually works when you’re doing it with kids who have short attention spans and sticky fingers.
What Ingredients You Will Need
This recipe uses simple, budget-friendly ingredients that you can find at almost any grocery store. Here’s what you’ll need to make about 12 witch finger pretzel rods—enough for a small party or a fun family afternoon.
For the Witch Fingers
- 12 pretzel rods (I recommend Snyder’s or a store brand with similar thickness—avoid the super thin ones that break easily)
- 1 cup green candy melts (Wilton brand works great, but any brand labeled “candy melts” or “melting wafers” will do. Look for the bright green, not the mossy shade)
- 24 almond slivers (these become the fingernails—you’ll want two per finger, one at the tip and one for the “cuticle” area)
- 1 tablespoon coconut oil or vegetable shortening (this helps thin the candy melts for a smoother coating)
For Decorating
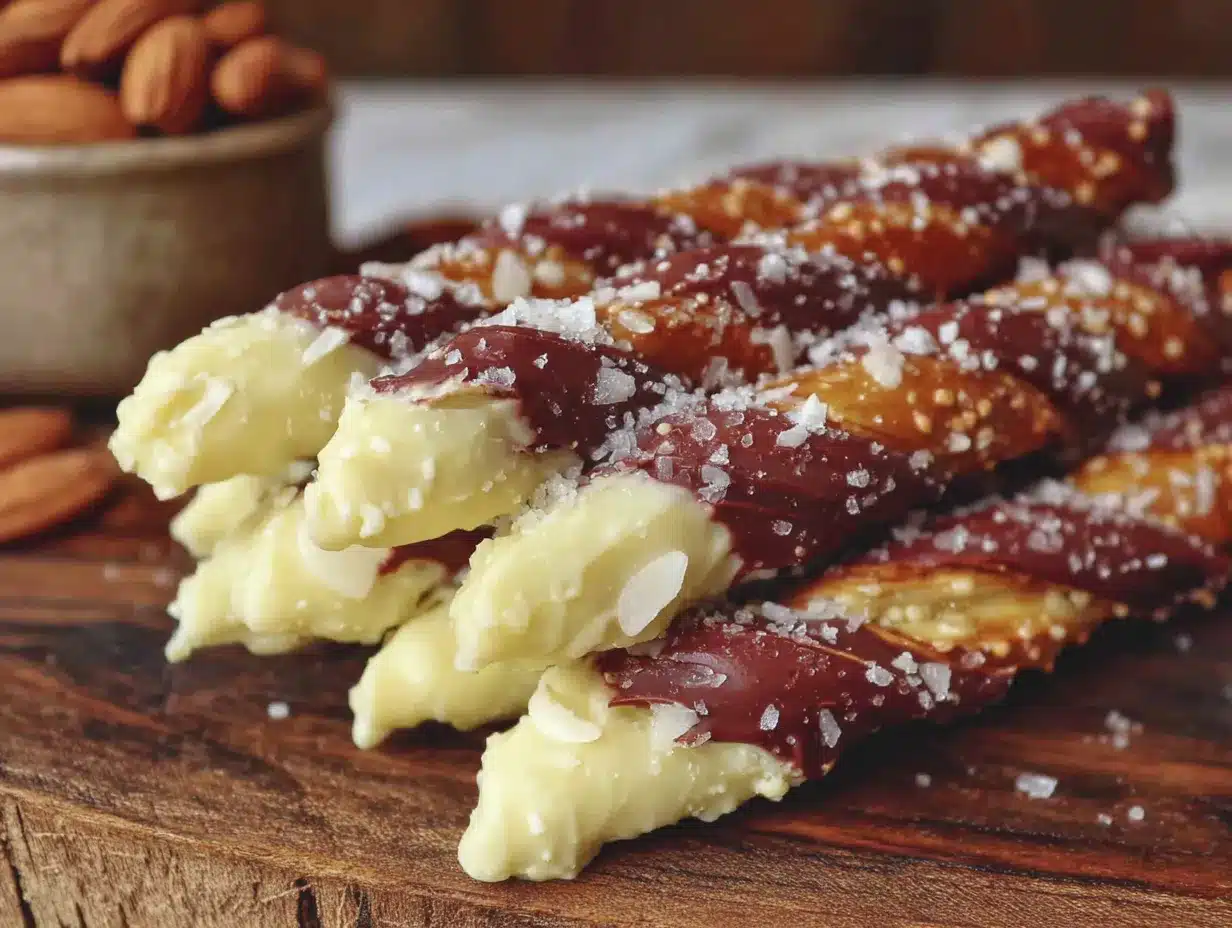
- Red decorating gel or red icing (to make the “blood” around the cuticles—optional but very fun)
- Black or purple sprinkles (for a witchy vibe, optional)
- Wax paper or parchment paper (for setting the finished pretzels)
I personally prefer Wilton candy melts because they melt more evenly than some store brands I’ve tried. If you can’t find green melts, you can use white candy melts and add green food coloring—just make sure it’s oil-based, not water-based, or the chocolate will seize up. One time I tried using regular green food coloring from my baking drawer, and the whole batch turned into a grainy mess. Learn from my mistakes, friends.
For the almond slivers, look for ones that are relatively flat and not too curved. You want them to sit nicely on the tip of the pretzel rod. If you’re making these for a nut-free classroom, you can skip the almonds and use a tiny dot of red icing as the fingernail instead. It won’t look quite as realistic, but the kids will still love them.
Equipment Needed
You don’t need fancy equipment for this project, which is part of the beauty. Here’s what I use:
- Microwave-safe bowl (glass or ceramic works best—plastic bowls can get too hot and affect the melting)
- Spoon or small spatula (for stirring and dipping)
- Baking sheet lined with wax paper or parchment paper (for setting the finished pretzels)
- Small piping bag or zip-top bag (if you want to drizzle extra green coating or add red “blood” details)
- Toothpick (helpful for positioning almond slivers without getting green goo all over your fingers)
If you don’t have a microwave, you can melt the candy melts in a double boiler on the stove. Just be careful not to let any water get into the bowl—that’s the number one cause of seized, lumpy candy melts. I learned that one the hard way during a particularly stressful Halloween baking session. My budget-friendly tip? A basic zip-top bag works just as well as a fancy piping bag for drizzling. No need to buy special equipment for a fun family project.
Preparation Method
Okay, let’s get to the fun part. Here’s how to make these spooky witch fingers step by step. I’ve included all the little tricks I’ve learned from making these more times than I can count.
Step 1: Set Up Your Workspace
Line a baking sheet with wax paper or parchment paper. Arrange your pretzel rods nearby so they’re easy to grab. Count out your almond slivers—you’ll need about 24 for 12 pretzel rods. If you’re working with kids, this is a great step for them to help with. My daughter loves counting out the “fingernails” while I handle the melty stuff.
Step 2: Melt the Candy Melts
Place the green candy melts in a microwave-safe bowl. Microwave in 30-second intervals at 50% power, stirring well after each interval. This is important—full power can burn the melts and make them grainy. After about 2 minutes total, they should be mostly melted. Add 1 tablespoon of coconut oil or shortening and stir until smooth. The oil helps create a thinner, more dip-able consistency. If the mixture seems too thick, add another teaspoon of oil. It should be about the consistency of warm honey.
Step 3: Dip the Pretzel Rods
Hold a pretzel rod by one end and dip it into the melted green coating, leaving about 1 inch undipped at the top (this will be the “wrist” area). Gently twist and lift the pretzel, letting the excess coating drip back into the bowl. You want a nice even layer, not a thick glob. Place the dipped pretzel on the prepared baking sheet. Repeat with the remaining pretzels, working quickly before the coating sets. I usually do about 4 at a time so I can add the almond slivers before the coating hardens.
Step 4: Add the Fingernails
While the green coating is still wet, press two almond slivers onto the tip of each pretzel rod. Position one at the very tip (the “fingernail”) and one just behind it (the “cuticle” area). Press gently so they stick, but don’t push so hard that you crack the pretzel. If the coating starts to set before you’ve added all the almonds, you can zap the bowl in the microwave for 10 seconds to re-soften it. This is where a toothpick comes in handy—use it to nudge the almonds into place without getting green goo on your fingers.
Step 5: Create the “Knuckle” Lines
Once all the almonds are in place, use a toothpick or the tip of a knife to gently drag lines across the coated part of the pretzel to create knuckle wrinkles. You want 2-3 lines per finger, spaced about 1 inch apart. Don’t press too hard—you’re just making a slight indentation in the coating. This step really sells the “witch finger” look, but it’s totally optional if you’re in a hurry or working with impatient little helpers.
Step 6: Add the “Blood” Details
If you’re using red decorating gel, now’s the time to add a tiny dab around the cuticle area of each almond “fingernail.” This creates a gruesome but kid-friendly effect. You can also add a few drops of red gel to the tips of the “fingers” for extra spookiness. My kids go absolutely wild for this step—they think it’s hilarious to make the fingers look “bloody.”
Step 7: Let Them Set
Allow the pretzel rods to set completely at room temperature. This usually takes about 15-20 minutes, depending on the humidity in your kitchen. Don’t put them in the refrigerator—the rapid temperature change can cause the coating to crack or develop a white bloom. I know it’s tempting to speed things up, but trust me on this one. You can speed up the process by placing them in a cool, dry spot away from direct sunlight.
Step 8: Add Final Decorations
Once the coating is fully set, you can add extra decorations like black or purple sprinkles. Just dab a tiny bit of leftover melted coating on the spots where you want sprinkles to stick. Or you can drizzle a little contrasting color—like purple or black—over the green coating for a more witchy look. If you have leftover green coating, you can pipe a few drips or swirls for texture.
Cooking Tips & Techniques
After making these witch finger pretzels more times than I care to admit, I’ve collected a few tips that make the process smoother. Let me share what I’ve learned.
The Melting Mistake I’ll Never Make Again: My very first batch of these was a disaster because I microwaved the candy melts on full power. They burned in spots, got lumpy, and I ended up with these weird, streaky green pretzels that looked more like swamp monster fingers than witch fingers. Now I always use 50% power and stir every 30 seconds. It takes a bit longer, but the coating comes out smooth and even every time.
The Thinning Trick: Some candy melt brands are thicker than others. If your coating seems too thick for smooth dipping, add a little more coconut oil or shortening—about 1 teaspoon at a time. You want it to flow like warm honey, not like paste. I’ve also used vegetable oil in a pinch, but coconut oil gives a nicer finish.
Timing is Everything: Work in small batches of 3-4 pretzels at a time. If you try to dip all 12 at once, the coating will start to set before you can add the almond slivers. Trust me, I’ve tried the “dip them all, then add almonds” method, and it ends with frustrated prying at half-set candy coating. Small batches are the way to go.
The Pretzel Breaking Problem: Pretzel rods can be surprisingly fragile. I’ve had more than a few snap right in my hand while dipping. The trick is to hold them gently but firmly, and to dip them at a slight angle rather than straight down. If you’re working with kids, let them handle the pretzels before dipping and save the actual dipping for yourself.
Consistency for Success: For the best-looking witch fingers, make sure your coating is smooth and not too thick. A thin, even layer looks more realistic than a chunky one. And don’t skip the knuckle lines—they really do make a difference in the final look. Even if you only do a quick drag with a toothpick, it adds that extra spooky touch.
Variations & Adaptations
One of the best things about this recipe is how easy it is to customize. Here are some variations I’ve tried over the years, all with great results.
Dietary Variations
- Nut-Free Version: Skip the almond slivers and use a small dot of red icing or a tiny candy corn piece as the fingernail instead. The look won’t be as realistic, but kids with nut allergies can still join the fun.
- Dairy-Free Version: Most candy melts are dairy-free, but always check the label. Use coconut oil instead of shortening to keep things dairy-free. Pretzel rods are naturally dairy-free, so you’re good there.
- Gluten-Free Version: Look for gluten-free pretzel rods at your grocery store. They’re becoming more common, and they work just as well with this recipe. The candy coating is typically gluten-free, but double-check the label.
Flavor Variations
- Chocolate Witch Fingers: Swap the green candy melts for dark or milk chocolate. Add a drizzle of white chocolate for a “bone” effect. This version is less spooky but more delicious.
- Purple Witch Fingers: Use purple candy melts for a different witchy vibe. They look great with black sprinkles or silver edible glitter.
- Orange Pumpkin Fingers: Orange candy melts with green almond “stems” make a cute fall twist. Perfect for Halloween parties that lean more cute than creepy.
Personal Variation I Love
My favorite twist is making “zombie fingers” by using gray candy melts and adding a few drops of green food coloring for a sickly, undead look. I also add tiny red sprinkles as “blood blisters” around the cuticle area. My kids think these are even grosser than the green ones, which is high praise in our house.
Serving & Storage Suggestions
These witch finger pretzel rods are best served at room temperature, right after the coating has set. The contrast between the crunchy pretzel and the smooth candy coating is perfect. I like to arrange them on a platter with a “cauldron” bowl of extra red icing for dipping. For a fun presentation, stand them up in a jar or mug so they look like a hand reaching out.
They pair wonderfully with warm apple cider, hot chocolate, or a glass of cold milk. If you’re serving them at a Halloween party, arrange them alongside other spooky treats like ghost-shaped cookies or pumpkin cupcakes. The salty-sweet flavor of the pretzels balances out sweeter desserts nicely.
Storage Instructions: Store the finished pretzel rods in an airtight container at room temperature for up to 5 days. Don’t refrigerate them—the coating can develop a white bloom from moisture. If you’re stacking them in a container, place a sheet of wax paper between layers to prevent sticking. They actually taste best on the second day, in my opinion, because the flavors have a chance to meld.
Freezing Tips: You can freeze these for up to 2 months. Place them in a single layer on a baking sheet and freeze until solid, then transfer to a freezer-safe container. To thaw, let them sit at room temperature for about 30 minutes. The coating might lose a bit of its shine, but they’ll still taste great.
Nutritional Information & Benefits
Let’s be honest—these are a treat, not a health food. But here’s what you should know if you’re keeping an eye on nutrition.
Estimated Nutritional Values (per pretzel rod):
- Calories: 180
- Fat: 8g
- Carbohydrates: 25g
- Sugar: 15g
- Protein: 3g
- Sodium: 250mg
The almond slivers actually add a small amount of healthy fats and vitamin E. Pretzel rods provide some iron and B vitamins from the enriched flour. The candy coating is mostly sugar and fat, so these are definitely an occasional treat. If you’re concerned about sugar intake, you can use sugar-free candy melts (available at specialty baking stores) or just serve smaller portions.
These are not suitable for people with gluten intolerance unless you use gluten-free pretzels. They also contain dairy in the candy coating and nuts in the almond slivers. For a nut-free version, skip the almonds. For a dairy-free version, use dairy-free candy melts and coconut oil.
Conclusion
These Kid-Friendly Witch Finger Pretzel Rods are the kind of recipe that makes Halloween fun without making you crazy. They’re simple enough for little hands to help with, impressive enough to bring to a party, and delicious enough that everyone will want seconds. I love that they encourage creativity—every batch turns out a little different, depending on how you decorate them.
I hope you’ll give these a try with your family. Don’t worry if they’re not perfect—the slightly wonky ones are actually the most charming. My kids always fight over the one with the most “blood” or the crookedest fingernail. That’s the beauty of homemade Halloween treats: they’re full of character.
If you make these, I’d love to hear about it. Drop a comment below and tell me how your family customized them. Did you add extra sprinkles? Try a different color? Turn them into zombie fingers instead of witch fingers? Share your photos and stories—I read every single comment, and I love seeing how these turn out in other kitchens. Happy Halloween, and happy snacking!
Frequently Asked Questions
Can I make these ahead of time?
Yes! These store well for up to 5 days in an airtight container at room temperature. They’re actually a great make-ahead treat for Halloween parties. Just make sure they’re completely set before you store them, and don’t refrigerate them.
My candy melts are too thick. What should I do?
Add a teaspoon of coconut oil or vegetable shortening and stir well. Microwave for another 10 seconds if needed. The oil will thin the coating to a more dip-able consistency. Don’t add water—that will ruin the chocolate.
Can I use white chocolate instead of candy melts?
You can, but white chocolate behaves differently. It’s more prone to seizing and doesn’t set as hard. If you use white chocolate, add a bit of oil to thin it out and use oil-based food coloring. I’ve done it before, but candy melts are much easier and more reliable, especially with kids.
How do I keep the almond slivers from falling off?
Make sure you press them into the coating while it’s still wet. If the coating has started to set, warm it up slightly in the microwave (10 seconds) before adding the almonds. Also, make sure your almond slivers are dry—any moisture can prevent them from sticking.
Can I make these nut-free for a classroom party?
Absolutely! Skip the almond slivers and use a tiny dot of red icing or a small candy corn piece as the fingernail. The look won’t be as realistic, but they’ll still be fun and delicious. Just make sure to check all your ingredients for nut-free certification if needed.
Pin This Recipe!
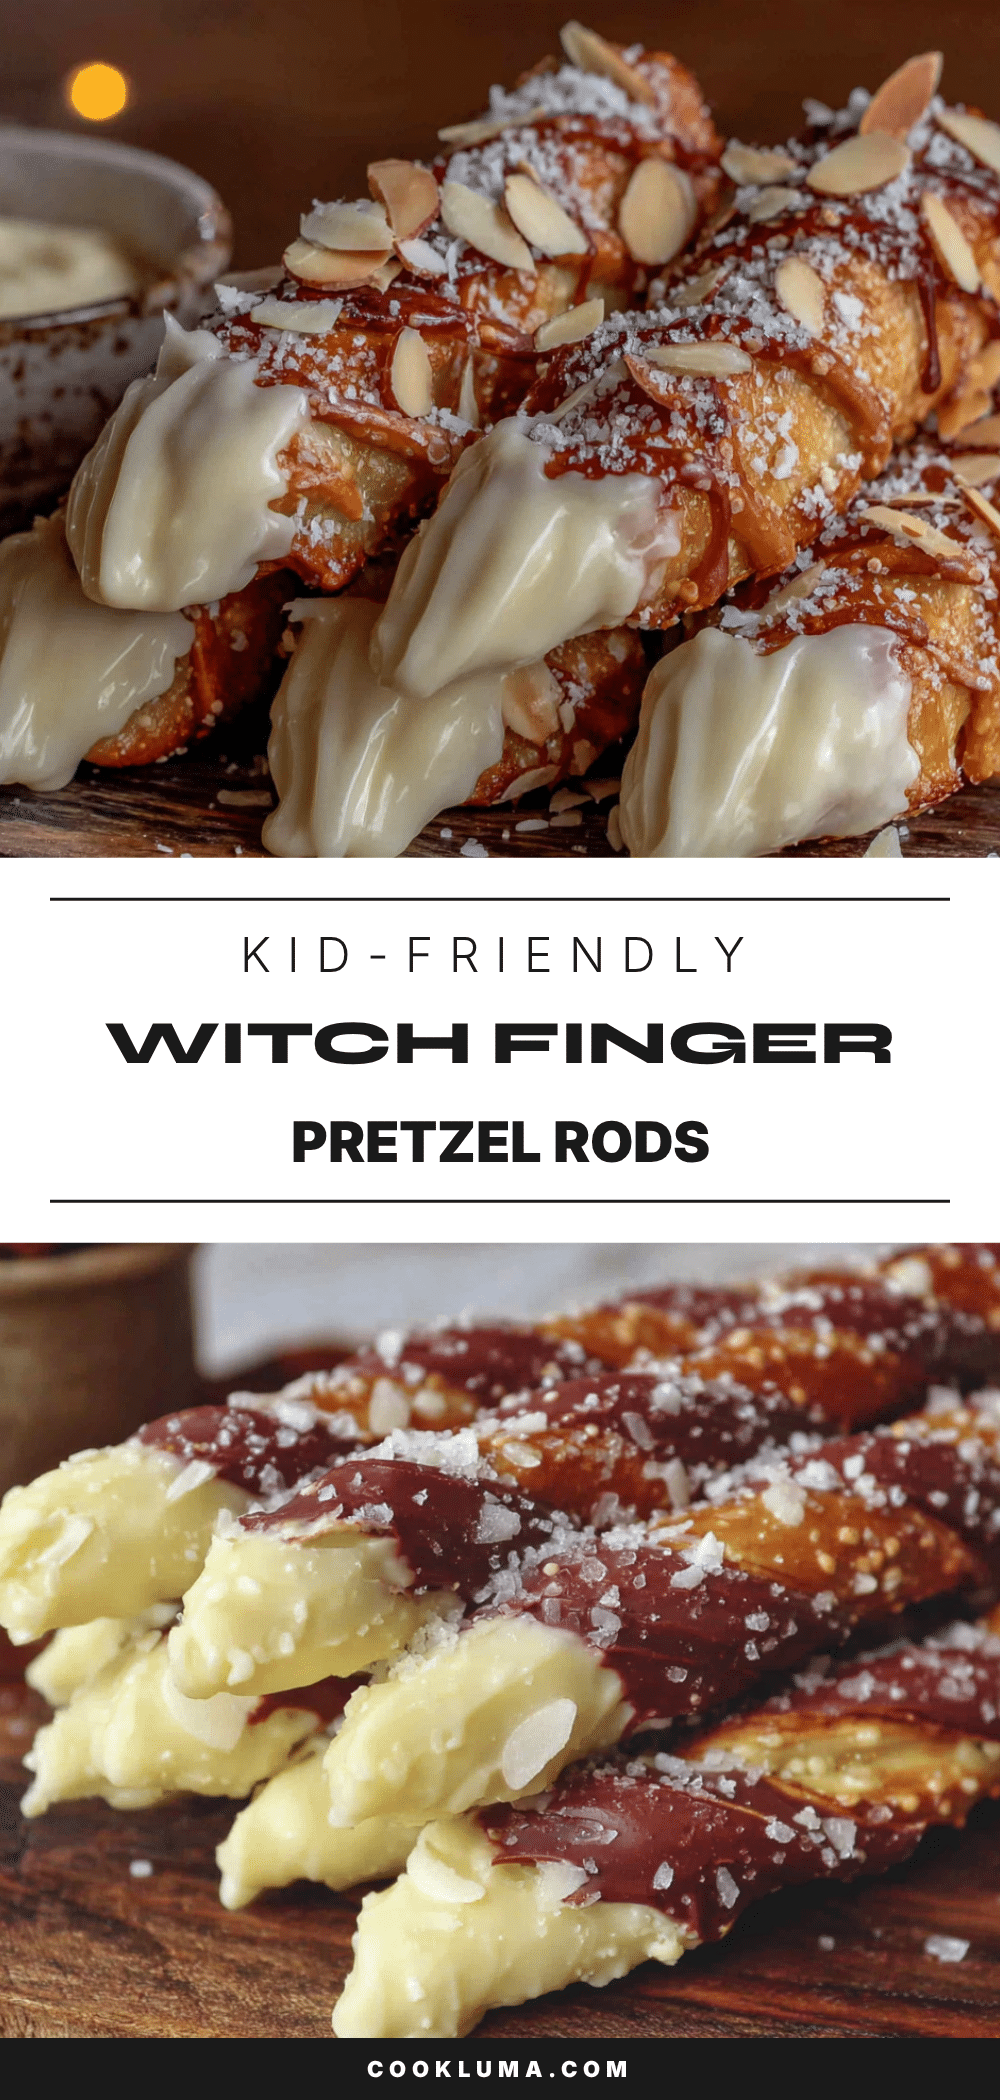
Kid-Friendly Witch Finger Pretzel Rods: Easy Halloween Treat

These spooky witch finger pretzel rods are a fun and easy Halloween treat that kids love. Made with just four main ingredients, they’re perfect for parties and family fun.
- Prep Time: 20 minutes
- Cook Time: 0 minutes
- Total Time: 40 minutes
- Yield: 12 servings 1x
- Category: Dessert
- Cuisine: American
Ingredients
- 12 pretzel rods (Snyder’s or similar thickness)
- 1 cup green candy melts (Wilton brand recommended)
- 24 almond slivers
- 1 tablespoon coconut oil or vegetable shortening
- Red decorating gel or red icing (optional)
- Black or purple sprinkles (optional)
- Wax paper or parchment paper
Instructions
- Line a baking sheet with wax paper or parchment paper. Arrange pretzel rods nearby and count out 24 almond slivers.
- Place green candy melts in a microwave-safe bowl. Microwave in 30-second intervals at 50% power, stirring well after each interval, until mostly melted (about 2 minutes total). Add 1 tablespoon coconut oil or shortening and stir until smooth.
- Hold a pretzel rod by one end and dip it into the melted green coating, leaving about 1 inch undipped at the top (the ‘wrist’ area). Gently twist and lift, letting excess drip back into the bowl. Place on prepared baking sheet. Repeat with remaining pretzels, working in batches of 3-4.
- While the coating is still wet, press two almond slivers onto the tip of each pretzel rod—one at the very tip (fingernail) and one just behind it (cuticle area). Press gently.
- Use a toothpick or knife tip to gently drag 2-3 lines across the coated part of each pretzel to create knuckle wrinkles, spaced about 1 inch apart.
- If using red decorating gel, add a tiny dab around the cuticle area of each almond ‘fingernail’ and optionally on the tips for a ‘bloody’ effect.
- Allow pretzel rods to set completely at room temperature for 15-20 minutes. Do not refrigerate.
- Once set, add extra decorations like black or purple sprinkles by dabbing a tiny bit of leftover melted coating on the spots where you want sprinkles to stick. Optionally drizzle contrasting color over the green coating.
Notes
Work in small batches of 3-4 pretzels at a time to prevent coating from setting before adding almonds. Use 50% power when microwaving candy melts to avoid burning. Do not refrigerate to prevent coating from cracking or blooming. For nut-free version, skip almonds and use red icing dot as fingernail.
Nutrition
- Serving Size: 1 pretzel rod
- Calories: 180
- Sugar: 15
- Sodium: 250
- Fat: 8
- Saturated Fat: 4
- Carbohydrates: 25
- Fiber: 1
- Protein: 3
Keywords: Halloween treats, witch fingers, pretzel rods, kid-friendly, easy Halloween recipe, spooky snacks


