The woman at the community garden plot next to mine watched me for a few minutes as I tried to wrangle a bag of flour that was about to split open. She didn’t say anything at first. Then she reached into her own basket and pulled out a mason jar filled with what looked like pale orange sand. “Pumpkin powder,” she said, with a slight shrug. “My grandkids won’t eat anything green, but they’ll eat anything orange. Try it in your cookies.”
Honestly, I thought she was a little odd at first. I mean, pumpkin powder? But she was so matter-of-fact about it, not trying to sell me on anything, just sharing what worked in her kitchen. I thanked her, tucked the jar into my bag, and promptly forgot about it for a week. It was a Tuesday night, I was tired, and the kids were asking for something sweet—again. I remembered the jar.
That night, standing in my kitchen with a bag of regular flour and a mysterious orange powder, I started experimenting. I had a standard snickerdoodle recipe I’d been making for years, but I wanted to make it a little softer, a little more forgiving, and a lot more interesting. The result was these Kid-Approved Soft-Baked Pumpkin Snickerdoodle Cookies. The first batch disappeared before I could even get them onto a cooling rack. My youngest, who usually picks around anything that looks “different,” ate three. Three!
This recipe stayed with me because it solved a problem I didn’t even know I had. It takes a familiar, beloved cookie and gives it a cozy fall twist without making it complicated or expensive. The pumpkin adds moisture, a gentle sweetness, and a beautiful color that kids find intriguing. The cinnamon-sugar coating is still there, that classic snickerdoodle magic, but the cookie itself is softer, almost pillowy. Maybe you’ve been there, trying to find a treat that feels special but doesn’t require a trip to three different stores. This is that cookie.
Why You’ll Love This Recipe
I’ve tested this recipe more times than I care to admit, mostly because my family kept eating the test batches before I could write down my notes. But that’s the best kind of testing, right? Here’s why these cookies have earned a permanent spot in my baking rotation.
- Kid-Approved & Picky-Eater Friendly: The pumpkin flavor is subtle—it doesn’t scream “healthy” or “vegetable.” It just makes the cookies soft, tender, and slightly sweet. My kids have no idea they’re eating something with a vegetable in it, and I’m not about to tell them.
- Budget-Friendly Ingredients: You likely have almost everything in your pantry right now. Canned pumpkin is cheap and available year-round, and the rest is basic baking staples. No specialty flours or expensive extracts needed.
- Quick & Easy: From start to finish, these cookies come together in about 30 minutes. The dough doesn’t need to chill (though it can), so they’re perfect for those last-minute “I need a treat” moments.
- Soft-Baked Perfection: These cookies stay soft for days. I’m not kidding. They have that bakery-style texture that feels almost like a little cake, but they’re still sturdy enough to pack in lunchboxes without falling apart.
- Perfect for Fall (or Any Time): Sure, they scream autumn, but I make them year-round. The pumpkin keeps them moist, and the cinnamon-sugar coating is always a crowd-pleaser. They’re great for bake sales, playdates, or just a Tuesday afternoon.
What makes this recipe different from the dozens of other pumpkin cookie recipes out there? It’s the texture. Most pumpkin cookies turn out cakey and dry, or they’re too dense. This one hits that sweet spot—soft, tender, with just a little chew around the edges. The secret is the ratio of pumpkin to fat, and the fact that we’re using a technique borrowed from classic snickerdoodles: rolling in cinnamon sugar before baking. That coating creates a slightly crisp shell that gives way to a pillowy center. It’s comfort food reimagined, and it’s the kind of cookie that makes you close your eyes after the first bite.
What Ingredients You Will Need
This recipe uses simple, wholesome ingredients that work together to create a cookie that’s soft, flavorful, and surprisingly forgiving. Most of these are pantry staples, which is exactly what I look for when I’m baking for my family on a budget.
- All-Purpose Flour: 2 ½ cups (300g). This gives the cookies structure without making them tough. I’ve used Gold Medal and King Arthur with great results. If you’re measuring by volume, spoon the flour into your measuring cup and level it off—don’t scoop directly from the bag, or you’ll end up with too much flour and dry cookies.
- Baking Powder: 1 teaspoon. This helps the cookies rise and gives them that soft, puffy texture. Make sure your baking powder is fresh—if it’s been sitting in your cabinet for a year, it might not work as well.
- Baking Soda: ½ teaspoon. Works with the acidity in the pumpkin to create a tender crumb.
- Salt: ½ teaspoon. Just regular table salt or fine sea salt. It balances the sweetness and enhances the pumpkin flavor.
- Pumpkin Pie Spice: 1 teaspoon. You can use store-bought or make your own with cinnamon, nutmeg, ginger, and cloves. If you don’t have pumpkin pie spice, just use ½ teaspoon cinnamon and ¼ teaspoon each of nutmeg and ginger.
- Ground Cinnamon: 1 teaspoon (for the dough) plus 2 tablespoons (for the coating). Cinnamon is the star of any snickerdoodle, so don’t skimp here.
- Unsalted Butter: ½ cup (1 stick, 113g), softened to room temperature. I always use unsalted so I can control the salt level. If you only have salted butter, reduce the added salt to ¼ teaspoon.
- Granulated Sugar: 1 cup (200g). Regular white sugar works best for the cookie dough. It creates that slightly crisp edge when it caramelizes in the oven.
- Brown Sugar: ½ cup (100g), packed. Light or dark brown sugar works. This adds moisture and a hint of molasses flavor that complements the pumpkin beautifully.
- Pumpkin Purée: ½ cup (120g). Use canned pumpkin purée, not pumpkin pie filling. I’ve used Libby’s for years and it’s reliable. If you have homemade pumpkin purée, make sure it’s well-drained—too much moisture will make the cookies spread too much.
- Egg: 1 large, at room temperature. The egg binds everything together and adds richness.
- Vanilla Extract: 1 teaspoon. Pure vanilla extract is best, but imitation vanilla works in a pinch. It rounds out the flavors beautifully.
- For the Coating: ¼ cup (50g) granulated sugar mixed with 2 tablespoons ground cinnamon. This is what makes a snickerdoodle a snickerdoodle. Don’t skip this step!
Equipment Needed
You don’t need a fancy kitchen to make these cookies. I’ve made them in my tiny apartment kitchen and in my current slightly-less-tiny house kitchen, and they turn out the same every time.
- Large Mixing Bowl: For the dry ingredients. Any large bowl works.
- Medium Mixing Bowl: For the wet ingredients.
- Hand Mixer or Stand Mixer: I prefer a hand mixer because it’s easier to clean and I can feel the dough coming together. A stand mixer with the paddle attachment works too. You can also mix by hand with a wooden spoon, but your arm will get a workout.
- Measuring Cups and Spoons: For accurate measurements. I cannot stress this enough—baking is a science, and eyeballing ingredients leads to inconsistent results.
- Baking Sheets: 2 large baking sheets. I use light-colored aluminum sheets because they distribute heat evenly. Dark sheets can cause the bottoms to brown too quickly.
- Parchment Paper or Silicone Baking Mats: These prevent sticking and make cleanup a breeze. I prefer parchment paper because it’s disposable, but silicone mats work great too.
- Cooling Rack: For cooling the cookies properly. If you leave them on the hot baking sheet, they’ll continue to cook and can become overdone.
- Small Bowl: For the cinnamon-sugar coating mixture.
- Cookie Scoop: A 1.5-tablespoon cookie scoop makes portioning the dough quick and even. If you don’t have one, just use two spoons.
Preparation Method
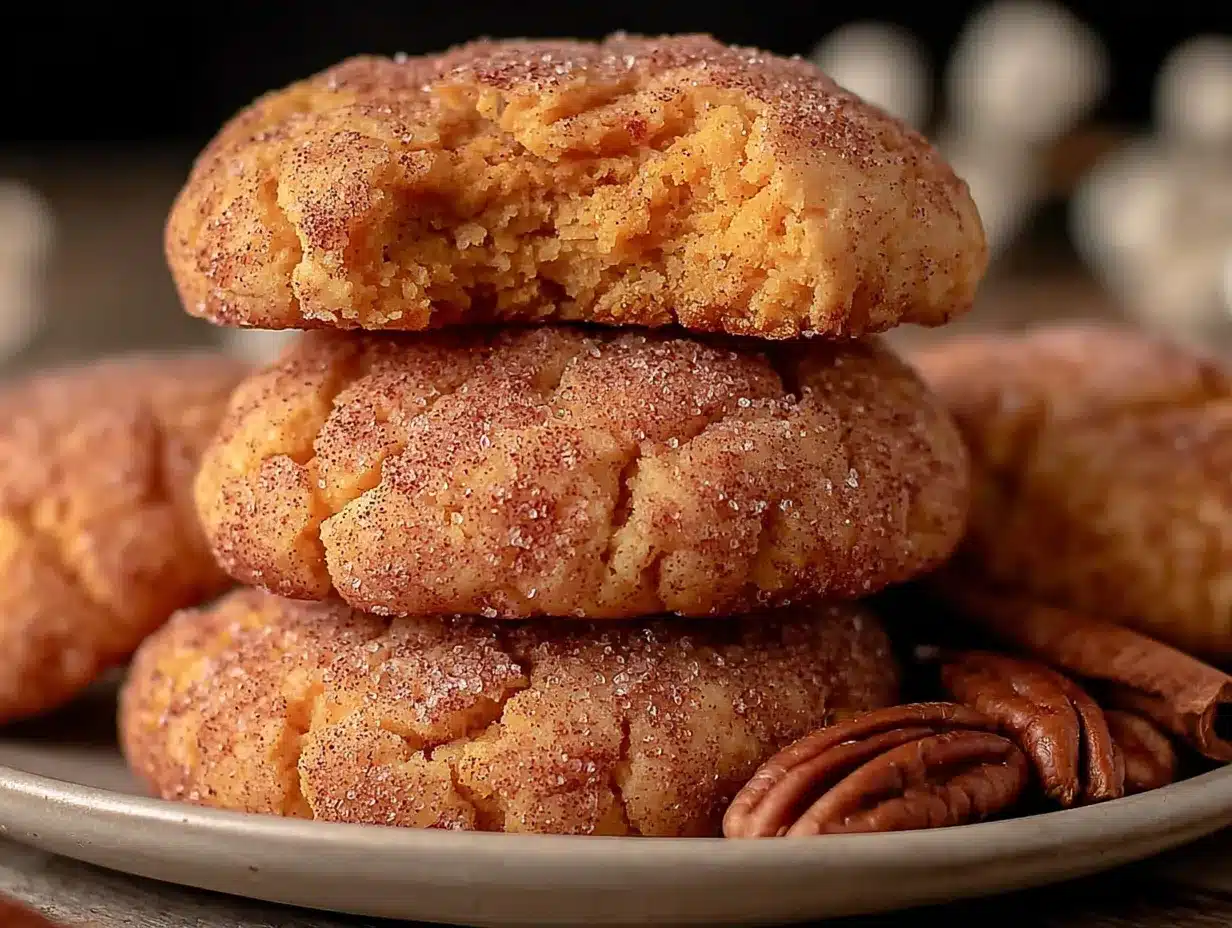
Let’s make some cookies. I’ll walk you through each step, including what to look for so you know you’re on the right track.
- Preheat your oven to 350°F (175°C). Line two baking sheets with parchment paper or silicone mats. This is non-negotiable—the cookies will stick without it.
- Whisk the dry ingredients together. In a large bowl, whisk together 2 ½ cups all-purpose flour, 1 teaspoon baking powder, ½ teaspoon baking soda, ½ teaspoon salt, 1 teaspoon pumpkin pie spice, and 1 teaspoon ground cinnamon. Whisking aerates the flour and ensures the leavening agents are evenly distributed. Set this aside.
- Cream the butter and sugars. In a medium bowl, beat ½ cup softened unsalted butter with 1 cup granulated sugar and ½ cup packed brown sugar until light and fluffy. This takes about 2-3 minutes with a hand mixer on medium speed. You’re looking for a pale, creamy mixture that looks almost like frosting. Don’t rush this step—proper creaming creates the structure for a soft cookie.
- Add the wet ingredients. Beat in ½ cup pumpkin purée, 1 large egg, and 1 teaspoon vanilla extract. Mix until just combined. The mixture might look a little curdled at this point—that’s normal. The pumpkin and egg don’t always emulsify perfectly with the butter, but it will come together when you add the flour.
- Combine wet and dry ingredients. Gradually add the dry ingredients to the wet mixture, mixing on low speed or folding with a spatula. Mix until just combined—stop as soon as you don’t see any more streaks of flour. Overmixing at this stage develops gluten and will make your cookies tough. The dough will be soft and slightly sticky, but it should hold together when you scoop it.
- Prepare the cinnamon-sugar coating. In a small bowl, mix ¼ cup granulated sugar with 2 tablespoons ground cinnamon. Stir until well combined.
- Scoop and roll. Using a 1.5-tablespoon cookie scoop or two spoons, portion out about 1.5 tablespoons of dough. Roll it into a ball between your palms—the dough will be soft, so don’t over-handle it. Drop the ball into the cinnamon-sugar mixture and roll it around to coat evenly. Place on the prepared baking sheet, leaving about 2 inches between each cookie. They will spread a little, but not too much.
- Bake. Bake for 10-12 minutes, or until the edges are set and the tops look just slightly cracked. The centers will still look soft and puffy—that’s exactly what you want. If you bake them until they look fully done, they’ll be overbaked. For softer cookies, aim for 10 minutes. For slightly firmer cookies, go to 12 minutes.
- Cool on the baking sheet. Let the cookies rest on the baking sheet for 5 minutes. This allows them to set up without over-baking. After 5 minutes, transfer them to a cooling rack to cool completely. If you try to move them too soon, they’ll fall apart.
- Repeat with remaining dough. If you’re reusing the same baking sheet, let it cool completely between batches. A hot baking sheet will cause the dough to spread too much before it sets.
Cooking Tips & Techniques
I’ve made these cookies at least a dozen times, and I’ve learned a few things the hard way. Let me save you some trouble.
Don’t overmix the dough. This is the number one mistake I see. When you add the flour, mix just until it disappears. Overmixing develops gluten, which makes cookies tough and dense. You want them soft and tender, so be gentle.
Use room temperature ingredients. Cold butter won’t cream properly, and cold egg can seize the mixture. Take your butter and egg out of the fridge about 30 minutes before you start. If you forget, you can soften the butter in the microwave in 10-second bursts, but be careful not to melt it.
Measure your flour correctly. I cannot stress this enough. Scooping flour directly from the bag compacts it, and you can end up with 25% more flour than you need. Instead, spoon the flour into your measuring cup and level it off with a knife. Or better yet, use a kitchen scale. 300 grams is the sweet spot.
Chill the dough if you have time. While this recipe works without chilling, the cookies will be even softer and thicker if you chill the dough for 30 minutes. The cold butter solidifies, which means the cookies spread less in the oven. I often make the dough, scoop it into balls, and refrigerate them on the baking sheet for 20 minutes while the oven preheats.
Watch the baking time carefully. Ovens vary wildly. My oven runs a little hot, so I start checking at 9 minutes. You’re looking for set edges and puffy centers. The cookies will continue to bake on the hot baking sheet after you pull them out, so err on the side of underbaking.
Use fresh spices. Cinnamon and pumpkin pie spice lose their potency over time. If your spice jars are more than a year old, consider replacing them. Fresh spices make a noticeable difference in flavor.
Variations & Adaptations
One of the things I love about this recipe is how flexible it is. Here are some variations I’ve tried and loved.
Gluten-Free Version: Substitute the all-purpose flour with a 1:1 gluten-free baking flour blend that contains xanthan gum. I’ve used Bob’s Red Mill 1:1 Baking Flour with great results. The texture will be slightly more delicate, but still soft and delicious.
Dairy-Free Version: Use vegan butter or coconut oil in place of the unsalted butter. If using coconut oil, make sure it’s solid but softened (not melted). The cookies will have a slightly different texture—a bit more cakey—but they’re still fantastic.
White Chocolate Chip Addition: Stir in ½ cup white chocolate chips after mixing the dough. The sweetness of the white chocolate pairs beautifully with the pumpkin and cinnamon. My kids go crazy for this version.
Spiced Sugar Coating: Add a pinch of nutmeg or cardamom to the cinnamon-sugar coating. It gives the cookies a more complex flavor that adults especially appreciate.
Pumpkin-Free Version: If you don’t have pumpkin purée, you can substitute with sweet potato purée or butternut squash purée. The flavor will be slightly different, but the texture will be similar. Just make sure the purée is well-drained.
Mini Cookie Version: Use a teaspoon-sized scoop and bake for 7-8 minutes. These are perfect for lunchboxes or toddler-sized hands.
Serving & Storage Suggestions
These cookies are versatile when it comes to serving. Here’s how I handle them.
Serving Temperature: These cookies are best at room temperature. The soft texture really shines when they’ve cooled completely. If you’re serving them warm, let them cool for at least 10 minutes on the baking sheet so they hold their shape.
Presentation Ideas: Arrange them on a simple white platter for a beautiful contrast with the cinnamon-sugar coating. For a fall-themed dessert table, place them on a wooden board alongside apple slices and a cup of warm cider. They also look lovely stacked in a mason jar tied with a ribbon—great for gift-giving.
Complementary Dishes: These cookies pair wonderfully with a glass of cold milk (obviously), a warm cup of chai tea, or a pumpkin spice latte. For a dessert spread, serve them alongside a simple vanilla ice cream or a dollop of whipped cream.
Storage Instructions: Store the cookies in an airtight container at room temperature for up to 5 days. Place a slice of bread in the container to keep them extra soft—the bread absorbs excess air and releases moisture. Replace the bread slice every other day.
Freezer Instructions: You can freeze the baked cookies for up to 3 months. Place them in a single layer in a freezer-safe bag or container, separating layers with parchment paper. To thaw, leave them at room temperature for about 30 minutes. You can also freeze the unbaked dough balls. Roll them into balls, coat them in cinnamon sugar, and place them on a baking sheet in the freezer for 1 hour. Then transfer the frozen dough balls to a freezer bag. Bake from frozen, adding 2-3 minutes to the baking time.
Flavor Development: These cookies actually taste better the next day. The flavors meld together, and the texture stays soft. I often make them a day ahead for events.
Nutritional Information & Benefits
I’m not a nutritionist, but I do pay attention to what goes into my family’s food. Here’s a rough estimate of the nutritional content per cookie (based on 24 cookies).
- Calories: Approximately 140-160 per cookie
- Fat: 5-6g (mostly from butter)
- Carbohydrates: 22-24g
- Sugar: 14-16g
- Protein: 2g
- Fiber: 1g
Health Benefits: Pumpkin is rich in vitamin A (from beta-carotene), which supports eye health and immune function. It also provides fiber and potassium. The cinnamon in the coating has anti-inflammatory properties and can help regulate blood sugar levels. While these are still cookies (let’s be real), they’re a slightly more nutritious option than a standard sugar cookie.
Dietary Considerations: This recipe is vegetarian. For a vegan version, use a flax egg (1 tablespoon ground flaxseed mixed with 3 tablespoons water) and vegan butter. For a lower-sugar version, reduce the granulated sugar to ¾ cup and the brown sugar to ⅓ cup. The cookies will be less sweet but still delicious.
Allergens: This recipe contains wheat (gluten), dairy (butter), and eggs. See the variations section for substitution options.
Conclusion
These Kid-Approved Soft-Baked Pumpkin Snickerdoodle Cookies have become a staple in my kitchen, and I have a feeling they’ll become one in yours too. They’re the kind of recipe that feels special without being fussy, that satisfies a sweet tooth without requiring a trip to the grocery store. The pumpkin makes them soft, the cinnamon-sugar coating makes them irresistible, and the fact that they’re budget-friendly makes them perfect for regular family baking.
I love that I can make these with my kids on a rainy afternoon, or whip up a batch after they’ve gone to bed for a quiet treat with my coffee. They’re forgiving, adaptable, and always, always appreciated. Whether you’re a seasoned baker or someone who’s just starting to find your way around the kitchen, these cookies will treat you well.
So go ahead—preheat that oven, dig out that can of pumpkin from the back of your pantry, and make some memories. When you do, I’d love to hear about it. Leave a comment below and tell me how your family liked them, or share a photo on social media and tag me. Happy baking, friends!
Frequently Asked Questions
Can I use pumpkin pie filling instead of pumpkin purée?
No, I wouldn’t recommend it. Pumpkin pie filling is pre-sweetened and seasoned with spices like cinnamon and nutmeg. Using it would throw off the sugar and spice balance in this recipe. Stick with 100% pumpkin purée for the best results.
Why did my cookies turn out flat?
Flat cookies usually mean the butter was too soft or melted, or the dough wasn’t chilled. Make sure your butter is softened but still cool to the touch. If your kitchen is warm, chill the dough balls for 20-30 minutes before baking. Also, check that your baking powder and baking soda are fresh.
Can I make the dough ahead of time?
Absolutely. You can refrigerate the dough for up to 3 days. Let it sit at room temperature for about 10 minutes before scooping and rolling, as it will be quite firm straight from the fridge. You can also freeze the dough balls for up to 3 months.
How do I make these cookies vegan?
To make these vegan, replace the butter with vegan butter or coconut oil, and use a flax egg (1 tablespoon ground flaxseed mixed with 3 tablespoons water, let sit for 5 minutes). The texture will be slightly different—a bit more cakey—but they’re still delicious.
My cookies came out too dry. What went wrong?
Dry cookies usually result from one of two things: too much flour or overbaking. Make sure you’re measuring your flour correctly (spoon and level, or use a scale). And pull the cookies out of the oven when the edges are set but the centers still look soft—they’ll continue to bake on the hot baking sheet.
Pin This Recipe!
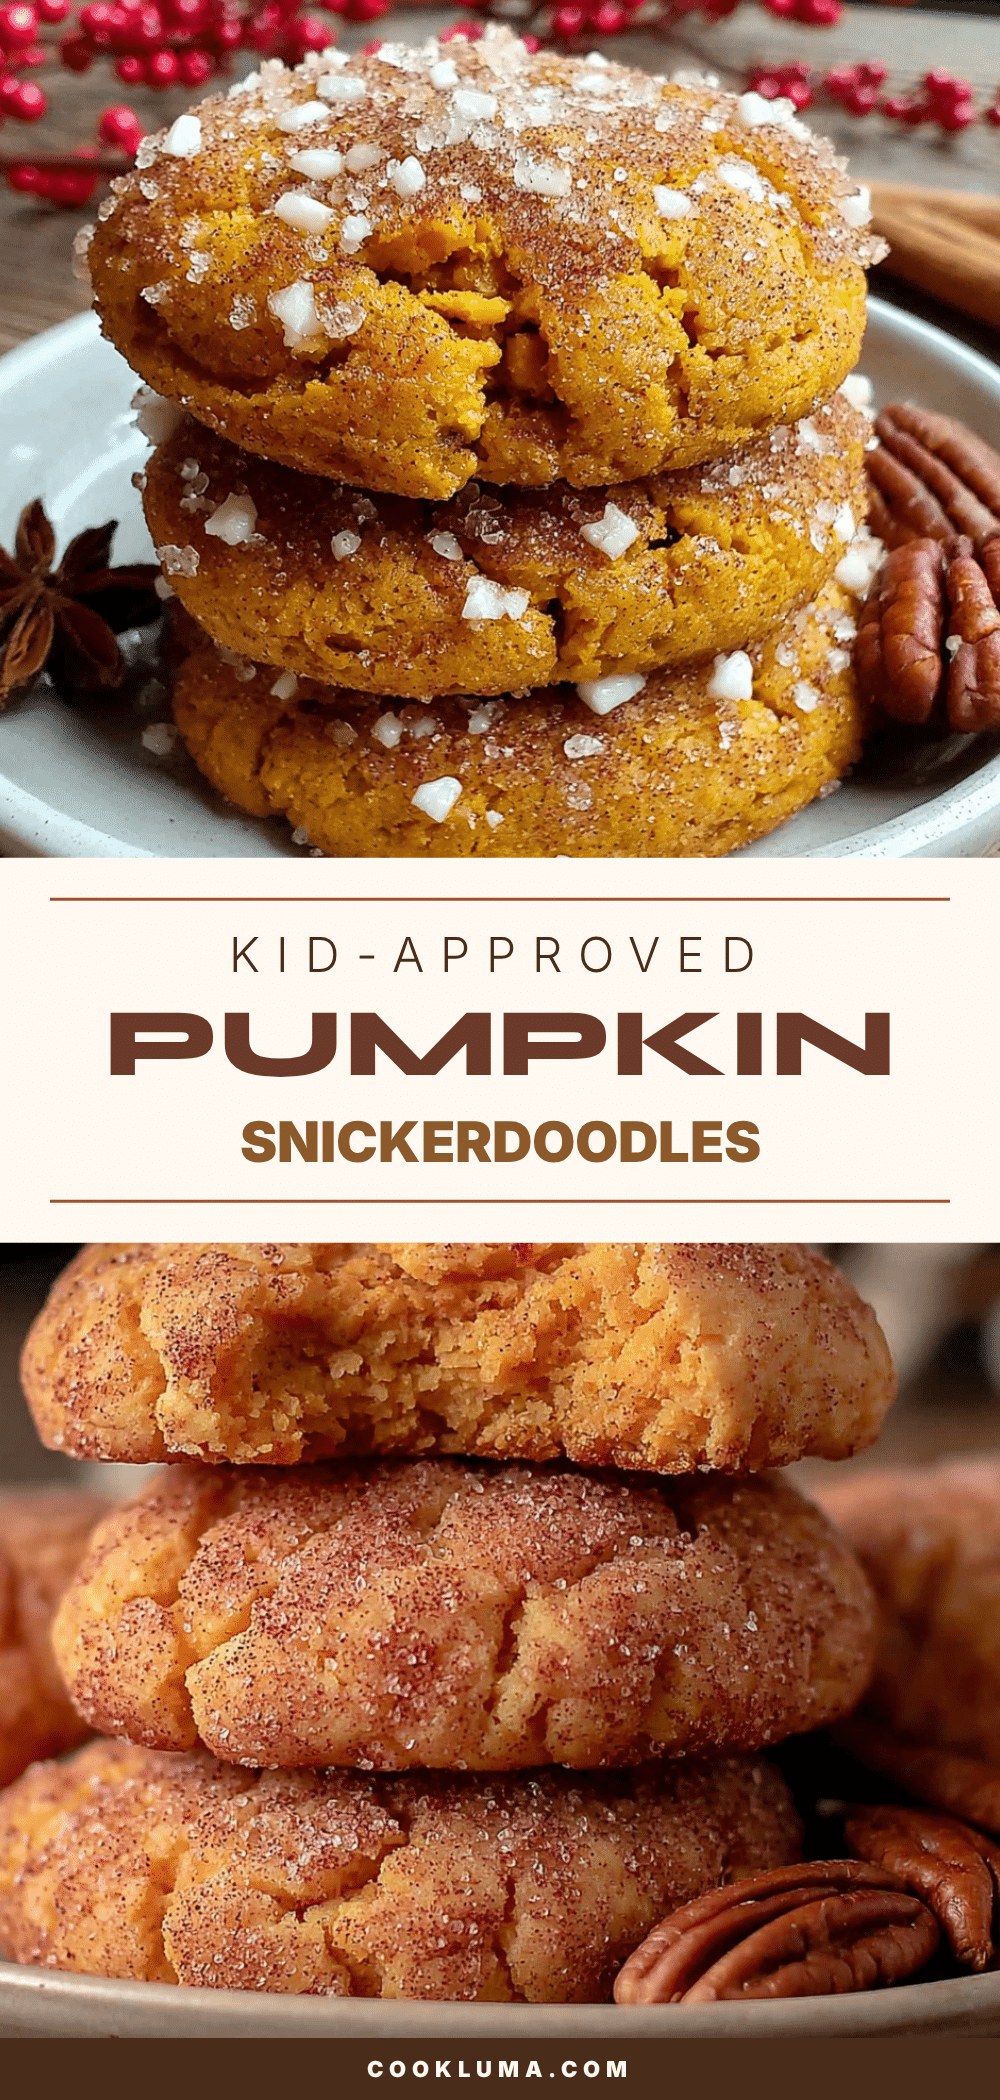
Healthy Soft-Baked Pumpkin Snickerdoodle Cookies Kids Love
These soft-baked pumpkin snickerdoodle cookies are a kid-approved, budget-friendly treat that combines the classic cinnamon-sugar coating with a tender, pumpkin-infused center. Perfect for fall or any time of year, they come together in about 30 minutes and stay soft for days.
- Prep Time: 15 minutes
- Cook Time: 12 minutes
- Total Time: 27 minutes
- Yield: 24 cookies 1x
- Category: Dessert
- Cuisine: American
Ingredients
- 2 ½ cups (300g) all-purpose flour
- 1 teaspoon baking powder
- ½ teaspoon baking soda
- ½ teaspoon salt
- 1 teaspoon pumpkin pie spice
- 1 teaspoon ground cinnamon (for dough)
- ½ cup (1 stick, 113g) unsalted butter, softened
- 1 cup (200g) granulated sugar
- ½ cup (100g) packed brown sugar
- ½ cup (120g) pumpkin purée
- 1 large egg, at room temperature
- 1 teaspoon vanilla extract
- ¼ cup (50g) granulated sugar (for coating)
- 2 tablespoons ground cinnamon (for coating)
Instructions
- Preheat oven to 350°F (175°C). Line two baking sheets with parchment paper or silicone mats.
- In a large bowl, whisk together flour, baking powder, baking soda, salt, pumpkin pie spice, and 1 teaspoon cinnamon. Set aside.
- In a medium bowl, beat softened butter, 1 cup granulated sugar, and brown sugar until light and fluffy (about 2-3 minutes).
- Beat in pumpkin purée, egg, and vanilla extract until just combined.
- Gradually add dry ingredients to wet mixture, mixing on low speed or folding with a spatula until just combined. Do not overmix.
- In a small bowl, mix ¼ cup granulated sugar with 2 tablespoons cinnamon for the coating.
- Using a 1.5-tablespoon cookie scoop, portion dough and roll into balls. Roll each ball in cinnamon-sugar mixture to coat evenly. Place on prepared baking sheets, spacing 2 inches apart.
- Bake for 10-12 minutes, until edges are set and tops look slightly cracked. Centers should still be soft.
- Let cookies rest on baking sheet for 5 minutes, then transfer to a cooling rack to cool completely.
- Repeat with remaining dough, allowing baking sheets to cool between batches.
Notes
For thicker cookies, chill dough balls for 20-30 minutes before baking. Use fresh spices for best flavor. Store in an airtight container at room temperature for up to 5 days; place a slice of bread in the container to keep cookies soft. Cookies can be frozen for up to 3 months.
Nutrition
- Serving Size: 1 cookie
- Calories: 150
- Sugar: 15
- Sodium: 95
- Fat: 5.5
- Saturated Fat: 3
- Carbohydrates: 23
- Fiber: 1
- Protein: 2
Keywords: pumpkin snickerdoodle, soft-baked cookies, kid-friendly, fall cookies, easy pumpkin cookies


