I was standing in the grocery store parking lot last October, fumbling for my keys, when a gust of wind carried the smell of cinnamon and roasted pumpkin from the seasonal display near the entrance. It hit me like a wave, and suddenly I was eight years old in my aunt Maggie’s tiny kitchen, the afternoon sun slanting through her dusty windows. She wasn’t a fancy cook, not by any stretch. But every fall, without fail, she’d pull out this weird orange casserole dish and start layering things, laughing to herself the whole time.
She called it her “patch dip,” and honestly, I never really got the name until I was older. It wasn’t a sweet dip, not at all. It was savory, a little spicy, and somehow always the first thing to disappear at her Halloween parties. I remember sitting on her counter, watching her work, her hands moving with a kind of practiced ease I didn’t understand then. She’d taste a bean, adjust the seasoning, and then give me a little spoonful, telling me it was my “quality control” job. I felt so important.
She passed a few years ago, and I haven’t had that dip since. But that smell in the parking lot? It unlocked something. I spent the next week trying to recreate it from memory. The beans, the cheese, the layers, that one special ingredient she swore by. And you know what? I got pretty close. This Easy Pumpkin Patch Layered Taco Dip is my tribute to her. It’s the same comforting, crowd-pleasing idea, but streamlined for a busy weeknight or a last-minute gathering. It’s ready in 20 minutes flat, and it brings that same feeling of warmth and connection. Maybe you’ve got a recipe like that, one that just feels like home.
Why You’ll Love This Recipe
This isn’t just another dip recipe. It’s a weeknight hero. I’ve tested this version more times than I can count, tweaking the spice blend and the layering order to make sure every single bite is perfect. It’s the kind of recipe that makes you look like you spent hours in the kitchen when you really just threw it together during a commercial break.
- Quick & Easy: From fridge to table in 20 minutes flat. No cooking required, just simple assembly. Perfect for those nights when you’re staring at the pantry wondering what to eat.
- Simple Ingredients: You probably have most of this in your fridge and pantry right now. Canned beans, taco seasoning, cheese, and that secret ingredient. No fancy grocery trips needed.
- Perfect for Game Day or Taco Tuesday: It’s the ultimate crowd-pleaser for parties, but it’s also just the thing for a fun weeknight dinner. Serve it with chips, and you’ve got a meal.
- Crowd-Pleaser: I’ve brought this to potlucks, family gatherings, and even a book club meeting. It always gets devoured. Kids and adults both go crazy for it.
- Unbelievably Delicious: The layers of creamy, spicy, and cool flavors are pure comfort. The pumpkin adds a subtle sweetness and a gorgeous color that makes it feel festive without being weird.
What makes this different from every other taco dip out there is the pumpkin. It sounds strange, I know. But trust me. It doesn’t make it taste like pumpkin pie. It adds a velvety texture and a slight earthiness that balances the heat from the taco seasoning perfectly. It’s comfort food reimagined—faster, easier, and with the same soul-soothing satisfaction.
What Ingredients You Will Need
This recipe uses simple, wholesome ingredients to deliver bold flavor and satisfying texture without the fuss. Most of these are pantry staples, making it a great last-minute option. I’ve tested several brands, and I recommend using a good quality canned pumpkin for the best texture.
- 1 can (15 oz) refried beans (I prefer Rosarita for a smooth, creamy base, but any brand works. Look for “vegetarian” if you want to skip the lard.)
- 1/2 cup canned pumpkin puree (Not pumpkin pie filling! Make sure it’s 100% pure pumpkin. Libby’s is my go-to for consistent texture.)
- 1 packet (1 oz) taco seasoning (Use your favorite brand, or make your own with chili powder, cumin, and garlic powder. I like McCormick for a classic flavor.)
- 1 cup sour cream (Full-fat gives the best creamy texture, but Greek yogurt works great for a lighter option.)
- 1 cup salsa (Use your favorite heat level. I like a medium chunky salsa for texture. Pace or Herdez are solid choices.)
- 2 cups shredded Mexican blend cheese (A mix of cheddar, Monterey Jack, and Asadero melts beautifully. Shred it yourself from a block for the best melt and flavor.)
- 1 cup chopped romaine lettuce (Adds a fresh, crunchy contrast to the creamy layers.)
- 1/2 cup diced tomatoes (Roma tomatoes work best. Remove the seeds if you want to avoid excess liquid.)
- 1/4 cup sliced black olives (Optional, but I love the briny pop they add. Early California is a good brand.)
- 1/4 cup chopped green onions (For a mild oniony bite and a pop of color.)
- Tortilla chips for serving (I like a sturdy scoop chip like Tostitos Scoops to hold all the layers.)
Substitution Guidance: For a gluten-free option, just check your taco seasoning label. Most are gluten-free, but some contain wheat starch. For a dairy-free version, use dairy-free sour cream and shredded cheese alternatives. You can also swap the refried beans with black beans that have been mashed with a fork for a different texture.
Equipment Needed
You don’t need anything fancy for this recipe, which is part of its charm. A few basic tools will get the job done.
- 9-inch pie plate or shallow serving dish: A glass pie plate is perfect because you can see the layers. A small baking dish or even a large plate works too.
- Rubber spatula: Essential for spreading the bean and pumpkin layers evenly without tearing the dish.
- Small mixing bowls: For combining the beans with seasoning and the pumpkin with sour cream. You can also just do it directly in the pie plate to save on dishes.
- Chef’s knife and cutting board: For chopping the lettuce, tomatoes, and green onions.
- Can opener: A good one makes opening cans a breeze.
- Measuring cups and spoons: For precise measurements, though you can eyeball it once you get the hang of it.
I’ve made this dip using just a butter knife and a plate before when I was camping. It wasn’t pretty, but it still tasted amazing. So don’t stress if you don’t have the perfect dish.
Preparation Method
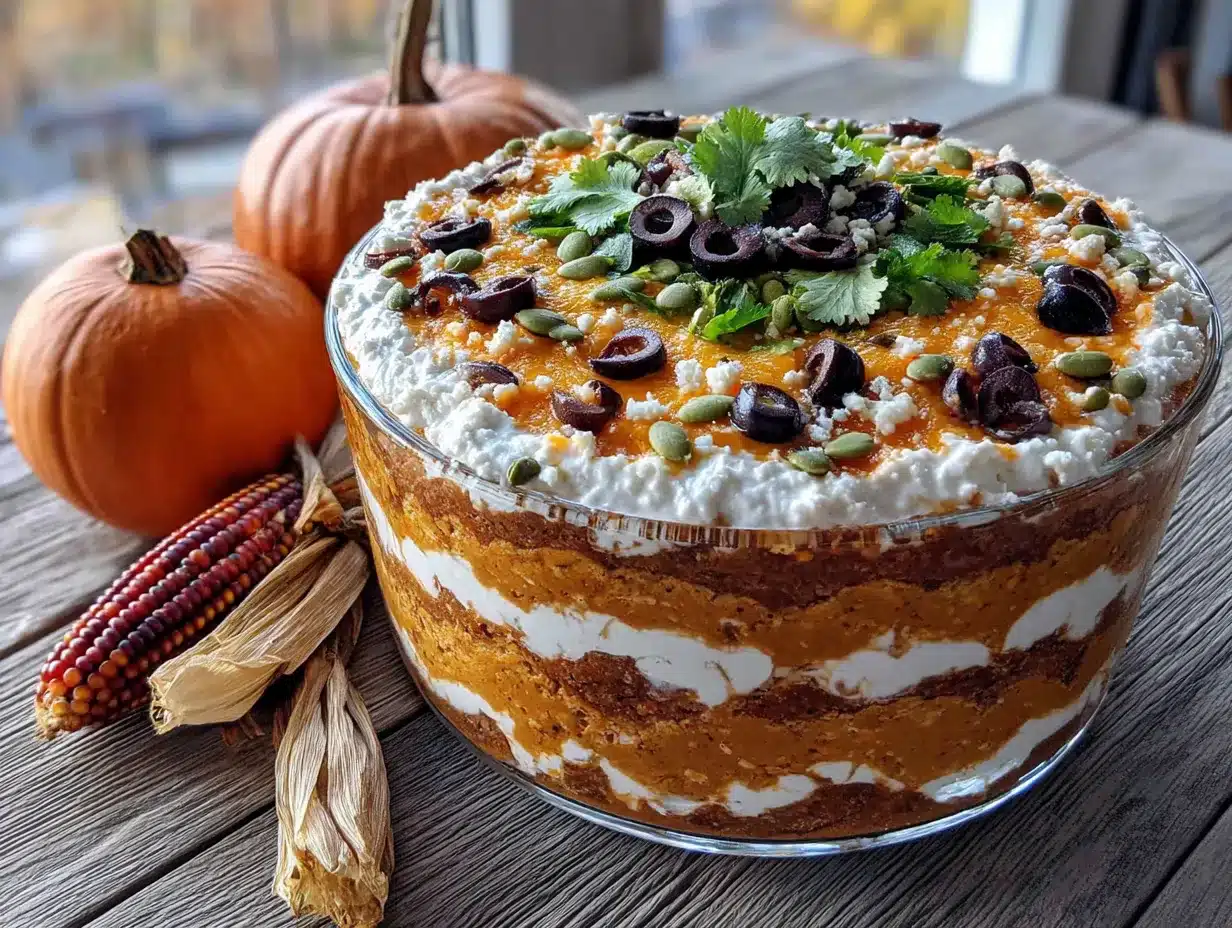
This comes together so fast. I like to get all my ingredients prepped and ready before I start layering. It makes the process smooth and easy.
- Prepare the bean layer (2 minutes): In a small bowl, combine the can of refried beans with 2 tablespoons of the taco seasoning. Stir until completely combined. This seasons the base layer so every bite is flavorful. Spread this mixture evenly on the bottom of your pie plate using a rubber spatula.
- Make the pumpkin layer (2 minutes): In another small bowl, mix the pumpkin puree with the sour cream and the remaining taco seasoning. Stir until smooth and creamy. The color will be a beautiful, vibrant orange. Spread this over the bean layer, being careful not to mix the two layers.
- Add the salsa (1 minute): Spoon the salsa evenly over the pumpkin layer. If your salsa is very watery, you can drain off some of the liquid first to prevent the dip from becoming runny. I usually just spoon it on and let the chips do the work.
- Top with cheese (1 minute): Sprinkle the shredded Mexican blend cheese over the salsa. Make sure to cover the entire surface for a gooey, cheesy finish. I like to use a generous hand here.
- Add the cold toppings (5 minutes): Now it’s time for the fresh stuff. Sprinkle the chopped romaine lettuce evenly over the cheese. Then add the diced tomatoes, sliced black olives (if using), and chopped green onions. The contrast of the warm, creamy layers and the cold, crisp toppings is what makes this dip so addictive.
- Chill and serve (10 minutes): For the best flavor and texture, pop the dip in the fridge for about 10 minutes before serving. This allows the layers to set and the flavors to meld together. If you’re in a rush, you can serve it immediately, but the chill time really makes a difference. Serve with sturdy tortilla chips.
Pro tip: The dip should look like a layered masterpiece. The bean layer is the foundation, then the creamy pumpkin, then the chunky salsa, and finally the cheese and fresh toppings. Each layer should be distinct.
Cooking Tips & Techniques
I’ve made this dip more times than I can count, and I’ve learned a few things along the way. Here are my best tips to ensure perfect results every time.
- Don’t skip the pumpkin. I know it sounds weird, but it’s the secret to the creamy texture and subtle sweetness. It’s not a pumpkin pie flavor, I promise. It just adds a beautiful depth that regular sour cream alone can’t match.
- Let it rest. The 10-minute chill time is crucial. It allows the flavors to meld and the layers to set. If you serve it right away, the layers will slide around and it will be a mess. I’ve made that mistake before, and it was still delicious, but it was not as pretty.
- Use a sturdy chip. This is a thick, heavy dip. You need a chip that can hold up to the weight. Tostitos Scoops or Xochitl chips are my favorites. Thin, flimsy chips will break before they reach your mouth.
- Shred your own cheese. Pre-shredded cheese is coated with anti-caking agents that prevent it from melting smoothly. For the best, most gooey cheese layer, shred a block of cheese yourself. It takes two extra minutes and makes a huge difference.
- Control the heat. If you’re sensitive to spice, use a mild salsa and a mild taco seasoning. If you like it hot, add a finely chopped jalapeño to the salsa or use a hot taco seasoning.
Variations & Adaptations
This recipe is incredibly versatile. I’ve tried several variations, and they all turned out great. Here are a few ideas to make it your own.
- Add a protein layer: For a heartier dip, add a layer of seasoned ground beef or shredded chicken between the bean and pumpkin layers. Just cook the meat with taco seasoning and let it cool slightly before layering.
- Make it vegetarian/vegan: Use vegetarian refried beans, a dairy-free sour cream (like Tofutti or Kite Hill), and a dairy-free shredded cheese. The taste is still fantastic, and you won’t miss the dairy.
- Spicy Southwest version: Add a can of drained and rinsed black beans to the bean layer. Mix in some corn kernels and a diced jalapeño to the salsa. Top with a drizzle of hot sauce before serving.
- Guacamole layer: For an extra layer of creamy goodness, add a layer of guacamole between the salsa and the cheese. It takes the dip to a whole new level of indulgence.
- Baked version: If you prefer a hot dip, you can bake it! Assemble the first four layers (bean, pumpkin, salsa, cheese) in an oven-safe dish and bake at 350°F (175°C) for 15-20 minutes, until bubbly. Then add the cold toppings and serve.
Serving & Storage Suggestions
This dip is best served cold or at room temperature. The contrast between the cool, creamy layers and the crunchy chips is part of its magic.
- Serving: Place the pie plate on a large platter surrounded by tortilla chips. You can also serve it with fresh vegetable sticks like bell peppers, cucumbers, or jicama for a lower-carb option.
- Complementary dishes: This dip is a star on its own, but it pairs beautifully with other party favorites. Try it alongside easy guacamole or a black bean and corn salsa for a full spread.
- Storage: Store any leftovers in an airtight container in the refrigerator for up to 2 days. The lettuce and tomatoes will wilt a bit, but the flavor will still be good.
- Reheating: I don’t recommend reheating this dip because of the fresh toppings. If you want to enjoy it warm, assemble the first four layers, bake it as described in the variations, and then add the fresh toppings just before serving.
Nutritional Information & Benefits
This dip is a crowd-pleaser, but it can also be part of a balanced diet. Here’s a rough breakdown per serving (based on about 8 servings, without chips).
- Calories: Approximately 250-300 calories per serving.
- Fat: 15-20g (mostly from cheese and sour cream).
- Carbohydrates: 15-20g (from beans, pumpkin, and salsa).
- Protein: 10-12g (from beans and cheese).
- Fiber: 5-7g (from beans and pumpkin).
Health Benefits: The pumpkin is a fantastic source of Vitamin A and fiber. The beans provide plant-based protein and fiber, which helps keep you full. You can easily lighten this up by using low-fat sour cream and cheese. It’s a great way to sneak some veggies into a party dish!
Conclusion
This Easy Pumpkin Patch Layered Taco Dip is more than just a recipe. It’s a little piece of my childhood, a memory I can share with the people I love. It’s proof that you don’t need a lot of time or fancy ingredients to create something truly special. It’s quick, it’s fun, and it’s absolutely delicious. I hope you’ll give it a try and make it your own.
I’d love to hear how it turns out for you! Did you add any fun variations? Did it remind you of someone or something? Drop a comment below and let me know. Don’t forget to share this recipe with a friend who needs a quick and easy win for their next gathering. Happy dipping, friends!
Frequently Asked Questions
Can I make this dip ahead of time?
Yes! You can assemble the dip (without the fresh toppings) up to 24 hours in advance. Cover and refrigerate. Add the lettuce, tomatoes, and olives just before serving to keep them crisp.
Can I use fresh pumpkin instead of canned?
You can, but it requires more work. You would need to roast and puree a small sugar pumpkin. Canned pumpkin is much more convenient and gives consistent results, so I recommend sticking with it.
What if I don’t have taco seasoning?
No problem! Make your own by mixing 1 tablespoon chili powder, 1 teaspoon cumin, 1/2 teaspoon garlic powder, 1/2 teaspoon onion powder, 1/2 teaspoon paprika, and a pinch of cayenne pepper.
Can I use Greek yogurt instead of sour cream?
Absolutely. Plain Greek yogurt works perfectly as a substitute for sour cream. It will be slightly tangier, but it’s a great way to add protein and reduce fat.
How do I keep the dip from getting watery?
The main culprit is watery salsa. Drain any excess liquid from the salsa before spooning it on. Also, make sure your tomatoes are seeded and well-drained. This will keep your layers nice and defined.
Pin This Recipe!
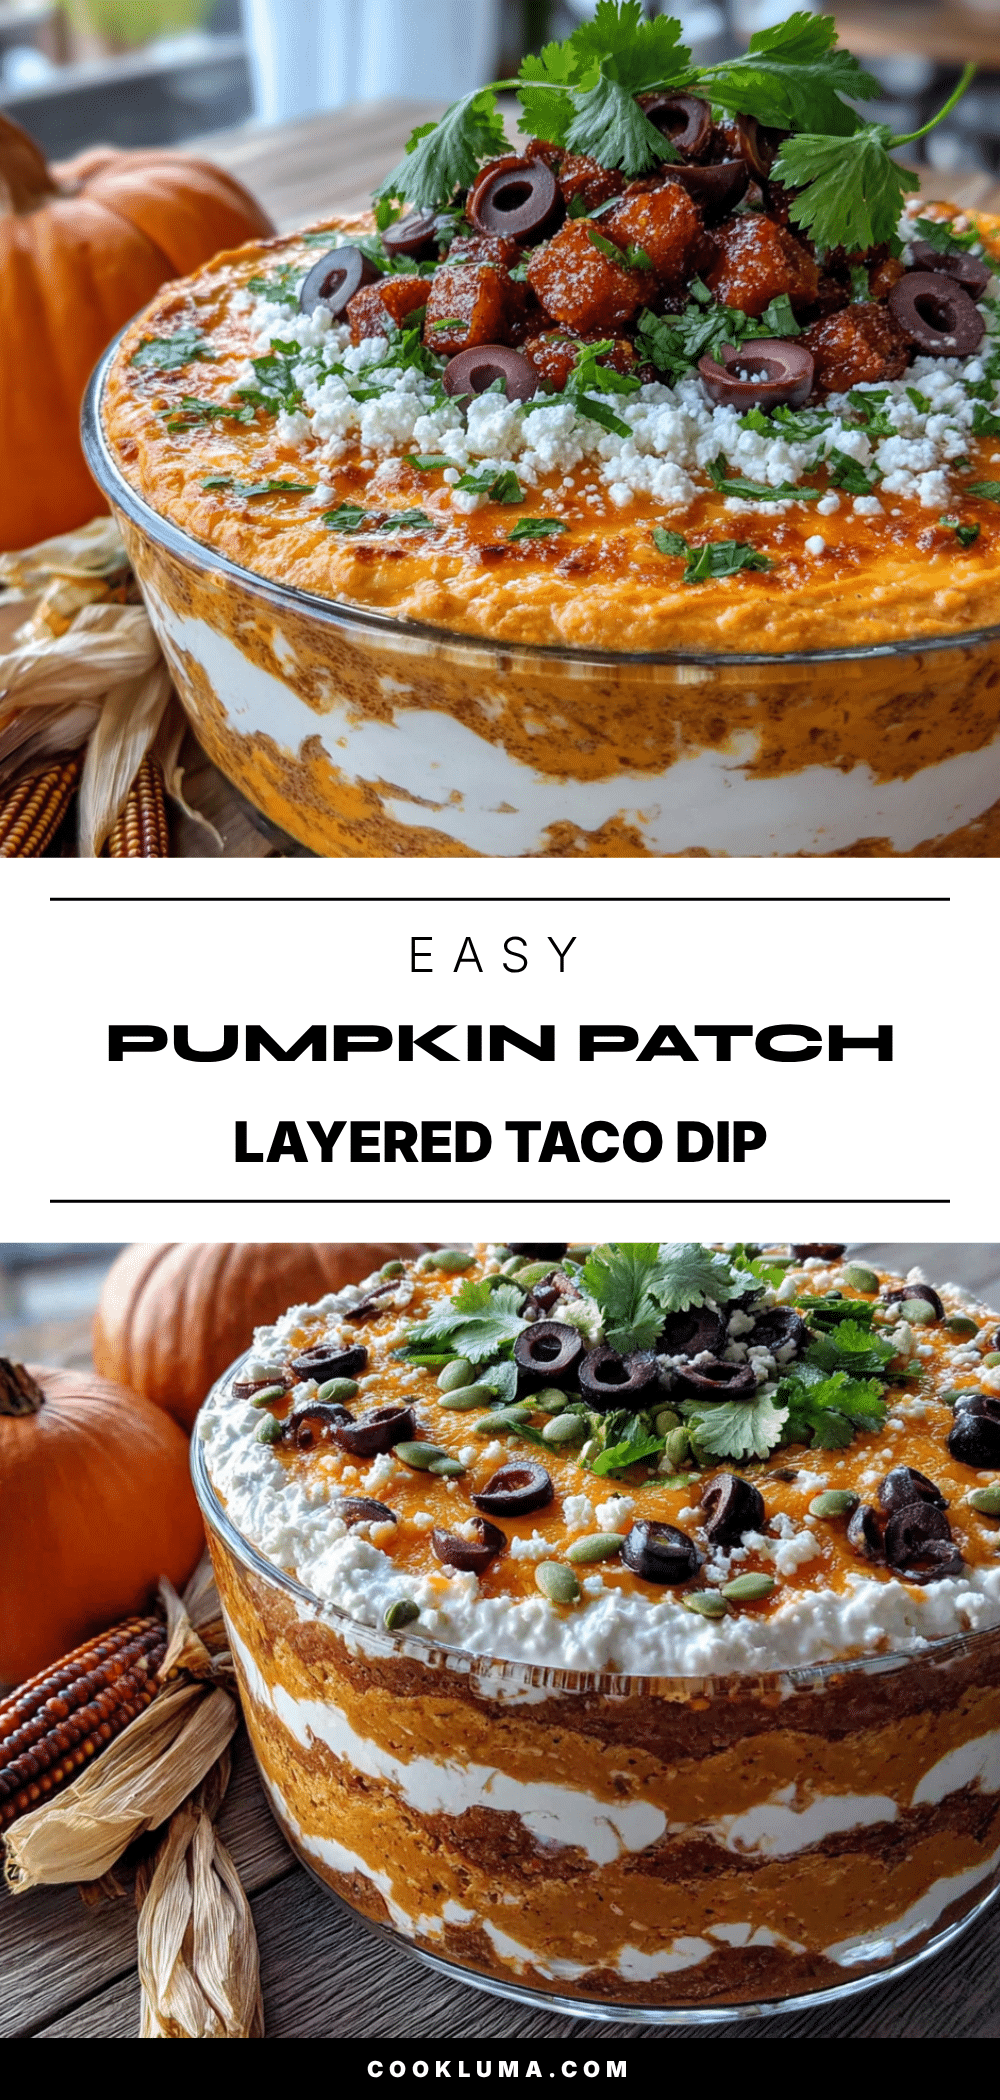
Easy Pumpkin Patch Layered Taco Dip

A quick and easy layered taco dip with a secret ingredient—pumpkin puree—that adds a velvety texture and subtle sweetness. Ready in 20 minutes, it’s perfect for game day, Taco Tuesday, or any gathering.
- Prep Time: 10 minutes
- Cook Time: 0 minutes
- Total Time: 20 minutes
- Yield: 8 servings 1x
- Category: Appetizer
- Cuisine: Mexican-American
Ingredients
- 1 can (15 oz) refried beans
- 1/2 cup canned pumpkin puree (not pumpkin pie filling)
- 1 packet (1 oz) taco seasoning
- 1 cup sour cream
- 1 cup salsa
- 2 cups shredded Mexican blend cheese
- 1 cup chopped romaine lettuce
- 1/2 cup diced tomatoes
- 1/4 cup sliced black olives (optional)
- 1/4 cup chopped green onions
- Tortilla chips for serving
Instructions
- In a small bowl, combine the refried beans with 2 tablespoons of the taco seasoning. Stir until combined. Spread evenly on the bottom of a 9-inch pie plate or shallow serving dish.
- In another small bowl, mix the pumpkin puree with the sour cream and the remaining taco seasoning. Stir until smooth. Spread over the bean layer.
- Spoon the salsa evenly over the pumpkin layer.
- Sprinkle the shredded Mexican blend cheese over the salsa.
- Top with chopped romaine lettuce, diced tomatoes, sliced black olives (if using), and chopped green onions.
- Refrigerate for 10 minutes before serving to allow layers to set. Serve with sturdy tortilla chips.
Notes
Don’t skip the pumpkin—it adds creamy texture without a sweet flavor. Let the dip rest for 10 minutes in the fridge to set the layers. Use a sturdy chip like Tostitos Scoops to hold the heavy layers. Shred your own cheese for best melting. For a baked version, assemble first four layers and bake at 350°F for 15-20 minutes, then add cold toppings.
Nutrition
- Serving Size: 1/8 of recipe (witho
- Calories: 275
- Sugar: 5
- Sodium: 680
- Fat: 18
- Saturated Fat: 10
- Carbohydrates: 18
- Fiber: 6
- Protein: 11
Keywords: pumpkin taco dip, layered dip, easy appetizer, game day dip, fall recipe, 20 minute recipe, vegetarian dip


