I was standing in the middle of the baking aisle at our local grocery store last December, staring at a bag of candy canes that had somehow found their way into my cart, when the smell hit me. It wasn’t the peppermint itself—it was the sharp, sweet scent of a candy cane being crushed, and suddenly I was seven years old, perched on a wobbly stool at my Aunt Carol’s kitchen counter. She had this old wooden rolling pin, the kind with the chipped red handles, and she was using it to smash candy canes into a million glittery pieces for her famous holiday bark. I can still hear the rhythmic thud-thud-thud against the wax paper, the way she’d pause to sneak a piece into my mouth, and the way my cousin Jenny complained that we were making too much noise. That moment—that messy, loud, sugar-fueled moment—is what I’m chasing every single time I make these Easy Peppermint Bark Hot Chocolate Bombs. My aunt passed away a few years ago, and honestly, I never got her exact recipe for that bark. But I’ve spent enough Decembers in my own kitchen, armed with melted chocolate and a prayer, to recreate the feeling. Maybe you’ve been there, too—trying to capture a childhood taste that’s just out of reach, using whatever ingredients you have on hand and a whole lot of hope.
These hot chocolate bombs are my way of bottling that memory. They’re not just a treat; they’re a little edible time machine. And you know what? They’re surprisingly simple to make, even with kids “helping” in the kitchen. I mean, let’s face it, the holiday season is chaotic enough without adding a complicated dessert to the list. These bombs come together with just a few basic ingredients, and the payoff is huge—a warm, creamy cup of hot chocolate that tastes like a fancy coffee shop drink but costs pennies to make at home. Plus, they make the best homemade gifts. I’ve wrapped them in little cellophane bags with a cute tag, and let me tell you, they’ve been a hit at every cookie swap and teacher gift exchange I’ve ever brought them to. So, if you’re looking for a fun, festive, and genuinely easy holiday project that the whole family can enjoy, you’ve come to the right place. Let’s get started.
Why You’ll Love This Recipe
I’ve tested these hot chocolate bombs more times than I care to count—some batches were a melted mess, others were just okay, but this version? This is the one. It’s the perfect balance of rich chocolate, cool peppermint, and that satisfying “whoosh” when you pour hot milk over the bomb. Here’s why it’s earned a permanent spot in my holiday rotation:
- Quick & Easy: From start to finish, you’re looking at about 30 minutes of active prep time. The hardest part is waiting for the chocolate to set in the fridge. Perfect for those busy December afternoons when you’re already juggling a dozen other things.
- Simple Ingredients: You probably already have most of these in your pantry. No fancy grocery store runs for obscure ingredients—just chocolate chips, candy canes, hot cocoa mix, and a few other basics.
- Perfect for Family Fun: This is the kind of recipe that actually works with kids. They can help crush the candy canes (supervised, of course), fill the molds, and add the sprinkles. It’s messy in the best way.
- Crowd-Pleaser: I’ve served these at holiday parties, and they disappear within minutes. Kids love the magic of watching the bomb dissolve, and adults love the rich, grown-up flavor. It’s a win-win.
- Unbelievably Delicious: The combination of creamy milk chocolate, crunchy peppermint pieces, and smooth hot cocoa is next-level comfort food. It’s like a cozy blanket in a mug.
What makes this recipe different from all the other hot chocolate bomb recipes out there? It’s the peppermint bark twist. Instead of just stuffing a plain chocolate shell with cocoa mix, we’re layering in crushed candy canes and a drizzle of white chocolate. It creates that classic holiday flavor profile that reminds you of the best peppermint bark you’ve ever had—but in drinkable form. Plus, I’ve streamlined the process so you don’t need any fancy equipment. No tempering chocolate like a pro pastry chef required. This is honest, practical cooking that delivers amazing results.
This recipe isn’t just good—it’s the kind that makes you close your eyes after the first sip. It’s comfort food reimagined for the holidays, a little bit faster and a little bit easier, but with the same soul-soothing satisfaction. Perfect for impressing guests without stress, or turning a simple weeknight into something memorable.
What Ingredients You Will Need
This recipe uses simple, wholesome ingredients to deliver that bold peppermint bark flavor without the fuss. Most of these are pantry staples during the holiday season, and I’ve included some notes to help you pick the best options.
- 12 ounces (340g) semi-sweet chocolate chips: I prefer Ghirardelli or Guittard for their smooth melting quality. You can use dark chocolate if you prefer a less sweet bomb, but semi-sweet strikes the perfect balance for most palates.
- 1 tablespoon (15ml) coconut oil or vegetable shortening: This is the secret to a shiny, snappy chocolate shell that releases easily from the mold. Don’t skip it! It helps the chocolate set without blooming.
- 1/2 cup (about 6-8) crushed candy canes or peppermint candies: You’ll want a mix of fine dust and small chunks. The dust adds color and flavor to the chocolate, while the chunks provide that satisfying crunch. You can crush them in a sealed bag with a rolling pin, or pulse them in a food processor.
- 1/2 cup (about 85g) white chocolate chips: For the drizzle on top. Look for a brand that melts smoothly, like Ghirardelli or Nestle. Avoid white “morsels” that are actually vanilla-flavored chips—they don’t melt as well.
- 6 tablespoons (about 90g) hot cocoa mix: Use your favorite brand. I like the ones that have mini marshmallows already mixed in for an extra festive touch. If you’re making your own mix, use a combination of cocoa powder, sugar, and powdered milk.
- 6 tablespoons (about 90g) mini marshmallows: Optional, but highly recommended. They add a soft, pillowy texture to the finished hot chocolate.
- Optional: Sprinkles or festive decorations: Red and green sprinkles, edible glitter, or even a pinch of sea salt on top. Let your creativity run wild.
- For serving: 6 cups (1.4 liters) of hot milk or water. Whole milk makes the richest hot chocolate, but you can use any milk you like, including oat or almond milk.
Ingredient Selection Tips: When buying candy canes, look for ones that are bright in color and have a strong peppermint scent. The cheaper brands often have less flavor, so splurging a little here makes a difference. For the chocolate, I’ve found that using a good-quality chip or bar (not the generic store brand) results in a smoother, more flavorful shell. It’s one of those small upgrades that really pays off.
Substitution Guidance: If you need a dairy-free option, use dark chocolate chips and a dairy-free white chocolate alternative (like Enjoy Life brand). The coconut oil works perfectly with dairy-free chocolate. For a gluten-free version, double-check your candy cane labels—most are gluten-free, but it’s always good to verify. You can also swap the peppermint for orange extract if you want a different flavor profile.
Equipment Needed
You don’t need a professional pastry chef’s kitchen to make these bombs. Here’s what you’ll need, along with some budget-friendly alternatives:
- 6-cavity silicone hemisphere mold: This is the key piece of equipment. You want a mold that’s about 2 inches (5cm) in diameter per cavity. I got mine on Amazon for under $10, and it’s lasted me three seasons. You can also use a metal muffin tin if you line it with plastic wrap, but the silicone molds are much easier to work with.
- Microwave-safe bowls: You’ll need at least two—one for the semi-sweet chocolate and one for the white chocolate. Glass or ceramic works best.
- Rolling pin or food processor: For crushing the candy canes. A sealed zip-top bag and a rolling pin is the most kid-friendly method. A food processor gives you a more consistent texture, but it’s not necessary.
- Small spatula or spoon: For spreading the chocolate in the molds. A small offset spatula is ideal, but a regular teaspoon works fine.
- Baking sheet or plate: For holding the filled molds while they set in the fridge.
- Piping bag or small zip-top bag: For drizzling the white chocolate. You can also use a spoon, but a piping bag gives you more control.
- Refrigerator: Yes, you need fridge space for about 15-20 minutes to set the chocolate.
Maintenance Tip: Silicone molds are incredibly durable, but don’t use metal utensils on them or you’ll scratch the surface. Hand wash them with warm, soapy water and let them air dry completely before storing. They’ll last for years.
Preparation Method
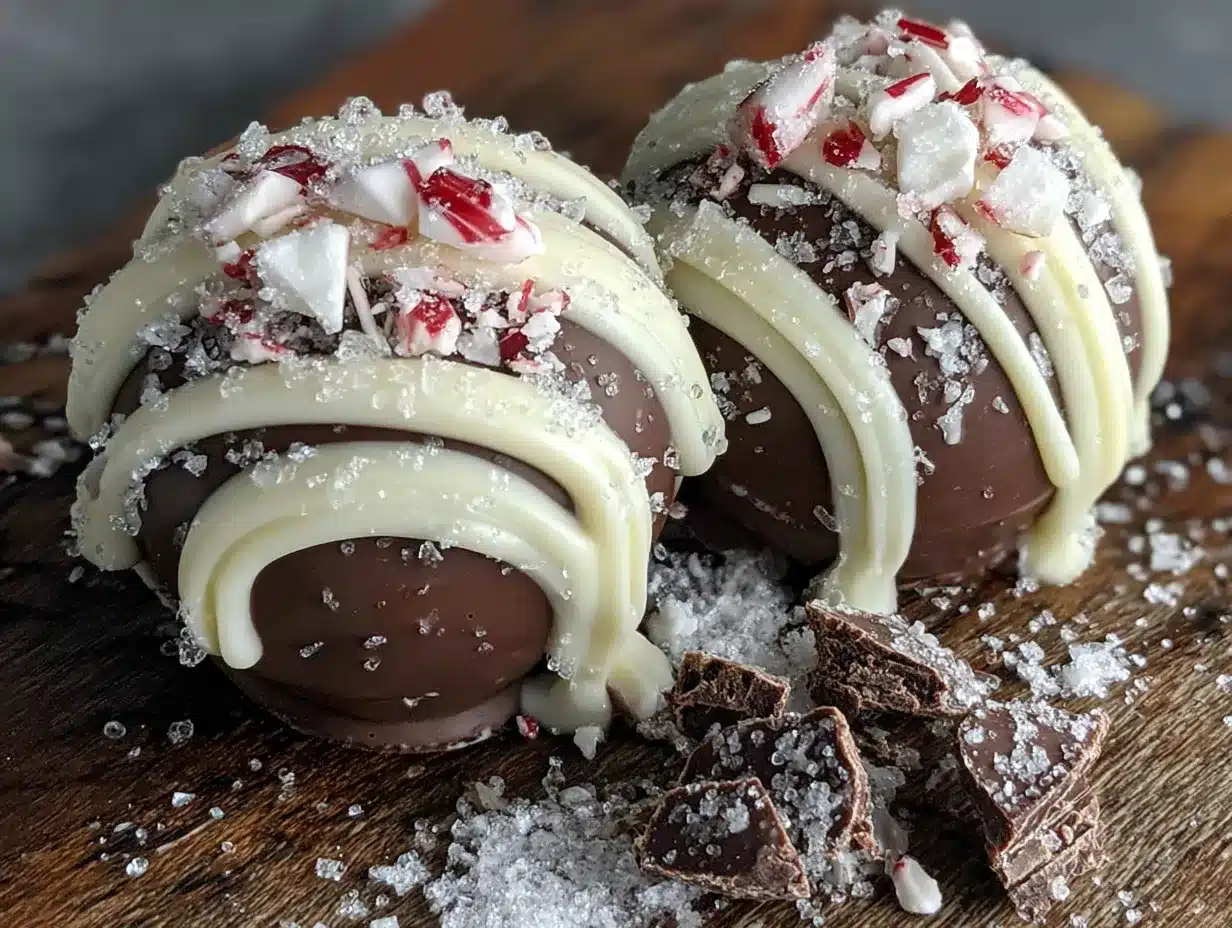
Alright, let’s get to the fun part. I’ve broken this down into clear steps, and I’ve included all the little tips I’ve learned from my own trial-and-error. Trust me, following these exactly will save you from a melted chocolate disaster.
- Crush the candy canes (5 minutes): Place your candy canes in a sturdy zip-top bag. Remove as much air as possible, then seal it. Using a rolling pin or a heavy skillet, crush the candy canes into a mix of fine dust and small chunks. You don’t want it to be a uniform powder—a little texture is good. Set aside about 2 tablespoons for garnish later.
- Melt the semi-sweet chocolate (3-4 minutes): Place the semi-sweet chocolate chips and 1 tablespoon of coconut oil in a microwave-safe bowl. Microwave in 30-second intervals, stirring well after each interval, until the chocolate is completely smooth and glossy. Be careful not to overheat it—chocolate can seize up if it gets too hot. It should take about 1.5 to 2 minutes total.
- Prepare the molds (2 minutes): Spoon about 1 to 1.5 teaspoons of the melted chocolate into each cavity of the silicone mold. Use the back of the spoon or a small spatula to spread the chocolate up the sides of the cavity, making sure to coat the entire surface evenly. Don’t worry if it’s not perfect—you’ll add a second layer. Place the mold on a baking sheet and refrigerate for 5 minutes until the chocolate is firm but not rock hard.
- Add the second layer (5 minutes): Remove the mold from the fridge. Spoon another 1 teaspoon of melted chocolate into each cavity, making sure to reinforce the edges. This second layer ensures your bombs are sturdy enough to hold the filling. Use your finger or the back of a spoon to smooth out any drips. Refrigerate again for 10 minutes, or until the chocolate is completely set and firm to the touch.
- Prepare the filling (5 minutes): While the chocolate shells are setting, combine the crushed candy canes (reserving the 2 tablespoons for garnish), hot cocoa mix, and mini marshmallows (if using) in a small bowl. Stir to combine. This is your filling mixture.
- Assemble the bombs (10 minutes): Gently pop the chocolate shells out of the silicone molds. They should come out easily—if they’re stuck, let them sit at room temperature for a minute or two. Place half of the shells (3 of them) on a clean plate. Fill each shell with about 2 tablespoons of the filling mixture, packing it in gently. Don’t overfill—you need room to seal the bomb.
- Seal the bombs (5 minutes): Take one of the empty shells and heat a small plate in the microwave for 20 seconds until it’s warm (not hot). Carefully press the rim of the empty shell onto the warm plate for 2-3 seconds to melt the edge just slightly. Then, place it on top of a filled shell, pressing gently to seal. Hold it for about 10 seconds to make sure it sticks. Repeat with the remaining shells. If you have any gaps, use a little melted chocolate to fill them in. Place the sealed bombs back in the fridge for 5 minutes to set the seal.
- Make the white chocolate drizzle (3 minutes): Melt the white chocolate chips in a microwave-safe bowl in 20-second intervals, stirring after each, until smooth. Transfer to a small piping bag or a zip-top bag with the corner snipped off. Drizzle the white chocolate over the top of each bomb. While the drizzle is still wet, sprinkle the reserved crushed candy canes and any festive sprinkles on top.
- Final set (10 minutes): Place the decorated bombs back in the fridge for at least 10 minutes to set the drizzle completely. After that, they’re ready to serve or gift.
Sensory Cues: When you spread the first layer of chocolate in the mold, it should look shiny and smooth. If it looks dull or streaky, it’s not melted enough. When you pop the shells out of the mold, they should have a satisfying “snap” sound—that’s how you know they’re properly set. The finished bomb should feel solid and heavy in your hand.
Troubleshooting Tip: If your chocolate seizes up (becomes grainy and thick), you’ve either overheated it or gotten a drop of water in it. Unfortunately, there’s no fixing it—you’ll need to start over with fresh chocolate. To avoid this, make sure all your bowls and utensils are completely dry.
Cooking Tips & Techniques
I’ve made my share of mistakes with these bombs, so let me save you some trouble. Here are the lessons I’ve learned the hard way:
Don’t rush the chocolate setting. I once tried to speed things up by putting the molds in the freezer instead of the fridge. Big mistake. The chocolate set too quickly and cracked when I tried to remove the shells. The fridge is your friend—give it the full 10 minutes for each layer.
Use a light hand with the white chocolate drizzle. I got a little too enthusiastic once and ended up with a thick puddle of white chocolate on top of each bomb. It looked messy and made the bombs harder to seal. A thin, delicate drizzle is much prettier and more functional.
Crush the candy canes in stages. If you crush them all at once, the fine dust settles at the bottom of the bag, and you end up with uneven distribution. Instead, crush them in batches and mix the fine dust with the chunks. That way, every bite of the finished hot chocolate has a little peppermint magic.
Multitasking is key. While the chocolate is setting in the fridge, you can crush the candy canes, measure out the cocoa mix, and even clean up your workspace. This recipe is all about working in stages, so use those waiting periods wisely.
For consistency, use a kitchen scale. I know it sounds fussy, but weighing your chocolate ensures you have the right amount for the shells. Too little, and your bombs will be thin and fragile. Too much, and you’ll have a thick, clunky shell that doesn’t melt properly in the milk.
Variations & Adaptations
One of the best things about this recipe is how easy it is to customize. Here are a few variations I’ve tried and loved:
- Dark Chocolate Peppermint Bombs: Swap the semi-sweet chocolate for dark chocolate (at least 60% cocoa). The bitterness of the dark chocolate pairs beautifully with the sweet peppermint. You might want to add an extra tablespoon of sugar to the filling to balance it out.
- White Chocolate Peppermint Bombs: Use white chocolate for the shells instead of semi-sweet. This creates a sweeter, creamier bomb that’s especially popular with kids. Just be careful when melting white chocolate—it’s more prone to seizing than dark or semi-sweet.
- Mint Chocolate Chip Bombs: Add a few mini chocolate chips to the filling along with the crushed candy canes. When the bomb dissolves, you get little pockets of melted chocolate in your hot cocoa. It’s like a liquid chocolate chip cookie.
- Vegan-Friendly Version: Use dairy-free dark chocolate and a vegan white chocolate alternative. The coconut oil works perfectly with both. For the filling, use a vegan hot cocoa mix and skip the marshmallows (or use vegan marshmallows).
- Spicy Mexican Hot Chocolate Bombs: Add a pinch of cinnamon and a tiny pinch of cayenne pepper to the hot cocoa mix. The warmth of the spices complements the cool peppermint in a surprisingly delicious way. This is my personal favorite for grown-up gatherings.
Personal Variation: Last year, I made a batch with crushed gingerbread cookies mixed into the filling instead of candy canes. It was a total experiment, and honestly, it turned out amazing. The spicy gingerbread flavor with the rich chocolate was like a holiday hug in a mug. Don’t be afraid to play around with flavors—that’s how the best recipes are born.
Serving & Storage Suggestions
These bombs are best served warm, obviously. Here’s how to make the most of them:
Serving: Heat 1 cup (240ml) of milk (whole milk is best) in a small saucepan over medium heat until it’s steaming but not boiling. You can also heat it in the microwave for 1.5 to 2 minutes. Place one bomb in a large mug, then pour the hot milk over it. Watch as the chocolate shell melts and the filling releases—it’s pure magic. Stir well to combine all the flavors. Serve immediately with a candy cane stirrer if you’re feeling extra festive.
Presentation: For a holiday party, arrange the bombs on a platter with a small tag that says “Add hot milk and watch the magic happen.” They make excellent gifts, too. Wrap each bomb in a cellophane bag tied with a red ribbon, and attach a little card with the serving instructions.
Storage: Store the finished bombs in an airtight container in the refrigerator for up to 2 weeks. They can also be frozen for up to 3 months—just wrap them individually in plastic wrap and place them in a freezer-safe bag. To thaw, let them sit at room temperature for 10-15 minutes before serving.
Reheating: If you’re reheating a bomb that’s been in the fridge, you might need to heat the milk a little longer to ensure the chocolate melts completely. The flavor actually improves after a day or two in the fridge—the peppermint flavor mellows out and integrates with the chocolate more evenly.
Flavor Development: I’ve noticed that the bombs taste even better after they’ve sat in the fridge for 24 hours. The flavors meld together, and the chocolate shell gets a little firmer. So if you’re making them for a party, I recommend making them a day ahead.
Nutritional Information & Benefits
Let’s be real—these are a treat, not a health food. But that doesn’t mean they can’t have a place in a balanced diet. Here’s a rough estimate of the nutritional content per bomb (using whole milk for serving):
- Calories: Approximately 350-400 per serving (bomb + milk)
- Fat: 18-22g (mostly from the chocolate and milk)
- Carbohydrates: 40-50g (includes sugar from the candy canes and cocoa mix)
- Protein: 8-10g (from the milk)
- Fiber: 2-3g (from the dark chocolate)
Health Benefits: Dark chocolate is rich in antioxidants, specifically flavonoids, which can help support heart health. Peppermint has been shown to aid digestion and can help soothe an upset stomach. Plus, the act of making these bombs with your family is a great way to connect and create memories—that’s good for your mental health!
Dietary Considerations: As written, this recipe contains dairy and gluten (from the candy canes—check labels). It can be made vegan and dairy-free with the substitutions listed above. It’s not suitable for a low-carb or keto diet due to the sugar content, but you could try using a sugar-free hot cocoa mix and chocolate for a lower-carb version.
Potential Allergens: Milk, soy (often in chocolate), and corn (in some candy canes). Always check labels if you’re serving someone with allergies.
Personal Wellness Perspective: I believe in enjoying treats in moderation. The holidays are a time for celebration, and these bombs are a beautiful part of that. I make a batch for my family, we enjoy one or two over the course of a week, and I share the rest with neighbors and friends. It’s about balance, not deprivation.
Conclusion
These Easy Peppermint Bark Hot Chocolate Bombs are more than just a recipe—they’re a little piece of holiday magic you can make in your own kitchen. They’re simple enough for a weeknight project, special enough for a holiday party, and customizable enough to become a new family tradition. I love that they bring people together, whether it’s the kids helping crush candy canes or the look on a friend’s face when they pour hot milk over the bomb and watch it dissolve. That moment of pure delight is why I keep making them year after year.
I encourage you to make these your own. Swap the peppermint for orange, add a pinch of cinnamon, or use white chocolate shells—whatever feels right for your family. The recipe is just a starting point. The real magic is in the making and the sharing.
So, what are you waiting for? Grab a bag of candy canes, round up the kids, and get ready to create some sweet holiday memories. And when you do, I’d love to hear about it. Drop a comment below, share a photo of your creations, or tell me your own candy cane story. Let’s spread a little holiday cheer, one hot chocolate bomb at a time. Happy holidays, friend!
Frequently Asked Questions
Can I use milk chocolate instead of semi-sweet?
Absolutely! Milk chocolate will make a sweeter, creamier shell. Just keep in mind that it’s softer than semi-sweet, so you might need to be a little more careful when handling the bombs. It’s a great option if you’re making these primarily for kids.
Why did my chocolate seize up?
Chocolate seizes when it comes into contact with even a tiny amount of water. Make sure all your bowls, utensils, and the silicone mold are completely dry before you start melting. Also, don’t overheat the chocolate—microwave in short bursts and stir frequently.
Can I make these without a silicone mold?
Yes, but it’s trickier. You can use a metal muffin tin, but you’ll need to line each cup with plastic wrap to help the chocolate release. The silicone molds are really the best tool for the job, and they’re inexpensive. I’d recommend investing in one if you plan to make these regularly.
How far in advance can I make these?
You can make the bombs up to 2 weeks ahead of time and store them in an airtight container in the fridge. They also freeze beautifully for up to 3 months. Just make sure they’re well-wrapped to prevent freezer burn.
Can I use a different flavor instead of peppermint?
Definitely! Try using crushed orange candies for a chocolate-orange flavor, or add a teaspoon of instant coffee to the filling for a mocha twist. You can also experiment with different extracts—just a drop of raspberry or almond extract in the filling can create a whole new flavor profile.
Pin This Recipe!
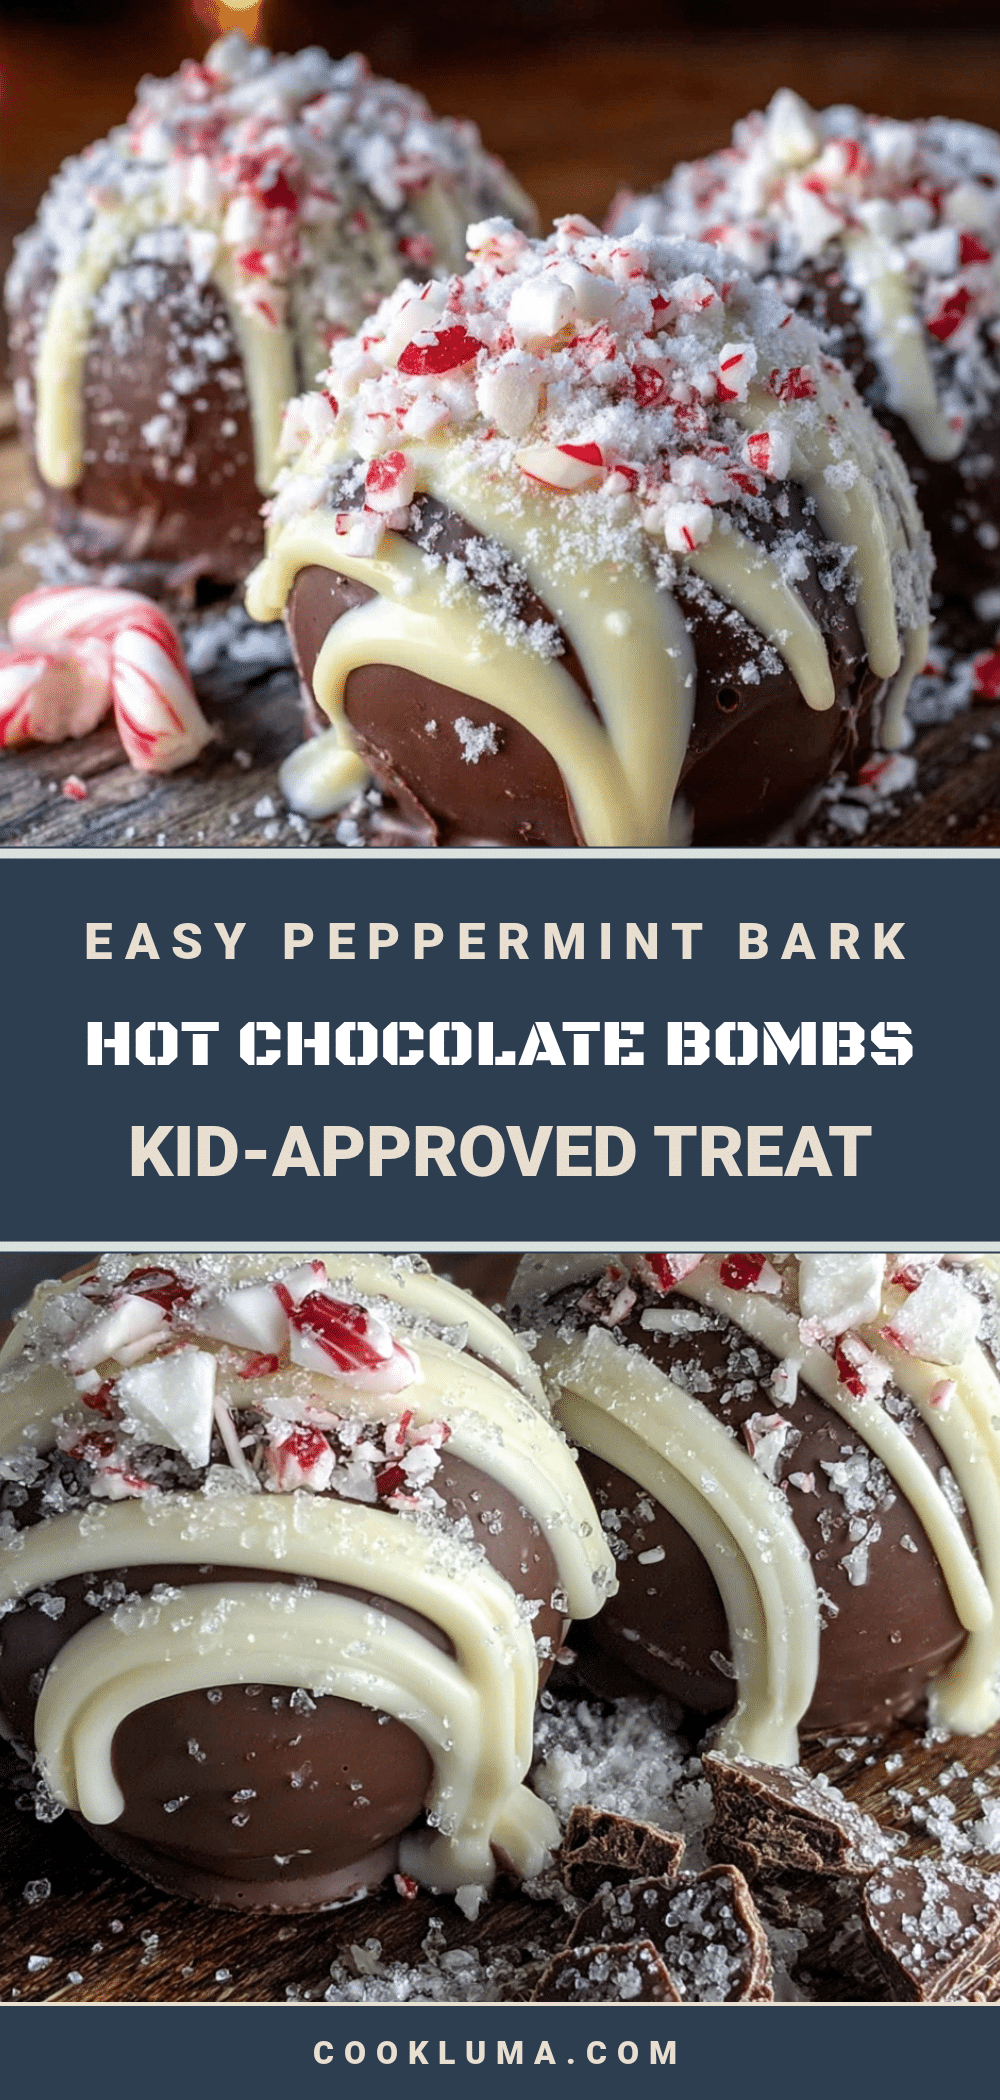
Easy Peppermint Bark Hot Chocolate Bombs: Best Holiday Treat

These hot chocolate bombs are a fun, festive, and easy holiday treat that combines rich chocolate, cool peppermint, and a satisfying ‘whoosh’ when hot milk is poured over them. Perfect for family fun and homemade gifts.
- Prep Time: 30 minutes
- Cook Time: 0 minutes
- Total Time: 1 hour 30 minutes
- Yield: 6 servings 1x
- Category: Dessert
- Cuisine: American
Ingredients
- 12 ounces (340g) semi-sweet chocolate chips
- 1 tablespoon (15ml) coconut oil or vegetable shortening
- 1/2 cup (about 6-8) crushed candy canes or peppermint candies
- 1/2 cup (about 85g) white chocolate chips
- 6 tablespoons (about 90g) hot cocoa mix
- 6 tablespoons (about 90g) mini marshmallows (optional)
- Sprinkles or festive decorations (optional)
- 6 cups (1.4 liters) hot milk or water (for serving)
Instructions
- Crush the candy canes: Place candy canes in a sturdy zip-top bag, remove air, seal, and crush with a rolling pin or heavy skillet into a mix of fine dust and small chunks. Set aside 2 tablespoons for garnish.
- Melt the semi-sweet chocolate: Place semi-sweet chocolate chips and coconut oil in a microwave-safe bowl. Microwave in 30-second intervals, stirring after each, until smooth and glossy (about 1.5-2 minutes total).
- Prepare the molds: Spoon about 1-1.5 teaspoons of melted chocolate into each cavity of a silicone hemisphere mold. Spread up the sides to coat evenly. Place on a baking sheet and refrigerate for 5 minutes until firm.
- Add the second layer: Remove from fridge. Spoon another 1 teaspoon of melted chocolate into each cavity, reinforcing edges. Smooth any drips. Refrigerate for 10 minutes until completely set.
- Prepare the filling: In a small bowl, combine crushed candy canes (reserving 2 tablespoons), hot cocoa mix, and mini marshmallows (if using). Stir to combine.
- Assemble the bombs: Gently pop chocolate shells out of molds. Place half of the shells (3) on a plate. Fill each with about 2 tablespoons of filling, packing gently. Do not overfill.
- Seal the bombs: Heat a small plate in the microwave for 20 seconds until warm. Press the rim of an empty shell onto the warm plate for 2-3 seconds to melt the edge slightly. Place on top of a filled shell, pressing gently to seal. Hold for 10 seconds. Repeat with remaining shells. Fill any gaps with melted chocolate. Refrigerate for 5 minutes to set the seal.
- Make the white chocolate drizzle: Melt white chocolate chips in a microwave-safe bowl in 20-second intervals, stirring after each, until smooth. Transfer to a piping bag or zip-top bag with corner snipped. Drizzle over each bomb. While wet, sprinkle reserved crushed candy canes and sprinkles on top.
- Final set: Refrigerate decorated bombs for at least 10 minutes to set the drizzle. Serve or gift.
Notes
Don’t rush the chocolate setting; use the fridge, not the freezer. Use a light hand with the white chocolate drizzle. Crush candy canes in stages for even distribution. Multitask while chocolate sets. For consistency, use a kitchen scale. If chocolate seizes, start over with fresh chocolate and ensure all utensils are dry.
Nutrition
- Serving Size: 1 bomb with 1 cup (2
- Calories: 375
- Sugar: 35
- Sodium: 150
- Fat: 20
- Saturated Fat: 12
- Carbohydrates: 45
- Fiber: 2.5
- Protein: 9
Keywords: hot chocolate bombs, peppermint bark, holiday treat, easy dessert, homemade gift, chocolate, peppermint


