“Why can’t you just mix it all in one bowl?” my six-year-old nephew asked, watching me pull out a second mixing bowl for my usual banana bread routine. I started to explain why that wouldn’t work — something about wet ingredients and dry ingredients needing separate spaces to do their thing. Then I stopped. Honestly, I had no good reason. I’d just always done it that way.
So I handed him the wooden spoon and said, “Fine. You’re in charge.” He mashed the bananas right in the same bowl we’d measured the sugar into, dumped the flour on top, and stirred with the kind of reckless confidence only a kid who’s never made a baking mistake can have. I braced myself for a dense, lumpy disaster. What came out of the oven twenty minutes later was the most tender, perfectly moist banana bread I’d ever made. The kid didn’t just prove me wrong — he taught me a lesson I should have learned years ago. Sometimes the simplest way really is the best way.
That afternoon changed how I bake banana bread forever. No more extra dishes, no more fussy steps, no more believing you need fancy techniques to get a bakery-worthy loaf. This easy one-bowl banana bread has become our family’s go-to, and let me tell you — it’s saved me on countless busy mornings and last-minute snack emergencies. If you’ve ever stood in your kitchen staring at spotty bananas wondering what to do, this recipe is your answer. It’s the kind of thing you’ll memorize after making it twice, and your kids can practically make it themselves (which, honestly, is the whole point).
Why You’ll Love This Recipe
Let me tell you why this particular banana bread has earned a permanent spot in our weekly rotation. I’ve tested it at least a dozen times, tweaked the ratios, and even had my neighbor’s picky eater give it the thumbs up. It’s not just another recipe — it’s the one you’ll actually use.
- Quick & Easy: From start to finish, you’re looking at about 55 minutes. That includes prep, baking, and cooling enough to slice. No stand mixer needed, no sifting, no folding egg whites. Just one bowl, a spoon, and ten minutes of your time.
- Simple Ingredients: You probably have everything already. Flour, sugar, eggs, butter, baking soda, salt, and those sad bananas sitting on your counter. No buttermilk, no sour cream, no weird extracts you’ll use once and forget about.
- Perfect for Busy Families: This is the snack that saves after-school meltdowns, the breakfast that feels like a treat, and the thing you bring to potlucks that disappears before the main course. It works for every occasion.
- Crowd-Pleaser: My kids devour it. My husband packs it for lunch. My sister-in-law, who claims she doesn’t like banana bread, asked for the recipe. Even the pickiest eaters seem to love this one.
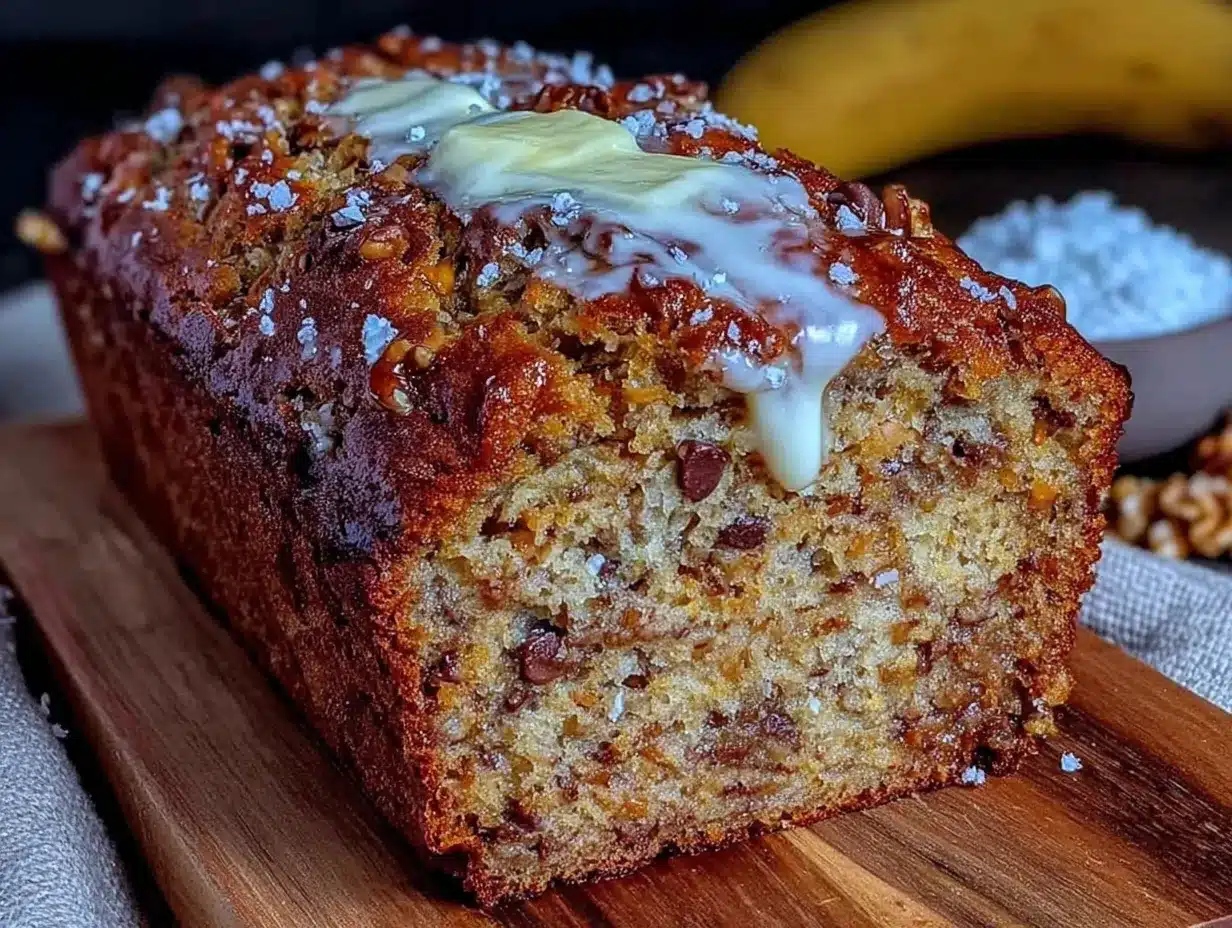
- Unbelievably Delicious: The texture is what gets me every time — incredibly moist with a tender crumb and that perfect crackly top. The flavor is pure banana, not too sweet, with just a hint of vanilla warmth.
What makes this recipe different from the dozens of others out there? It’s the technique, honestly. By mixing everything in one bowl, you’re actually incorporating the ingredients more gently, which keeps the bread from getting tough. Plus, using melted butter instead of creaming cold butter means less effort and a softer result. It’s comfort food simplified — faster, easier, but with the same soul-soothing satisfaction you expect from homemade banana bread.
What Ingredients You Will Need
This recipe uses simple, everyday ingredients to deliver that perfect banana bread texture and flavor. No special trips to a fancy grocery store — just basic staples you probably already have in your pantry and fridge.
- 3 ripe bananas, mashed (about 1 ½ cups / 360 ml) — The riper the better. Look for bananas with lots of brown spots, or even completely black skins. They’re sweeter and easier to mash. If yours aren’t ripe enough, pop them in a 300°F oven for 15 minutes — it works like magic.
- ⅓ cup melted butter (75 g / 5 ⅓ tablespoons) — Unsalted is best so you control the salt. I use salted butter in a pinch and just reduce the added salt to ¼ teaspoon. Melt it and let it cool slightly so it doesn’t cook the eggs.
- ¾ cup granulated sugar (150 g) — Regular white sugar works perfectly. You can substitute up to half with brown sugar for a deeper flavor, but the texture stays best with mostly white sugar.
- 1 large egg — Room temperature if you remember, but straight from the fridge works too. I’ve done it both ways and honestly can’t tell the difference in this recipe.
- 1 teaspoon vanilla extract (5 ml) — Pure vanilla is nice, but imitation works fine here. The banana flavor is strong enough that you won’t notice the difference.
- 1 ½ cups all-purpose flour (190 g) — Spoon it into your measuring cup and level it off. Don’t scoop directly from the bag or you’ll pack in too much flour and end up with dry bread. I learned this the hard way.
- 1 teaspoon baking soda (5 g) — Make sure it’s fresh. Test it by dropping a little into vinegar — if it fizzes vigorously, you’re good.
- ½ teaspoon salt (3 g) — This balances the sweetness and enhances the banana flavor. Don’t skip it even if you’re using salted butter.
- Optional mix-ins: ½ cup chocolate chips, chopped walnuts, or dried fruit — add them after you’ve mixed the batter, folding gently.
I personally recommend using Gold Medal flour for consistent results and Land O’Lakes butter for the best flavor, but honestly, store brands work just fine. The real star here is the bananas — the quality of your bread depends almost entirely on how ripe they are. Don’t be tempted to use barely yellow bananas; they won’t mash smoothly and your bread will be bland and dense.
Equipment Needed
The beauty of this recipe is how little equipment you actually need. Here’s what you’ll want to have on hand:
- One large mixing bowl — Any size works, but a 2-quart or larger bowl gives you room to mix without spilling. I use a simple glass bowl I bought for three dollars at a discount store.
- A 9×5-inch loaf pan (23×13 cm) — Standard size. If you only have an 8×4-inch pan, your bread will be taller and可能需要增加5-10分钟的烘烤时间。
- A fork or potato masher — For mashing the bananas. A fork works perfectly fine. I actually prefer it because you can control the texture better.
- A wooden spoon or rubber spatula — For mixing. Nothing fancy needed. I’ve used a whisk in a pinch too, though it’s harder to scrape the sides.
- Parchment paper (optional but helpful) — Lining the pan makes lifting the bread out so much easier. If you don’t have it, just grease the pan well with butter or cooking spray.
- Cooling rack — Lets air circulate so the bottom doesn’t get soggy. If you don’t have one, use the wire rack from your oven or just tilt the bread on its side.
I’ve made this recipe without a cooling rack, without parchment paper, and even without a proper loaf pan (I used a disposable aluminum one from the dollar store). It still turned out great. Don’t let missing equipment stop you — adapt and go for it.
Preparation Method
Preheat your oven to 350°F (175°C). Grease your 9×5-inch loaf pan with butter or cooking spray, or line it with parchment paper leaving some overhang on the long sides for easy lifting.
Step 1: Mash the bananas
Peel your three ripe bananas and place them in your large mixing bowl. Mash them with a fork until mostly smooth, leaving a few small chunks if you like. You want about 1 ½ cups of mashed banana. If you have a little more or less, don’t stress — the recipe is forgiving.
Step 2: Add the wet ingredients
Add the melted butter, granulated sugar, egg, and vanilla extract to the bowl with the mashed bananas. Stir everything together with your wooden spoon or spatula until well combined. The mixture will look a little lumpy and that’s fine. Don’t overmix here — just make sure there are no streaks of egg or pockets of sugar.
Step 3: Add the dry ingredients
Sprinkle the flour, baking soda, and salt evenly over the wet mixture. Stir gently until just combined. You’ll see some streaks of flour at first — keep stirring, but stop as soon as you don’t see any more dry flour. A few small lumps are okay. Overmixing at this stage will make your bread tough and dense, so resist the urge to keep stirring.
Step 4: Fold in mix-ins (if using)
If you’re adding chocolate chips, nuts, or dried fruit, gently fold them in now with a few quick strokes. Don’t stir vigorously or you’ll deflate the batter.
Step 5: Pour and bake
Pour the batter into your prepared loaf pan and spread it evenly with your spatula. Bake for 50-60 minutes, or until a toothpick inserted in the center comes out clean or with just a few moist crumbs. If the top is browning too quickly after 30 minutes, tent loosely with aluminum foil.
Step 6: Cool and serve
Let the bread cool in the pan for 10 minutes, then transfer to a wire rack to cool completely. If you used parchment paper, just lift it out. Slice and serve warm or at room temperature. The hardest part is waiting — I know from experience.
Sensory cues: You’ll know the bread is done when the top is a deep golden brown and cracked beautifully. The kitchen will smell like banana and vanilla. When you tap the top, it should feel firm and spring back slightly. If it jiggles, it needs more time.
Cooking Tips & Techniques
After making this banana bread more times than I can count, I’ve picked up a few tricks that make a real difference. Here are the ones I wish someone had told me sooner.
Don’t overmix the batter. This is the number one mistake people make. Once you add the flour, stir just until you can’t see dry flour anymore. Overmixing develops gluten, which makes bread tough and rubbery. Your banana bread should be tender, not chewy. I learned this after making a brick-like loaf that my kids refused to eat.
Use really ripe bananas. I cannot stress this enough. Green or even yellow bananas won’t give you the sweetness or moisture you need. Wait until they’re covered in brown spots — or even completely black. If you’re impatient, roast them in a 300°F oven for 15-20 minutes until the skins turn black. Let them cool, then scoop out the soft flesh. It works perfectly.
Measure flour correctly. Scooping flour directly from the bag packs it down, and you can end up with 20-30% more flour than the recipe calls for. Instead, spoon flour into your measuring cup and level it off with a knife. If you have a kitchen scale, use it — 190 grams is your target. This single change will prevent dry, crumbly bread.
Let it cool before slicing. I know it’s tempting to cut into that warm loaf right away, but trust me — wait. The bread continues to set as it cools. Slicing too early will give you a gummy, falling-apart mess. Give it at least 20 minutes on a wire rack. Your patience will be rewarded.
Check for doneness with a toothpick. Insert it into the center of the bread. If it comes out clean or with just a few moist crumbs, it’s done. If there’s wet batter on it, bake for another 5 minutes and check again. Every oven runs differently, so start checking at 50 minutes.
Variations & Adaptations
This banana bread is incredibly adaptable. Here are some of my favorite ways to change it up depending on what I have on hand or who I’m feeding.
Chocolate Chip Banana Bread: Fold in ½ cup of semi-sweet or dark chocolate chips after mixing the batter. My kids insist this is the only acceptable version. I’ve also used white chocolate chips and butterscotch chips — both are delicious but significantly sweeter.
Nutty Banana Bread: Add ½ cup of chopped walnuts or pecans. Toast them first in a dry pan for 3-4 minutes to bring out their flavor. My husband loves this version, though my youngest picks the nuts out. You can’t win them all.
Gluten-Free Banana Bread: Substitute the all-purpose flour with a 1:1 gluten-free baking flour blend. I’ve used Bob’s Red Mill and King Arthur brands with great results. The texture will be slightly denser, but still delicious. Add an extra tablespoon of milk if the batter seems too thick.
Vegan Banana Bread: Replace the egg with a flax egg (1 tablespoon ground flaxseed mixed with 3 tablespoons water, let sit for 5 minutes) and use melted coconut oil or vegan butter instead of regular butter. It works surprisingly well — I brought this to a friend’s house and nobody guessed it was vegan.
Spiced Banana Bread: Add 1 teaspoon of cinnamon, ½ teaspoon of nutmeg, and ¼ teaspoon of ground ginger to the dry ingredients. This is my go-to during fall. The spices complement the banana flavor beautifully without overwhelming it.
Serving & Storage Suggestions
Banana bread is one of those rare foods that works for breakfast, snack, or dessert. Here’s how I like to serve it and keep it fresh.
Serving: I love this bread warm, with a pat of butter melting into the slice. For breakfast, it’s perfect alongside a cup of coffee or a glass of milk. For dessert, try it with a scoop of vanilla ice cream or a drizzle of honey. If you’re feeling fancy, toast a slice and spread it with cream cheese — trust me on this one.
Storage: Wrap the cooled loaf tightly in plastic wrap or aluminum foil and store at room temperature for up to 4 days. I’ve also kept it in an airtight container, though it tends to dry out faster that way. If your kitchen is warm, you can refrigerate it, but it will lose some moisture.
Freezing: This bread freezes beautifully. Wrap the cooled loaf (or individual slices) tightly in plastic wrap, then in foil, and place in a freezer bag. It will keep for up to 3 months. To thaw, leave it at room temperature for a few hours or pop a slice in the microwave for 15-20 seconds. I always keep a loaf in the freezer for unexpected company or busy mornings.
Reheating: For that just-baked taste, warm slices in a 300°F oven for 5-7 minutes, or in the toaster for a minute or two. The edges get slightly crispy while the inside stays soft. It’s my favorite way to eat leftovers.
Flavor development: Honestly, this banana bread tastes even better the next day. The flavors meld together and the texture becomes even more moist. If you can resist eating it all on day one, you’re in for a treat on day two.
Nutritional Information & Benefits
Here’s the approximate nutritional breakdown for one slice (based on 10 slices per loaf, without mix-ins):
| Nutrient | Amount per slice |
|---|---|
| Calories | 220 |
| Total Fat | 8g |
| Saturated Fat | 5g |
| Cholesterol | 35mg |
| Sodium | 250mg |
| Total Carbohydrates | 36g |
| Dietary Fiber | 2g |
| Sugars | 18g |
| Protein | 3g |
Bananas are packed with potassium, vitamin B6, and vitamin C. They also contain resistant starch, which is good for gut health. The butter provides vitamin A, and the egg adds protein. While this isn’t exactly health food, it’s a much better option than store-bought muffins or pastries. I feel good about giving this to my kids as an occasional treat — it’s real food made from real ingredients.
If you’re watching your sugar intake, you can reduce the sugar to ½ cup without affecting the texture too much. The bananas provide plenty of natural sweetness. For a lower-fat version, substitute the butter with applesauce — the bread will be denser but still tasty.
Conclusion
This easy one-bowl banana bread has become more than just a recipe in our house — it’s a solution. It’s what I make when I need a quick gift, a comforting snack, or a way to use up those spotty bananas that nobody will eat. It’s the recipe my kids ask for by name, and the one I can make without even looking at the instructions anymore.
What I love most is how forgiving it is. You can use different mix-ins, swap ingredients, forget to set a timer, and it still turns out delicious. It’s proof that you don’t need fancy techniques or complicated steps to make something truly satisfying. Sometimes the simplest way really is the best way.
I’d love to hear how this recipe works for you. Did you add chocolate chips? Try it with nuts? Did your kids help you make it? Drop a comment below and let me know — your feedback helps other readers too. And if you made any brilliant adaptations, share those as well. Happy baking, friends!
Frequently Asked Questions
Can I use frozen bananas for this recipe?
Absolutely! Thaw them completely first, then drain off any excess liquid before mashing. Frozen bananas actually break down more easily and can make your bread even more moist. I often freeze overripe bananas specifically for this purpose.
Why did my banana bread sink in the middle?
This usually happens for one of three reasons: the batter was overmixed, the oven temperature was too low, or the bread was underbaked. Make sure your oven is fully preheated to 350°F and check for doneness with a toothpick before pulling it out. Also, resist the urge to open the oven door during the first 30 minutes of baking.
Can I make this recipe into muffins?
Yes! Grease a 12-cup muffin tin or line it with paper liners. Fill each cup about ⅔ full and bake at 350°F for 18-22 minutes, or until a toothpick comes out clean. You’ll get about 12 muffins. They’re perfect for lunchboxes and freeze wonderfully.
How do I know when my bananas are ripe enough?
The best bananas for banana bread are heavily spotted with brown or even completely black skins. They should be soft to the touch and smell sweet. If your bananas are still yellow, you can speed up the ripening process by placing them in a paper bag with an apple overnight.
Can I reduce the sugar in this recipe?
You can reduce the sugar to ½ cup without significantly affecting the texture. The bananas provide natural sweetness, so the bread will still taste sweet. If you reduce it further, you might notice the texture becoming slightly denser and less tender. I’ve gone as low as ⅓ cup and it was still good, just not as moist.
Pin This Recipe!
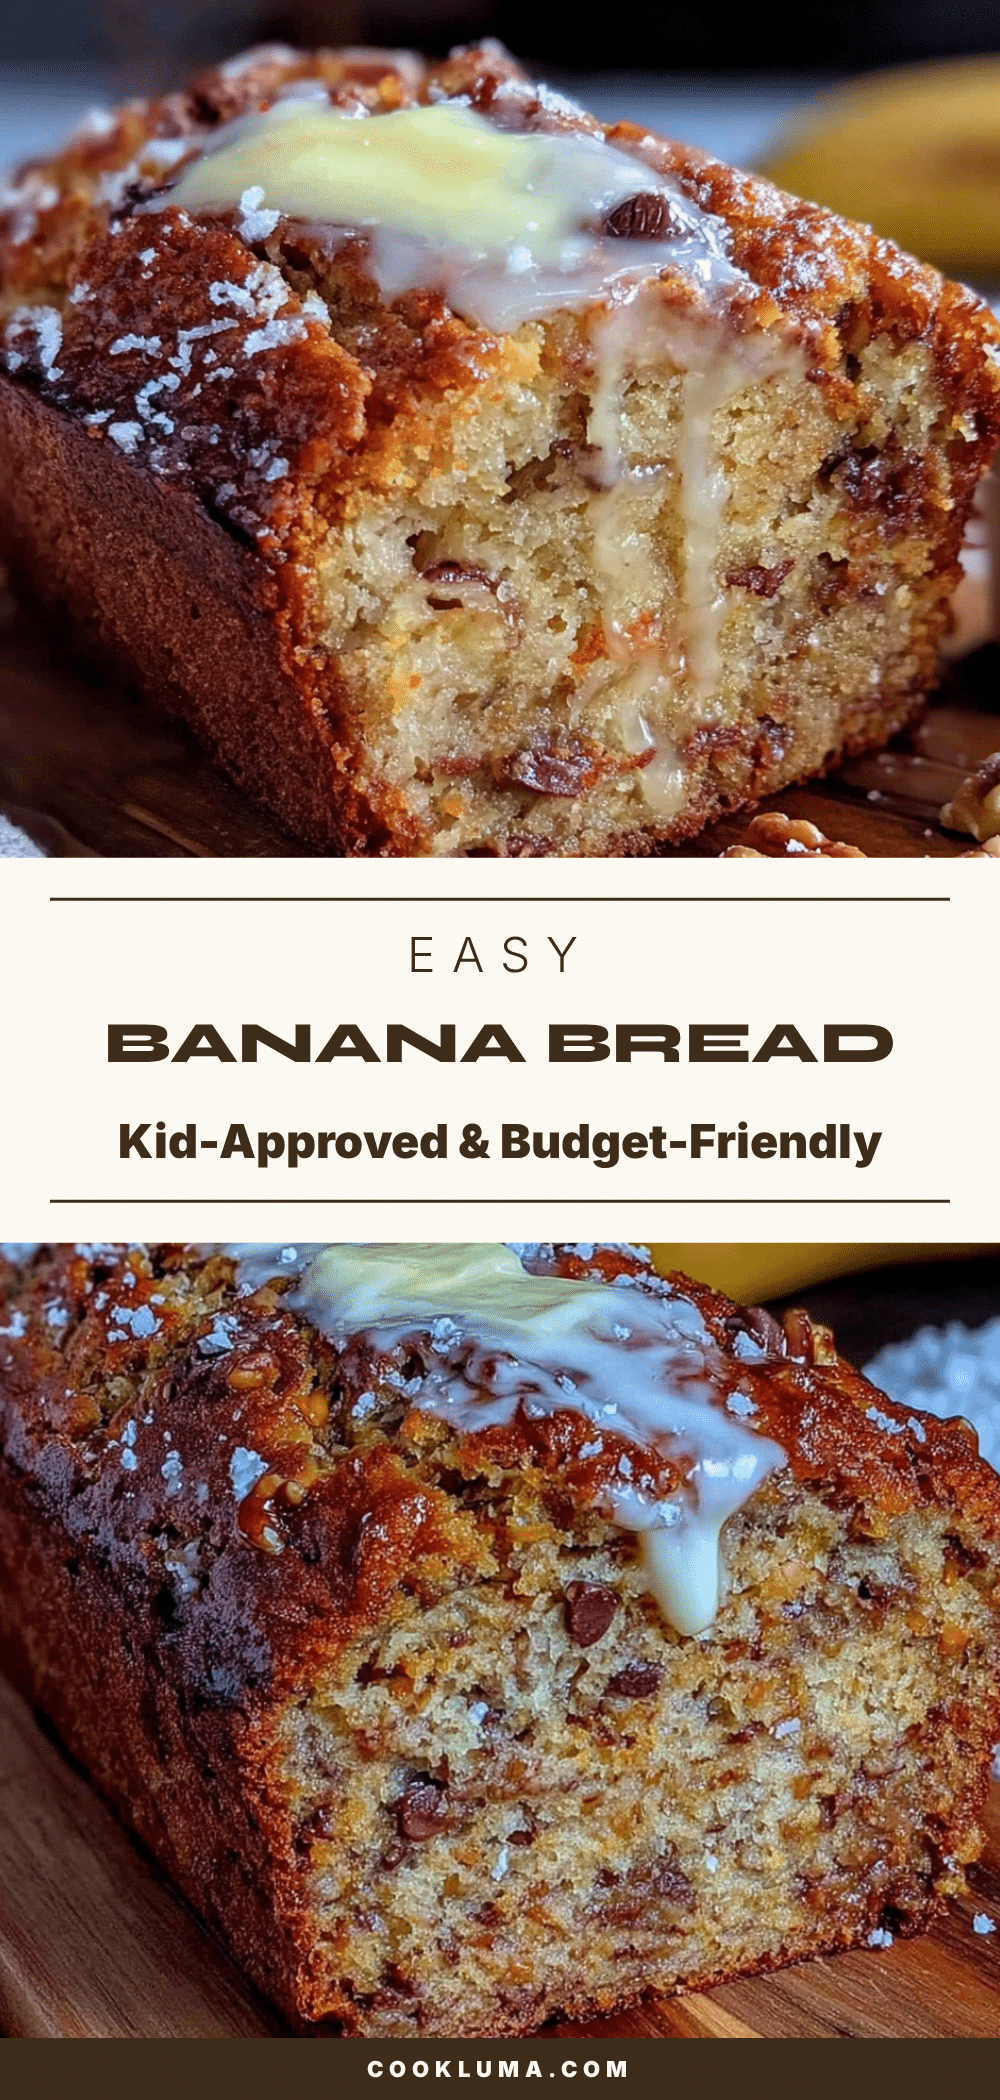
Easy One-Bowl Banana Bread: Best Kid-Approved Recipe
This easy one-bowl banana bread is incredibly moist, tender, and simple to make. Perfect for busy families, it uses basic ingredients and comes together in about 55 minutes.
- Prep Time: 10 minutes
- Cook Time: 50-60 minutes
- Total Time: 55 minutes
- Yield: 10 servings 1x
- Category: Dessert
- Cuisine: American
Ingredients
- 3 ripe bananas, mashed (about 1 ½ cups / 360 ml)
- ⅓ cup melted butter (75 g / 5 ⅓ tablespoons)
- ¾ cup granulated sugar (150 g)
- 1 large egg
- 1 teaspoon vanilla extract (5 ml)
- 1 ½ cups all-purpose flour (190 g)
- 1 teaspoon baking soda (5 g)
- ½ teaspoon salt (3 g)
- Optional mix-ins: ½ cup chocolate chips, chopped walnuts, or dried fruit
Instructions
- Preheat your oven to 350°F (175°C). Grease your 9×5-inch loaf pan with butter or cooking spray, or line it with parchment paper leaving some overhang on the long sides for easy lifting.
- Peel your three ripe bananas and place them in your large mixing bowl. Mash them with a fork until mostly smooth, leaving a few small chunks if you like. You want about 1 ½ cups of mashed banana.
- Add the melted butter, granulated sugar, egg, and vanilla extract to the bowl with the mashed bananas. Stir everything together with your wooden spoon or spatula until well combined. The mixture will look a little lumpy and that’s fine. Don’t overmix here — just make sure there are no streaks of egg or pockets of sugar.
- Sprinkle the flour, baking soda, and salt evenly over the wet mixture. Stir gently until just combined. You’ll see some streaks of flour at first — keep stirring, but stop as soon as you don’t see any more dry flour. A few small lumps are okay. Overmixing at this stage will make your bread tough and dense.
- If you’re adding chocolate chips, nuts, or dried fruit, gently fold them in now with a few quick strokes. Don’t stir vigorously or you’ll deflate the batter.
- Pour the batter into your prepared loaf pan and spread it evenly with your spatula. Bake for 50-60 minutes, or until a toothpick inserted in the center comes out clean or with just a few moist crumbs. If the top is browning too quickly after 30 minutes, tent loosely with aluminum foil.
- Let the bread cool in the pan for 10 minutes, then transfer to a wire rack to cool completely. If you used parchment paper, just lift it out. Slice and serve warm or at room temperature.
Notes
Don’t overmix the batter once flour is added. Use very ripe bananas (brown or black skins) for best sweetness and moisture. Measure flour correctly by spooning into the cup and leveling off. Let the bread cool before slicing to avoid a gummy texture. The bread tastes even better the next day.
Nutrition
- Serving Size: 1 slice
- Calories: 220
- Sugar: 18
- Sodium: 250
- Fat: 8
- Saturated Fat: 5
- Carbohydrates: 36
- Fiber: 2
- Protein: 3
Keywords: banana bread, easy banana bread, one-bowl banana bread, kid-friendly banana bread, moist banana bread


