It was 11:47 PM on a random Tuesday in early December, and I had a very specific kind of holiday panic setting in. I’d promised to bring a dessert to my neighbor’s cookie swap the next day—then promptly forgot about it until I was already in my pajamas. I didn’t have time to bake, I didn’t have the energy to clean up flour, and honestly, I didn’t have most of the ingredients for the fancy peppermint bark I had planned. But I had a sleeve of Oreos, a block of cream cheese, and one of those weird, late-night ideas that feel either genius or disastrous. Spoiler: it was genius.
I started crushing the cookies in a zip-top bag with a rolling pin—probably waking up my downstairs neighbor in the process—and mixed them with the cream cheese until the dough felt like soft, edible play-doh. I rolled them into balls, stuck them in the fridge to firm up, and dipped them in melted chocolate the next morning. I brought them to the swap mostly as a backup, expecting them to be the sad, no-effort option on the table. Instead, people went absolutely nuts. Someone asked for the recipe before they even finished chewing. Another person said they were the best thing at the table, which felt like a victory since there were actual, professionally-decorated sugar cookies present.
These Easy No-Bake Christmas Oreo Truffle Balls are now my holiday secret weapon. They’re the thing I make when I want to look like I spent hours in the kitchen without actually doing that. They’re the thing I make when the holidays get chaotic and I need a win. Maybe you’ve been there—standing in your kitchen at midnight, wondering how you’re going to pull off a holiday gathering with zero prep time. This recipe is the answer. It’s simple, it’s ridiculously good, and it’s the kind of treat that makes people close their eyes and go quiet for a second. Honestly, I think the late-night energy made them better.
Why You’ll Love This Recipe
Let me tell you why these truffle balls have become my most-requested holiday recipe. They’re not just easy—they’re almost suspiciously simple for how good they taste. I’ve brought them to three different holiday parties now, and every time, someone asks if I bought them from a bakery. Nope. Just me, a bowl, and a little bit of patience.
- Quick & Easy: You can have these ready to chill in under 15 minutes. No oven, no mixer, no complicated techniques. Just mix, roll, and dip.
- Simple Ingredients: Three main ingredients. That’s it. Oreos, cream cheese, and melting chocolate. You probably have two of them right now.
- Perfect for Christmas: They look festive, they travel well, and they’re the ideal addition to any cookie plate, dessert table, or holiday gift box.
- Crowd-Pleaser: I have never met a single person who didn’t like these. Kids love them. Adults love them. Even my picky uncle who “doesn’t do sweets” ate three.
- Unbelievably Delicious: The texture is what gets everyone. The inside is soft and fudgy, like a truffle, and the outside is a crisp chocolate shell. It’s a perfect bite.
What makes this version different from the other Oreo ball recipes out there? It’s the ratio. I’ve tested this half a dozen times to get the perfect cream cheese to cookie balance. Too much cream cheese, and they’re too soft and won’t hold their shape. Too little, and they’re dry and crumbly. This is my best version—tested, tweaked, and approved by a very enthusiastic group of taste-testers.
This recipe isn’t just good—it’s the kind that makes you close your eyes after the first bite. It’s comfort food reimagined for the holidays: faster, easier, but with the same soul-soothing satisfaction. Perfect for impressing guests without stress, or turning a simple Tuesday night into something a little bit special.
What Ingredients You Will Need
This recipe uses just three core ingredients to create something that tastes far more complicated than it is. Each one plays a specific role in the texture and flavor, so let’s break them down.
- Oreo Cookies (36 cookies, or one standard 15.25 oz package): You’ll use the whole cookie—filling and all. The chocolate wafer provides the deep, cocoa-rich flavor, while the creme filling adds sweetness and helps bind the mixture. I recommend using regular Oreos, not Double Stuf, for the best texture. The Double Stuf version has too much filling and can make the truffles overly sweet and a bit greasy. If you’re feeling festive, you can use the holiday-themed Oreos with the red filling—they add a fun pop of color inside.
- Cream Cheese (8 oz, softened to room temperature): This is the secret to the fudgy, melt-in-your-mouth texture. Make sure your cream cheese is at room temperature, or you’ll end up with lumpy truffles. Full-fat cream cheese gives the best results—low-fat or Neufchâtel can make the mixture too soft and difficult to roll. I always use Philadelphia brand, but any block-style cream cheese works. Let it sit on the counter for about 30 minutes before you start.
- Melting Chocolate or Candy Melts (12 oz, or about 2 cups): You can use white chocolate, dark chocolate, or milk chocolate—whatever you prefer. For the classic Christmas look, I use white candy melts and then drizzle with dark chocolate. Candy melts are easier to work with because they don’t require tempering, and they set up with a nice, shiny finish. If you’re using real chocolate, chop it finely and melt it slowly in the microwave or over a double boiler. Add a teaspoon of coconut oil or shortening to help it thin out for dipping.
- Optional Toppings for Decorating: This is where you can get creative. Crushed candy canes, sprinkles, sea salt, or a drizzle of contrasting chocolate all work beautifully. I like to top mine with a tiny pinch of flaky sea salt and a few red and green sprinkles for that festive look.
That’s it. No eggs, no butter, no flour, no weird ingredients you have to hunt down at a specialty store. These are the kind of ingredients you can grab on a quick trip to the grocery store, or you might already have them in your pantry. For the best results, use full-fat cream cheese and good-quality melting chocolate. I’ve tried this with store-brand cookies and chocolate, and while it still works, the flavor isn’t quite as rich. Trust me—spend the extra dollar on the name-brand Oreos.
Equipment Needed
You don’t need a fancy kitchen to make these truffle balls. Here’s what you’ll need, along with a few tips from my own trial and error.
- Food Processor or Zip-Top Bag and Rolling Pin: A food processor makes quick work of crushing the Oreos into fine crumbs. If you don’t have one, a zip-top bag and a rolling pin (or even a heavy-bottomed pan) work just fine. It’s a little more elbow grease, but it’s also oddly satisfying. I’ve done it both ways, and honestly, the bag method feels more therapeutic.
- Large Mixing Bowl: You’ll need a bowl big enough to combine the cookie crumbs and cream cheese. A standard medium or large mixing bowl works perfectly.
- Baking Sheet or Tray: For chilling the truffle balls before dipping. Line it with parchment paper or wax paper for easy removal.
- Small Cookie Scoop or Measuring Spoon: For portioning the truffle mixture into even balls. I use a 1-tablespoon cookie scoop, and it gives me perfectly uniform truffles every time. If you don’t have one, just use a spoon and your hands.
- Microwave-Safe Bowl or Double Boiler: For melting the chocolate. A microwave is faster and easier, but a double boiler gives you more control and reduces the risk of burning the chocolate.
- Fork or Dipping Tool: For lifting the truffle balls out of the melted chocolate. A regular fork works, but I prefer a dipping tool or even a skewer for a cleaner finish.
If you’re on a budget, skip the food processor and the fancy dipping tools. A bag, a rolling pin, and a fork will get the job done perfectly. I’ve made these in a tiny apartment kitchen with almost no counter space, and they turned out just as good as the ones I make now with all the gadgets.
Preparation Method
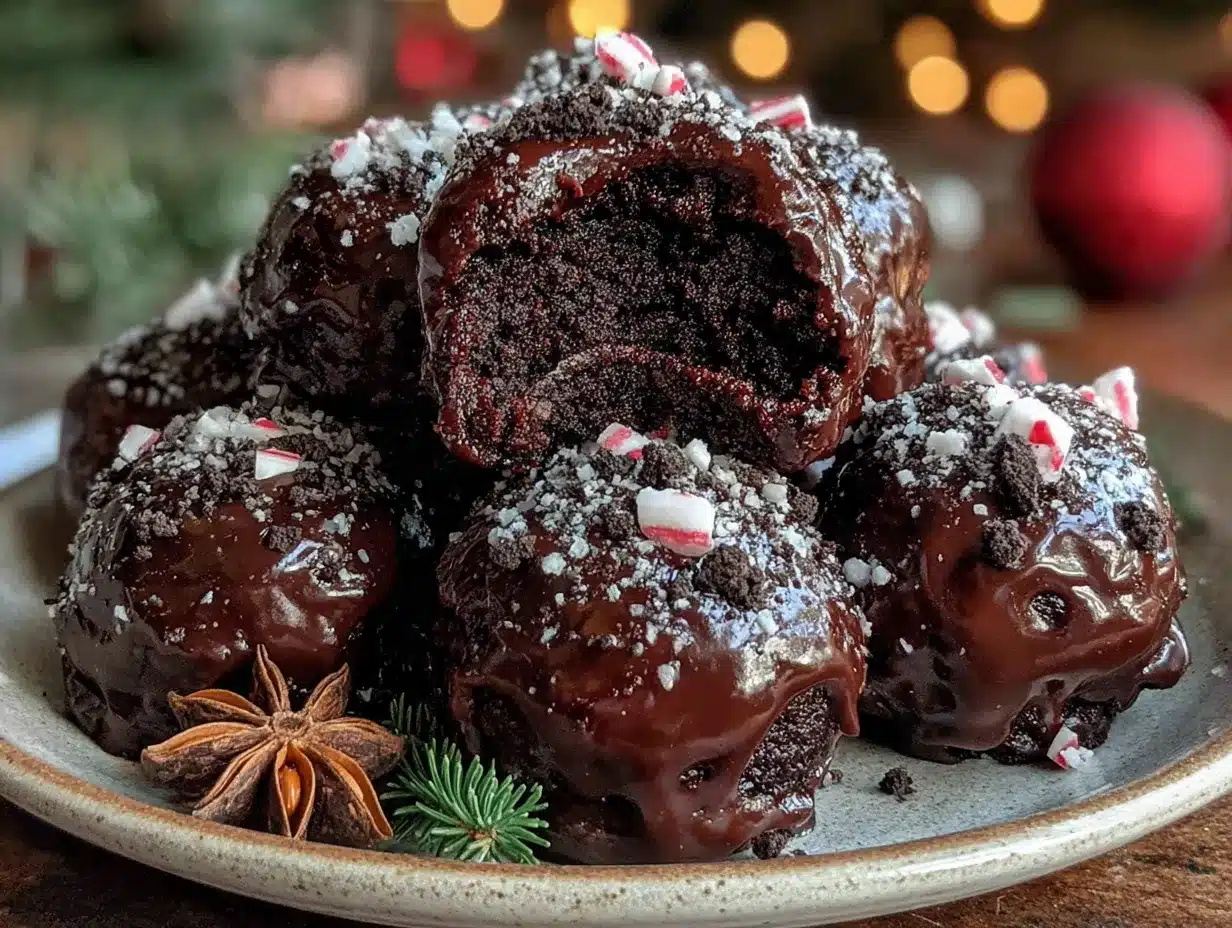
Let’s get to the fun part. Follow these steps carefully, and you’ll have a batch of perfect truffle balls ready to go.
- Crush the Oreos (5 minutes): Place the entire package of Oreos (filling included) into a food processor. Pulse until you have fine, sand-like crumbs. If you’re using the bag method, place the cookies in a large zip-top bag, seal it, and crush them with a rolling pin until no large pieces remain. You want a consistent texture—no big chunks of cookie, or your truffles will be crumbly.
- Mix the Dough (5 minutes): In a large mixing bowl, combine the Oreo crumbs with the softened cream cheese. Use a spatula or your hands to mix until everything is fully incorporated. The mixture should look like a dark, uniform dough. It will be slightly sticky, but it should hold together when pressed. If it seems too dry, add another tablespoon of cream cheese. If it’s too sticky, add a few more crushed Oreos.
- Roll the Truffle Balls (10 minutes): Scoop out about 1 tablespoon of the mixture and roll it between your palms to form a smooth ball. Place each ball on the prepared baking sheet. Repeat until all the mixture is used. You should get about 24 to 28 truffle balls, depending on the size. Don’t worry if they’re not perfectly round—the chocolate coating will hide any imperfections.
- Chill the Balls (30 minutes minimum): Place the baking sheet in the refrigerator and let the truffle balls chill for at least 30 minutes. This step is crucial—if the balls are too warm, they’ll fall apart when you dip them in the chocolate. I’ve made the mistake of rushing this step, and let me tell you, it’s a mess. Cold truffle balls are much easier to work with.
- Melt the Chocolate (5 minutes): Place the melting chocolate or candy melts in a microwave-safe bowl. Microwave in 30-second intervals, stirring between each, until the chocolate is smooth and fully melted. Be careful not to overheat it—chocolate can seize up and become grainy if it gets too hot. If you’re using a double boiler, keep the water at a gentle simmer and stir until melted.
- Dip the Truffle Balls (15 minutes): Working with one ball at a time, use a fork or dipping tool to lower the truffle into the melted chocolate. Roll it around to coat completely, then lift it out and let the excess chocolate drip off. Gently scrape the bottom of the fork against the edge of the bowl to remove any extra chocolate. Place the dipped truffle back on the parchment-lined baking sheet. Repeat with the remaining balls.
- Add Toppings (5 minutes): While the chocolate is still wet, sprinkle your chosen toppings over the truffles. If you’re adding a drizzle of contrasting chocolate, wait until the base coat has set (about 10 minutes in the fridge), then drizzle with a spoon or a piping bag.
- Set the Chocolate (15 minutes): Return the baking sheet to the refrigerator and let the truffles set for at least 15 minutes, or until the chocolate is firm to the touch. If you’re in a hurry, you can pop them in the freezer for 5 minutes, but keep an eye on them so they don’t get too cold.
Your truffle balls are now ready to serve or store. The first time I made these, I was shocked at how professional they looked. The shiny chocolate shell and the little sprinkles on top make them look like they came from a fancy bakery. No one has to know they took less than an hour of actual work.
Cooking Tips & Techniques
I’ve made these truffle balls more times than I can count, and I’ve learned a few things along the way. Here are my best tips for getting perfect results every time.
Don’t Skip the Chill Time. I know it’s tempting to rush, but the chill step is non-negotiable. If the truffle balls are even slightly warm, they’ll start to soften and fall apart in the melted chocolate. You’ll end up with chocolate soup with cookie chunks floating in it. Trust me, I’ve been there. Give them a full 30 minutes in the fridge, or even an hour if you have the time.
Use a Thin Chocolate Coating. When you dip the truffles, you want a thin, even layer of chocolate, not a thick, gloppy mess. Let the excess chocolate drip off completely before placing the truffle on the baking sheet. If the chocolate is too thick, you can thin it out with a teaspoon of coconut oil or shortening. This also helps the chocolate set with a nice, shiny finish.
Work in Small Batches. Don’t take all the truffle balls out of the fridge at once. They’ll warm up quickly, and you’ll be rushing to dip them. Take out 5 or 6 at a time, dip them, and then grab the next batch. This keeps the balls cold and makes the dipping process much easier.
Keep Your Hands Clean. Rolling the truffle balls can get messy. Keep a small bowl of water nearby to wet your hands slightly—this prevents the mixture from sticking to your palms. Don’t use too much water, though, or the mixture will get too soft.
Fix Cracks with a Second Dip. Sometimes the chocolate coating cracks as it sets, especially if the truffle ball was too cold. If that happens, just dip it again in a thin layer of chocolate. The second coat will cover up any imperfections and give you a smooth finish.
One of my biggest failures was the time I tried to dip the truffles straight from the freezer. The chocolate seized up and turned into a grainy, clumpy mess. I had to start over with fresh chocolate. Now I always let the truffles chill in the fridge, not the freezer, and I make sure the chocolate is at the right temperature. It’s a small detail, but it makes a big difference.
Variations & Adaptations
One of the best things about this recipe is how easy it is to customize. Here are a few of my favorite variations.
Peppermint Oreo Truffles: Add 1/2 teaspoon of peppermint extract to the Oreo and cream cheese mixture. Roll the truffles as directed, and after dipping in white chocolate, sprinkle crushed candy canes on top. The peppermint adds a cool, refreshing kick that’s perfect for the holidays.
Dark Chocolate Sea Salt Truffles: Use dark chocolate for the coating instead of white. After dipping, sprinkle a tiny pinch of flaky sea salt on top. The salt balances the sweetness of the Oreo filling and the chocolate, creating a sophisticated flavor that tastes like a gourmet dessert.
Gluten-Free Version: Use gluten-free chocolate sandwich cookies (like Glutino or Kinnikinnick) in place of regular Oreos. The texture will be slightly different, but the flavor is still fantastic. Make sure your melting chocolate is also certified gluten-free if that’s a concern.
Vegan Option: Use vegan cream cheese (like Tofutti or Kite Hill) and vegan chocolate sandwich cookies. For the coating, use vegan dark chocolate or dairy-free candy melts. I’ve tested this with Kite Hill cream cheese, and it works beautifully—the texture is slightly softer, so chill the truffles a little longer before dipping.
Add Some Crunch: Mix in 1/4 cup of crushed nuts (like pecans or walnuts) or 1/4 cup of toasted coconut flakes to the Oreo mixture before rolling. The added texture is a nice contrast to the smooth, fudgy interior.
I once made a batch with crushed freeze-dried raspberries mixed into the Oreo dough. The tartness of the raspberries cut through the sweetness perfectly, and the little red flecks looked beautiful against the white chocolate coating. It was a happy accident that I’ve repeated many times since.
Serving & Storage Suggestions
These truffle balls are incredibly versatile when it comes to serving. Here’s how to make the most of them.
Serving Temperature: Serve them chilled or at room temperature. I prefer them straight from the fridge—the chocolate shell snaps when you bite into it, and the inside is cold and fudgy. At room temperature, they’re softer and more truffle-like. Both ways are delicious.
Presentation Ideas: Arrange the truffles on a festive platter or in a decorative tin. For a cookie swap or holiday party, place them in mini paper liners—it makes them look even more professional and makes them easy to grab. You can also stack them in a clear glass jar tied with a ribbon for a simple, homemade gift.
Complementary Dishes: These truffles pair beautifully with a cup of hot coffee, a glass of cold milk, or a mug of hot chocolate. If you’re serving them as part of a dessert spread, they go well with other no-bake holiday treats like peppermint bark or chocolate-covered pretzels.
Storage Instructions: Store the truffle balls in an airtight container in the refrigerator for up to 2 weeks. They actually get better after a day or two—the flavors meld together, and the texture becomes even more fudgy. If you’re stacking them in a container, place a sheet of parchment paper between layers to prevent them from sticking together.
Freezing Tips: These truffles freeze beautifully. Place them in a single layer on a baking sheet and freeze until solid, then transfer them to a freezer-safe bag or container. They’ll keep for up to 3 months. To thaw, move them to the refrigerator overnight. I always keep a batch in my freezer for unexpected guests or last-minute holiday cravings.
Reheating (if needed): You don’t really need to reheat these, but if you want a softer, more decadent texture, let them sit at room temperature for 10-15 minutes before serving. The chocolate will soften slightly, and the filling will become creamy and luscious.
Nutritional Information & Benefits
Let’s be real—these are a treat, not a health food. But knowing what’s in them can help you enjoy them mindfully. Here’s the estimated nutritional breakdown for one truffle ball (based on a batch of 24).
| Nutrient | Amount per Serving |
|---|---|
| Calories | 145 |
| Total Fat | 9g |
| Saturated Fat | 5g |
| Carbohydrates | 16g |
| Sugar | 12g |
| Protein | 2g |
These values will vary depending on the type of chocolate and cream cheese you use. If you’re looking for a lighter option, you can use reduced-fat cream cheese and dark chocolate, which tends to have less sugar than milk chocolate.
On the plus side, the cream cheese provides a small amount of calcium and protein, and the cocoa in the Oreos contains antioxidants. It’s not a health food, but it’s a treat made with real ingredients—no preservatives, no artificial flavors, just simple, recognizable components.
If you’re watching your sugar intake, you can use sugar-free chocolate sandwich cookies and sugar-free melting chocolate. The texture will be slightly different, but it’s a good option for those who need it. I’ve made them this way for a friend with diabetes, and they were still a hit.
Personally, I see these as a “sometimes food.” They’re perfect for holidays, celebrations, and special occasions. I don’t feel guilty about enjoying one (or two) because I know exactly what’s in them, and I know they’re made with love.
Conclusion
These Easy No-Bake Christmas Oreo Truffle Balls are the kind of recipe that saves the holidays. They’re simple enough for a last-minute craving, fancy enough for a party, and delicious enough to become a tradition. I love that they require almost no effort but deliver so much joy. Every time I make them, I think back to that late-night kitchen session and how a happy accident turned into one of my most-requested recipes.
I encourage you to make them your own. Play with the flavors, try different toppings, and don’t be afraid to experiment. That’s the beauty of a simple recipe—it’s a blank canvas for your creativity. Whether you’re making them for a cookie swap, a holiday gathering, or just because you deserve a treat, I hope they bring you as much happiness as they’ve brought me.
If you try this recipe, I’d love to hear about it. Leave a comment below and let me know how they turned out. Did you add your own twist? Did your family love them? Share your stories and photos—I read every single one. And if you’re looking for more easy holiday treats, check out my collection of no-bake Christmas desserts for more inspiration.
Happy holidays, and happy snacking!
Frequently Asked Questions
Can I use Double Stuf Oreos for this recipe?
I don’t recommend it. Double Stuf Oreos have too much creme filling, which makes the truffle mixture too soft and overly sweet. Stick with regular Oreos for the best texture. If you only have Double Stuf, you can scrape out half of the filling before crushing the cookies.
Why are my truffle balls falling apart in the chocolate?
This usually happens when the truffle balls aren’t chilled enough. Make sure they’ve been in the refrigerator for at least 30 minutes before dipping. If they’re still falling apart, pop them back in the fridge for another 15 minutes. Also, make sure your cream cheese isn’t too warm when you mix it—room temperature is perfect, but not warmer than that.
Can I use a different type of cookie?
Absolutely! You can use any chocolate sandwich cookie, like the store-brand version or even gluten-free alternatives. You can also try using Golden Oreos for a vanilla-flavored truffle. Just keep in mind that the flavor and texture will vary slightly depending on the cookie you use.
How do I get a smooth chocolate coating?
The key is to thin out your chocolate slightly. Add a teaspoon of coconut oil or shortening to the melted chocolate and stir until smooth. This helps the chocolate flow evenly and gives you a shiny, professional-looking finish. Also, make sure to tap off any excess chocolate before placing the truffle on the baking sheet.
Can I make these truffles ahead of time?
Yes! These are actually a great make-ahead recipe. You can prepare the truffle balls (without the chocolate coating) up to 3 days in advance and store them in the refrigerator. Dip them in chocolate the day you plan to serve them. You can also freeze the finished truffles for up to 3 months—just thaw them in the refrigerator overnight before serving.
Pin This Recipe!
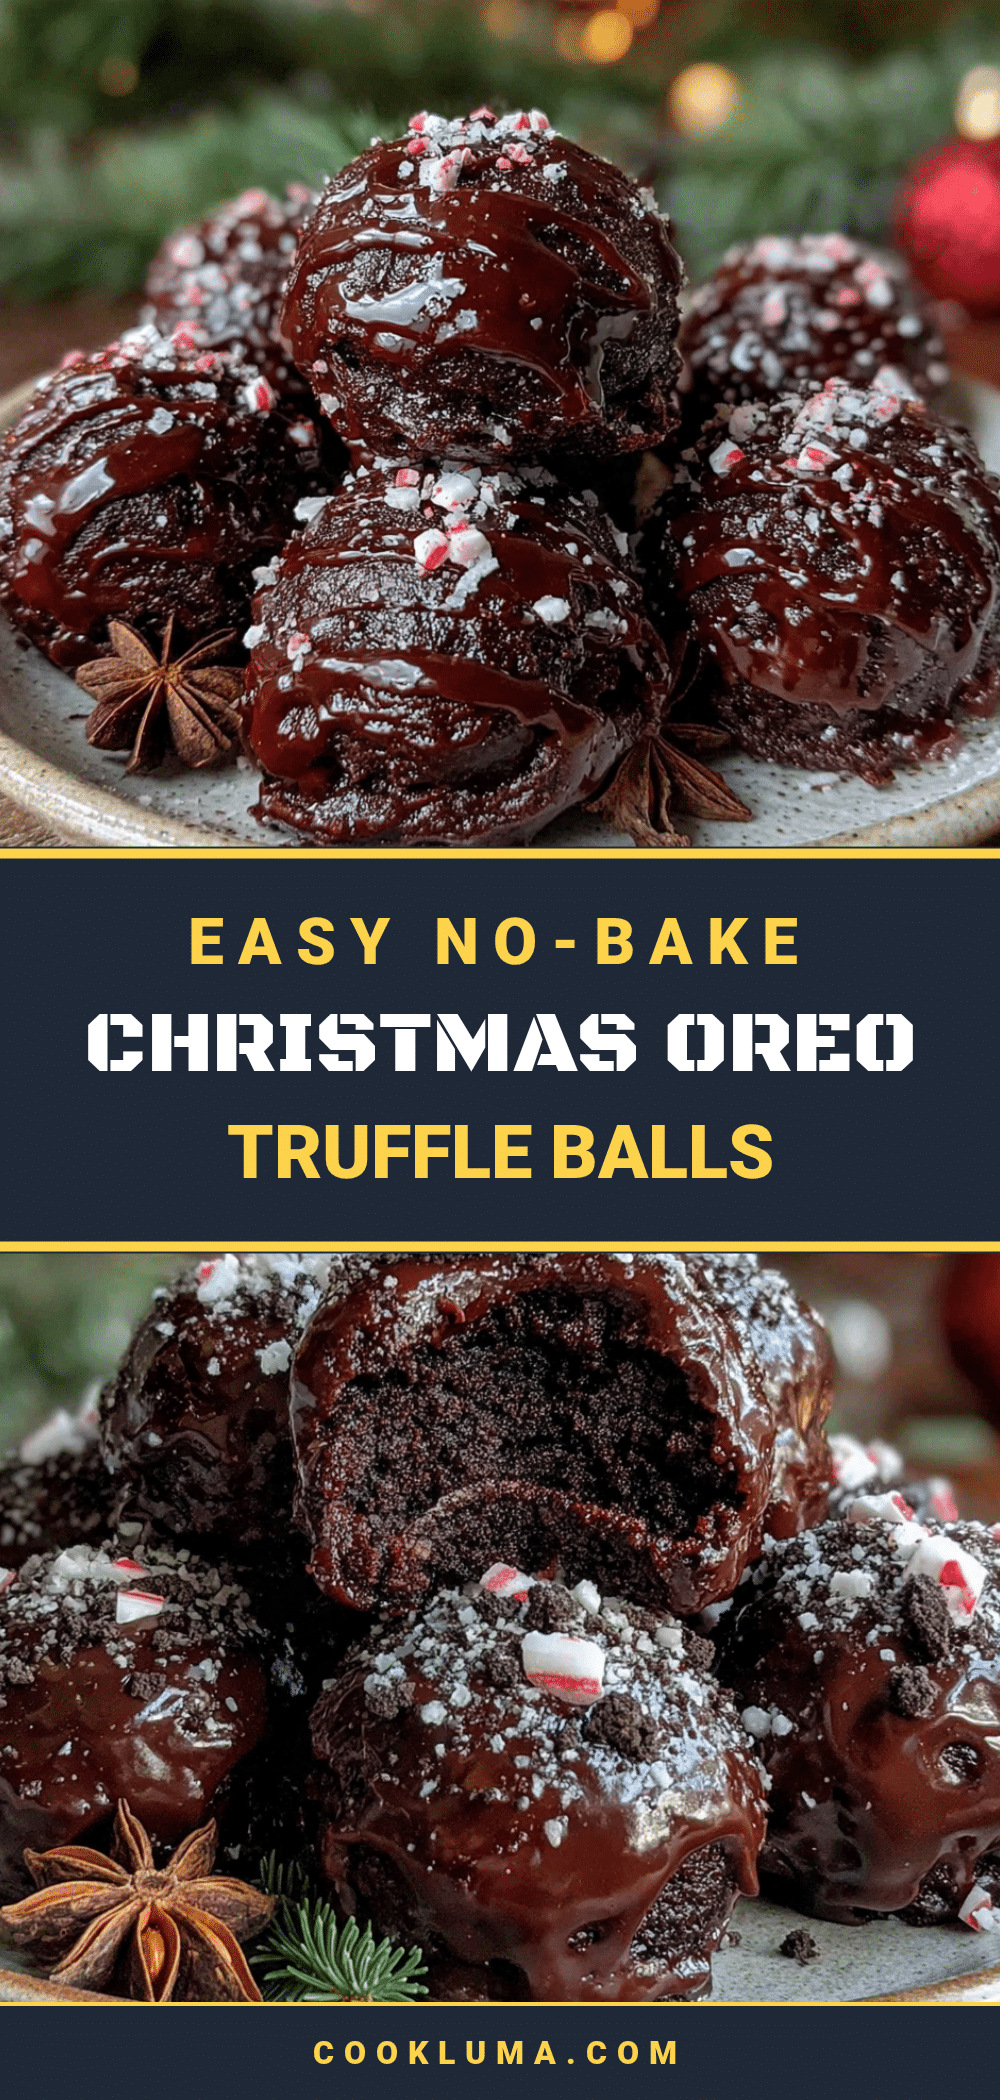
Easy No-Bake Christmas Oreo Truffle Balls: Best 3-Ingredient Holiday Treat

These Easy No-Bake Christmas Oreo Truffle Balls are a quick, 3-ingredient holiday treat that looks and tastes like a bakery creation. Perfect for last-minute parties, cookie swaps, or festive gift-giving.
- Prep Time: 15 minutes
- Cook Time: 0 minutes
- Total Time: 1 hour 15 minutes (includes chilling and setting time)
- Yield: 24 servings 1x
- Category: Dessert
- Cuisine: American
Ingredients
- 36 Oreo cookies (one standard 15.25 oz package)
- 8 oz cream cheese, softened to room temperature
- 12 oz melting chocolate or candy melts (white, dark, or milk chocolate)
- Optional toppings: crushed candy canes, sprinkles, sea salt, or contrasting chocolate drizzle
Instructions
- Crush the Oreos: Place the entire package of Oreos (filling included) into a food processor. Pulse until you have fine, sand-like crumbs. Alternatively, place cookies in a large zip-top bag and crush with a rolling pin until no large pieces remain.
- Mix the dough: In a large mixing bowl, combine the Oreo crumbs with the softened cream cheese. Use a spatula or your hands to mix until fully incorporated. The mixture should look like a dark, uniform dough. If too dry, add another tablespoon of cream cheese; if too sticky, add a few more crushed Oreos.
- Roll the truffle balls: Scoop out about 1 tablespoon of the mixture and roll between your palms to form a smooth ball. Place each ball on a parchment-lined baking sheet. Repeat until all mixture is used (about 24 to 28 truffle balls).
- Chill the balls: Place the baking sheet in the refrigerator and chill for at least 30 minutes. This step is crucial to prevent the balls from falling apart when dipped.
- Melt the chocolate: Place the melting chocolate or candy melts in a microwave-safe bowl. Microwave in 30-second intervals, stirring between each, until smooth and fully melted. Be careful not to overheat. If using a double boiler, keep water at a gentle simmer and stir until melted.
- Dip the truffle balls: Working with one ball at a time, use a fork or dipping tool to lower the truffle into the melted chocolate. Roll to coat completely, then lift out and let excess chocolate drip off. Gently scrape the bottom of the fork against the bowl’s edge. Place the dipped truffle back on the parchment-lined baking sheet. Repeat with remaining balls.
- Add toppings: While the chocolate is still wet, sprinkle chosen toppings over the truffles. For a drizzle, wait until the base coat has set (about 10 minutes in the fridge), then drizzle with a spoon or piping bag.
- Set the chocolate: Return the baking sheet to the refrigerator and let the truffles set for at least 15 minutes, or until the chocolate is firm to the touch. For a quicker set, place in the freezer for 5 minutes, but watch carefully.
Notes
Don’t skip the chill time—it’s crucial for easy dipping. Use full-fat cream cheese for best texture. If chocolate is too thick, thin with a teaspoon of coconut oil or shortening. For a gluten-free version, use gluten-free chocolate sandwich cookies. For a vegan option, use vegan cream cheese and vegan chocolate.
Nutrition
- Serving Size: 1 truffle ball
- Calories: 145
- Sugar: 12
- Fat: 9
- Saturated Fat: 5
- Carbohydrates: 16
- Protein: 2
Keywords: no-bake, Oreo truffles, Christmas dessert, 3-ingredient, holiday treat, easy dessert, cookie balls


