There used to be a tiny dive bar in my neighborhood called The Rusty Nail that made the most incredible deviled eggs. They weren’t fancy, just perfectly creamy with a little kick of paprika and pickle relish. When they closed down three summers ago, I was genuinely heartbroken. I mean, who gets attached to a bar’s deviled eggs? Apparently, me. After about seven tries — some were too runny, one was so salty I couldn’t eat it — I finally got it. And then, because I clearly can’t leave well enough alone, I turned them into these Easy Monster Eyeball Deviled Eggs for Halloween.
Honestly, the first time I made these for a Halloween party, I forgot the black olives at the grocery store. I stood in my kitchen with a bowl of perfectly piped egg yolks, no “pupils” in sight. I almost gave up and just served regular deviled eggs, but then I remembered a jar of capers in the fridge. They worked surprisingly well! So if you’re in a pinch, tiny capers make excellent monster pupils too. Maybe you’ve been there, standing in a messy kitchen, improvising with whatever you’ve got. That’s the spirit of Halloween cooking, honestly.
These deviled eggs are the kind of thing that makes people stop and smile. They look like they took forever, but the secret is that they’re just classic deviled eggs with a spooky face-lift. The texture is silky, the flavor is tangy and rich, and the presentation is pure Halloween magic. I keep making them because they’re the one appetizer that disappears before anything else on the table. There’s something so satisfying about watching a grown adult giggle over an egg that looks like it’s staring back at them.
Why You’ll Love This Recipe
Let me tell you, I’ve tested this recipe at three different Halloween parties now, and it’s never let me down. These aren’t just cute — they’re genuinely delicious. Here’s why this version stands out from every other spooky appetizer out there:
- Quick & Easy: Comes together in under 30 minutes, perfect for last-minute Halloween cravings or potluck emergencies. You can even make the filling a day ahead.
- Simple Ingredients: No fancy grocery trips needed. Eggs, mayo, mustard, and a few garnishes are all you need. You likely already have everything in your kitchen.
- Perfect for Halloween: Great for spooky parties, classroom treats, or just a fun dinner surprise for the kids. They’re the life of any October gathering.
- Crowd-Pleaser: Always gets rave reviews from kids and adults alike. Even people who “don’t like deviled eggs” try these because they’re so fun.
- Unbelievably Delicious: The creamy, tangy filling with that pop of briny olive is next-level comfort food. It’s the perfect balance of rich and fresh.
What makes this recipe different from the rest is the texture. I use a food processor to get the filling impossibly smooth, then pipe it into the whites for that perfect, professional look. No lumpy spoon-dropped filling here. It’s the same technique I learned from my aunt who catered for years, and it makes all the difference. This isn’t just another version of deviled eggs — it’s your best version, and it’s wearing a little monster costume.
This recipe is the kind that makes you close your eyes after the first bite. It’s comfort food reimagined — spooky, fun, but with the same soul-soothing satisfaction of a perfect deviled egg. Perfect for impressing guests without stress, or turning a simple snack into something memorable.
What Ingredients You Will Need
This recipe uses simple, wholesome ingredients to deliver bold flavor and satisfying texture without the fuss. Most of these are pantry staples, which means you can whip these up anytime a spooky craving strikes. Here’s everything you need:
For the Deviled Eggs
- 12 large eggs (room temperature for easier peeling — trust me on this)
- 1/3 cup mayonnaise (I prefer Hellmann’s or Duke’s for that tangy richness)
- 1 tablespoon yellow mustard (adds that classic deviled egg tang)
- 1 teaspoon white vinegar (brightens the flavor without being overpowering)
- 1/4 teaspoon salt (fine sea salt works best)
- 1/4 teaspoon black pepper (freshly ground if you have it)
- 1/4 teaspoon paprika (plus extra for garnish — smoked paprika adds a nice twist)
- 1 teaspoon pickle relish (optional, but this was the secret from The Rusty Nail)
For the Monster Eyeball Decoration
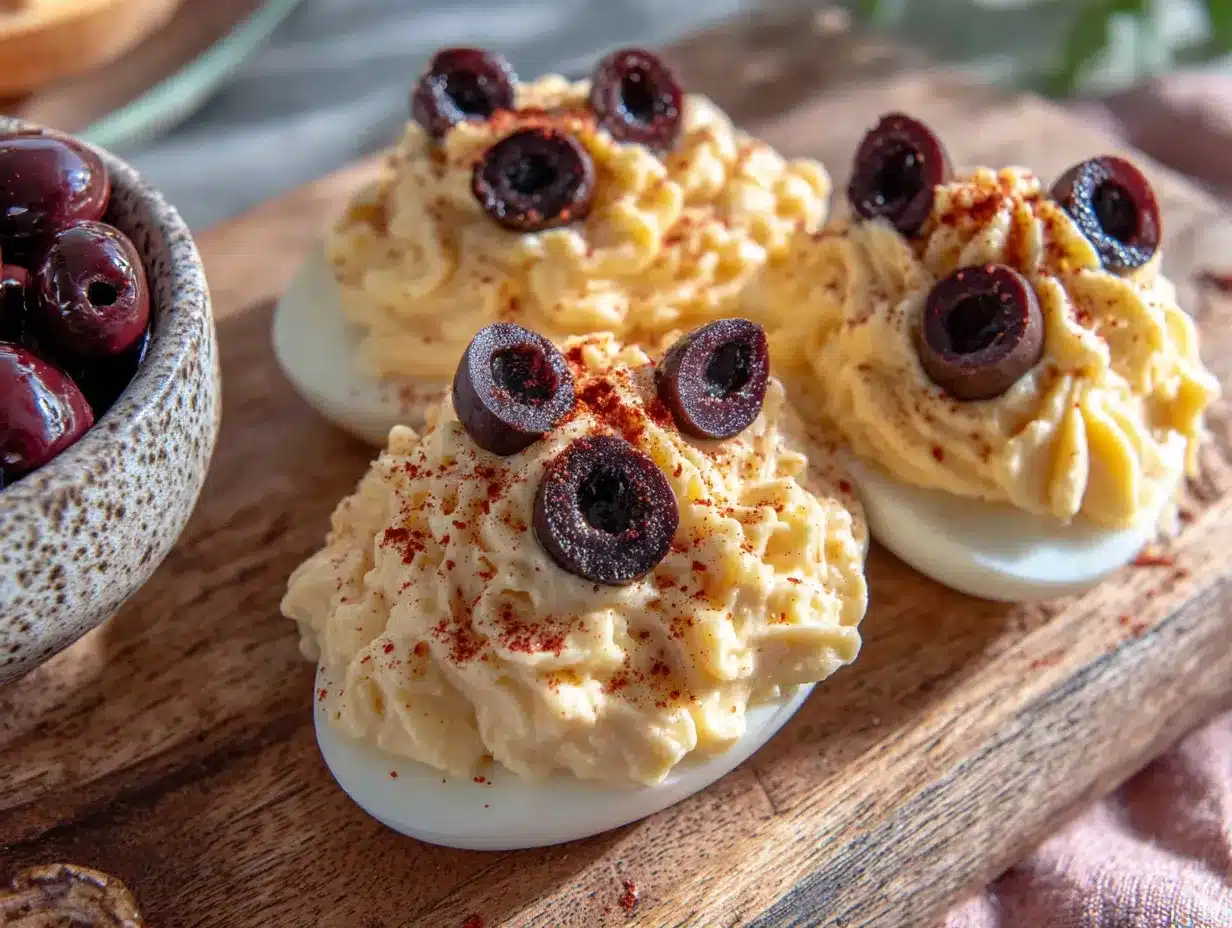
- 12 pitted black olives (large ones work best for the “pupils”)
- 2 tablespoons cream cheese (softened, for the “bloodshot” effect)
- 1-2 tablespoons milk (to thin the cream cheese for drizzling)
- Red food coloring (gel works better than liquid for that creepy vein effect)
- 1 tablespoon capers (optional, for tiny monster pupils or backup olives)
For the eggs, I recommend looking for the freshest eggs you can find, but honestly, eggs that are about a week old actually peel easier after hard-boiling. It’s one of those weird kitchen truths. If you’re using farm-fresh eggs, add an extra minute to the boiling time and use the ice bath method for easier peeling.
For the olives, look for large, pitted black olives — the kind you’d put on a pizza. You’ll need to slice them into thin rounds for the “pupils.” If you want to make these dairy-free, use vegan cream cheese and plant-based milk for the bloodshot drizzle. It works beautifully and nobody will know the difference.
Equipment Needed
You don’t need a ton of fancy equipment for these, but a few key tools make the process much smoother. Here’s what I use:
- Large pot for boiling the eggs (wide enough that eggs aren’t crowded)
- Medium saucepan (if you prefer steaming your eggs — my preferred method)
- Ice bath (a large bowl filled with ice and cold water)
- Food processor (for the silkiest filling — a hand mixer works too)
- Piping bag (or a zip-top bag with the corner snipped off)
- Large star tip (Wilton 1M or similar for that beautiful swirl)
- Sharp knife (for cleanly halving the eggs)
- Small spoon (for scooping out yolks)
- Toothpick (for drawing the “bloodshot” veins)
- Serving platter (something with a rim to keep eggs from sliding)
If you don’t have a food processor, don’t worry. I’ve made these with a fork and a lot of elbow grease, and they still came out delicious. The texture is just a little more rustic. For the piping bag, a sturdy zip-top bag works perfectly — just be careful not to squeeze too hard or the bag might split. I learned that the hard way, and let me tell you, cleaning egg filling off your kitchen floor is not fun.
Preparation Method
Let’s get to the fun part. I’ll walk you through every step, including the little tricks I’ve learned from making these about a dozen times now.
Step 1: Hard-Boil the Eggs
Place your eggs in a single layer in a large pot. Cover them with cold water by about an inch. Bring the water to a rolling boil over high heat — you’ll see big bubbles breaking the surface. Once boiling, cover the pot, turn off the heat, and let it sit for exactly 12 minutes. This is the sweet spot for fully cooked yolks without that weird green ring around the outside.
While the eggs are cooking, prepare an ice bath. Fill a large bowl with ice and cold water. When the timer goes off, use a slotted spoon to transfer the eggs immediately to the ice bath. Let them sit for at least 10 minutes. This stops the cooking process and makes peeling a thousand times easier.
Step 2: Peel the Eggs
Gently tap each egg on the counter to crack the shell all over. Start peeling from the wider end where the air pocket is — the shell tends to come off more easily there. Run the egg under cold water while you peel to help remove any stubborn bits. If you’re having trouble, try peeling under the water. I promise it works.
Pro tip: if you end up with a few ugly eggs, don’t panic. You can still use them for the filling, or save them for egg salad. Nobody needs to know.
Step 3: Halve the Eggs and Remove Yolks
Using a sharp knife, slice each egg lengthwise. Wipe the knife clean between cuts for the neatest results. Gently pop out the yolks into the bowl of your food processor. Arrange the egg white halves on your serving platter, cut side up. If they wobble, trim a tiny sliver off the bottom to make them stable.
Step 4: Make the Filling
Add the mayonnaise, yellow mustard, white vinegar, salt, pepper, paprika, and pickle relish to the food processor with the yolks. Pulse a few times to break everything up, then process for about 30 seconds until the mixture is completely smooth. Scrape down the sides of the bowl and process for another 10 seconds. The filling should be silky and spreadable — if it’s too thick, add a teaspoon of milk or water and pulse again.
Taste the filling and adjust the seasoning. I always add a tiny pinch more salt and pepper at this stage. Remember, the filling will taste slightly less salty once it’s inside the egg whites.
Step 5: Pipe the Filling
Spoon the filling into your piping bag fitted with the star tip. If you don’t have a piping bag, just snip the corner off a zip-top bag. Pipe the filling into each egg white half, starting from the outside and working inward in a circular motion. You want a nice swirl that rises above the egg white. Don’t overfill — you want room for the “eyeball” decoration on top.
Step 6: Prepare the Monster Eyeballs
Slice your black olives into thin rounds — you want them about 1/4 inch thick. These will be the pupils of your monster eyes. In a small bowl, mix the softened cream cheese with milk until it’s thin enough to drizzle. Add a few drops of red food coloring and stir until you have a creepy, bloodshot red color.
Place one olive slice on top of each piped deviled egg, pressing gently so it sticks. Using a toothpick, drizzle tiny lines of the red cream cheese mixture around the olive to look like bloodshot veins. Don’t overdo it — a few thin lines look much more realistic than big blobs of red.
Step 7: Garnish and Serve
Lightly dust the eggs with a pinch of paprika for that extra pop of color. Arrange them on your serving platter, and watch them disappear. These are best served within an hour of assembling, but you can prep everything ahead of time and assemble just before serving.
Cooking Tips & Techniques
I’ve made enough mistakes with deviled eggs to fill a cookbook, so let me save you some trouble. Here are the things I wish someone had told me:
Perfect peeling every time: The ice bath is non-negotiable. I skipped it once because I was in a hurry, and I spent 20 minutes picking shell fragments out of my eggs. Also, older eggs peel more easily than fresh ones. If your eggs are super fresh, add a teaspoon of baking soda to the boiling water — it helps loosen the shells.
Don’t overmix the filling: I know I said to use a food processor, but don’t let it run for more than 45 seconds total. Overmixing can make the filling gummy instead of creamy. If you’re mixing by hand, mash the yolks thoroughly before adding the wet ingredients.
Temperature matters: Cold filling doesn’t pipe as smoothly. Let your filling sit at room temperature for about 10 minutes before piping. Your yolks should also be at room temperature before you start — cold yolks don’t blend as well with the mayonnaise.
Multitasking strategy: While the eggs are boiling, prep your garnishes. Slice the olives, mix the cream cheese drizzle, and set up your piping bag. This way, everything is ready to go when the eggs are cool enough to handle.
The biggest mistake I made: The first time I made these, I used too much red food coloring in the cream cheese. It looked more like a horror movie than a cute Halloween snack. Start with just a drop or two — you can always add more, but you can’t take it away.
Variations & Adaptations
One of the best things about this recipe is how easy it is to customize. Here are some variations I’ve tried and loved:
Spicy Monster Eyes
Add 1/2 teaspoon of sriracha or hot sauce to the filling. The heat pairs surprisingly well with the creamy, tangy base. For the “bloodshot” effect, use a little extra sriracha mixed with cream cheese instead of food coloring. It gives a natural red tint and an extra kick.
Avocado Monster Eyes
Swap half the mayonnaise for ripe avocado. The filling turns a lovely pale green, which makes the “eyeball” effect even more dramatic. Add a squeeze of lime juice to keep the avocado from browning. This version is perfect for a healthier twist.
Cheesy Monster Eyes
Mix 2 tablespoons of finely grated cheddar or Parmesan into the filling. It adds a savory depth that kids and adults both love. Top with a tiny piece of red bell pepper instead of olives for a different “pupil” look.
Smoky Monster Eyes
Use smoked paprika instead of regular, and add 1/4 teaspoon of liquid smoke to the filling. This gives the eggs a subtle barbecue flavor that’s unexpected and delicious. Pair these with grilled meats for a Halloween cookout.
Vegan Monster Eyes
Use silken tofu as the base for the filling instead of egg yolks. Blend it with vegan mayo, mustard, and a pinch of black salt (kala namak) for that eggy flavor. Top with the same olive and red cream cheese drizzle. Nobody will guess they’re plant-based.
Serving & Storage Suggestions
These deviled eggs are best served chilled but not ice-cold. Take them out of the refrigerator about 15 minutes before serving to let the flavors come alive. Arrange them on a dark platter or black serving board for maximum spooky effect — the contrast makes the “eyeballs” really pop.
For a Halloween party spread, pair these with other spooky snacks like “witches’ fingers” (breadstick pretzels with almond nail), “mummy” hot dogs wrapped in crescent rolls, or a bowl of “guts” (red pepper hummus with pita chips). A punch bowl filled with “witches’ brew” (limeade with dry ice for fog) completes the theme beautifully.
Storage: You can prepare the hard-boiled eggs and filling up to 2 days in advance. Store the peeled egg whites and filling separately in airtight containers in the refrigerator. Assemble the deviled eggs no more than 2 hours before serving for the best texture and appearance.
Reheating: Don’t. These are served cold. If you’ve stored the components separately, let the filling come to room temperature for about 10 minutes before piping for the smoothest results.
Leftover deviled eggs will keep in the refrigerator for up to 3 days, but the texture of the filling can become a bit watery as the eggs release moisture. For the best experience, only make as many as you think you’ll eat in one sitting. That said, I’ve never had leftovers of these — they always disappear.
Nutritional Information & Benefits
Each deviled egg half contains approximately 70-85 calories, depending on the exact ingredients you use. Here’s a rough breakdown per half:
- Calories: 78
- Protein: 6g
- Fat: 5g
- Carbohydrates: 1g
- Sodium: 120mg
Eggs are a fantastic source of high-quality protein and contain all nine essential amino acids. They’re also rich in choline, which supports brain health, and lutein, which is good for your eyes. The olives add healthy monounsaturated fats, and the paprika provides a small amount of vitamin A.
For those watching their intake, these are naturally low-carb and gluten-free. If you’re looking for a lighter version, you can use light mayonnaise or Greek yogurt in place of regular mayo. The bloodshot drizzle can be made with low-fat cream cheese or even omitted entirely for a simpler presentation.
I love that these feel indulgent and festive, but they’re actually a pretty balanced snack. The protein keeps you full, and the portion control is built right in. Honestly, they’re the kind of treat that makes you feel good about eating well — even on Halloween.
Conclusion
There you have it — Easy Monster Eyeball Deviled Eggs that are spooky, delicious, and surprisingly simple to make. Whether you’re hosting a Halloween party, surprising your kids, or just want to add a little fun to your October dinner table, these eggs deliver every time.
I love that this recipe takes something classic and gives it a playful twist. It’s the kind of food that makes people smile, and honestly, that’s what cooking is all about. Don’t be afraid to customize these to your taste — add more spice, swap the olives for capers, or go wild with different food coloring combinations. The best recipes are the ones you make your own.
I’d love to hear how yours turn out! Drop a comment below and let me know what spooky variations you tried. Did you use different “pupils”? Did your kids help with the bloodshot veins? Share your photos and tag me — I’m always amazed by what you all come up with. Until next time, happy haunting and happy cooking!
Frequently Asked Questions
Can I make these deviled eggs ahead of time?
Absolutely! You can hard-boil and peel the eggs up to 2 days in advance. Store the egg whites and filling separately in airtight containers in the refrigerator. Assemble the monster eyes no more than 2 hours before serving for the best appearance.
How do I get my eggs to peel easily?
The ice bath is your best friend. After boiling, immediately transfer the eggs to a bowl of ice water for at least 10 minutes. Also, using eggs that are about a week old (not farm-fresh) makes peeling much easier. Adding a teaspoon of baking soda to the boiling water can also help loosen the shells.
Can I use a different type of olive for the pupils?
Yes! Large pitted black olives work best, but you can also use kalamata olives for a different color, or even sliced green olives with pimentos for a fun twist. In a pinch, capers make adorable tiny pupils, or you can use sliced radishes for a crunchy alternative.
How do I make the bloodshot veins look realistic?
Use a toothpick to draw thin, uneven lines radiating from the olive. Start with just a tiny amount of the red cream cheese mixture on the toothpick and drag it outward. Less is more — you can always add more lines, but too much will look messy. Practice on a plate first if you’re nervous.
Can I freeze these deviled eggs?
I don’t recommend freezing assembled deviled eggs. The texture of the egg whites becomes rubbery and watery when thawed. However, you can freeze the filling separately in an airtight container for up to a month. Thaw it in the refrigerator overnight, stir well, and pipe into freshly boiled egg whites.
Pin This Recipe!
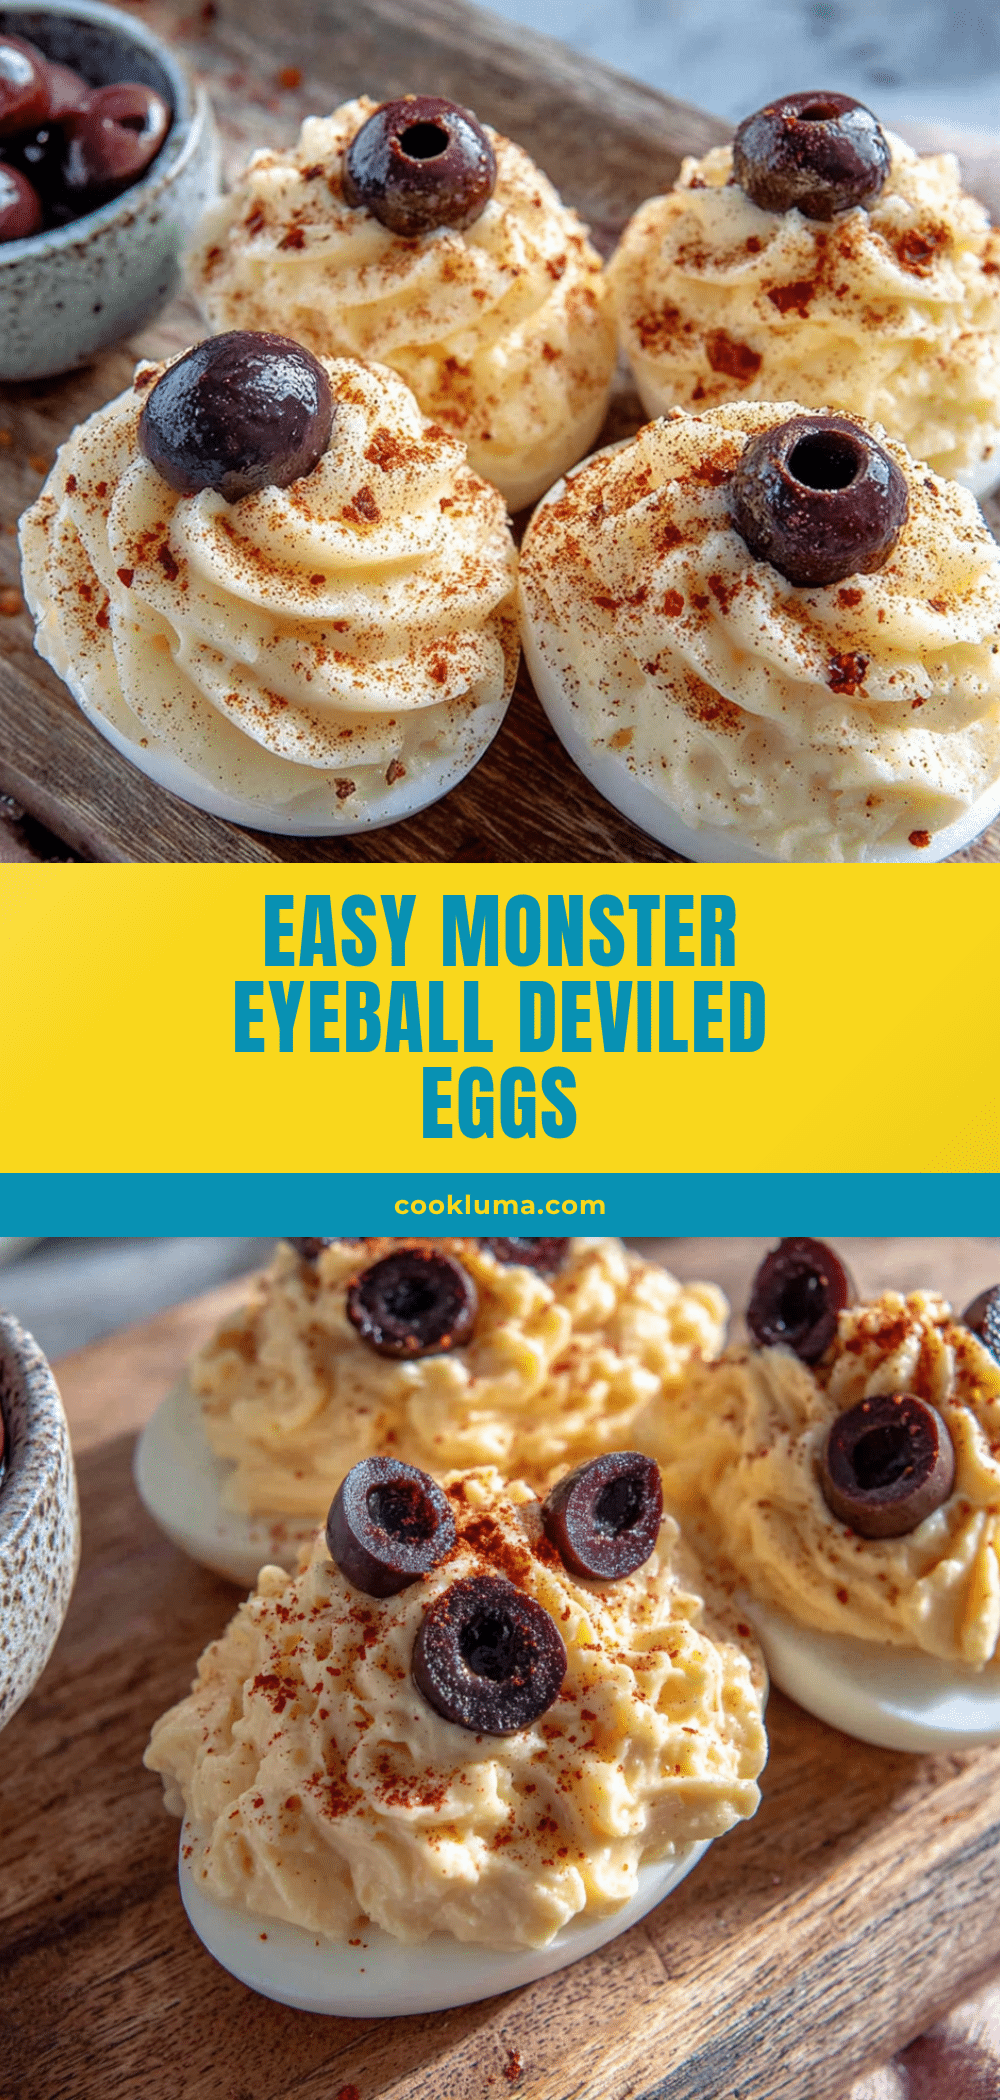
Easy Monster Eyeball Deviled Eggs: Spooky Halloween Appetizer

These spooky deviled eggs are classic deviled eggs with a fun Halloween twist, featuring creamy filling piped into egg whites and topped with olive ‘pupils’ and red cream cheese ‘bloodshot’ veins. They’re quick, easy, and guaranteed to be the life of any October gathering.
- Prep Time: 15 minutes
- Cook Time: 12 minutes
- Total Time: 27 minutes
- Yield: 24 deviled egg halves (12 servings of 2 halves each) 1x
- Category: Appetizer
- Cuisine: American
Ingredients
- 12 large eggs (room temperature)
- 1/3 cup mayonnaise (Hellmann’s or Duke’s recommended)
- 1 tablespoon yellow mustard
- 1 teaspoon white vinegar
- 1/4 teaspoon fine sea salt
- 1/4 teaspoon freshly ground black pepper
- 1/4 teaspoon paprika (plus extra for garnish; smoked paprika works well)
- 1 teaspoon pickle relish (optional)
- 12 pitted black olives (large, sliced into thin rounds)
- 2 tablespoons cream cheese (softened)
- 1–2 tablespoons milk (to thin cream cheese)
- Red food coloring (gel preferred)
- 1 tablespoon capers (optional, for backup pupils)
Instructions
- Place eggs in a single layer in a large pot. Cover with cold water by about an inch. Bring to a rolling boil over high heat. Once boiling, cover the pot, turn off the heat, and let sit for exactly 12 minutes.
- While eggs cook, prepare an ice bath (large bowl with ice and cold water). Transfer eggs immediately to ice bath using a slotted spoon. Let sit for at least 10 minutes.
- Peel eggs: gently tap each egg on the counter to crack shell all over. Start peeling from the wider end (air pocket). Run under cold water while peeling to remove stubborn bits.
- Using a sharp knife, slice each egg lengthwise. Wipe knife clean between cuts. Gently pop out yolks into a food processor. Arrange egg white halves on a serving platter, cut side up. Trim a tiny sliver off the bottom if they wobble.
- Add mayonnaise, yellow mustard, white vinegar, salt, pepper, paprika, and pickle relish (if using) to the food processor with the yolks. Pulse a few times, then process for about 30 seconds until completely smooth. Scrape down sides and process another 10 seconds. Adjust seasoning to taste.
- Spoon filling into a piping bag fitted with a large star tip (or a zip-top bag with corner snipped). Pipe filling into each egg white half, starting from outside and working inward in a circular motion, creating a swirl that rises above the egg white.
- Slice black olives into thin rounds (about 1/4 inch thick). In a small bowl, mix softened cream cheese with milk until thin enough to drizzle. Add a few drops of red food coloring and stir until bloodshot red.
- Place one olive slice on top of each piped deviled egg, pressing gently. Using a toothpick, drizzle tiny lines of red cream cheese mixture around the olive to look like bloodshot veins.
- Lightly dust eggs with a pinch of paprika. Serve within an hour of assembling, or prep components ahead and assemble just before serving.
Notes
For easier peeling, use eggs that are about a week old. Add a teaspoon of baking soda to boiling water if using very fresh eggs. The filling can be made up to 2 days ahead and stored separately. Assemble no more than 2 hours before serving. If you don’t have a food processor, mash yolks thoroughly with a fork before adding wet ingredients. Start with just a drop or two of red food coloring for the bloodshot effect—you can always add more.
Nutrition
- Serving Size: 2 deviled egg halves
- Calories: 156
- Sugar: 1
- Sodium: 240
- Fat: 10
- Saturated Fat: 3
- Carbohydrates: 2
- Protein: 12
Keywords: deviled eggs, Halloween appetizer, monster eyeballs, spooky snacks, easy appetizer, party food, Halloween party


