This was supposed to be a slow-roasted chicken, the kind you spend all Sunday afternoon fussing over. I had the bird, the herbs, the little twine for trussing—the whole production. But somewhere between wrestling with a toddler who refused to nap and a phone call that went twenty minutes too long, I grabbed the bag of frozen green beans instead of the fresh ones. The oven was already preheated to 425°F for the chicken, and I just stood there, holding this bag of beans, feeling that familiar knot of frustration tighten in my chest. Dinner was in thirty minutes, the chicken was still raw in the fridge, and honestly, I was this close to ordering pizza.
But I didn’t. I tossed those green beans into a baking dish with a can of cream of mushroom soup I found lurking in the pantry, threw some crispy fried onions on top (leftover from a party dip, let’s be honest), and shoved it in the oven. What came out was nothing like the plan—and better. The beans were tender but not mushy, the sauce was rich and cozy, and that crunchy topping? Pure magic. My husband asked for seconds before he even finished his first plate. I sat there, fork halfway to my mouth, thinking, “Wait, this was the accident dish?”
That night, I scribbled the rough idea on a napkin. Over the next few weeks, I tested it three more times—once with fresh beans, once with a homemade sauce, and once, out of pure laziness, I made the whole thing the night before a busy Tuesday. That last version? That’s the one that stuck. Maybe you’ve been there, staring into the fridge at 5 p.m. with no plan and a hungry family. This easy make-ahead green bean casserole with crispy onions was born from that exact chaos, and it’s been saving my sanity ever since.
Why You’ll Love This Recipe
This isn’t just another green bean casserole. This is the one you can prep on a Sunday, forget about until Tuesday, and still have everyone at the table asking for the recipe. I’ve tested this more times than I care to admit—once with a friend who’s a professional chef, and even he nodded in approval. Here’s why this one’s different:
- Truly Make-Ahead Friendly: Assemble it the night before, or even two days ahead. The flavors meld together beautifully, and the texture holds up perfectly. No last-minute scrambling.
- Simple, Budget-Friendly Ingredients: You probably have most of these in your pantry right now. No fancy mushrooms, no imported cheese—just honest, affordable staples.
- Picky Eater Approved: My kids, who usually pick out every single green bean, cleaned their plates. The creamy sauce and crunchy topping are basically camouflage for vegetables.
- Perfect for Busy Weeknights & Holidays: Whether it’s a regular Tuesday or Thanksgiving dinner, this casserole fits right in. It’s fancy enough for guests but easy enough for a Tuesday.
- Unbelievably Delicious: The combination of tender beans, savory mushroom sauce, and that golden, crispy onion crust is comfort food at its finest. You’ll close your eyes after the first bite.
What makes this recipe stand out from the dozens of others out there? It’s the technique. Most make-ahead casseroles turn into a watery, soggy mess. But by slightly undercooking the beans and using a clever layering method, the texture stays perfect—even after a day or two in the fridge. I’ve also swapped the usual condensed soup for a quick homemade version that takes five minutes and tastes ten times better. It’s comfort food, made smarter.
What Ingredients You Will Need
This recipe uses simple, wholesome ingredients to deliver bold flavor and satisfying texture without the fuss. Most of these are pantry staples, so you likely won’t need a special trip to the store.
For the Casserole Base
- 1 ½ pounds fresh green beans, trimmed and cut into 2-inch pieces (or two 14.5-ounce cans, drained, if you’re in a pinch)
- 2 tablespoons unsalted butter (adds richness; I prefer Land O’Lakes for consistent quality)
- 8 ounces cremini mushrooms, sliced (baby bella work great; white button mushrooms are fine too)
- 1 medium yellow onion, finely chopped
- 3 cloves garlic, minced
- 3 tablespoons all-purpose flour (use a gluten-free blend if needed)
- 1 ½ cups whole milk (2% works, but whole milk gives the creamiest sauce)
- 1 cup low-sodium chicken or vegetable broth (adds depth without making it too salty)
- ½ cup heavy cream (optional, but highly recommended for extra richness)
- 1 teaspoon dried thyme (or 1 tablespoon fresh, chopped)
- ½ teaspoon smoked paprika (adds a subtle warmth)
- Salt and freshly ground black pepper, to taste
- 1 cup shredded sharp cheddar cheese (optional, but my family loves it)
For the Crispy Topping
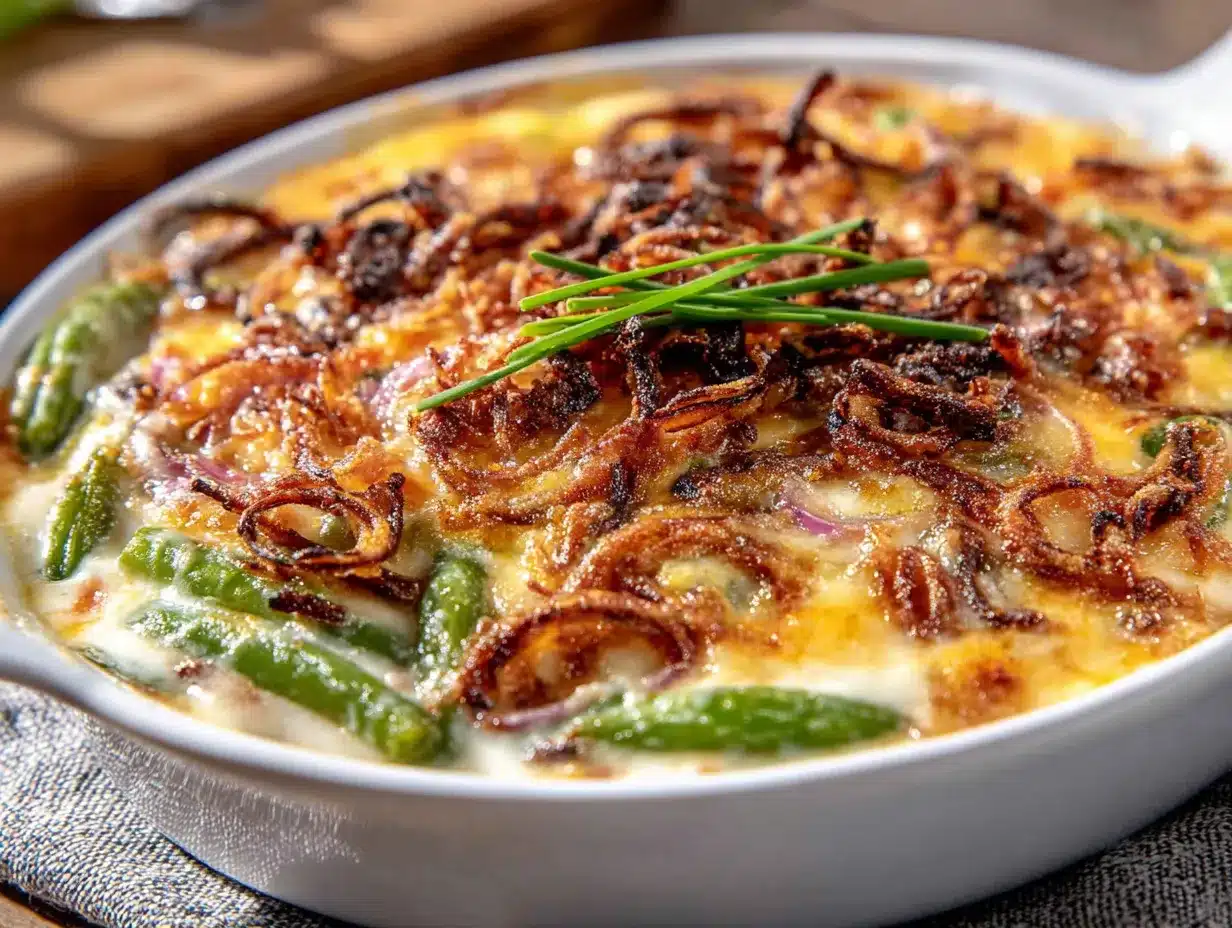
- 1 ½ cups crispy fried onions (French’s is the classic, but store brands work fine)
- ½ cup panko breadcrumbs (adds extra crunch; regular breadcrumbs work too)
- 2 tablespoons melted butter (helps the topping brown evenly)
Ingredient Tips: For the freshest green beans, look for bright, firm pods that snap when bent. If using canned beans, rinse and drain them well to remove excess sodium. I’ve tested this with frozen green beans too—just thaw and pat them dry before using. For a dairy-free version, use olive oil instead of butter, unsweetened almond milk, and a dairy-free cheese alternative. The texture will be slightly less creamy, but still delicious.
Equipment Needed
You don’t need a fancy kitchen to pull this off. Here’s what you’ll need:
- Large pot for blanching the green beans (a 5-quart pot works well)
- Large skillet or sauté pan for the mushroom sauce
- 9×13-inch baking dish (a 3-quart casserole dish works too)
- Colander for draining the beans
- Large bowl for mixing the sauce and beans
- Whisk for making the sauce smooth
- Measuring cups and spoons
- Chef’s knife and cutting board
If you don’t have a 9×13 dish, you can use two smaller dishes (like 8×8 inches) and adjust the baking time slightly. I’ve also made this in a cast-iron skillet for a rustic look—just be careful with the handle when serving. No panko? Crush up some regular crackers or use extra crispy onions. This recipe is forgiving, which is exactly what you want on a busy day.
Preparation Method
- Blanch the green beans (5 minutes): Bring a large pot of salted water to a boil. Add the trimmed green beans and cook for exactly 3 minutes. They should be bright green and still crisp. Drain immediately and transfer to a bowl of ice water to stop the cooking. Let them sit for 2 minutes, then drain well and pat dry. This step is crucial—it keeps the beans from turning mushy later.
- Sauté the aromatics (8 minutes): In a large skillet over medium heat, melt the 2 tablespoons of butter. Add the chopped onion and cook for 4 minutes, until soft and translucent. Add the sliced mushrooms and cook for another 4 minutes, stirring occasionally, until they release their liquid and start to brown. Add the minced garlic and cook for 30 seconds, until fragrant.
- Make the sauce (5 minutes): Sprinkle the flour over the mushroom mixture and stir constantly for 1 minute—this cooks out the raw flour taste. Slowly pour in the milk and broth, whisking continuously to prevent lumps. Bring to a gentle simmer, then reduce the heat to low. Cook for 3-4 minutes, stirring often, until the sauce thickens enough to coat the back of a spoon. Stir in the heavy cream (if using), thyme, smoked paprika, salt, and pepper. Taste and adjust seasoning—it should be slightly salty now, as the beans will balance it.
- Combine the casserole (5 minutes): Preheat your oven to 375°F (190°C). In a large bowl, gently toss the blanched green beans with the mushroom sauce until evenly coated. If using cheese, fold it in now. Transfer the mixture to your greased 9×13-inch baking dish and spread it into an even layer.
- Add the topping (2 minutes): In a small bowl, mix the crispy fried onions, panko breadcrumbs, and melted butter. Sprinkle this evenly over the casserole. Don’t press it down—you want it light and airy for maximum crunch.
- Bake (20-25 minutes): Place the dish in the preheated oven and bake for 20-25 minutes, until the sauce is bubbly around the edges and the topping is golden brown. If the topping browns too quickly, loosely tent with foil for the last 10 minutes. Let it rest for 5 minutes before serving—it sets up beautifully.
For make-ahead instructions: Prepare the casserole through step 4 (do not add the topping). Cover tightly with foil and refrigerate for up to 2 days. When ready to bake, remove from the fridge, let it sit on the counter for 20 minutes, then add the topping and bake as directed, adding 10-15 minutes to the baking time since it’s starting cold.
Cooking Tips & Techniques
I’ve made this casserole at least a dozen times, and I’ve learned a few things the hard way. Here’s what I wish someone had told me:
- Don’t skip the blanching step. I know it’s tempting to just toss raw beans in the dish, but they’ll release too much water during baking and you’ll end up with a watery casserole. Blanching sets the color and texture perfectly.
- Season the sauce generously. The beans and the topping are both fairly neutral, so the sauce carries all the flavor. I always add a little extra black pepper and a pinch of nutmeg—it’s a classic pairing with mushrooms.
- Watch the topping. I once got distracted and let the topping burn. The casserole underneath was perfect, but the bitter, charred onions ruined it. Check it at 15 minutes and rotate the dish if needed.
- Let it rest. I know you’re hungry, but giving it 5 minutes after baking allows the sauce to thicken slightly. If you serve it immediately, it’ll be runny.
- Double the recipe for a crowd. This casserole freezes beautifully (without the topping), so I often make two and freeze one for later. Just thaw overnight in the fridge, add the topping, and bake.
One of my biggest failures? I once tried to skip the cream and use only skim milk. The sauce was thin and watery, and the whole thing felt like a sad soup. Don’t do it. The fat in the milk and cream is what gives this dish its luxurious texture. Trust the process.
Variations & Adaptations
This recipe is endlessly adaptable, and I’ve tried several variations myself. Here are some of my favorites:
- Vegetarian Version: Use vegetable broth instead of chicken broth, and skip the cheese or use a vegetarian-friendly hard cheese. It’s still incredibly creamy and satisfying.
- Gluten-Free Adaptation: Use a gluten-free all-purpose flour blend (like Bob’s Red Mill) for the sauce, and substitute gluten-free panko or crushed gluten-free crackers for the topping. The texture holds up beautifully.
- Dairy-Free Option: Swap the butter for olive oil or vegan butter, use unsweetened oat milk or almond milk, and skip the cheese. The sauce will be slightly thinner, so add an extra tablespoon of flour to compensate.
- Add Protein: Stir in 2 cups of shredded rotisserie chicken or cooked, crumbled sausage to make it a complete meal. My family loves the chicken version—it’s like a green bean chicken casserole.
- Seasonal Twist: In the fall, I add ½ cup of roasted butternut squash cubes and a pinch of sage. In spring, I swap the thyme for fresh dill and add a squeeze of lemon. It’s a whole new dish every time.
I once made a spicy version for a potluck by adding ½ teaspoon of red pepper flakes and a dash of hot sauce to the sauce. It was a hit, and I’ve been making it that way ever since for gatherings with friends who like heat.
Serving & Storage Suggestions
This casserole is incredibly versatile when it comes to serving. Here’s how to make the most of it:
Serving Temperature & Presentation: Serve it hot, straight from the oven, with the topping still crunchy. I like to garnish with a sprinkle of fresh parsley or chives for a pop of color. It’s beautiful in a white ceramic dish against a dark tablecloth for holidays.
Complementary Dishes: This casserole pairs beautifully with roasted turkey or chicken, baked ham, or even a simple roasted pork loin. For a vegetarian meal, serve it alongside a lentil loaf or stuffed acorn squash. A crisp green salad with a tangy vinaigrette cuts through the richness perfectly.
Storage Instructions: Store leftovers in an airtight container in the refrigerator for up to 4 days. The topping will soften, but the flavor will deepen—I actually love the leftovers more than the fresh version. To reheat, place in a 350°F oven for 10-15 minutes, or microwave individual portions for 1-2 minutes.
Freezing Instructions: Assemble the casserole without the topping, wrap tightly in foil and plastic wrap, and freeze for up to 3 months. Thaw overnight in the refrigerator, add the topping, and bake as directed. The sauce might be slightly thinner after freezing, so add an extra ½ tablespoon of flour to the sauce if you know you’re freezing it.
How Flavors Develop: Honestly, this casserole tastes even better the next day. The flavors meld together overnight, and the sauce becomes even more cohesive. If you’re serving it for a holiday, making it a day ahead is actually the smartest move.
Nutritional Information & Benefits
This recipe makes about 8 servings. Here’s the approximate nutritional breakdown per serving:
- Calories: 285
- Total Fat: 18g
- Saturated Fat: 10g
- Cholesterol: 45mg
- Sodium: 520mg
- Total Carbohydrates: 22g
- Dietary Fiber: 4g
- Sugars: 8g
- Protein: 9g
Health Benefits: Green beans are packed with vitamins A, C, and K, plus fiber that supports digestive health. Mushrooms are a great source of B vitamins and selenium, which supports immune function. By making the sauce from scratch, you control the sodium and avoid the preservatives found in canned soups. This isn’t a health food, but it’s a balanced comfort dish that fits perfectly into a sensible diet.
Dietary Considerations: This recipe can be adapted for gluten-free, dairy-free, and vegetarian diets (see variations above). It contains dairy and gluten in its original form, so adjust accordingly for allergies.
Conclusion
This easy make-ahead green bean casserole with crispy onions has become a staple in my kitchen, and I think it deserves a spot in yours too. It’s proof that the best recipes often come from the most chaotic moments—when you’re frazzled, out of time, and just making it work. What started as a failed chicken dinner turned into a dish my family requests for birthdays, holidays, and random Tuesday nights.
I love that this recipe gives you freedom. You can make it ahead, freeze it, tweak it, or double it. It’s forgiving and flexible, just like real life. And honestly? That crunchy topping, that creamy sauce, those tender beans—it’s the kind of comfort that makes you slow down and actually enjoy your meal.
So go ahead, give it a try. Make it your own. Add a little extra cheese, throw in some bacon, or keep it classic. However you make it, I hope it brings you the same warmth and ease it’s brought me. And if you come up with a variation I haven’t tried, I’d love to hear about it. Drop a comment below or tag me in your photos—I’m always looking for new ideas. Happy cooking, friends!
Frequently Asked Questions
Can I use frozen green beans instead of fresh?
Yes, you can! Thaw them completely and pat them dry with paper towels to remove excess moisture. Skip the blanching step since frozen beans are already blanched. Just toss them directly into the sauce. The texture will be slightly softer, but still delicious.
How far ahead can I make this casserole?
You can assemble the casserole (without the topping) up to 2 days in advance. Store it tightly covered in the refrigerator. When you’re ready to bake, add the topping and bake as directed, adding 10-15 minutes to the baking time since it’s starting cold.
Why did my casserole turn out watery?
This usually happens for one of three reasons: the green beans weren’t drained well after blanching, the sauce wasn’t cooked long enough to thicken, or the casserole wasn’t baked long enough. Make sure to pat the beans dry, cook the sauce until it coats a spoon, and bake until bubbly. If you’re using frozen beans, extra moisture is common—drain them well.
Can I make this without the crispy onions?
Absolutely! You can substitute with crushed buttery crackers (like Ritz), crushed potato chips, or even a mixture of breadcrumbs and grated Parmesan cheese. The topping is flexible—just aim for something crunchy and flavorful.
Can I double this recipe for a crowd?
Yes, this recipe doubles beautifully. Use a larger baking dish (like a 12×17-inch roasting pan) or two 9×13-inch dishes. You may need to increase the baking time by 10-15 minutes since the dish will be fuller. The topping might need extra time to brown, so keep an eye on it.
Pin This Recipe!
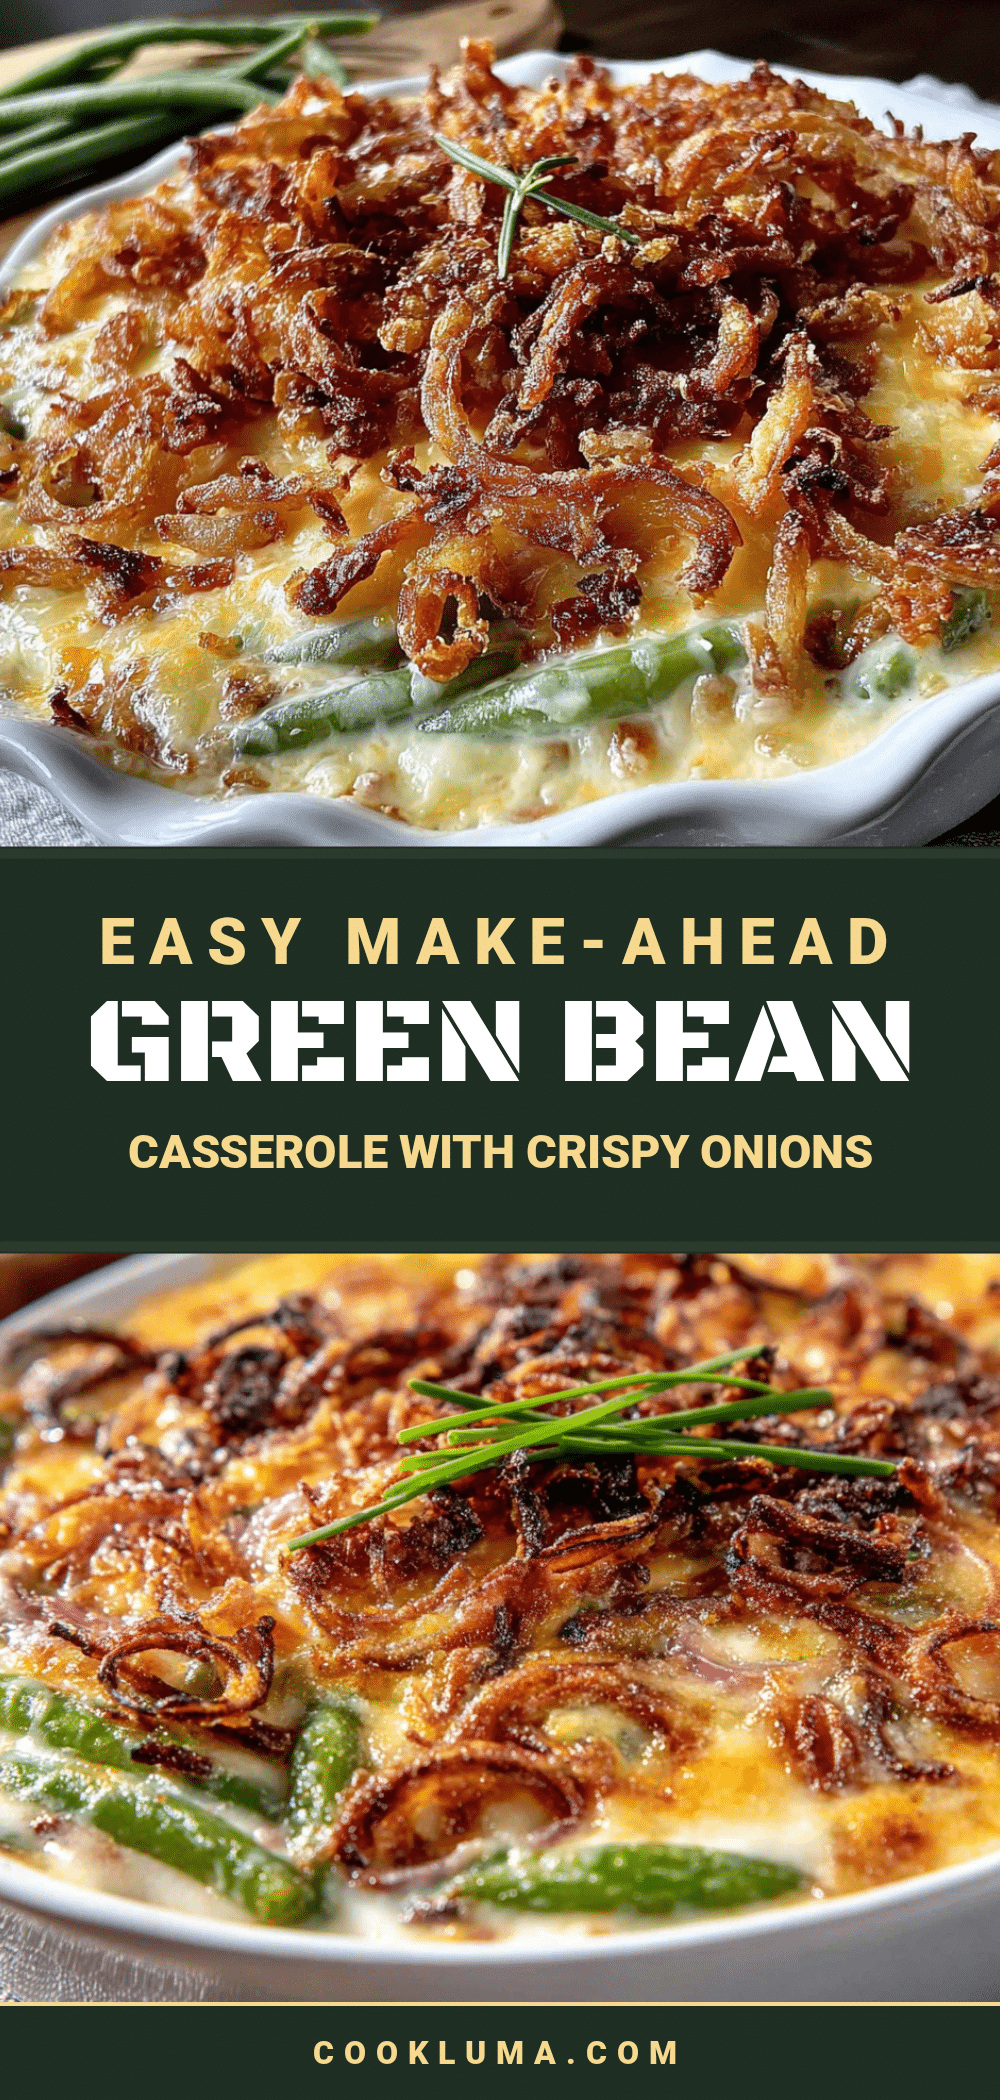
Easy Make-Ahead Green Bean Casserole with Crispy Onions

This easy make-ahead green bean casserole with crispy onions is the perfect comfort dish for busy weeknights or holiday gatherings. Made with tender green beans, a creamy homemade mushroom sauce, and a crunchy fried onion topping, it can be assembled up to two days in advance for a stress-free meal.
- Prep Time: 20 minutes
- Cook Time: 25 minutes
- Total Time: 45 minutes
- Yield: 8 servings 1x
- Category: Side Dish
- Cuisine: American
Ingredients
- 1 ½ pounds fresh green beans, trimmed and cut into 2-inch pieces (or two 14.5-ounce cans, drained)
- 2 tablespoons unsalted butter
- 8 ounces cremini mushrooms, sliced
- 1 medium yellow onion, finely chopped
- 3 cloves garlic, minced
- 3 tablespoons all-purpose flour (use a gluten-free blend if needed)
- 1 ½ cups whole milk (2% works, but whole milk gives the creamiest sauce)
- 1 cup low-sodium chicken or vegetable broth
- ½ cup heavy cream (optional, but highly recommended for extra richness)
- 1 teaspoon dried thyme (or 1 tablespoon fresh, chopped)
- ½ teaspoon smoked paprika
- Salt and freshly ground black pepper, to taste
- 1 cup shredded sharp cheddar cheese (optional)
- 1 ½ cups crispy fried onions (French’s is the classic, but store brands work fine)
- ½ cup panko breadcrumbs (adds extra crunch; regular breadcrumbs work too)
- 2 tablespoons melted butter
Instructions
- Blanch the green beans (5 minutes): Bring a large pot of salted water to a boil. Add the trimmed green beans and cook for exactly 3 minutes. They should be bright green and still crisp. Drain immediately and transfer to a bowl of ice water to stop the cooking. Let them sit for 2 minutes, then drain well and pat dry.
- Sauté the aromatics (8 minutes): In a large skillet over medium heat, melt the 2 tablespoons of butter. Add the chopped onion and cook for 4 minutes, until soft and translucent. Add the sliced mushrooms and cook for another 4 minutes, stirring occasionally, until they release their liquid and start to brown. Add the minced garlic and cook for 30 seconds, until fragrant.
- Make the sauce (5 minutes): Sprinkle the flour over the mushroom mixture and stir constantly for 1 minute. Slowly pour in the milk and broth, whisking continuously to prevent lumps. Bring to a gentle simmer, then reduce the heat to low. Cook for 3-4 minutes, stirring often, until the sauce thickens enough to coat the back of a spoon. Stir in the heavy cream (if using), thyme, smoked paprika, salt, and pepper. Taste and adjust seasoning.
- Combine the casserole (5 minutes): Preheat your oven to 375°F (190°C). In a large bowl, gently toss the blanched green beans with the mushroom sauce until evenly coated. If using cheese, fold it in now. Transfer the mixture to your greased 9×13-inch baking dish and spread it into an even layer.
- Add the topping (2 minutes): In a small bowl, mix the crispy fried onions, panko breadcrumbs, and melted butter. Sprinkle this evenly over the casserole. Don’t press it down.
- Bake (20-25 minutes): Place the dish in the preheated oven and bake for 20-25 minutes, until the sauce is bubbly around the edges and the topping is golden brown. If the topping browns too quickly, loosely tent with foil for the last 10 minutes. Let it rest for 5 minutes before serving.
- For make-ahead instructions: Prepare the casserole through step 4 (do not add the topping). Cover tightly with foil and refrigerate for up to 2 days. When ready to bake, remove from the fridge, let it sit on the counter for 20 minutes, then add the topping and bake as directed, adding 10-15 minutes to the baking time since it’s starting cold.
Notes
Don’t skip the blanching step—it prevents watery casserole. Season the sauce generously as beans and topping are neutral. Watch the topping to prevent burning. Let the casserole rest for 5 minutes after baking to allow the sauce to thicken. For make-ahead, assemble without topping up to 2 days ahead. This casserole freezes beautifully (without topping) for up to 3 months.
Nutrition
- Serving Size: 1 serving (about 1 c
- Calories: 285
- Sugar: 8
- Sodium: 520
- Fat: 18
- Saturated Fat: 10
- Carbohydrates: 22
- Fiber: 4
- Protein: 9
Keywords: green bean casserole, make-ahead casserole, easy green bean casserole, crispy onions, holiday side dish, comfort food, Thanksgiving side dish


