There used to be a tiny bakery tucked behind a laundromat on the corner of Elm and 5th that made the most incredible little cheesecake cups. They called them “Cookie Butter Dream Pots,” and they were pure magic in a clear plastic cup. When the bakery closed its doors two summers ago, I kid you not, I actually stood there staring at the “For Lease” sign like I’d lost an old friend. My kids asked about those cups for months, and after 7 tries—some were too runny, one was a grainy disaster that my youngest refused to even look at—I finally cracked the code. This is that recipe, and honestly, it’s even better than I remember.
Let me tell you, the first time I made these for my family, my son actually said, “Mom, this is the best thing you’ve ever made.” I mean, that’s high praise from a kid who usually just grunts through dinner. The secret? It’s all in the texture. A silky smooth cheesecake filling that sets up perfectly in the fridge, layered with that iconic, spiced crunch of Biscoff cookies. No oven required, no water baths, no fuss. Just a spoon, a bowl, and about 15 minutes of your time. Maybe you’ve been there—standing in the kitchen after a long day, wanting to make something special but having zero energy left for a complicated project. These cups are your answer.
Why You’ll Love This Recipe
I’ve tested this recipe more times than I care to admit, and I can tell you with total confidence—it works every single time. It’s not just another no-bake dessert; it’s a carefully balanced formula that delivers the perfect creamy-to-crunchy ratio without any weird ingredients or complicated steps. Here’s why it’s become a staple in our home:
- Quick & Easy: From start to fridge in under 15 minutes. Perfect for those after-school cravings or last-minute dinner guests.
- Simple Ingredients: You likely have most of these in your pantry already. No hunting down specialty stores for hard-to-find items.
- Perfect for Busy Families: Great for weekend meal prep, birthday parties, or a fun weekend project with the kids. They can help crush the cookies!
- Crowd-Pleaser: The combination of creamy cheesecake and spiced Biscoff is universally loved. Adults and kids alike go back for seconds.
- Unbelievably Delicious: The texture is so light and fluffy, you won’t believe it’s no-bake. It feels like a fancy bakery dessert without the fancy bakery price tag.
This recipe is different because I spent weeks perfecting the cream cheese-to-whipped cream ratio. Too much cream cheese and it’s heavy; too little and it won’t set. I also add a tiny pinch of salt to balance the sweetness—a trick I learned from a pastry chef friend that makes all the difference. It’s comfort food, reimagined for a busy life, and it’s the kind of dessert that makes you close your eyes after the first bite.
What Ingredients You Will Need
This recipe uses simple, wholesome ingredients to deliver that signature Biscoff flavor and a silky-smooth texture. Most of these are pantry staples, which makes this dessert perfect for spontaneous baking sessions.
- Biscoff Cookies (Lotus brand preferred): You’ll need about 1 ½ cups of crushed cookies for the crust. I use the original speculoos cookies—they have that perfect blend of cinnamon and caramelized sugar. (Pro tip: buy the family-size pack because you’ll want to snack on them.)
- Unsalted Butter, melted: 4 tablespoons (60g). This binds the cookie crumbs together. I always use unsalted to control the salt level, but salted works in a pinch—just skip the extra pinch of salt in the filling.
- Cream Cheese, softened: 8 ounces (226g), full-fat for the best texture. Let it sit on the counter for about 30 minutes before starting. Cold cream cheese leads to lumpy filling, and nobody wants that.
- Powdered Sugar: ½ cup (60g). This sweetens the filling without making it grainy. Sift it if you’re feeling fancy, but honestly, I rarely do and it works fine.
- Heavy Whipping Cream: 1 cup (240ml), cold. This is what makes the filling light and mousse-like. Don’t substitute with milk or half-and-half—it won’t whip up properly.
- Vanilla Extract: 1 teaspoon. Pure vanilla is best, but imitation works too. I like Nielsen-Massey for the flavor.
- Biscoff Spread (Cookie Butter): ¼ cup (70g), plus more for drizzling. This is the secret ingredient that gives the filling that deep, spiced flavor. You can find it near the peanut butter in most grocery stores.
- Pinch of Salt: Just a tiny one—like, between your thumb and forefinger. It balances the sweetness beautifully.
Substitution Guidance: For a gluten-free version, use gluten-free speculoos cookies (some brands make them). For a dairy-free option, use vegan cream cheese and coconut cream instead of heavy cream—though the texture will be slightly different. If you can’t find Biscoff spread, you can crush a few extra cookies and mix them into the cream cheese mixture for a similar flavor profile.
Equipment Needed
You don’t need a fancy kitchen to make these cups. Here’s what you’ll actually use:
- Mixing Bowls: One large for the filling, one small for the crust. I use glass bowls because they’re easy to clean, but any bowl works.
- Electric Hand Mixer or Stand Mixer: Essential for whipping the cream and beating the cream cheese. You can do it by hand with a whisk, but your arm will thank you for using a mixer.
- Ziploc Bag or Food Processor: For crushing the cookies. A rolling pin over a bag works great—and it’s a fun job for kids. Just make sure the bag is sealed tight!
- Measuring Cups and Spoons: Accuracy matters, especially with the cream cheese and heavy cream.
- Spatula: A rubber spatula is your best friend for scraping every last bit of filling into the cups.
- Small Cups or Jars: I use 6-ounce mason jars or small glass cups. You can also use ramekins or even small bowls. The clear cups let you see the beautiful layers.
- Piping Bag or Ziploc Bag: For neat layering. Not strictly necessary, but it makes the process cleaner and more fun.
Budget-Friendly Tip: Don’t have a mixer? No problem! You can whip the cream by hand—it just takes about 5 minutes of vigorous whisking. Consider it your arm workout for the day.
Preparation Method
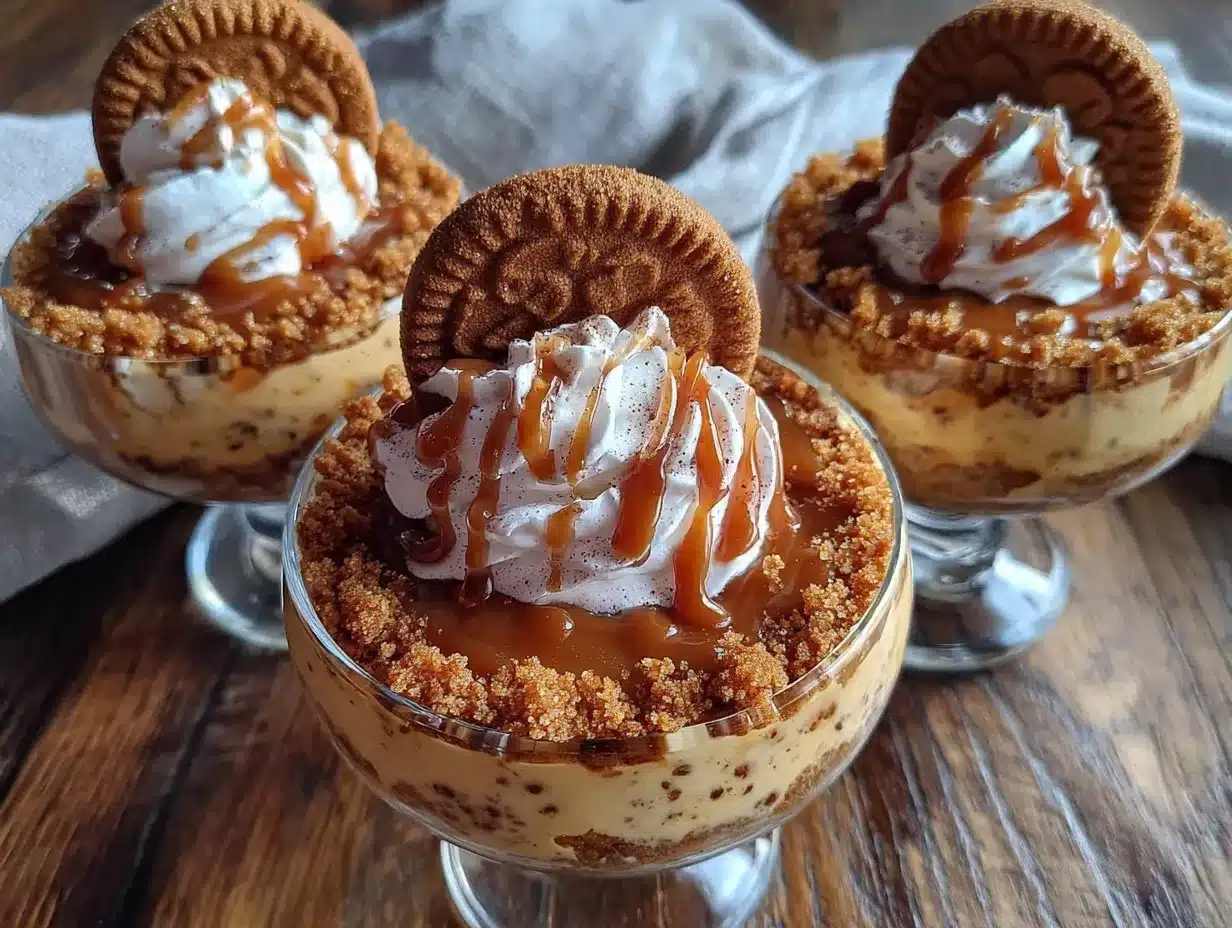
Let’s get to the fun part. I’ll walk you through this step-by-step, just like I do with my own kids in the kitchen.
- Crush the Cookies: Place 1 ½ cups of Biscoff cookies in a ziploc bag. Seal it tight (check for holes!), and let the kids go to town with a rolling pin. You want fine crumbs with a few slightly larger pieces for texture. Alternatively, pulse them in a food processor until fine. Set aside 2 tablespoons of the crumbs for topping.
- Make the Crust: In a small bowl, combine the crushed cookies with 4 tablespoons (60g) of melted unsalted butter. Stir with a fork until every crumb is coated. It should look like wet sand. If it’s too dry, add another teaspoon of melted butter.
- Press the Crust: Divide the crust mixture evenly among your 6 cups (about 2 tablespoons each). Press it down firmly with the back of a spoon or the bottom of a small glass. Pop them in the fridge to set while you make the filling.
- Whip the Cream: In a large bowl, pour 1 cup (240ml) of cold heavy whipping cream. Beat with an electric mixer on medium-high speed until stiff peaks form—about 2-3 minutes. You’ll know it’s ready when you lift the beaters and the cream stands up straight. Don’t over-whip or you’ll get butter!
- Beat the Cream Cheese: In another large bowl, beat 8 ounces (226g) of softened cream cheese with ½ cup (60g) of powdered sugar, 1 teaspoon of vanilla extract, and a pinch of salt. Beat until smooth and fluffy—about 2 minutes. Scrape down the sides of the bowl halfway through.
- Add the Biscoff Spread: Add ¼ cup (70g) of Biscoff spread to the cream cheese mixture. Beat until fully incorporated. The mixture will be thick and smell amazing.
- Fold in the Whipped Cream: Gently fold the whipped cream into the cream cheese mixture using a spatula. Start by adding about a third of the cream, folding gently until combined, then add the rest. Be patient—you want to keep the air in the whipped cream for a light, mousse-like texture. The final mixture should be smooth, fluffy, and pale beige.
- Fill the Cups: Spoon or pipe the filling into the cups over the crust. I like to use a piping bag (or a ziploc bag with the corner snipped off) for clean layers. Fill each cup almost to the top, leaving a little room for the topping.
- Chill: Place the cups in the refrigerator for at least 4 hours, but overnight is best. This allows the filling to set properly and the flavors to meld together. I know it’s hard to wait, but trust me—it’s worth it.
- Add the Toppings: Just before serving, drizzle each cup with a little warmed Biscoff spread (microwave it for 10 seconds) and sprinkle with the reserved cookie crumbs. You can also add a dollop of whipped cream if you’re feeling extra.
Pro Tip: If you’re in a hurry, you can speed up the setting time by placing the cups in the freezer for 1-2 hours. Just don’t forget them—they’ll freeze solid if left overnight.
Cooking Tips & Techniques
I’ve made a lot of mistakes in the kitchen, and I’m happy to share them so you don’t have to repeat them. Here are the things I wish I’d known from the start:
- Room Temperature Cream Cheese is Non-Negotiable: I once tried to rush this step and microwaved the cream cheese for 15 seconds. Big mistake. It partially melted and the filling never set properly. Just let it sit out for 30 minutes—it’s worth the wait.
- Don’t Over-Whip the Cream: Stiff peaks are your goal, but stop the moment you get there. Over-whipped cream turns grainy and eventually becomes butter. If you accidentally go too far, add a tablespoon of cold cream and gently fold it in to rescue it.
- Fold, Don’t Stir: When combining the whipped cream with the cream cheese mixture, use a gentle folding motion. Stirring vigorously will deflate the air and result in a dense, heavy filling. Think of it like you’re tucking the whipped cream into bed.
- Chill Time Matters: These cups need at least 4 hours to set. If you try to serve them too early, the filling will be soft and the layers will be messy. Patience is a virtue, especially with no-bake desserts.
- Make Ahead Friendly: These cups are actually better the next day. The flavors meld together and the crust softens slightly, making for a perfect bite every time. They’re ideal for meal prep or party planning.
I once forgot to add the Biscoff spread to the filling and only realized it after I’d filled all the cups. I had to scoop everything out, mix it in, and refill them. The kids thought it was hilarious, and honestly, the second batch was even better because the crust had extra time to set.
Variations & Adaptations
This recipe is incredibly versatile, and I’ve tried several variations over the years. Here are some of my favorites:
- Chocolate Lover’s Version: Add 2 tablespoons of cocoa powder to the cream cheese mixture along with the Biscoff spread. Top with chocolate shavings instead of cookie crumbs. My husband’s absolute favorite.
- Peanut Butter Twist: Swap the Biscoff spread for creamy peanut butter. Use graham cracker crumbs for the crust instead of Biscoff cookies. It’s a classic flavor combo that never fails.
- Fruity Version: Add a layer of fresh berries or a spoonful of strawberry jam between the crust and the filling. The tartness of the fruit cuts through the richness beautifully.
- Vegan Adaptation: Use vegan cream cheese, coconut cream (chilled and whipped), and vegan butter. The texture will be slightly different, but still delicious. I’ve made this for a friend’s birthday and she loved it.
- Mini Version: Use shot glasses or small espresso cups for bite-sized desserts. Perfect for parties or when you want just a little something sweet.
My personal favorite variation is the chocolate version—I add a layer of melted dark chocolate on top of the crust before adding the filling. It creates this amazing crackly layer that contrasts with the creamy filling. My kids call them “fancy pudding cups.”
Serving & Storage Suggestions
These cups are best served cold, straight from the fridge. The filling should be firm but still creamy, and the crust should be slightly softened from the moisture. Here’s how to serve and store them:
- Serving Temperature: Cold is key. Let them sit out for no more than 5 minutes before serving. If they get too warm, the filling can become soft.
- Presentation: Serve in clear cups or jars to show off the beautiful layers. Top with a drizzle of warmed Biscoff spread, a sprinkle of cookie crumbs, and a small dollop of whipped cream. A fresh strawberry on the side adds a pop of color.
- Complementary Dishes: These cups pair wonderfully with a hot cup of coffee or a cold glass of milk. They’re also great alongside a fruit salad or a simple berry compote.
- Storage: Store the cups in the refrigerator, covered with plastic wrap or lids, for up to 5 days. The flavors actually improve after a day or two.
- Freezing: You can freeze these cups for up to 2 months. Wrap each cup tightly in plastic wrap and then foil. Thaw in the refrigerator overnight before serving. The texture will be slightly softer, but still delicious.
- Reheating: No reheating needed! Just serve cold. If the Biscoff spread drizzle has hardened, microwave the cups for 10 seconds to soften it.
Flavor Development Note: These cups are at their best 24-48 hours after making them. The crust softens just enough to meld with the filling, and the Biscoff flavor becomes more pronounced. I actually prefer them on day two.
Nutritional Information & Benefits
While these are definitely a treat, they do have some redeeming qualities. Here’s a rough nutritional breakdown per serving (based on 6 servings):
| Nutrient | Amount per Serving |
|---|---|
| Calories | 380 |
| Total Fat | 28g |
| Saturated Fat | 16g |
| Carbohydrates | 30g |
| Sugar | 20g |
| Protein | 4g |
Health Benefits: The cream cheese provides a good amount of calcium and protein, while the heavy cream adds healthy fats that help keep you full. The Biscoff cookies are made with wheat flour, so there’s a tiny bit of fiber. Plus, making desserts at home means you control the quality of the ingredients—no preservatives or artificial flavors here.
Dietary Considerations: This recipe contains dairy and gluten. For a gluten-free option, use gluten-free speculoos cookies. For a lower-sugar version, use a sugar substitute like monk fruit sweetener in the filling. The Biscoff spread is naturally lower in sugar than many other cookie butters.
Allergen Note: This recipe contains wheat, dairy, and possibly traces of nuts (check your Biscoff cookie packaging). Always check labels if you’re serving to someone with allergies.
Conclusion
These Kid-Approved No-Bake Biscoff Cheesecake Cups are more than just a dessert—they’re a little moment of joy in a cup. They’re the recipe I turn to when I need something special without the stress, and they’ve become a beloved staple in our home. Whether you’re making them for a birthday party, a weeknight treat, or just because, I promise they’ll bring smiles all around.
I’d love to hear how they turn out for you! Did you try any of the variations? Did your kids help crush the cookies? Drop a comment below and let me know—your stories make my day. And if you’ve got a favorite no-bake dessert, share that too. We’re all in this kitchen together, learning and eating one delicious bite at a time.
Now go make some magic in your kitchen. You’ve got this!
Frequently Asked Questions
Can I use a different cookie for the crust?
Absolutely! Graham crackers, vanilla wafers, or even Oreos work great. Just keep the ratio the same—1 ½ cups of crushed cookies to 4 tablespoons of melted butter.
How do I know when the cream is whipped enough?
Lift the beaters—the cream should form stiff peaks that stand up straight. If it droops, keep whipping. Just stop before it turns grainy!
Can I make these cups dairy-free?
Yes! Use vegan cream cheese, chilled coconut cream (the solid part from a can of full-fat coconut milk), and vegan butter. The texture will be slightly different but still delicious.
How long do these keep in the fridge?
They’ll stay fresh for up to 5 days when covered. The flavors actually get better after a day or two, so don’t be afraid to make them ahead.
Can I use low-fat cream cheese?
You can, but the filling won’t be as rich or creamy. Full-fat cream cheese gives the best texture and flavor. If you’re watching calories, consider using a little less sugar instead.
Pin This Recipe!
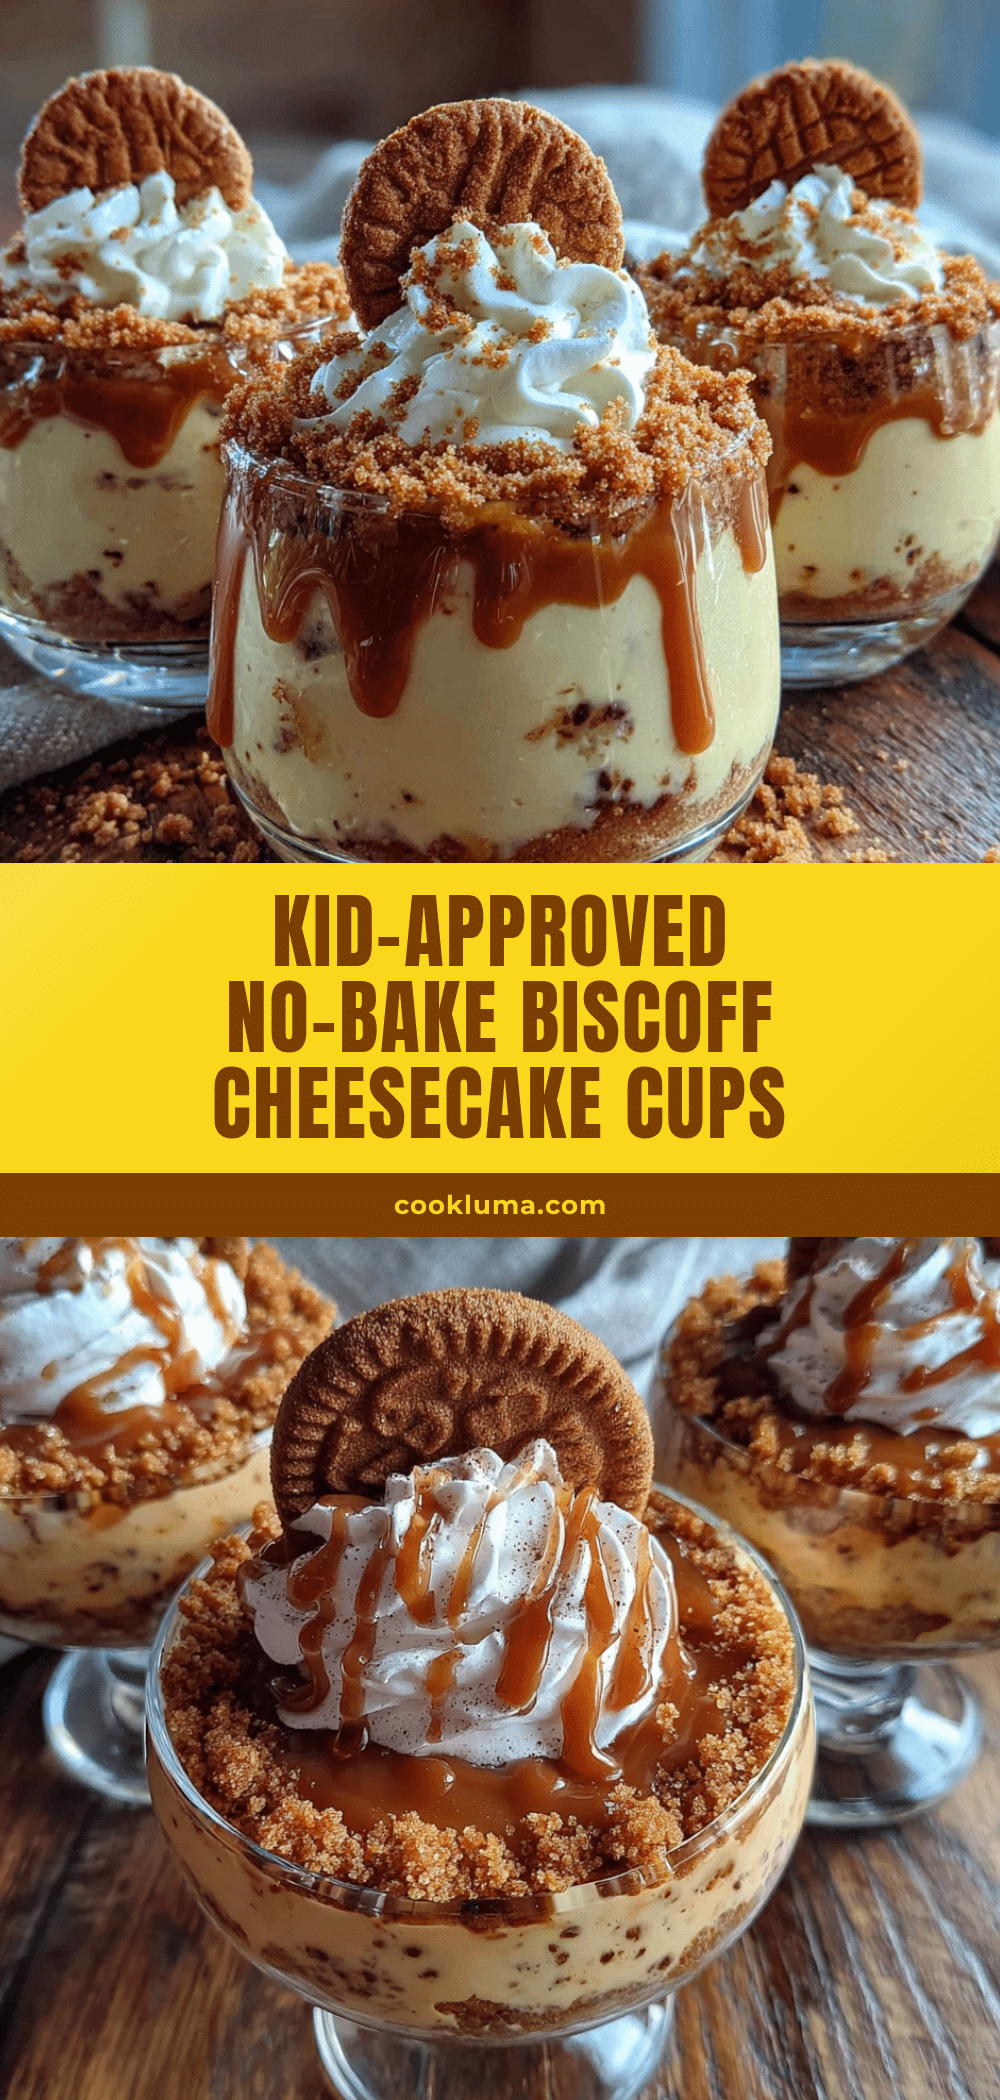
Easy Kid-Approved No-Bake Biscoff Cheesecake Cups

These no-bake Biscoff cheesecake cups are a quick and easy dessert with a silky smooth filling and a spiced cookie crust. Perfect for busy families, they come together in under 15 minutes and are a guaranteed crowd-pleaser.
- Prep Time: 15 minutes
- Cook Time: 0 minutes
- Total Time: 4 hours 15 minutes (includes chilling)
- Yield: 6 servings 1x
- Category: Dessert
- Cuisine: American
Ingredients
- 1 ½ cups Biscoff cookies (Lotus brand preferred), crushed
- 4 tablespoons (60g) unsalted butter, melted
- 8 ounces (226g) cream cheese, softened
- ½ cup (60g) powdered sugar
- 1 cup (240ml) heavy whipping cream, cold
- 1 teaspoon vanilla extract
- ¼ cup (70g) Biscoff spread (cookie butter), plus more for drizzling
- Pinch of salt
Instructions
- Crush the cookies: Place 1 ½ cups of Biscoff cookies in a ziploc bag and crush with a rolling pin until fine crumbs form (with a few larger pieces for texture). Alternatively, pulse in a food processor. Set aside 2 tablespoons for topping.
- Make the crust: In a small bowl, combine the crushed cookies with 4 tablespoons of melted unsalted butter. Stir until every crumb is coated (mixture should look like wet sand).
- Press the crust: Divide the crust mixture evenly among 6 cups (about 2 tablespoons each). Press down firmly with the back of a spoon or the bottom of a small glass. Place in the fridge to set while making the filling.
- Whip the cream: In a large bowl, pour 1 cup of cold heavy whipping cream. Beat with an electric mixer on medium-high speed until stiff peaks form (about 2-3 minutes). Do not over-whip.
- Beat the cream cheese: In another large bowl, beat 8 ounces of softened cream cheese with ½ cup of powdered sugar, 1 teaspoon of vanilla extract, and a pinch of salt until smooth and fluffy (about 2 minutes). Scrape down the sides halfway through.
- Add the Biscoff spread: Add ¼ cup of Biscoff spread to the cream cheese mixture and beat until fully incorporated.
- Fold in the whipped cream: Gently fold the whipped cream into the cream cheese mixture using a spatula. Add about a third of the cream first, fold gently, then add the rest. Be patient to keep the mixture light and mousse-like.
- Fill the cups: Spoon or pipe the filling into the cups over the crust. Use a piping bag or a ziploc bag with the corner snipped off for clean layers. Fill each cup almost to the top.
- Chill: Place the cups in the refrigerator for at least 4 hours, but overnight is best for proper setting and flavor melding.
- Add the toppings: Just before serving, drizzle each cup with a little warmed Biscoff spread (microwave for 10 seconds) and sprinkle with the reserved cookie crumbs. Optionally, add a dollop of whipped cream.
Notes
For best results, use room temperature cream cheese and do not over-whip the cream. Chill for at least 4 hours, but overnight is ideal. For a gluten-free version, use gluten-free speculoos cookies. For a dairy-free option, use vegan cream cheese and coconut cream. These cups can be frozen for up to 2 months.
Nutrition
- Serving Size: 1 cup
- Calories: 380
- Sugar: 20
- Sodium: 200
- Fat: 28
- Saturated Fat: 16
- Carbohydrates: 30
- Protein: 4
Keywords: no-bake cheesecake, Biscoff, cookie butter, easy dessert, kid-friendly, no-bake dessert, cheesecake cups


