It was 11:47 PM on a random Wednesday, and I had this ridiculous craving for something crunchy-sweet. I’d just finished carving a pumpkin for a party the next day, and there they were—a slippery pile of guts and seeds staring at me from a colander. I didn’t have the patience for the usual salty, roasted version. But I had honey, a little butter, and a wild idea that felt too risky for daylight hours. So I just went for it. I rinsed those seeds, tossed them with a glug of honey and a pinch of salt, and threw them in the oven at a temperature I made up on the spot. Honestly, I was half-expecting a sticky, burnt mess. But when I pulled that tray out forty minutes later, the kitchen smelled like a bakery and a harvest festival had a baby. The seeds were glossy, caramelized, and shatteringly crisp. I stood there at midnight, eating them straight off the pan, burning my fingers but not caring. That weird, impulsive experiment turned into my most-requested snack. And let me tell you, when I brought them to that party the next day, they vanished in ten minutes. Someone actually asked me, “Did you get these from a fancy store?” Nope. Just me, a late-night craving, and a pumpkin that was about to become a jack-o’-lantern.
Why You’ll Love This Recipe
These aren’t your average pumpkin seeds. They are a total game-changer for anyone who loves that sweet-and-salty combo. I’ve tested this recipe about seven times to get the crunch just right—too low and they’re chewy, too high and the honey burns. This version is the Goldilocks zone.
- Quick & Easy: Comes together in under 45 minutes, with only 5 minutes of active prep. Perfect for a last-minute snack before guests arrive.
- Simple Ingredients: You only need seeds, honey, butter, and salt. You probably have all of this right now.
- Perfect for Hosting: This is the snack that disappears at parties. Set out a bowl, and watch people hover around it all night.
- Crowd-Pleaser: Even people who swear they don’t like pumpkin seeds will eat a handful. I’ve seen it happen.
- Unbelievably Delicious: The honey caramelizes into a brittle shell around the seed, giving you a crunch that shatters and then melts. It’s next-level.
What makes this different from every other recipe? It’s the technique—boiling the seeds first to ensure they get crispy on the inside, and then roasting them low and slow before the honey glaze goes on. No chewy centers, no burnt sugar. Just perfect, glossy, addictive seeds. This is the kind of snack that makes you close your eyes after the first bite. It’s comfort food in a handful—faster, more impressive, and with the same soul-soothing satisfaction. Perfect for impressing guests without stress, or turning a simple snack into something memorable.
What Ingredients You Will Need
This recipe uses simple, wholesome ingredients to deliver that bold sweet-salty crunch. Most of these are pantry staples, especially if you just carved a pumpkin.
- Fresh Pumpkin Seeds: 1 ½ cups (about 180g), rinsed and picked clean of strings. I prefer seeds from a sugar pumpkin or a standard carving pumpkin—both work great. (Don’t use the tiny seeds from a butternut squash; they’re too small and burn easily.)
- Unsalted Butter: 3 tablespoons (42g), melted. I use Kerrygold for its rich flavor, but any good unsalted butter works. (Salt content varies in salted butter, so stick with unsalted to control the salt level.)
- Honey: ¼ cup (85g). Use a runny, mild honey like clover or orange blossom. Avoid dark, strong honey like buckwheat—it can overpower the seeds and burn faster.
- Fine Sea Salt: ½ teaspoon, plus more for sprinkling at the end. I use Maldon flaky salt for the final sprinkle—it adds a lovely pop of texture.
- Optional Add-ins: A pinch of cayenne pepper for heat, or ¼ teaspoon of cinnamon for warmth. I sometimes add a tiny pinch of smoked paprika for a subtle smokiness.
Ingredient Tips from My Kitchen: If you’re using seeds from a fresh pumpkin, don’t skip the rinsing step. Pumpkin guts are sticky and fibrous, and any leftover strings will turn into tough little bits in the final snack. I rinse mine in a colander under cold water, rubbing them between my fingers until the water runs clear. Then I pat them very dry with a kitchen towel—wet seeds steam instead of roasting.
Substitution Guidance: For a dairy-free version, swap the butter with coconut oil or a high-quality vegan butter. For a lower-sugar option, you can use maple syrup instead of honey, though the texture will be slightly less brittle. (Maple syrup has a lower sugar content, so the seeds may be a tad chewier.)
Equipment Needed
You don’t need anything fancy for this recipe. Here’s what you’ll need:
- Baking Sheet: A half-sheet pan (18×13 inches) works best. Avoid dark non-stick pans—they absorb heat and can burn the honey glaze. I use a light-colored aluminum sheet pan.
- Parchment Paper: This is non-negotiable. The honey glaze gets very sticky, and parchment paper makes cleanup a breeze. Silicone mats work too, but I find parchment gives a slightly crisper result.
- Medium Saucepan: For boiling the seeds. Any small pot will do.
- Colander: For rinsing the seeds and draining the boiling water.
- Mixing Bowl: A medium bowl for tossing the seeds with the glaze.
- Spatula or Wooden Spoon: For stirring the seeds on the baking sheet halfway through roasting.
- Cooling Rack: Optional, but highly recommended. It lets air circulate under the baking sheet, helping the seeds cool and crisp up faster.
I learned the hard way that using a dark baking sheet leads to burnt bottoms. The first time I made these, the honey pooled in the center and turned into a black, smoky mess. A light-colored sheet distributes heat much more evenly.
Preparation Method
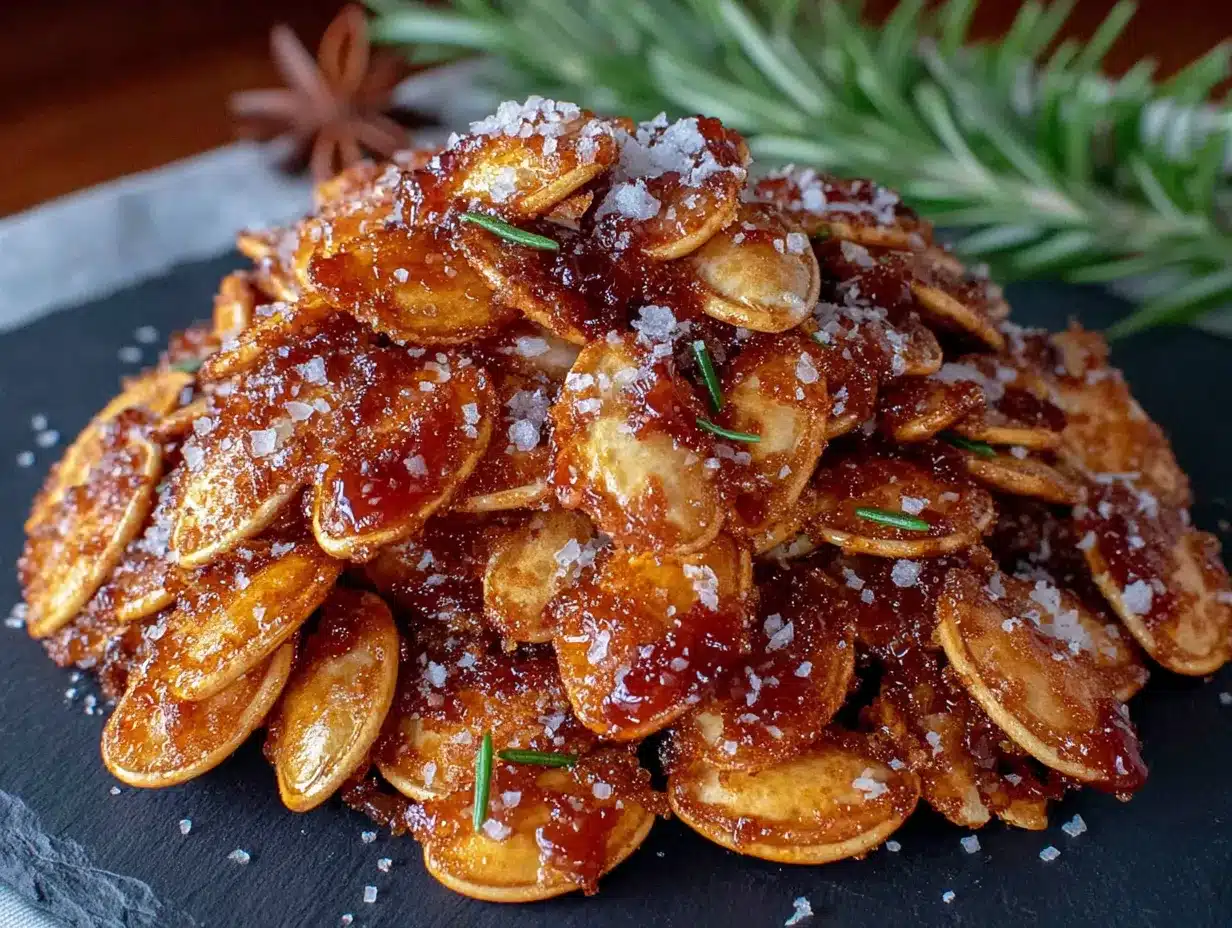
Follow these steps carefully, and you’ll get perfectly crispy, honey-glazed seeds every time.
- Preheat and Prep: Preheat your oven to 300°F (150°C). Line your baking sheet with parchment paper. (This low temperature is key—it dries the seeds slowly without burning the sugar.)
- Boil the Seeds: Place the rinsed pumpkin seeds in a medium saucepan and cover them with water by about an inch. Add 1 teaspoon of salt to the water. Bring to a boil over high heat, then reduce to a simmer and cook for 10 minutes. (This step is crucial—it softens the outer shell of the seeds so they roast all the way through, not just on the outside.)
- Drain and Dry: Drain the seeds in a colander and pat them very dry with a clean kitchen towel. (Don’t skip the drying step. Any residual water will create steam in the oven and prevent the seeds from getting crispy.)
- First Roast: Spread the seeds in a single layer on the prepared baking sheet. Roast for 20 minutes, stirring once halfway through. (They should look dry and slightly toasted, but not brown. This is the “drying out” phase.)
- Make the Glaze: While the seeds are roasting, melt the butter in a small bowl. Stir in the honey and ½ teaspoon of salt until combined. (If you’re adding cayenne or cinnamon, stir it in now.)
- Glaze and Second Roast: Remove the seeds from the oven and pour the honey-butter mixture over them. Stir well with a spatula until every seed is coated. Spread them back into a single layer. Return to the oven and roast for another 15–20 minutes, stirring every 5 minutes. (Watch closely toward the end—the honey can go from golden to burnt very quickly. The seeds should be deep amber and the glaze should be bubbling.)
- Cool Completely: Remove the baking sheet from the oven and immediately sprinkle with a pinch of flaky sea salt. Let the seeds cool on the baking sheet for at least 20 minutes without stirring. (This is where the magic happens—the glaze hardens into a brittle shell as it cools. If you stir them while warm, the glaze will clump up and become tacky.)
- Break Apart: Once completely cool, break the seeds apart with your hands. They should separate easily into individual seeds with a shiny, hard coating.
Sensory Cue: During the second roast, you’ll smell a nutty, caramel-like aroma. That’s the honey and butter toasting together. If the smell turns sharp or smoky, pull them out immediately.
Cooking Tips & Techniques
I’ve made this recipe about eight times, and I’ve messed it up in almost every possible way. Here’s what I learned so you don’t have to.
Don’t Skip the Boil: I know it seems like an extra step, but boiling the seeds for 10 minutes is the secret to a crispy interior. Without it, the seeds will be hollow and crunchy on the outside but soft and chewy in the middle. Trust me—I made that mistake once. The texture was weird.
Stir Frequently in the Second Roast: The honey glaze can pool in the center of the pan and burn. Every 5 minutes, use a spatula to scrape the seeds from the edges toward the center and vice versa. This ensures even coating and prevents burning.
Watch the Color, Not the Clock: Oven temperatures vary. My friend’s oven runs hot, and her seeds were done in 12 minutes during the second roast. Mine takes exactly 18 minutes. Look for a deep amber color—like the color of a toasted marshmallow.
Cooling is Non-Negotiable: The hardest part is waiting. I once tried to speed things up by putting the pan in the fridge, and the glaze turned sticky and dull. Let them cool at room temperature on the counter. The glaze needs time to crystallize into that shatteringly crisp shell.
Batch Size Matters: Don’t overcrowd the pan. If you double the recipe, use two baking sheets. Overcrowding traps steam and makes the seeds soggy. You want them in a single layer, not touching each other too much.
Variations & Adaptations
These seeds are a blank canvas. Here are some of my favorite twists.
- Spicy Honey Seeds: Add ½ teaspoon of cayenne pepper and a pinch of smoked paprika to the honey-butter glaze. The heat hits you after the sweetness, and it’s addictive. I made this version for a football game party, and people were fighting over the last handful.
- Maple-Cinnamon Seeds: Swap the honey for maple syrup and add 1 teaspoon of cinnamon. This version is a little less sweet and has a cozy, fall-vibe flavor. Perfect for Thanksgiving snacking.
- Vegan Version: Use coconut oil instead of butter and maple syrup instead of honey. The texture is slightly less brittle, but still delicious. I tested this for a friend with a dairy allergy, and she couldn’t tell the difference.
- Savory-Sweet Combo: Add 1 teaspoon of everything bagel seasoning (sesame seeds, poppy seeds, garlic, onion) to the glaze. The salty, savory crunch pairs beautifully with the honey. This is my go-to for cocktail parties.
- Chocolate Drizzle: Once the seeds are cool, drizzle them with melted dark chocolate and let it set. It turns them into a dessert snack. Dangerous but incredible.
Serving & Storage Suggestions
These seeds are best served at room temperature, straight from the bowl. The crunch is most satisfying within the first 24 hours, but they hold up well for a few days if stored properly.
Presentation Tips for Hosting: Serve them in a wide, shallow bowl so people can grab a handful easily. I like to line the bowl with a cloth napkin to catch any crumbs and give it a rustic look. For a party, I sometimes mix them with roasted almonds or cashews for a sweet-salty snack mix.
What to Serve Alongside: These seeds pair beautifully with a cheese board—the sweetness cuts through rich cheeses like brie or aged cheddar. They’re also great on top of a fall salad with apples, goat cheese, and a maple vinaigrette. Or just eat them by the handful while watching a movie. No judgment.
Storage Instructions: Store the seeds in an airtight container at room temperature for up to 5 days. Do not refrigerate them—the moisture in the fridge will soften the glaze. If they lose their crunch after a couple of days, spread them on a baking sheet and re-crisp them in a 300°F (150°C) oven for 5 minutes. Let them cool completely before eating.
Freezer Option: You can freeze these seeds for up to 2 months. Place them in a freezer-safe bag or container, and thaw at room temperature. They won’t be quite as crispy as fresh, but they’re still delicious.
Nutritional Information & Benefits
Pumpkin seeds are a nutritional powerhouse. They’re packed with magnesium, zinc, and healthy fats. Here’s the estimated breakdown per ¼-cup serving (about 30g):
| Nutrient | Amount |
|---|---|
| Calories | 180 |
| Total Fat | 12g |
| Saturated Fat | 4g |
| Carbohydrates | 14g |
| Sugar | 10g |
| Fiber | 2g |
| Protein | 6g |
| Sodium | 120mg |
Health Benefits: Pumpkin seeds are one of the best natural sources of magnesium, which supports muscle function and sleep quality. The zinc content is great for immune health. And the healthy fats help keep you full and satisfied. Of course, the honey adds sugar, so these are still a treat—but a treat with some redeeming qualities.
Dietary Considerations: This recipe is naturally gluten-free. For a low-sugar option, reduce the honey to 2 tablespoons and add a pinch of stevia or monk fruit sweetener. The texture will be slightly less glossy, but still tasty.
Allergen Note: Contains dairy (butter). For a dairy-free version, use coconut oil as mentioned above.
Conclusion
These crispy honey-roasted pumpkin seeds are proof that the best recipes often come from late-night experiments. They’re sweet, salty, crunchy, and completely addictive. Whether you’re hosting a fall party, looking for a healthy-ish snack, or just trying to use up those seeds from your jack-o’-lantern, this recipe delivers every time.
I love how forgiving this recipe is—you can tweak the spices, swap the sweetener, or add a pinch of heat, and it still works. It’s become my go-to hostess gift (packed in a little jar with a ribbon) and my favorite snack to have on hand during the holidays. I honestly can’t make a pumpkin without saving the seeds now.
So go ahead—carve that pumpkin, save those seeds, and give this recipe a try. And when you do, come back and tell me how it went. Did you add cinnamon? Did you burn the first batch like I did? I want to hear it all. Drop a comment below, share your photos, and let’s make this the season of perfect pumpkin seeds. Happy snacking!
Frequently Asked Questions
Why do I need to boil the pumpkin seeds first?
Boiling softens the outer shell of the seeds, allowing them to roast all the way through. Without this step, the seeds can be chewy in the center and crunchy only on the outside.
Can I use store-bought raw pumpkin seeds?
Absolutely. Look for raw, unsalted pepitas (hulled pumpkin seeds) or whole raw pumpkin seeds. Just skip the rinsing and boiling steps if using pepitas—they don’t need it. For whole raw seeds, still boil them for 5 minutes.
My seeds turned out sticky, not crispy. What went wrong?
This usually happens if the seeds weren’t roasted long enough during the second roast, or if they were stirred while still warm. Let them cool completely without touching them. If they’re still sticky, spread them back on a baking sheet and roast at 300°F for another 5–7 minutes.
Can I make these in an air fryer?
Yes! Preheat the air fryer to 300°F. Roast the boiled and dried seeds for 10 minutes, then toss with the glaze and air fry for another 8–10 minutes, shaking the basket halfway through. Watch closely—air fryers run hot.
How do I get the seeds perfectly clean before roasting?
Rinse the seeds in a colander under cold water, rubbing them between your fingers to loosen any pumpkin strings. Then soak them in a bowl of water for a few minutes—the strings will float to the top. Scoop them off, drain, and pat dry.
Pin This Recipe!
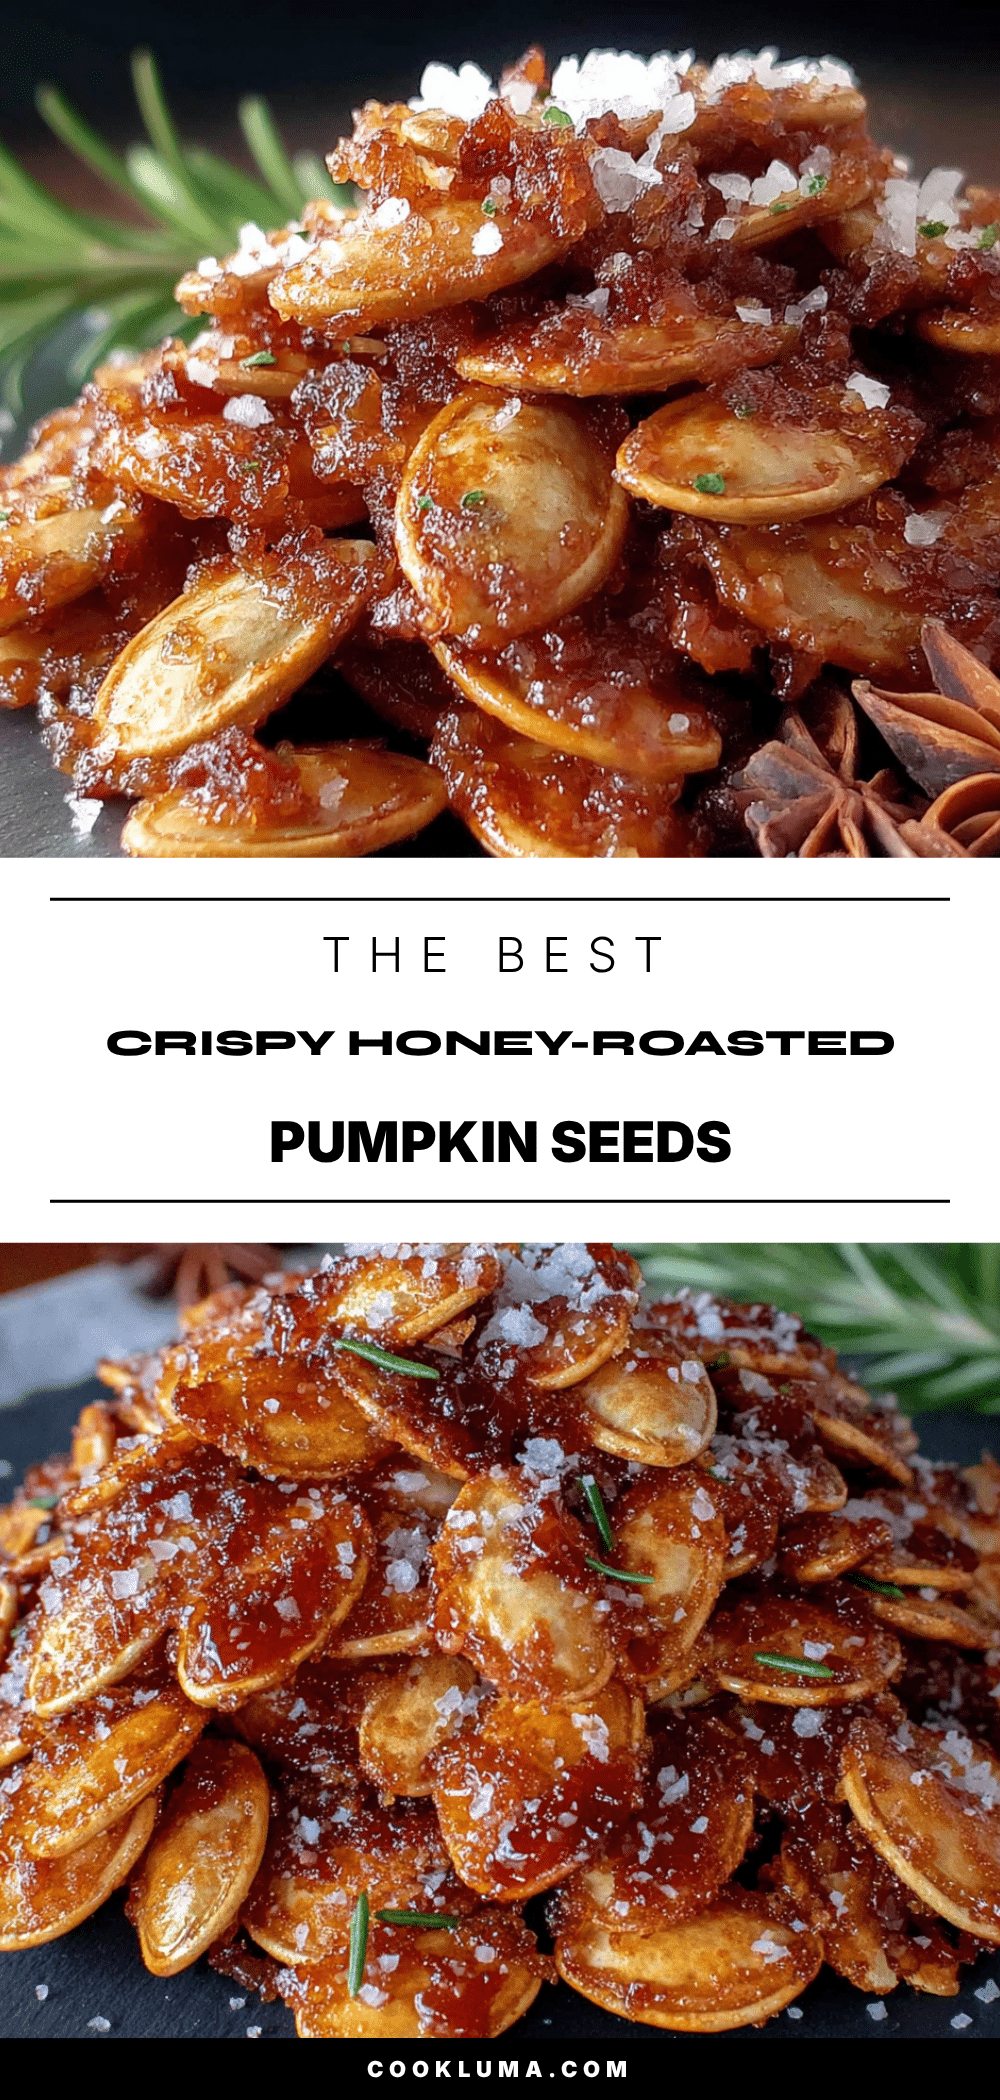
Easy Crispy Honey-Roasted Pumpkin Seeds
These honey-roasted pumpkin seeds are sweet, salty, and shatteringly crisp. A late-night experiment turned into a most-requested snack that disappears at parties.
- Prep Time: 5 minutes
- Cook Time: 40 minutes
- Total Time: 45 minutes
- Yield: 4 servings 1x
- Category: Snack
- Cuisine: American
Ingredients
- 1 ½ cups (180g) fresh pumpkin seeds, rinsed and picked clean of strings
- 3 tablespoons (42g) unsalted butter, melted
- ¼ cup (85g) honey (runny, mild variety like clover or orange blossom)
- ½ teaspoon fine sea salt, plus more for sprinkling at the end
- Optional: pinch of cayenne pepper, ¼ teaspoon cinnamon, or pinch of smoked paprika
Instructions
- Preheat oven to 300°F (150°C). Line a baking sheet with parchment paper.
- Place rinsed pumpkin seeds in a medium saucepan, cover with water by about an inch, and add 1 teaspoon salt. Bring to a boil, then simmer for 10 minutes.
- Drain seeds in a colander and pat very dry with a clean kitchen towel.
- Spread seeds in a single layer on the prepared baking sheet. Roast for 20 minutes, stirring once halfway through.
- While seeds roast, melt butter in a small bowl. Stir in honey and ½ teaspoon salt until combined. Add optional spices if using.
- Remove seeds from oven. Pour honey-butter mixture over them and stir well to coat. Spread back into a single layer.
- Return to oven and roast for 15–20 minutes, stirring every 5 minutes, until deep amber and bubbling.
- Remove from oven and immediately sprinkle with flaky sea salt. Let cool on baking sheet for at least 20 minutes without stirring.
- Once completely cool, break seeds apart with your hands.
Notes
Boiling the seeds first ensures a crispy interior. Stir frequently during the second roast to prevent burning. Let cool completely without stirring for a shatteringly crisp shell. For dairy-free, use coconut oil instead of butter. For lower sugar, use maple syrup (texture will be slightly less brittle).
Nutrition
- Serving Size: ¼ cup (about 30g)
- Calories: 180
- Sugar: 10
- Sodium: 120
- Fat: 12
- Saturated Fat: 4
- Carbohydrates: 14
- Fiber: 2
- Protein: 6
Keywords: pumpkin seeds, honey roasted, crispy, snack, fall, Halloween, sweet and salty


