I wasn’t expecting cooking advice from my accountant, but there I was, sitting in his cramped office during tax season, watching him lick barbecue sauce off his fingers while he described exactly how to make the crispiest chicken thighs he’d ever eaten. Honestly, I’d walked in expecting to discuss deductions and maybe a little small talk about the weather. What I got instead was a passionate, ten-minute monologue about paprika, air fryers, and the “life-changing” texture of perfectly rendered chicken skin.
He told me about this recipe like it was a secret he’d been holding onto for years. Said his grandmother used to make it in a cast-iron skillet, but he’d adapted it for his air fryer one Tuesday night when he was too tired to stand over the stove. “The trick,” he said, leaning forward with this serious look, “isn’t the heat. It’s the patience. You gotta let the skin dry out first.” I scribbled his instructions on the back of a bank statement—which I still have, by the way, tucked into my favorite cookbook.
I went home that night, a little skeptical but mostly curious. I mean, an accountant who eats ribs while doing taxes? That’s a person who knows something about satisfaction. So I tried his method, and let me tell you—it was like a lightbulb went off in my kitchen. The skin was shatteringly crispy, the meat was juicy, and that paprika gave everything this warm, smoky glow. Maybe you’ve been there, where a recipe comes from the most unexpected place and ends up becoming a staple. That’s this recipe for me. It’s cozy, it’s crispy, and it’s the kind of dinner that makes a cold Tuesday night feel like a little celebration.
Why You’ll Love This Recipe
Let’s be honest—chicken thighs are already a forgiving cut of meat. They’re juicy, flavorful, and hard to mess up. But this recipe takes them to a whole new level of crispy, cozy perfection. Here’s why it’s going to become your new favorite weeknight dinner:
- Quick & Easy: Comes together in under 30 minutes from start to finish. Perfect for those nights when you’re staring at the fridge wondering what to make.
- Simple Ingredients: You probably already have everything in your pantry. No fancy grocery trips or obscure spices required.
- Perfect for Cozy Nights: The warm paprika and garlic aroma fills your kitchen and makes everything feel instantly more comforting. Great for cold weather, rainy evenings, or any day that needs a little extra warmth.
- Crowd-Pleaser: I’ve served these to picky kids, skeptical in-laws, and hungry friends. They disappear every single time. The crispy skin is just impossible to resist.
- Unbelievably Delicious: The texture is next-level. You get that deep golden, crunchy exterior with tender, juicy meat underneath. It’s comfort food that feels a little bit fancy without any of the stress.
What makes this recipe different from all the other air fryer chicken recipes out there? It’s the little things. The way we dry the skin thoroughly before seasoning. The perfect balance of smoked paprika and garlic powder. The technique of not overcrowding the basket so every piece gets that glorious, even crispiness. I’ve tested this recipe more times than I can count—some batches were floppy and sad, others were burnt on one side—but this version? It’s the one. It’s the kind of chicken that makes you close your eyes after the first bite. It’s cozy, it’s crispy, and it’s waiting for you.
What Ingredients You Will Need
This recipe uses simple, wholesome ingredients to deliver bold flavor and satisfying texture without the fuss. Most of these are pantry staples, which makes this dish perfect for last-minute cravings or a cozy night in when you don’t want to run to the store.
- Bone-in, skin-on chicken thighs (4-6 pieces, about 2 pounds): This is non-negotiable for maximum crispiness and flavor. The bone keeps the meat juicy, and the skin is what gets that amazing crunch. I prefer thighs that are roughly the same size so they cook evenly.
- Smoked paprika (2 teaspoons): This is the star of the show. It adds a deep, smoky warmth that regular paprika just can’t match. I recommend the Savory Spice Shop brand for the best flavor—it’s got this almost bacon-like smokiness that’s incredible.
- Garlic powder (1 teaspoon): Don’t use garlic salt here—we want pure garlic flavor without extra salt messing with the balance. Garlic powder distributes evenly and gives that savory depth.
- Onion powder (½ teaspoon): Adds a subtle sweetness that rounds out the paprika. It’s easy to skip, but trust me, it makes a difference.
- Salt (1 teaspoon, preferably kosher): Kosher salt is easier to distribute evenly and doesn’t have the bitter aftertaste of some table salts. If you’re using fine salt, reduce to ¾ teaspoon.
- Black pepper (½ teaspoon, freshly ground): Freshly ground pepper adds a little kick that cuts through the richness of the chicken. Pre-ground works in a pinch, but fresh is noticeably better.
- Olive oil (1 tablespoon): Helps the seasoning stick and encourages browning. You can also use avocado oil if you prefer a higher smoke point.
- Optional: Cayenne pepper (¼ teaspoon): If you want a little heat, add this. It doesn’t make the chicken spicy—just gives it a subtle warmth in the background. My accountant friend actually uses a pinch of chipotle powder instead, which is also amazing.
Substitution Guidance:
- If you don’t have smoked paprika, you can use regular sweet paprika plus a drop of liquid smoke. It’s not quite the same, but it works in a pinch.
- For a gluten-free option, this recipe is naturally gluten-free as written. Just double-check your spice blends if you’re sensitive.
- If you’re out of garlic powder, use 2 minced fresh garlic cloves, but add them halfway through cooking so they don’t burn.
- For a dairy-free version, this recipe is already dairy-free. No adjustments needed.
Equipment Needed
You don’t need a lot of fancy tools for this recipe, which is part of its charm. Here’s what you’ll want to have on hand:
- Air fryer (any brand, 5-6 quart capacity recommended): This is obviously essential. I use a Cosori Pro II and love it, but any air fryer will work. Just make sure you don’t overcrowd the basket—cook in batches if needed.
- Paper towels (lots of them): For drying the chicken skin. This step is crucial, so don’t skimp. You want the skin as dry as possible before seasoning.
- Mixing bowl (medium-sized): For tossing the chicken with oil and spices. A stainless steel or glass bowl works great.
- Tongs: For handling the chicken without piercing the skin. Silicone-tipped tongs are gentle and won’t scratch your air fryer basket.
- Instant-read thermometer: Not strictly necessary if you’re experienced, but it takes the guesswork out. Chicken thighs are done at 165°F (74°C), but I pull them at 170°F (77°C) for better texture. The Thermapen is my go-to, but any reliable thermometer works.
- Cutting board and knife: For optional garnishes or if you want to serve the chicken sliced. A sharp chef’s knife makes quick work of it.
Budget-Friendly Alternatives: If you don’t have an air fryer yet, you can use a convection oven set to 400°F (200°C) and bake the chicken on a wire rack over a baking sheet. It takes about 5-10 minutes longer but still gets crispy. I’ve also made these in a regular oven with good results—just flip the chicken halfway through and expect a slightly less crunchy skin.
Preparation Method
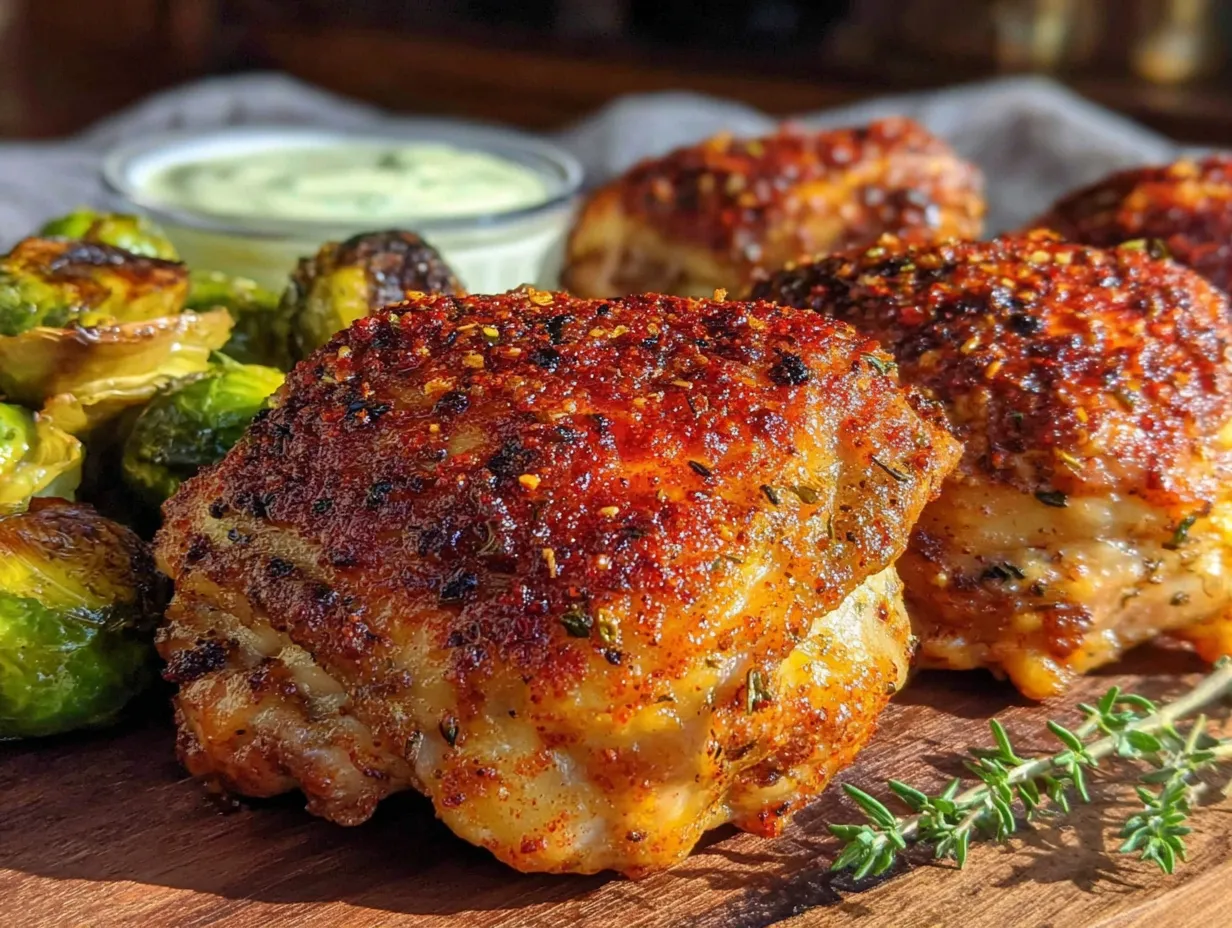
Let’s get cooking. This method is straightforward, but a few small details make all the difference. Follow these steps, and you’ll have the crispiest, most flavorful chicken thighs of your life.
- Pat the chicken completely dry. This is the most important step. Take your chicken thighs out of the package and lay them on a plate lined with paper towels. Use more paper towels to press firmly on the skin, absorbing as much moisture as possible. Flip them over and do the same on the underside. Let them sit for 5 minutes while you prep the seasoning. If the skin feels even slightly damp, pat it again. Moisture is the enemy of crispiness—I learned this the hard way after several batches of sad, rubbery skin.
- Preheat your air fryer to 380°F (193°C). Most air fryers need about 3-5 minutes to preheat. While it’s heating, combine your spices in a small bowl: smoked paprika, garlic powder, onion powder, salt, black pepper, and cayenne if using. Whisk them together with a fork so everything is evenly distributed.
- Season the chicken. Place the dried chicken thighs in a mixing bowl. Drizzle with olive oil and use your hands to rub it all over each piece—both the skin side and the underside. Now sprinkle the spice mixture over the chicken, using your fingers to coat every surface evenly. Don’t be shy about getting the spices into the crevices. I like to massage the seasoning in for about 30 seconds; it helps the flavor penetrate the meat.
- Arrange in the air fryer basket. Place the chicken thighs skin-side down in a single layer. This is crucial—if they’re touching or overlapping, they won’t crisp properly. If your air fryer is small, cook in two batches. I usually do 4 thighs at a time in my 5.8-quart basket. Leave a little space between each piece for air to circulate.
- Cook for 12 minutes at 380°F (193°C). Set your timer and resist the urge to open the basket. Let the air fryer do its magic. The skin will start rendering and browning during this time. You might hear some sizzling—that’s a good sign.
- Flip and cook for another 8-10 minutes. Using tongs, carefully flip each thigh so the skin side is now facing up. Be gentle—the skin is fragile at this stage. Return the basket to the air fryer and cook for an additional 8-10 minutes, or until the internal temperature reaches 170°F (77°C) and the skin is deep golden brown and crispy. If you want extra crunch, add 2 more minutes, but keep an eye on it so it doesn’t burn.
- Rest before serving. Transfer the chicken thighs to a plate or cutting board and let them rest for 5 minutes. This allows the juices to redistribute so every bite is moist and tender. I know it’s tempting to dig in right away, but trust me—the wait is worth it.
Pro Tip: If you’re cooking a larger batch, keep the finished chicken warm in a 200°F (93°C) oven while you cook the remaining pieces. Place them on a wire rack over a baking sheet so they don’t get soggy.
Cooking Tips & Techniques
Over the years, I’ve made plenty of mistakes with air fryer chicken. Here’s what I’ve learned so you don’t have to repeat my failures:
- Don’t skip the drying step. I cannot stress this enough. One time I was in a hurry and just patted the chicken once with a paper towel, thinking it would be fine. The skin came out chewy and spotted with white patches where the moisture had steamed instead of crisped. Take the extra 2 minutes to dry thoroughly.
- Season generously. Chicken thighs can handle a lot of flavor. Don’t be shy with the paprika mixture. I use about 1 teaspoon of seasoning per thigh, which might seem like a lot, but it creates that beautiful crust.
- Watch the temperature. Every air fryer runs a little differently. If yours runs hot (some do), reduce the temperature by 10-15 degrees and cook a few minutes longer. The first time I used a friend’s air fryer, I burned the chicken because I didn’t account for its higher heat.
- Don’t overcrowd. This is the number one mistake people make. If the chicken pieces are touching, the steam gets trapped and you lose crispiness. Cook in batches if you have to. It adds 10 minutes to the total time, but the texture is infinitely better.
- Let the chicken come to room temperature. If your chicken is straight from the fridge, let it sit on the counter for 15 minutes before seasoning. Cold meat takes longer to cook, which can dry out the exterior before the inside is done.
- Use a thermometer. I know I sound like a broken record, but it’s the only way to guarantee perfectly cooked chicken. Chicken thighs are forgiving, but undercooked is unsafe and overcooked is dry. Aim for 170°F (77°C) for the juiciest results.
Variations & Adaptations
This recipe is incredibly versatile. Here are a few ways to switch it up depending on your mood, dietary needs, or what’s in your pantry:
- Spicy Honey Glaze: In the last 2 minutes of cooking, brush the chicken with a mixture of 2 tablespoons honey and ½ teaspoon cayenne pepper. The sweetness balances the smoky paprika beautifully. I tried this on a whim one night when I was craving something sweet and spicy, and it’s now my husband’s favorite version.
- Lemon Herb Twist: Add 1 teaspoon dried oregano and ½ teaspoon lemon zest to the spice mixture. After cooking, squeeze fresh lemon juice over the chicken. This brightens up the dish and makes it feel lighter—perfect for spring or summer evenings.
- Garlic Parmesan Crust: After flipping the chicken, sprinkle 2 tablespoons grated Parmesan cheese over the skin. The cheese melts and crisps up, adding a savory, nutty layer. Just watch it carefully so the cheese doesn’t burn. I’ve had a few batches where the Parmesan got a little too toasty—still delicious, but not as pretty.
- Sheet Pan Version: If you’re cooking for a crowd, skip the air fryer and use your oven. Preheat to 425°F (218°C), place the seasoned chicken on a wire rack over a baking sheet, and bake for 35-40 minutes, flipping halfway through. The skin won’t be quite as crispy as the air fryer, but it’s still fantastic.
- Dairy-Free Adaptation: This recipe is naturally dairy-free, so no changes needed. Just double-check your spice blends if you’re avoiding dairy.
- Low-Sodium Option: Reduce the salt to ½ teaspoon and add 1 teaspoon of lemon zest for flavor without the sodium. You can also use a salt-free seasoning blend if you prefer.
Serving & Storage Suggestions
These crispy chicken thighs are incredibly versatile when it comes to serving. Here’s how to make the most of them:
Serving Temperature: Serve the chicken hot, straight from the air fryer. The skin is at its crispiest within the first 10 minutes. If you need to hold it, keep it in a warm oven on a wire rack—not wrapped in foil, which traps steam and softens the skin.
What to Serve With: These thighs pair beautifully with simple sides that let the chicken shine. Try mashed potatoes or roasted sweet potatoes for a cozy, comforting meal. A crisp green salad with a tangy vinaigrette cuts through the richness perfectly. For a low-carb option, serve with roasted broccoli or cauliflower rice. I also love them with a side of creamy coleslaw—the crunch and acidity are a great contrast.
Beverage Pairings: A light, crisp white wine like Sauvignon Blanc or a dry rosé complements the smoky paprika. For beer lovers, a pale ale or pilsner works beautifully. If you’re in the mood for something non-alcoholic, try sparkling water with a splash of lemon or a cold glass of iced tea.
Storage Instructions: Leftover chicken can be stored in an airtight container in the refrigerator for up to 4 days. To reheat, place the chicken back in the air fryer at 350°F (175°C) for 3-5 minutes, or until heated through and crispy. Avoid the microwave—it makes the skin rubbery. If you’re in a hurry, you can reheat in a 400°F (200°C) oven for 8-10 minutes.
Freezing: Cooked chicken thighs freeze beautifully. Let them cool completely, then wrap each piece individually in plastic wrap and place in a freezer-safe bag. They’ll keep for up to 3 months. To reheat, thaw in the refrigerator overnight, then reheat in the air fryer as directed above.
Flavor Development: Interestingly, the flavors deepen overnight. Leftover chicken is great chopped up in salads, sandwiches, or over rice bowls. The paprika and garlic meld together even more, so don’t be afraid to make extra on purpose.
Nutritional Information & Benefits
Here’s the approximate nutritional breakdown per serving (based on 4 servings, using bone-in skin-on chicken thighs):
| Nutrient | Amount per Serving |
|---|---|
| Calories | 320 |
| Protein | 28g |
| Fat | 22g |
| Saturated Fat | 6g |
| Carbohydrates | 2g |
| Fiber | 1g |
| Sugar | 0g |
| Sodium | 620mg |
Health Benefits: Chicken thighs are a great source of high-quality protein, which supports muscle health and keeps you feeling full. They also contain B vitamins, particularly B6 and B12, which are important for energy metabolism. Smoked paprika is rich in antioxidants, including capsaicin, which has anti-inflammatory properties. The olive oil provides healthy monounsaturated fats that support heart health.
Dietary Considerations: This recipe is naturally gluten-free, dairy-free, and low-carb (only 2g of carbs per serving). It’s also suitable for keto and paleo diets. If you’re watching your sodium, reduce the salt to ½ teaspoon and use a salt-free seasoning blend. The cayenne pepper is optional, so you can easily make this mild for sensitive palates.
Potential Allergens: This recipe is free of the top allergens (dairy, eggs, nuts, soy, wheat). However, if you have specific allergies, always double-check your spice blends for cross-contamination.
Conclusion
So there you have it—crispy, cozy, paprika-spiced chicken thighs that came to me from the most unexpected source: my accountant. Honestly, I think about that conversation every time I make this recipe. It’s a reminder that good food can come from anywhere, and sometimes the best recipes are the ones we stumble into when we least expect them.
This recipe is worth trying because it delivers on every promise: crispy skin, juicy meat, bold flavor, and minimal effort. It’s the kind of dinner that makes a regular weeknight feel special, and it’s versatile enough to adapt to whatever you’re craving. Whether you keep it classic with just paprika and garlic, or you experiment with the honey glaze or lemon herb version, I promise you’ll love it.
I’d love to hear how it turns out for you. Did you try a variation? Did your family gobble it up? Leave a comment below and let me know—I read every single one. And if you’re looking for more cozy, crispy recipes, check out our air fryer chicken recipes for more weeknight inspiration. Happy cooking, friends. May your chicken always be crispy and your evenings always be cozy.
Frequently Asked Questions
Can I use boneless, skinless chicken thighs for this recipe?
You can, but the results won’t be as crispy or juicy. Boneless thighs cook faster and don’t have the same fat content to render. If you use them, reduce the cooking time to about 10-12 minutes total, and expect a less crunchy exterior. For the best texture, stick with bone-in, skin-on thighs.
Why is my air fryer chicken not crispy?
The most common reasons are: the skin wasn’t dried thoroughly before seasoning, the air fryer was overcrowded, or the temperature was too low. Make sure you pat the chicken completely dry with paper towels, leave space between pieces in the basket, and cook at 380°F (193°C) for the full time. Also, don’t skip the flip—cooking skin-side down first helps render the fat.
Can I prepare this recipe ahead of time?
Absolutely. You can season the chicken up to 24 hours in advance and store it covered in the refrigerator. This actually helps the flavors penetrate deeper. When you’re ready to cook, let the chicken sit at room temperature for 15 minutes, then follow the cooking instructions as written. The cooking time may be slightly longer if the chicken is very cold.
How do I reheat leftover chicken thighs without losing crispiness?
The best method is to reheat them in the air fryer at 350°F (175°C) for 3-5 minutes. This brings back the crunch without drying out the meat. If you don’t have an air fryer, use a 400°F (200°C) oven for 8-10 minutes. Avoid the microwave at all costs—it will make the skin rubbery and sad.
Can I use this seasoning blend on other meats?
Yes! This paprika-garlic blend is fantastic on chicken breasts, pork chops, or even salmon. For chicken breasts, reduce the cooking time to 10-12 minutes at 375°F (190°C). For pork chops, cook at 380°F (193°C) for 12-14 minutes. The smoky, savory flavor works beautifully with almost any protein. I’ve even used it on roasted vegetables like cauliflower and Brussels sprouts with great results.
Pin This Recipe!
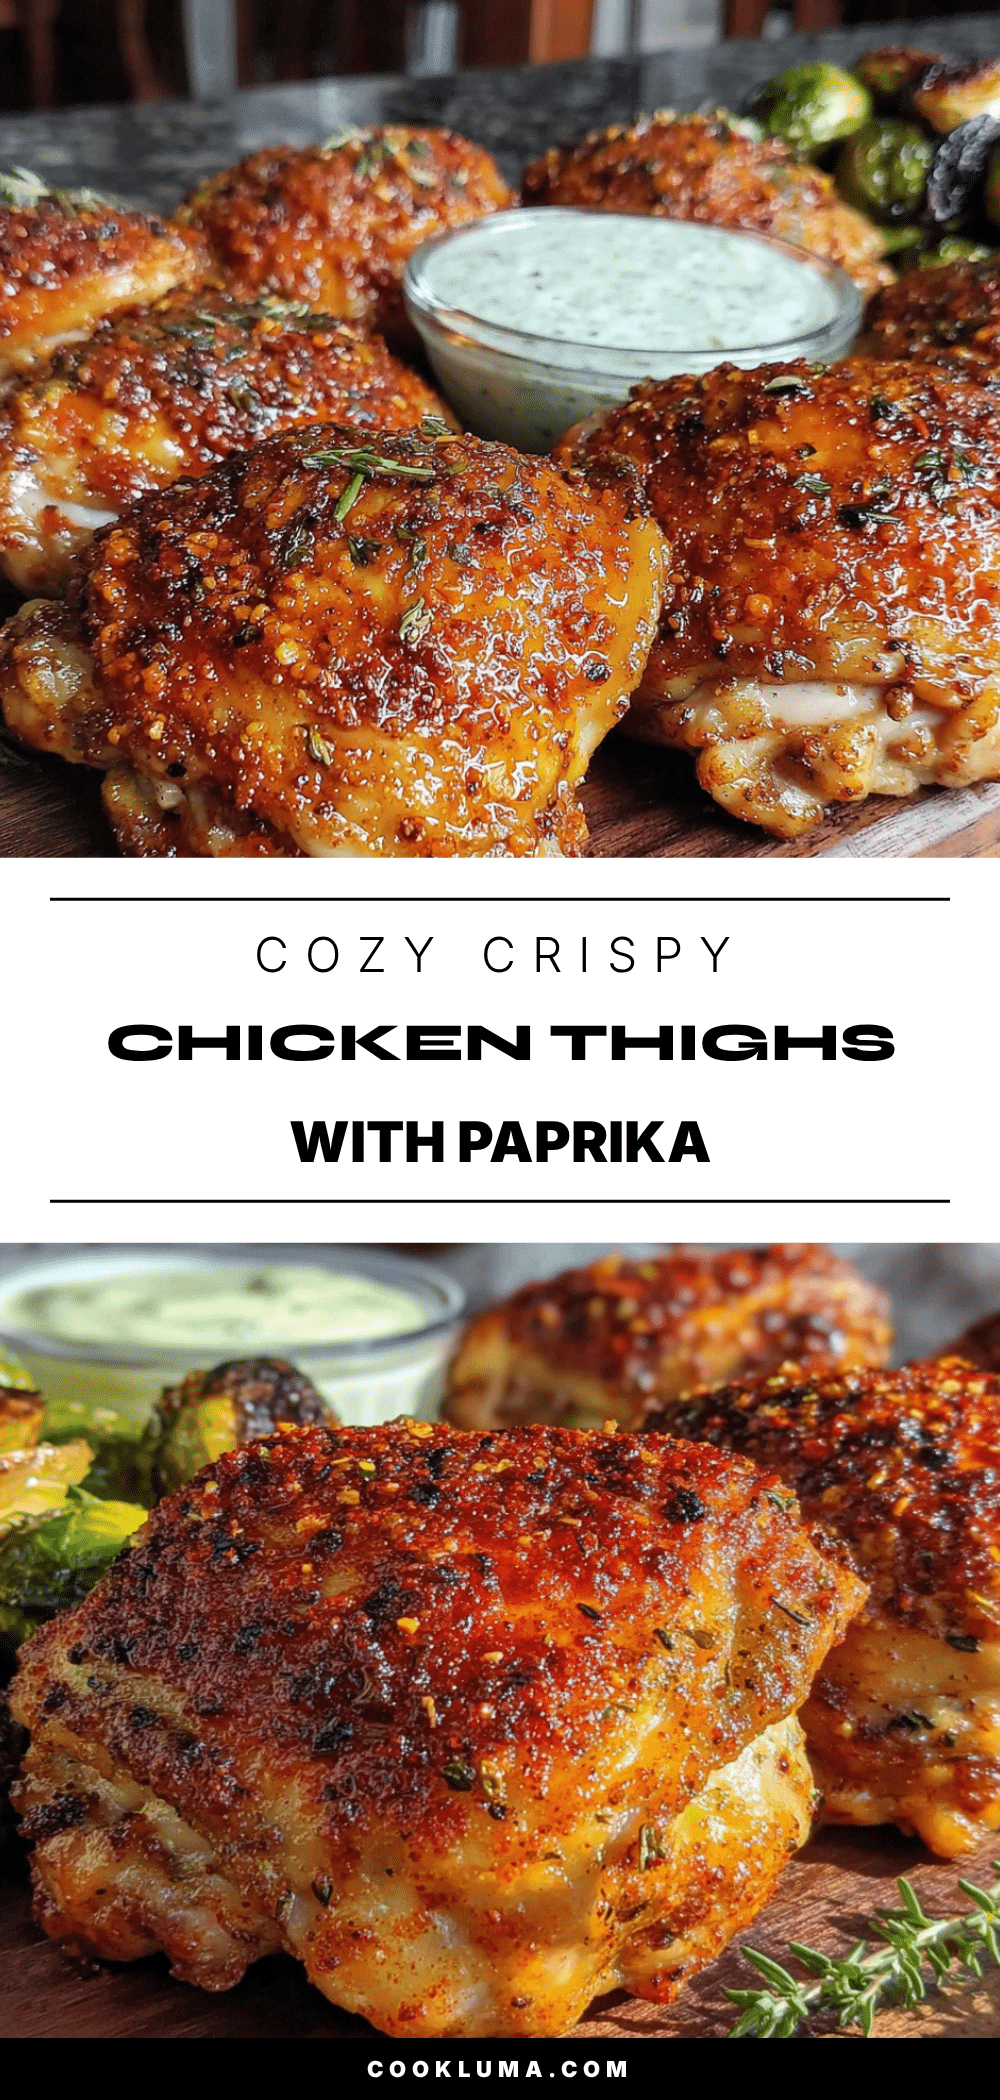
Easy Crispy Air Fryer Chicken Thighs with Paprika

Crispy, juicy air fryer chicken thighs seasoned with smoked paprika and garlic powder. A quick and easy weeknight dinner that delivers shatteringly crispy skin and tender meat in under 30 minutes.
- Prep Time: 10 minutes
- Cook Time: 20 minutes
- Total Time: 30 minutes
- Yield: 4 servings 1x
- Category: Main Course
- Cuisine: American
Ingredients
- 4–6 bone-in, skin-on chicken thighs (about 2 pounds)
- 2 teaspoons smoked paprika
- 1 teaspoon garlic powder
- ½ teaspoon onion powder
- 1 teaspoon kosher salt
- ½ teaspoon freshly ground black pepper
- 1 tablespoon olive oil
- ¼ teaspoon cayenne pepper (optional)
Instructions
- Pat the chicken completely dry with paper towels. Let sit for 5 minutes.
- Preheat air fryer to 380°F (193°C).
- In a small bowl, combine smoked paprika, garlic powder, onion powder, salt, black pepper, and cayenne (if using).
- Place dried chicken thighs in a mixing bowl. Drizzle with olive oil and rub all over. Sprinkle spice mixture over chicken and massage to coat evenly.
- Arrange chicken thighs skin-side down in a single layer in the air fryer basket, leaving space between pieces.
- Cook at 380°F (193°C) for 12 minutes.
- Flip chicken thighs skin-side up using tongs. Cook for another 8-10 minutes, until internal temperature reaches 170°F (77°C) and skin is deep golden brown and crispy.
- Transfer to a plate and let rest for 5 minutes before serving.
Notes
For extra crunch, add 2 more minutes of cooking time. If cooking in batches, keep finished chicken warm in a 200°F (93°C) oven on a wire rack. Let chicken come to room temperature for 15 minutes before seasoning for more even cooking.
Nutrition
- Serving Size: 1 chicken thigh
- Calories: 320
- Sodium: 620
- Fat: 22
- Saturated Fat: 6
- Carbohydrates: 2
- Fiber: 1
- Protein: 28
Keywords: air fryer chicken thighs, crispy chicken thighs, paprika chicken, easy chicken recipe, weeknight dinner, gluten-free, dairy-free


