It was 11:17 PM on a random Wednesday, and I was hit with an absurd craving for Thanksgiving stuffing. Not the polite, family-dinner version—I wanted the crispy, buttery, herb-loaded bits from the bottom of the baking dish. The problem? It was November, sure, but it was also 11 PM on a Wednesday, and my fridge held none of the usual suspects. No stale bread cubes. No celery. No dried sage that hadn’t turned into dust. I did have a half-empty bag of pork sausage links from last weekend’s breakfast, a sad handful of fresh cranberries that were dangerously close to going soft, and a box of plain stuffing mix I’d bought on a whim because it was on sale. Honestly, I almost closed the fridge and settled for toast.
But that craving wouldn’t let go. So I did something slightly unhinged: I decided to make stuffing balls. In 30 minutes. With what I had. I crumbled the sausage straight into a hot pan—no defrosting, no patience—and let it get properly brown while I boiled water for the stuffing mix. I threw the cranberries in with the sausage because I was too lazy to chop them, and they burst into these gorgeous little pockets of tartness. I rolled the whole mess into balls—because somehow, balls feel more intentional than a scoop—and baked them just long enough to get that crispy outer shell I was dreaming about. Let me tell you, pulling those golden, fragrant spheres out of the oven at midnight felt like winning a small, weird lottery.
Maybe you’ve been there—standing in your kitchen at a ridiculous hour, wanting something that feels like comfort but not having the energy for a full production. These Sausage and Cranberry Stuffing Balls were born out of that exact energy: tired, hungry, and stubborn. And honestly? They’ve become my go-to for actual Thanksgiving now, too. They’re faster, less fussy, and somehow even more satisfying than the traditional dish. This recipe stayed with me because it proved that sometimes the best cooking happens when you stop following the rules and start following your hunger.
Why You’ll Love This Recipe
These aren’t just another side dish—they’re the kind of recipe that makes you wonder why you ever bothered with the full casserole. I’ve tested this dozens of times (for weeknight dinners, holiday parties, and even a Super Bowl spread), and each time, they disappear first. Here’s why they work so well:
- Quick & Easy: From fridge to table in 30 minutes flat. No overnight drying of bread, no chopping marathon, no fussing with a whole bird. Perfect for a Tuesday night when you need comfort food, fast.
- Simple Ingredients: You likely already have most of what you need—stuffing mix, sausage, cranberries, eggs, broth. No fancy grocery store detours required.
- Perfect for Weeknights & Holidays: They’re casual enough for a regular dinner but polished enough for the Thanksgiving table. I’ve brought them to Friendsgiving and watched people hover around the platter.
- Crowd-Pleaser: Kids love the portable ball shape, adults love the savory-sweet combo, and everyone loves the crispy edges. They’re impossible to resist.
- Unbelievably Delicious: The sausage adds richness, the cranberries cut through with brightness, and the stuffing mix gets perfectly crisp on the outside while staying tender inside. It’s next-level comfort food in a handheld form.
What makes this different from every other stuffing recipe out there? It’s the texture. By rolling them into balls and baking them on a sheet pan, every single piece gets that coveted crispy exterior. No more fighting over the corner pieces of the casserole dish. Plus, the cranberries aren’t just an afterthought—they’re cooked right into the sausage, so every bite has that sweet-tart pop. This isn’t just another version of stuffing. It’s the version you’ll actually want to make on a random Wednesday night.
What Ingredients You Will Need
This recipe relies on a short list of pantry-friendly ingredients that come together to create something far greater than the sum of their parts. The beauty is in the balance—savory sausage, tart cranberries, and herb-infused stuffing all in one tidy package.
- 1 lb ground pork sausage (mild or spicy, your call—I prefer Johnsonville or Jimmy Dean for consistent flavor and fat content; if using links, remove the casings first)
- 1 cup fresh or frozen cranberries (if using frozen, no need to thaw—they’ll burst beautifully during cooking; fresh cranberries give a slightly firmer pop)
- 1 box (6 oz) seasoned stuffing mix (I use Pepperidge Farm Herb Seasoned Stuffing; the cubes are the perfect size for rolling into balls)
- 1 ¼ cups low-sodium chicken broth (or vegetable broth for a lighter flavor; low-sodium is key so you control the salt)
- 2 large eggs, lightly beaten (these act as the binder—without them, the balls won’t hold together)
- ¼ cup unsalted butter, melted (adds richness and helps the balls brown evenly)
- ½ cup finely chopped yellow onion (about half a medium onion; white onion works too, but yellow has the best savory depth)
- 2 cloves garlic, minced (fresh is best here—skip the jarred stuff for this one)
- 1 tablespoon fresh sage, chopped (or 1 teaspoon dried sage; fresh makes a noticeable difference in aroma)
- 1 teaspoon fresh thyme leaves (or ½ teaspoon dried thyme; rub dried herbs between your palms to release the oils)
- ½ teaspoon black pepper (freshly ground if you can—it really matters)
- ¼ teaspoon salt (go easy—the sausage and stuffing mix are already salty)
Ingredient Selection Tips: For the best texture, look for sausage with a higher fat content (around 20-25%). Lean sausage will make the balls drier. If you can find fresh cranberries in season, grab an extra bag and freeze them—they keep for months. The stuffing mix is non-negotiable for speed; homemade bread cubes would need drying time, and let’s be honest, we’re here for the 30-minute promise.
Substitution Guidance: Use turkey sausage for a lighter option, or swap in spicy Italian sausage for heat. For a gluten-free version, use gluten-free stuffing mix and double-check your sausage label. Cranberries can be swapped with dried cherries or chopped dried apricots (reduce to ½ cup and rehydrate in warm water for 10 minutes first). If you’re out of fresh herbs, dried works—just use half the amount.
Equipment Needed
You don’t need a fancy kitchen to make these. Here’s what you’ll need:
- Large skillet or frying pan (12-inch is ideal; nonstick makes cleanup easier, but stainless steel works fine)
- Large mixing bowl (big enough to fit all the ingredients without overflow—I use my grandmother’s old ceramic one, but any large bowl works)
- Baking sheet or sheet pan (rimmed is best to catch any drips; line with parchment paper for easy cleanup)
- Wooden spoon or spatula (for breaking up the sausage as it cooks)
- Measuring cups and spoons
- Chef’s knife and cutting board
- Small saucepan (to heat the broth and melt the butter)
- Cookie scoop or tablespoon (for uniform balls—a 2-tablespoon scoop is perfect; I’ve used my hands in a pinch, but the scoop is faster and less messy)
Budget-Friendly Note: If you don’t have a cookie scoop, just use two spoons or lightly oiled hands. The balls don’t need to be perfectly round—rustic is charming. And if you’re missing a skillet, any oven-safe pan works since we’re not baking in it.
Preparation Method
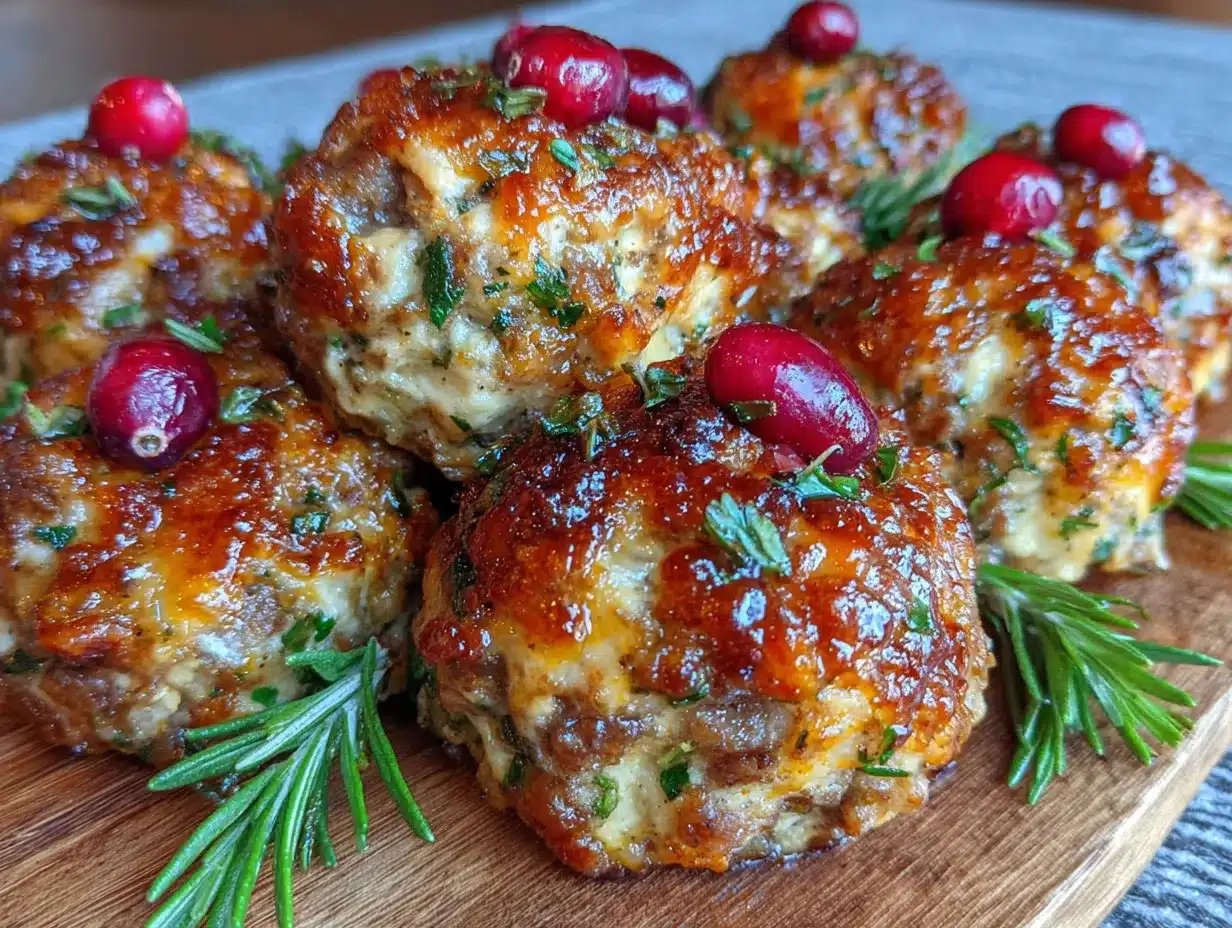
Let’s get these on the table in 30 minutes. Here’s the step-by-step—I’ve included all the little cues I wish someone had told me the first time.
- Preheat your oven to 400°F (200°C). Line a baking sheet with parchment paper. This isn’t just for cleanup—it prevents the bottoms from sticking and burning.
- Cook the sausage. Place your large skillet over medium-high heat. Add the ground sausage and break it apart with your wooden spoon. Cook for 5-7 minutes, stirring occasionally, until it’s browned and no longer pink. You want some crispy bits—those are flavor gold. Don’t drain all the fat; leave about a tablespoon in the pan for moisture. If you’re using sausage links, remove the casings before cooking (just slit them with a knife and squeeze the meat out).
- Add the aromatics. Reduce heat to medium. Add the chopped onion to the skillet with the sausage. Cook for 2-3 minutes until the onion softens and turns translucent. Add the minced garlic and cook for 30 seconds more—just until fragrant. You’ll know it’s ready when your kitchen smells like a diner at breakfast time.
- Bloom the cranberries. Toss in the cranberries. Cook for 2 minutes, stirring frequently. You’ll hear them start to pop—that’s the sound of magic. They’ll soften and release some juice, which will tint the sausage a beautiful pinkish-red. If using frozen cranberries, they’ll take an extra minute to cook down.
- Prepare the stuffing base. While the sausage mixture cooks, combine the stuffing mix, melted butter, chicken broth, beaten eggs, chopped sage, thyme, black pepper, and salt in your large mixing bowl. Stir until everything is evenly moistened. The mixture should look like wet sand—not soupy, but not dry either. Let it sit for 2 minutes so the bread cubes can absorb the liquid.
- Combine everything. Add the cooked sausage-cranberry mixture (including any juices in the pan) to the bowl with the stuffing mixture. Fold together gently with a spatula until fully combined. Don’t overmix—you want some texture, not a paste. Taste a tiny bit (yes, it’s safe since the sausage is cooked) and adjust salt or pepper if needed.
- Form the balls. Using your cookie scoop or a heaping tablespoon, portion the mixture into balls about 1.5 inches in diameter. Roll them gently between your palms to round them out—they should hold together easily. If they feel too loose, add a tablespoon more broth or an extra beaten egg. Place each ball on the prepared baking sheet, spacing them about an inch apart. You should get 18-20 balls.
- Bake to golden perfection. Bake for 12-15 minutes, until the tops are golden brown and the edges are crispy. Halfway through, rotate the pan for even browning. You’ll know they’re done when the kitchen smells like Thanksgiving and the balls feel firm to a gentle touch. For extra crispy edges, switch the oven to broil for the last 1-2 minutes—but watch them closely, they burn fast.
- Rest and serve. Let the stuffing balls rest on the baking sheet for 2-3 minutes before transferring to a serving platter. This lets the insides set so they don’t fall apart when you pick them up. Serve warm, with extra cranberry sauce on the side if you’re feeling fancy.
Pro Tip from My Midnight Experiment: The first time I made these, I skipped the parchment paper and spent 20 minutes scrubbing the baking sheet. Don’t be me. Parchment paper is your friend.
Cooking Tips & Techniques
I’ve made these balls at least twenty times now, and I’ve learned a few things the hard way. Here’s what I wish I’d known from the start:
Don’t overwork the mixture. The first batch I made came out dense and tough because I kept squeezing and rolling and re-rolling like I was making meatballs. Stuffing balls are more delicate—mix until just combined, roll gently, and let the oven do the rest. Overworking activates the gluten in the bread cubes, and nobody wants hockey-puck stuffing.
Watch your moisture levels. Stuffing mix brands absorb liquid differently. If your mixture looks dry and crumbly, add broth one tablespoon at a time until it holds together. If it’s too wet and sticky, add a handful more stuffing mix or crushed croutons. The perfect texture should feel like slightly damp sand that clumps when squeezed.
Use a rimmed baking sheet. I learned this one the messy way. The first time, I used a flat cookie sheet, and the butter-broth mixture dripped all over my oven floor, smoking up the kitchen. A rimmed sheet catches all that goodness and keeps your oven clean.
Make them ahead for holidays. This is my favorite trick: form the balls up to 24 hours in advance, arrange them on the baking sheet, cover with plastic wrap, and refrigerate. When you’re ready to bake, just add 5 minutes to the cooking time. It’s a lifesaver on Thanksgiving morning when the oven is already crowded.
The secret to even browning. If your balls are browning too fast on the bottom but staying pale on top, flip them halfway through baking. Use a spatula to gently turn each ball over. This gives you that gorgeous golden crust all around.
My biggest failure: I once tried to deep-fry these. Don’t. They absorb too much oil and turn into greasy sponges. Baking is the way—it gives you the crispy exterior without the heaviness.
Variations & Adaptations
One of the best things about this recipe is how flexible it is. I’ve tweaked it for different diets, seasons, and cravings. Here are a few versions I’ve tried and loved:
Vegetarian Version: Swap the sausage for 1 cup of finely chopped mushrooms (cremini or shiitake work best) and ½ cup of cooked lentils. Sauté the mushrooms until they release their liquid and start to brown, then proceed with the recipe. The mushrooms add that savory, umami depth you’d miss from the sausage. My vegetarian friend Devin couldn’t tell the difference—she thought I’d used meat.
Spicy Cajun Style: Use andouille sausage instead of regular pork sausage, add ½ teaspoon of Cajun seasoning to the stuffing mix, and swap the cranberries for ½ cup of diced andouille or tasso ham. The smoky heat pairs beautifully with the sweetness of the cranberries. I made this version for a Mardi Gras party, and people were sneaking extras into their pockets.
Apple-Sage Twist: Add ½ cup of finely diced Granny Smith apple (peeled) along with the onions. The apple softens and adds a subtle sweetness that complements the cranberries. Increase the fresh sage to 2 tablespoons. This is my go-to fall version—it tastes like autumn in a ball.
Gluten-Free Adaptation: Use a gluten-free stuffing mix (like Aleia’s or homemade gluten-free bread cubes). Check that your sausage is gluten-free (some brands use fillers). Everything else in the recipe is naturally gluten-free. The texture will be slightly more crumbly, so let the mixture rest for 5 minutes before rolling to give the bread more time to absorb.
Dairy-Free Version: Substitute the butter with olive oil or a plant-based butter (I like Miyoko’s). Use vegetable broth instead of chicken broth. Everything else remains the same. The balls won’t be quite as rich, but they’ll still be delicious.
Personal Variation I Swear By: Sometimes I add ¼ cup of toasted pecans, chopped, to the mixture. They add crunch and a nutty warmth that makes the balls feel extra special. I did this on a whim one Christmas, and now my family requests it every year.
Serving & Storage Suggestions
These stuffing balls are incredibly versatile when it comes to serving. Here’s how I like to enjoy them:
Serving Temperature: Serve them warm, straight from the oven. The contrast between the crispy exterior and the tender interior is best within the first 15 minutes. If you’re serving them as part of a larger meal, keep them warm in a 200°F oven on the baking sheet until ready to serve.
Presentation Ideas: Arrange the balls on a wooden board or platter, with a small bowl of cranberry sauce or gravy in the center for dipping. For a holiday table, garnish with fresh sage leaves and a sprinkle of flaky sea salt. For a casual weeknight, just pile them on a plate—they’re not fussy.
What to Serve With Them: These are fantastic alongside roasted chicken, turkey, or pork chops. They also work as a standalone meal with a side of roasted vegetables or a simple green salad. For breakfast (yes, breakfast), serve them with fried eggs and a drizzle of maple syrup—trust me on this one.
Storage Instructions: Let any leftover balls cool completely, then store in an airtight container in the refrigerator for up to 4 days. To freeze, arrange the cooled balls on a baking sheet and freeze until solid (about 2 hours), then transfer to a freezer-safe bag or container. They’ll keep for up to 3 months.
Reheating Methods: For best results, reheat in a 350°F oven for 8-10 minutes (from refrigerated) or 15-18 minutes (from frozen). The microwave works in a pinch (30-45 seconds per ball), but you’ll lose the crispy exterior. I actually prefer them reheated in an air fryer at 350°F for 4-5 minutes—they come out almost as good as fresh.
Flavor Development: Here’s a secret: these balls actually taste better the next day. The flavors meld overnight, and the cranberries seem to get even more pronounced. I often make a double batch just so I can have leftovers for lunch.
Nutritional Information & Benefits
While these are definitely a comfort food, they’re not without their redeeming qualities. Here’s the estimated nutritional breakdown per serving (3 balls):
Calories: 320 | Protein: 16g | Fat: 18g | Carbohydrates: 28g | Fiber: 3g | Sugar: 6g | Sodium: 680mg
Health Benefits: The pork sausage provides a good dose of protein and B vitamins, especially B12, which supports energy metabolism. Cranberries are packed with antioxidants and vitamin C—they’re known for supporting urinary tract health and reducing inflammation. The onions and garlic offer prebiotic fiber that feeds your gut microbiome. And fresh herbs like sage and thyme contain compounds with anti-inflammatory properties.
Dietary Considerations: This recipe can be made gluten-free and dairy-free with simple substitutions (see variations). It’s naturally nut-free (unless you add the pecans). The sodium content is moderate—using low-sodium broth helps keep it in check. For a lower-fat version, use turkey sausage and reduce the butter to 2 tablespoons.
Personal Wellness Perspective: I don’t believe in labeling foods as “good” or “bad.” These stuffing balls are a celebration food, meant to be enjoyed without guilt. The protein and fiber will keep you satisfied, and the whole-food ingredients are a far cry from processed snacks. Balance is key—enjoy them as part of a varied diet, and don’t overthink it.
Conclusion
These Sausage and Cranberry Stuffing Balls have become a staple in my kitchen, and I think they deserve a spot in yours, too. They’re proof that you don’t need a holiday or a special occasion to enjoy the flavors of comfort food. Whether you’re making them on a random Wednesday night (like I did that first time), bringing them to a potluck, or adding them to your Thanksgiving spread, they deliver every single time.
What I love most about this recipe is how forgiving it is. You can swap ingredients, adjust the seasonings, make them ahead, or double the batch—they always turn out delicious. They’ve saved me from hangry evenings, impressed dinner guests, and become a tradition I look forward to every fall.
Now it’s your turn. Give these a try, and don’t be afraid to make them your own. Add extra herbs, throw in some nuts, or spice them up—the recipe is just a starting point. I’d love to hear how they turn out for you. Drop a comment below and let me know your favorite variation, or tag me in your photos if you share them online. Happy cooking, friend—you’ve got this.
Frequently Asked Questions
Can I make these stuffing balls ahead of time for a holiday dinner?
Absolutely! You can form the balls up to 24 hours in advance, arrange them on the baking sheet, cover with plastic wrap, and refrigerate. When you’re ready to bake, add about 5 minutes to the cooking time. They’re perfect for reducing stress on the big day.
Can I use homemade bread cubes instead of boxed stuffing mix?
Yes, but you’ll need to dry them first. Spread 4 cups of cubed bread on a baking sheet and bake at 300°F for 10-12 minutes until dry but not browned. Then season with 1 teaspoon dried sage, ½ teaspoon dried thyme, and ¼ teaspoon black pepper. You may need to adjust the broth amount since homemade cubes absorb differently.
Why are my stuffing balls falling apart?
This usually happens for one of three reasons: the mixture is too dry (add more broth or an extra egg), the balls weren’t rolled firmly enough (apply gentle but consistent pressure), or they didn’t bake long enough (the egg needs time to set). Let them rest on the baking sheet for 2-3 minutes after baking—they firm up as they cool.
Can I cook these in an air fryer instead of the oven?
Yes! Preheat your air fryer to 375°F. Arrange the balls in a single layer in the basket (you may need to work in batches). Cook for 8-10 minutes, shaking the basket halfway through, until golden brown and crispy. They cook faster in the air fryer, so keep an eye on them.
How do I make these vegetarian or vegan?
For vegetarian, swap the sausage with 1 cup finely chopped mushrooms and ½ cup cooked lentils (see variations above). Use vegetable broth. For vegan, use a flax egg (1 tablespoon ground flaxseed mixed with 3 tablespoons water, let sit for 5 minutes) instead of the regular egg, and use plant-based butter. The texture will be slightly more delicate, so handle gently.
Pin This Recipe!
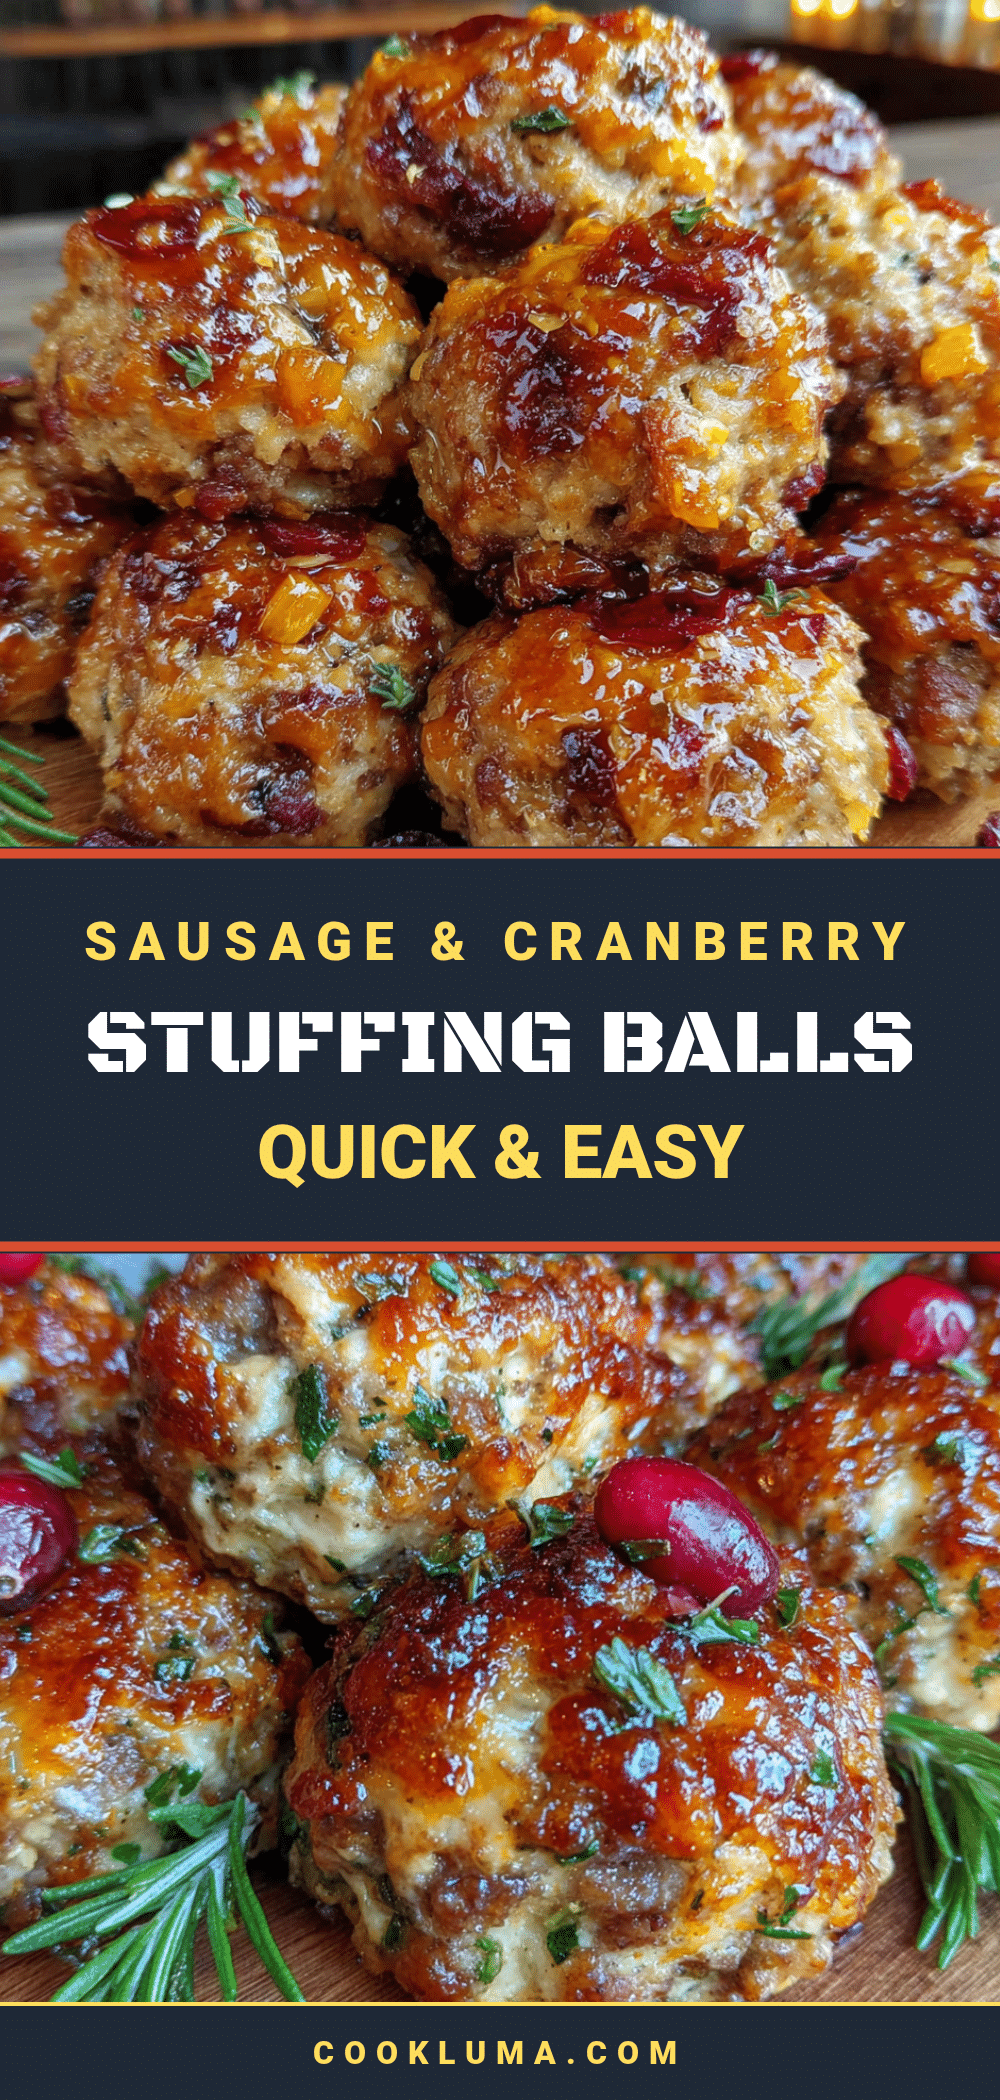
Easy 30-Minute Sausage and Cranberry Stuffing Balls

These Sausage and Cranberry Stuffing Balls are a quick and easy comfort food, perfect for weeknights or holiday gatherings. Made with simple ingredients like sausage, cranberries, and stuffing mix, they deliver a crispy exterior and tender interior in just 30 minutes.
- Prep Time: 15 minutes
- Cook Time: 15 minutes
- Total Time: 30 minutes
- Yield: 6 servings (3 balls per serving) 1x
- Category: Side Dish
- Cuisine: American
Ingredients
- 1 lb ground pork sausage (mild or spicy)
- 1 cup fresh or frozen cranberries
- 1 box (6 oz) seasoned stuffing mix (e.g., Pepperidge Farm Herb Seasoned Stuffing)
- 1 ¼ cups low-sodium chicken broth
- 2 large eggs, lightly beaten
- ¼ cup unsalted butter, melted
- ½ cup finely chopped yellow onion
- 2 cloves garlic, minced
- 1 tablespoon fresh sage, chopped (or 1 teaspoon dried sage)
- 1 teaspoon fresh thyme leaves (or ½ teaspoon dried thyme)
- ½ teaspoon black pepper, freshly ground
- ¼ teaspoon salt
Instructions
- Preheat your oven to 400°F (200°C). Line a baking sheet with parchment paper.
- Cook the sausage: Place a large skillet over medium-high heat. Add the ground sausage and break it apart with a wooden spoon. Cook for 5-7 minutes, stirring occasionally, until browned and no longer pink. Leave about a tablespoon of fat in the pan.
- Add the aromatics: Reduce heat to medium. Add the chopped onion to the skillet and cook for 2-3 minutes until softened. Add the minced garlic and cook for 30 seconds more until fragrant.
- Bloom the cranberries: Toss in the cranberries and cook for 2 minutes, stirring frequently, until they start to pop and soften.
- Prepare the stuffing base: In a large mixing bowl, combine the stuffing mix, melted butter, chicken broth, beaten eggs, chopped sage, thyme, black pepper, and salt. Stir until evenly moistened. Let sit for 2 minutes.
- Combine everything: Add the cooked sausage-cranberry mixture (including any juices) to the bowl with the stuffing mixture. Fold together gently until fully combined. Do not overmix.
- Form the balls: Using a cookie scoop or heaping tablespoon, portion the mixture into balls about 1.5 inches in diameter. Roll gently between your palms to round them out. Place each ball on the prepared baking sheet, spacing them about an inch apart. You should get 18-20 balls.
- Bake: Bake for 12-15 minutes, until the tops are golden brown and the edges are crispy. Halfway through, rotate the pan for even browning. For extra crispy edges, switch to broil for the last 1-2 minutes, watching closely.
- Rest and serve: Let the stuffing balls rest on the baking sheet for 2-3 minutes before transferring to a serving platter. Serve warm.
Notes
For best texture, use sausage with 20-25% fat content. If mixture is too dry, add broth one tablespoon at a time. If too wet, add more stuffing mix. Balls can be formed up to 24 hours in advance and refrigerated; add 5 minutes to baking time. Leftovers taste even better the next day. Reheat in a 350°F oven for 8-10 minutes or in an air fryer at 350°F for 4-5 minutes.
Nutrition
- Serving Size: 3 balls
- Calories: 320
- Sugar: 6
- Sodium: 680
- Fat: 18
- Saturated Fat: 7
- Carbohydrates: 28
- Fiber: 3
- Protein: 16
Keywords: stuffing balls, sausage and cranberry, Thanksgiving side dish, easy stuffing recipe, 30-minute recipe, holiday appetizer, comfort food


