My friend Jenna swore by her air fryer for wings. She’d text me photos of them—golden, blistered, smugly perfect—and I’d roll my eyes. I did not trust an oven to do the same job. A baked wing, in my experience, was a sad, flabby thing. It was a compromise you made when you didn’t want to deal with a pot of hot oil. So when I decided to prove her wrong, I didn’t just want a good wing. I wanted a crispy wing. One that snapped when you bit into it, not one that made you work for the meat. I wanted oven-baked wings that could look a deep-fried wing in the eye and not flinch.
This was the challenge I set for myself on a random Tuesday night. I had a bag of party wings in the fridge, a block of Parmesan, and a stubborn streak a mile wide. I was ready to fail, honestly. I figured I’d end up with something edible but forgettable, and I’d text Jenna a photo with a sheepish “close enough.”
But then, something clicked. I remembered a trick from a restaurant I’d worked at briefly in college—a dry brine and a low-and-slow initial roast. It wasn’t fancy. It was just patience. And that, combined with a final blast of high heat and a blanket of nutty Parmesan and garlic, changed everything. The skin turned into this paper-thin, shatteringly crisp shell. The meat underneath stayed juicy, almost steaming when you pulled the bone away. I didn’t text Jenna that night. I just sat there, looking at the pile of bones on my plate, a little bit stunned. This was the wing I didn’t think an oven could make.
Why You’ll Love This Recipe
Let’s be real for a second. We all want that deep-fried crunch without the mess and the guilt. This recipe delivers on that promise, and it does it with a pantry-friendly list of ingredients. Here’s why these wings are going to become your new go-to:
- Oven-Baked, Not Fried: You get all the crunch without the splatter, the smell, or the vat of used oil. Your kitchen stays clean, and your arms stay unscathed.
- That Parmesan-Garlic Crust: It’s not just a sprinkle of cheese at the end. The Parmesan bakes right onto the skin, creating a savory, nutty, golden crust that is pure umami.
- Foolproof Crispiness: The secret is in the method—a dry brine and a two-temperature bake. No cornstarch, no baking powder tricks. Just simple technique that works every single time.
- Perfect for Game Day or Dinner: These wings are fancy enough for a party but easy enough for a weeknight meal when you’re craving something satisfying and a little bit indulgent.
- Naturally Gluten-Free: Because there’s no flour in the coating, this recipe is naturally gluten-free. It’s a win for everyone at the table.
I’ve tested this method more times than I care to admit. I’ve tried baking soda (bad idea, left a weird taste). I’ve tried just high heat (burnt outside, raw inside). This two-step process—starting low to render the fat, then blasting high to crisp—is the only way I’ve found that delivers consistent, perfect results. It’s the kind of recipe that makes you feel like a kitchen genius, even though you’re just following a smart set of steps. And honestly, that first bite—the one where the skin shatters and the garlic hits your nose—makes all that waiting completely worth it.
What Ingredients You Will Need
This recipe keeps things simple. You don’t need a long list of specialty items to get that incredible flavor and texture. Here is what you will need to bring your crispy wings to life:
- Chicken Wings (2 lbs / 900g): I use party wings, which are already separated into drumettes and flats. You can buy whole wings and cut them yourself at the joint, but party wings save a step. Pat them very dry with paper towels—this is the most important step for crispy skin.
- Kosher Salt (1 ½ teaspoons): We use a dry brine here. Kosher salt dissolves more evenly than table salt and helps draw out moisture from the skin, which is the first step to getting it crispy. I prefer Diamond Crystal brand for its consistent grain size.
- Garlic Powder (1 teaspoon): Not garlic salt. We want pure garlic flavor without the extra sodium. This will form the base of our savory crust.
- Black Pepper (½ teaspoon): Freshly ground is always better. It adds a subtle warmth that plays nicely with the garlic and Parmesan.
- Grated Parmesan Cheese (½ cup / 50g): Buy the good stuff in a block and grate it yourself. The pre-shredded stuff in the bag has anti-caking agents that prevent it from melting and sticking properly. You want a fine, almost powdery grate for the best crust.
- Unsalted Butter (2 tablespoons, melted): This is our fat and flavor carrier. It helps the Parmesan mixture stick and adds a rich, nutty note. Using unsalted lets us control the overall salt level.
- Fresh Garlic (3 cloves, minced): This gets mixed with the melted butter. Fresh garlic is non-negotiable here—it provides a pungent, aromatic hit that garlic powder just can’t replicate.
- Optional Garnish: Chopped fresh parsley and extra grated Parmesan for serving. A squeeze of lemon juice also works wonders to cut through the richness.
Ingredient Swap Note: If you’re dairy-free, you can use a good quality vegan butter and a dairy-free Parmesan alternative. Just know that the texture of the crust might be slightly different—it won’t get quite as crispy, but it will still be delicious.
Equipment Needed
You do not need a deep fryer or a specialized air fryer for this recipe. A standard kitchen setup will do just fine.
- Baking Sheet (18×13 inch / half-sheet pan): A rimmed baking sheet is essential. It catches any rendered fat and prevents a mess in your oven. Avoid non-stick pans if you can; the dark coating can cause the bottoms to burn before the tops are golden.
- Wire Rack: This is the secret weapon. Placing the wings on a wire rack set inside the baking sheet allows hot air to circulate all around each wing. No soggy bottoms! A standard cooling rack that fits inside your baking sheet works perfectly.
- Paper Towels: You will need a lot of these. Drying the wings thoroughly is the single most important step for achieving crispy skin.
- Mixing Bowls: One large bowl for the dry brine and a smaller bowl for the butter and garlic mixture.
- Chef’s Knife and Cutting Board: For mincing the garlic and chopping the parsley.
- Microplane or Fine Grater: For grating the Parmesan cheese into a fine, fluffy texture that will coat the wings beautifully.
- Pastry Brush: For brushing the garlic butter onto the baked wings. A silicone brush is easiest to clean.
Budget Tip: If you don’t have a wire rack, you can crumple aluminum foil into ridges on the baking sheet. It’s not as effective, but it creates some airflow underneath the wings. Just be prepared for slightly less crispy bottoms.
Preparation Method
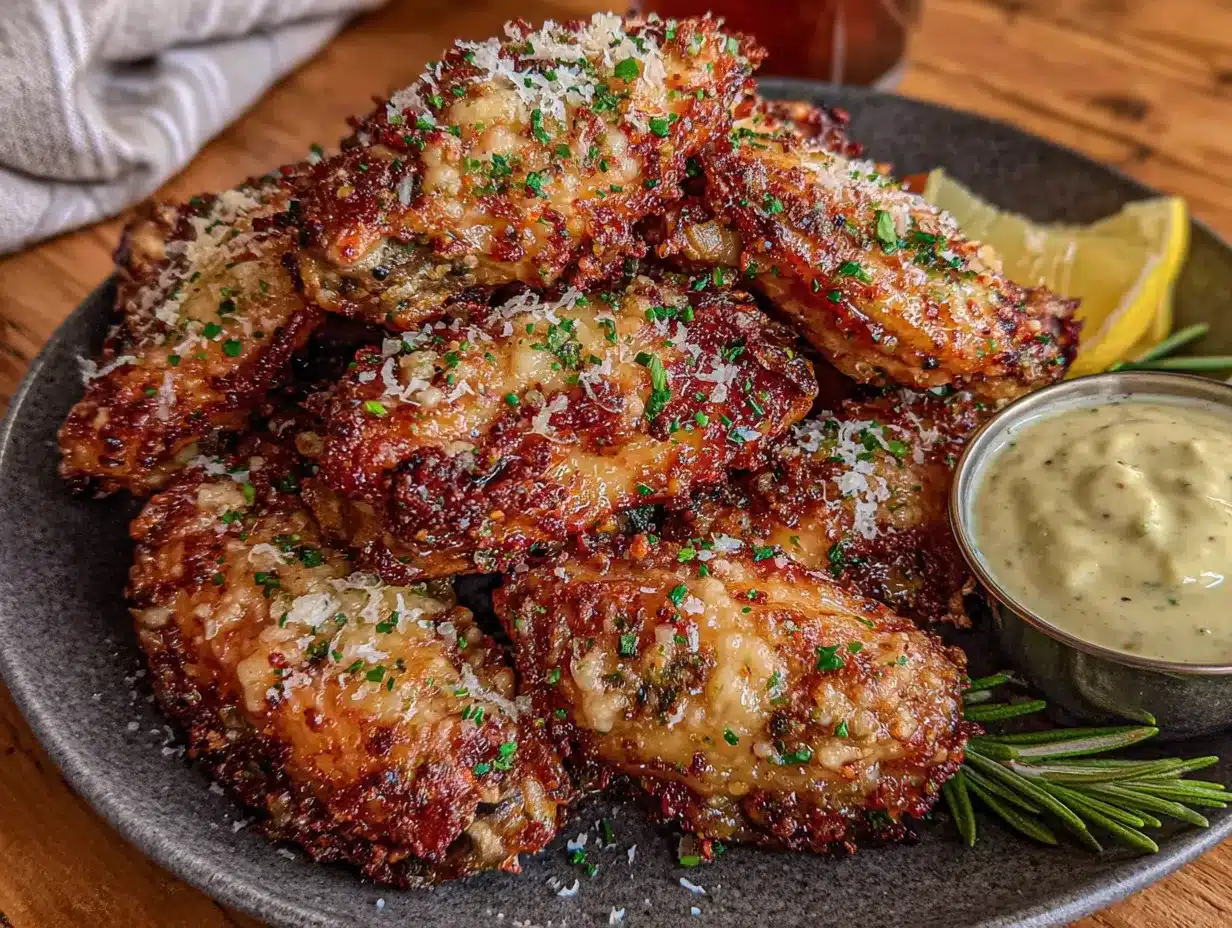
This is where the magic happens. Follow these steps closely, and you will be rewarded with the crispiest, most flavorful baked chicken wings of your life.
- Dry the Wings (10 minutes): This is not a step to rush. Take your 2 lbs of party wings out of the package and lay them out on a double layer of paper towels. Pat them completely dry with more paper towels on top. You want the skin to feel tacky, not wet. Any residual moisture will steam the skin instead of crisping it.
- Dry Brine (1 hour, or up to 24 hours): Place the dried wings in a large bowl. Sprinkle them with 1 ½ teaspoons of kosher salt, 1 teaspoon of garlic powder, and ½ teaspoon of black pepper. Toss everything with your hands until every wing is evenly coated. Now, here is the key: place the wings on your wire rack set over the baking sheet, leaving a little space between each one. Put them in the refrigerator, uncovered, for at least 1 hour. This dry brine draws out moisture from the skin, which then evaporates, leaving the skin super dry and ready to crisp. If you can wait 24 hours, the results are even better.
- Preheat the Oven (15 minutes): When you’re ready to bake, position a rack in the middle of your oven and preheat it to 250°F (120°C). Yes, low and slow first.
- First Bake (30 minutes): Take the wings straight from the fridge and place them in the oven. Bake at 250°F for 30 minutes. This step slowly renders the fat from the skin. You’ll see little beads of fat on the surface. Don’t skip this. It’s what makes the final crisp possible without drying out the meat.
- Crank the Heat (40-50 minutes): After 30 minutes, increase the oven temperature to 425°F (220°C). Do not remove the wings from the oven; just turn the dial. Bake for another 40-50 minutes, rotating the pan halfway through. The wings are done when the skin is deep golden brown, puffed in spots, and looks tight and crispy. You should be able to see the skin has pulled back slightly from the bones.
- Make the Garlic Butter (5 minutes): While the wings are in their final bake, make the coating. In a small bowl, combine 2 tablespoons of melted unsalted butter and 3 cloves of minced fresh garlic. Stir it together and set it aside.
- Cheese Coat (5 minutes): In a separate large bowl, place the ½ cup of finely grated Parmesan cheese. Remove the hot wings from the oven. Working quickly, brush each wing generously with the garlic butter. Then, toss the buttered wings in the bowl with the Parmesan cheese. Toss gently but thoroughly, making sure every wing is coated in a layer of cheesy goodness.
- Final Crisp (5 minutes): Place the coated wings back on the wire rack (don’t worry about the leftover cheese in the bowl). Return them to the oven, still at 425°F, for another 5 minutes. This final blast melts the Parmesan onto the skin, creating that shatteringly crisp, savory crust we’re after.
- Rest and Serve (5 minutes): Remove the wings from the oven and let them rest on the rack for 5 minutes. This allows the crust to set. Transfer to a serving platter, garnish with fresh parsley and a little extra Parmesan, and serve immediately.
Sensory Cue: When you pick up a finished wing, you should hear a faint crackling sound. The skin should feel rigid and brittle, not flexible or soft. When you bite into it, it should shatter with a clean snap, revealing steaming, tender meat underneath.
Cooking Tips & Techniques
I’ve made a lot of mistakes with wings. Here are the lessons I learned so you don’t have to repeat them.
- Don’t Crowd the Pan: If the wings are touching each other on the wire rack, they will steam instead of roast. Give them a little personal space. If you’re making a double batch, use two baking sheets.
- The Patience Game: The low-temperature first bake is not optional. I once tried to skip it, thinking I could just start at 425°F and get the same result. I ended up with wings that were burnt on the outside and flabby on the inside. The 250°F step renders the fat slowly, which is the secret to the final crisp.
- Cheese Timing is Everything: If you add the Parmesan too early, it will burn into a bitter, blackened mess. That’s why we add it at the very end, after the wings are already crispy. The final 5-minute blast is just enough to melt the cheese onto the hot skin without scorching it.
- Use a Thermometer (Optional but Helpful): If you want to be precise, the internal temperature of the wings should reach 175-180°F (80-82°C) when they are done. This is higher than chicken breast, but wings have more connective tissue that needs to break down for the meat to be tender.
- Keep Leftovers Crispy: If you have leftover wings (unlikely, but possible), do not microwave them. It will turn the crust into a sad, rubbery mess. Instead, reheat them on a wire rack in a 350°F (175°C) oven for 8-10 minutes. They will come back to life.
I once forgot to dry the wings before brining them. I was in a hurry, and I thought, “How much of a difference can it make?” The answer is: a huge one. The skin was chewy, not crispy. I had to finish them under the broiler to salvage them, and they still weren’t right. That was the day I learned that patience and proper prep are not just suggestions—they are the recipe.
Variations & Adaptations
This recipe is a fantastic base. Once you master the method, feel free to play with the flavors.
- Spicy Buffalo Parmesan: Before tossing the wings in the Parmesan, add 2 tablespoons of your favorite hot sauce (Frank’s RedHot is classic) to the melted garlic butter. It gives you that tangy, spicy kick with the nutty Parmesan crust. It’s a dangerous combination.
- Lemon Herb: Swap the Parmesan for ¼ cup of finely chopped fresh herbs like parsley, chives, and thyme. Add the zest of one lemon to the garlic butter. The result is a bright, fresh, and incredibly aromatic wing that’s perfect for spring.
- Everything Bagel Wings: Instead of Parmesan, toss the baked wings in a mixture of 3 tablespoons of everything bagel seasoning and 2 tablespoons of melted butter. It’s salty, savory, and has that addictive crunch from the sesame seeds and poppy seeds.
- Smoked Paprika & Cumin: Add 1 teaspoon of smoked paprika and ½ teaspoon of ground cumin to the dry brine. It gives the wings a warm, smoky, almost barbecue-like flavor that pairs beautifully with the garlic butter.
- Air Fryer Method: If you want to use an air fryer, follow the same dry brine step. Then, air fry at 250°F for 15 minutes, then crank it to 400°F for another 10-15 minutes, shaking the basket halfway through. Finish with the garlic butter and Parmesan, then air fry for another 2 minutes at 400°F.
My personal favorite variation is the Spicy Buffalo Parmesan. I love the contrast between the cool, nutty cheese and the vinegary heat of the hot sauce. It’s the kind of wing that makes you want to lick your fingers, and honestly, you should.
Serving & Storage Suggestions
These wings are best served hot and fresh from the oven. The crust is at its peak of crispiness right after the final bake.
- Serving Temperature: Serve immediately while the crust is still shatteringly crisp. Let them rest for 5 minutes on the rack so the cheese sets, but don’t let them sit for longer than 15 minutes or they will start to soften.
- Presentation: Pile the wings high on a large wooden board or a white platter. Sprinkle with fresh chopped parsley and a final dusting of grated Parmesan. Serve with celery and carrot sticks on the side for a classic crunch contrast.
- Dipping Sauces: These wings are fantastic on their own, but a good dip never hurts. Try a classic ranch dressing, a cool blue cheese dip, or even a simple creamy cucumber dill yogurt dressing for a fresh, tangy counterpoint. For a heartier side, these wings pair beautifully with a cozy Dutch oven beef stew on a cold night, or you can keep it light with a fresh Greek yogurt ranch pasta salad for a potluck.
- Storage: Store leftover wings in an airtight container in the refrigerator for up to 3 days. They will lose their crispiness, but they are still great shredded over a salad or chopped into a wrap.
- Reheating: As mentioned, the oven is your best friend. Reheat on a wire rack at 350°F for 8-10 minutes. An air fryer also works well at 350°F for 4-5 minutes. Never microwave.
- Freezing: You can freeze the baked (but uncoated) wings. After the first high-heat bake, let them cool completely. Freeze them in a single layer on a baking sheet, then transfer to a freezer bag. They will keep for up to 3 months. To serve, thaw in the fridge, then reheat at 400°F for 10 minutes before tossing with the garlic butter and Parmesan.
The flavors are best right out of the oven, but I have to admit, cold wings the next day are a guilty pleasure of mine. The Parmesan crust softens a bit, but the garlic flavor becomes even more mellow and delicious.
Nutritional Information & Benefits
While these are an indulgent treat, they are a healthier alternative to deep-fried wings. Here’s a rough breakdown per serving (about 5-6 wings):
| Nutrient | Amount Per Serving |
|---|---|
| Calories | ~450 kcal |
| Protein | 35g |
| Fat | 32g |
| Saturated Fat | 12g |
| Carbohydrates | 3g |
| Fiber | 0g |
| Sugar | 1g |
| Sodium | ~800mg |
Pin This Recipe!
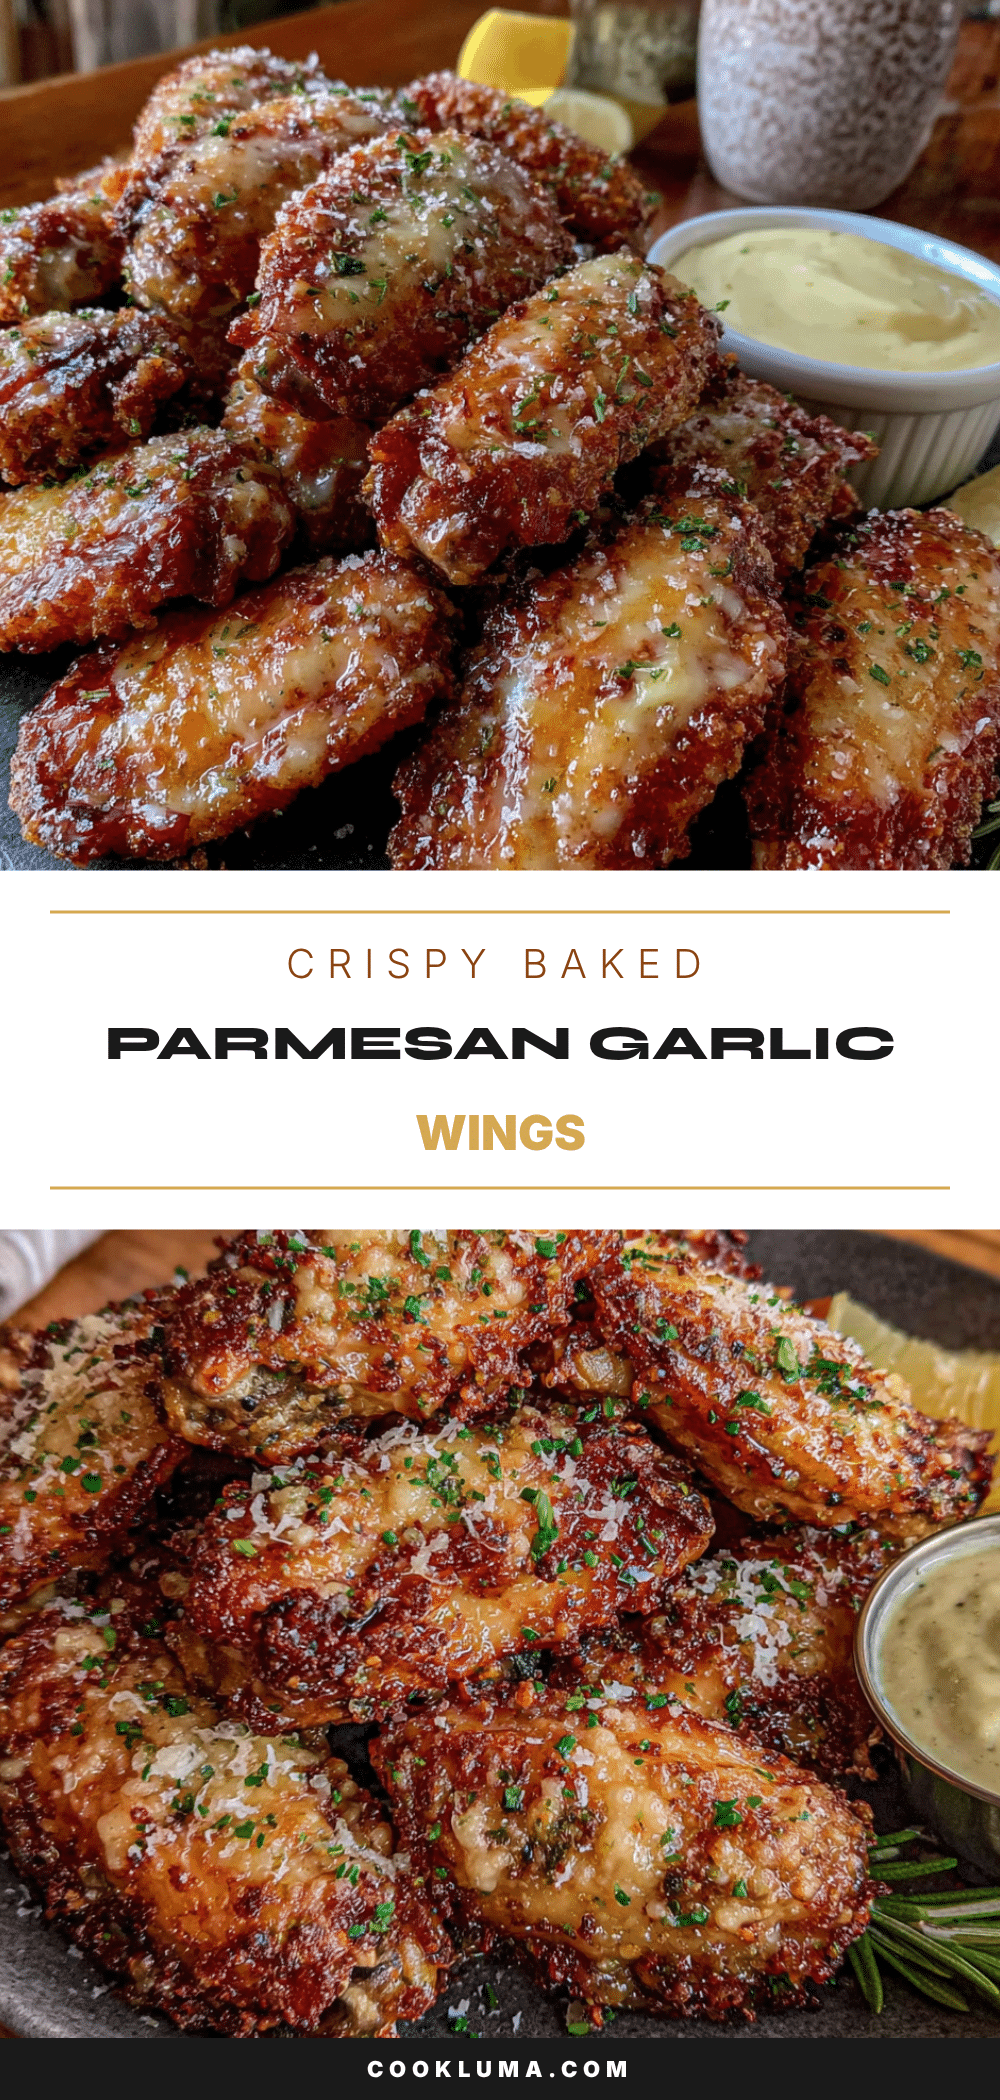
Crispy Baked Parmesan Garlic Chicken Wings Recipe

Oven-baked chicken wings with a shatteringly crisp Parmesan-garlic crust. A simple two-temperature method delivers deep-fried crunch without the mess.
- Prep Time: 15 minutes
- Cook Time: 1 hour 20 minutes
- Total Time: 1 hour 35 minutes (plus 1 hour minimum dry brine)
- Yield: 4 servings 1x
- Category: Appetizer
- Cuisine: American
Ingredients
- 2 lbs (900g) chicken wings (party wings, drumettes and flats)
- 1 ½ teaspoons kosher salt
- 1 teaspoon garlic powder
- ½ teaspoon black pepper, freshly ground
- ½ cup (50g) grated Parmesan cheese (from a block, finely grated)
- 2 tablespoons unsalted butter, melted
- 3 cloves garlic, minced
- Optional: chopped fresh parsley and extra grated Parmesan for garnish
Instructions
- Dry the wings: Pat the wings completely dry with paper towels until the skin feels tacky.
- Dry brine: In a large bowl, toss the dried wings with kosher salt, garlic powder, and black pepper. Place on a wire rack set over a baking sheet, leaving space between each wing. Refrigerate uncovered for at least 1 hour (up to 24 hours).
- Preheat oven to 250°F (120°C) with a rack in the middle.
- First bake: Place the wings (straight from the fridge) in the oven and bake at 250°F for 30 minutes.
- Crank the heat: Increase oven temperature to 425°F (220°C) without removing the wings. Bake for another 40-50 minutes, rotating the pan halfway, until the skin is deep golden brown and crispy.
- Make garlic butter: While wings bake, combine melted butter and minced garlic in a small bowl.
- Cheese coat: Place grated Parmesan in a large bowl. Remove hot wings from the oven. Brush each wing generously with garlic butter, then toss in the Parmesan until evenly coated.
- Final crisp: Return coated wings to the wire rack and bake at 425°F for 5 minutes to melt the cheese onto the skin.
- Rest and serve: Let wings rest on the rack for 5 minutes. Transfer to a platter, garnish with parsley and extra Parmesan, and serve immediately.
Notes
Pat wings bone-dry for crispiest skin. Do not crowd the pan. The low-temperature first bake is essential for rendering fat. Add Parmesan only at the end to prevent burning. For leftovers, reheat on a wire rack at 350°F for 8-10 minutes; do not microwave.
Nutrition
- Serving Size: 5-6 wings
- Calories: 450
- Sugar: 1
- Sodium: 800
- Fat: 32
- Saturated Fat: 12
- Carbohydrates: 3
- Protein: 35
Keywords: baked chicken wings, crispy wings, parmesan garlic wings, oven baked wings, gluten free wings, game day appetizer