There used to be this tiny Italian-American joint tucked between a laundromat and a used bookstore on the south side of town that made the most ridiculous garlic chicken. Not fried, not baked — it was this magical thing where the skin turned into something between a cracker and a piece of art. When they closed suddenly in 2019 (the owner retired to Florida, of all places), I actually went through a weird mourning period. I mean, I’d sit there on a Tuesday night craving those chicken thighs and feel genuinely bummed out.
After maybe twelve tries — some burnt, some soggy, one that I’m pretty sure violated the Geneva Convention of cooking — I finally cracked the code. The secret? An air fryer and a whole lot of patience with the seasoning. This crispy air fryer chicken thighs with garlic Parmesan recipe is my love letter to that little restaurant that just vanished one day. And honestly? I think mine might be even better.
The first time I nailed it, I actually texted my friend Maria a photo with the caption “WE’RE BACK.” She thought I was talking about a relationship. Nope. Just chicken. But that’s the kind of hold this recipe has on you. You know that feeling when you bite into something and your brain just goes quiet for a second? That’s what we’re after here. Let me show you how to get there without the restaurant or the retirement drama.
Why You’ll Love This Recipe
Look, I’ve tested this crispy air fryer chicken thighs with garlic Parmesan recipe more times than I care to admit. I’ve burned my fingers, I’ve undercooked it, I’ve overseasoned it until it tasted like a garlic factory exploded — all so you don’t have to. Here’s why this version is the one you’ll keep coming back to:
- Quick & Easy: From fridge to plate in about 30 minutes flat. That’s faster than delivery and way better for you.
- Simple Ingredients: Chicken thighs, garlic, Parmesan, and a few pantry staples. No weird specialty items that you’ll use once and forget about.
- Perfect for Busy Weeknights: This is the kind of dinner that saves you on those days when you’ve got nothing left in the tank but still want something that feels like a real meal.
- Crowd-Pleaser: I’ve served this to picky kids, skeptical in-laws, and that one friend who “doesn’t really like chicken.” Everyone cleans their plate.
- Unbelievably Crispy: The air fryer does something magical here — you get that deep golden crunch without the mess of deep frying. It’s honestly kind of ridiculous how good it turns out.
What makes this different from every other chicken thigh recipe out there? It’s the double-seasoning method. Most recipes just toss everything together and hope for the best. I dry-brine the skin first, then add the garlic-Parmesan coating. It sounds fussy, but it takes two extra minutes and gives you that shatteringly crisp exterior that stays crunchy even after it sits for a bit. No soggy skin here, I promise.
This isn’t just good chicken — it’s the kind that makes you close your eyes after the first bite. It’s comfort food reimagined: healthier, faster, but with the same soul-soothing satisfaction. Perfect for impressing guests without stress, or turning a simple Tuesday into something worth remembering.
What Ingredients You Will Need
This recipe uses simple, wholesome ingredients to deliver bold flavor and satisfying texture without the fuss. Most of these are probably already in your kitchen, which is exactly how I like to cook.
For the Chicken
- 4 bone-in, skin-on chicken thighs (about 1.5 pounds total) — The skin is non-negotiable here. That’s where the crispy magic happens. I prefer thighs over breasts because they stay juicy even if you accidentally cook them a minute too long.
- 1 tablespoon olive oil — Helps the seasoning stick and encourages browning. Avocado oil works great too if that’s what you’ve got.
- 1 teaspoon salt — I use fine sea salt. If you’re using kosher salt, you’ll want to bump it up to about 1½ teaspoons.
- ½ teaspoon black pepper — Freshly ground if you can. The pre-ground stuff works, but fresh has more pop.
- ½ teaspoon garlic powder — Not the same as fresh garlic, but it adds a deeper, roasted note that complements the fresh garlic later.
- ½ teaspoon onion powder — Rounds out the savory flavors. Trust me, you’ll miss it if you skip it.
- ½ teaspoon paprika — Regular or smoked, both work. Smoked paprika adds a subtle warmth that I’m obsessed with.
For the Garlic Parmesan Coating
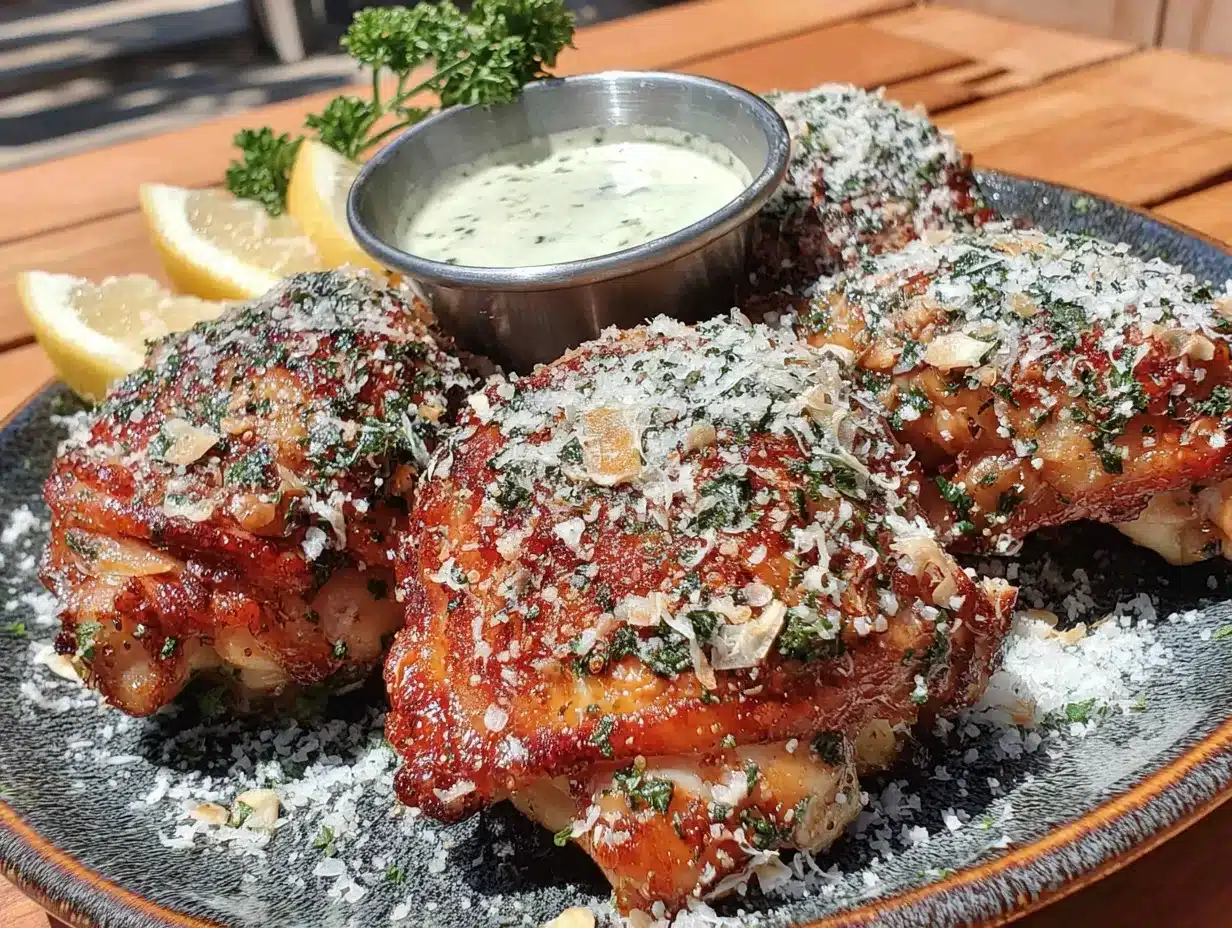
- ¼ cup grated Parmesan cheese — The real stuff, not the green can. Look for finely grated, not shredded. It sticks better and melts into the skin instead of falling off. I recommend BelGioioso or Parmigiano-Reggiano for best texture.
- 3 cloves garlic, minced — Fresh only. The jarred stuff has a weird texture and doesn’t crisp up the same way. Take the extra 30 seconds to mince it yourself.
- 2 tablespoons unsalted butter, melted — Adds richness and helps the garlic cook without burning. You can use salted butter, just reduce the added salt slightly.
- 1 tablespoon fresh parsley, chopped — Optional but recommended. It adds color and freshness that cuts through the richness.
- ¼ teaspoon red pepper flakes — Optional, but I love the tiny kick. Leave it out if you’re feeding kids or spice-averse folks.
Substitution Notes
If you’re dairy-free, use nutritional yeast instead of Parmesan and a dairy-free butter alternative. The texture won’t be exactly the same, but it’s still delicious. For a gluten-free version, you’re already good — this recipe doesn’t use any flour or breadcrumbs. And if you only have boneless, skinless thighs, reduce the cooking time to about 12-14 minutes, but you’ll miss out on that crispy skin magic.
Equipment Needed
You don’t need a fancy kitchen to make this work. Here’s what you’ll need:
- Air fryer — Any size works, but a 5.8-quart or larger basket-style model is ideal. I use a Cosori Pro II and love it, but I’ve also made this in a cheaper Gourmia from Target and it turned out great. The key is not overcrowding the basket.
- Tongs — For flipping the chicken without piercing the skin. Silicone-tipped ones are nice so you don’t scratch the nonstick basket.
- Small bowl — For mixing the garlic Parmesan butter coating.
- Paper towels — Absolutely essential for drying the chicken skin. Don’t skip this step.
- Instant-read thermometer — Not strictly necessary if you’re experienced, but it takes the guesswork out. I use a Thermapen and it’s worth every penny.
- Cutting board and knife — For mincing garlic and chopping parsley.
If you don’t have an air fryer, you can bake these in a convection oven at 400°F for about 35-40 minutes. The skin won’t be quite as crispy, but it’s still good. Just put them on a wire rack set inside a baking sheet so the air circulates underneath.
Preparation Method
Alright, let’s get cooking. I’ve broken this down so clearly that even if you’ve never used an air fryer before, you’ll nail it on the first try.
- Pat the chicken thighs completely dry. This is the most important step, and I cannot stress it enough. Use paper towels and press firmly until the skin feels tacky, not wet. Any moisture on the skin will steam instead of crisp, and you’ll end up with sad, rubbery skin. Take your time here — I usually go through 3-4 paper towels for 4 thighs.
- Season the skin side only. In a small bowl, mix together the salt, pepper, garlic powder, onion powder, and paprika. Sprinkle this mixture evenly over the skin side of the chicken thighs. Don’t season the underside — it won’t crisp anyway, and you don’t want to oversalt the meat. Let them sit at room temperature for 10 minutes. This dry brine gives the salt time to penetrate the skin and draw out excess moisture.
- Preheat your air fryer to 380°F (193°C). Most air fryers need about 3-5 minutes to preheat. If yours doesn’t have a preheat function, just run it empty for 3 minutes. This ensures the chicken starts cooking immediately and the skin begins crisping right away.
- Brush the skin with olive oil. Use a pastry brush or your fingers to lightly coat the seasoned skin. Don’t drench it — you just want a thin, even layer. The oil helps conduct heat and promotes browning.
- Place the chicken skin-side down in the air fryer basket. Arrange them in a single layer with space between each piece. If they’re touching, they won’t crisp evenly. I can usually fit 4 thighs in a 5.8-quart basket. If you’re making more, work in batches — overcrowding is the enemy of crispiness.
- Cook at 380°F for 18 minutes. Don’t open the basket during this time. Let the air fryer do its thing. You’ll start smelling the garlic and paprika around the 10-minute mark, which is my favorite part of the whole process.
- Flip the chicken and cook for another 5-6 minutes. Use tongs to carefully turn each thigh over. The skin side should be golden and starting to crisp. Cook for 5-6 more minutes, or until the internal temperature reaches 185°F (85°C) when measured at the thickest part. Chicken thighs are forgiving — they stay juicy even at higher temps, and the extra cooking helps render the fat under the skin.
- Make the garlic Parmesan butter while the chicken finishes. In a small bowl, combine the melted butter, minced garlic, grated Parmesan, and red pepper flakes (if using). Stir until it forms a paste. The heat from the butter will slightly soften the garlic, which is exactly what we want.
- Brush the coating onto the hot chicken. As soon as the chicken comes out of the air fryer, use a pastry brush to coat the skin side with the garlic Parmesan butter. The residual heat will melt the cheese and infuse the garlic flavor into every crevice. Sprinkle with fresh parsley and let rest for 3 minutes before serving.
A quick note on temperature: I know some recipes say chicken thighs are done at 165°F, but I find they’re much better at 180-185°F. The extra heat breaks down the connective tissue and renders the fat more completely, giving you that fall-apart tender texture. Plus, the skin stays crispier because it’s had more time to dry out.
Cooking Tips & Techniques
I’ve made this crispy air fryer chicken thighs with garlic Parmesan recipe probably thirty times by now, and I’ve learned a few things the hard way. Let me save you the trouble.
Don’t skip the drying step. I know I already mentioned this, but it bears repeating. The single biggest mistake people make with air fryer chicken is leaving too much moisture on the skin. I once rushed through this step because I was hungry and impatient, and the skin came out chewy and pale. It was a sad, sad dinner. Take the extra two minutes.
Let the chicken come to room temperature. Cold chicken straight from the fridge will cook unevenly. The outside will be done before the inside reaches a safe temperature. Take the chicken out of the fridge 15-20 minutes before cooking. This also helps the seasoning adhere better.
Use a meat thermometer. I know it’s tempting to just eyeball it, but chicken thighs can be tricky. The thickness varies, and air fryers can have hot spots. I’ve had thighs that looked perfectly golden on the outside but were still raw near the bone. A $15 instant-read thermometer is the best investment you can make for your cooking confidence.
Work in batches if needed. I cannot stress this enough. If you crowd the basket, the steam from the cooking chicken has nowhere to go, and you’ll end up with steamed skin instead of crispy skin. It’s better to take an extra 20 minutes and do two batches than to rush and end up with mediocre chicken.
Let it rest. I know you’re hungry, I know it smells amazing, but let the chicken rest for 3-5 minutes after brushing on the garlic butter. This allows the juices to redistribute and the coating to set. If you cut into it immediately, all those beautiful juices will run out onto the cutting board instead of staying in the meat.
One more thing — don’t be afraid to experiment with the timing. Air fryers vary wildly in power. My friend’s Ninja runs way hotter than my Cosori, so she has to reduce the cooking time by about 3 minutes. The first time you make this, check the temperature a few minutes early. You can always cook it longer, but you can’t uncook it.
Variations & Adaptations
This recipe is incredibly versatile. Here are some ways I’ve adapted it over the years:
Lemon Herb Version: Replace the garlic Parmesan butter with a mixture of 2 tablespoons melted butter, 1 tablespoon lemon juice, 1 teaspoon lemon zest, 1 teaspoon dried oregano, and ½ teaspoon dried thyme. It’s bright, fresh, and perfect for spring dinners. I made this for Easter last year and my aunt asked for the recipe three times.
Spicy Buffalo Style: After cooking, toss the chicken in a mixture of 3 tablespoons hot sauce (Frank’s RedHot is my go-to) and 1 tablespoon melted butter. Skip the Parmesan and parsley. Serve with ranch or blue cheese dressing. This is my go-to for game day — it’s way better than wings because you actually get meat instead of just bones and skin.
Low-Carb/Keto Friendly: This recipe is already naturally low-carb and keto-friendly. The Parmesan adds fat and flavor without any carbs. If you want extra crunch, you can add 2 tablespoons of crushed pork rinds to the seasoning mix. It sounds weird, but trust me — it works.
Dairy-Free Version: Use nutritional yeast instead of Parmesan (about 2 tablespoons) and replace the butter with olive oil or a dairy-free butter alternative. The texture will be slightly different, but the flavor is still amazing. My dairy-free friend Devin requests this version every time she comes over.
Honey Garlic Twist: Add 1 tablespoon of honey to the garlic butter mixture. The sweetness balances the savory flavors beautifully. Just be careful — honey can burn in the air fryer if you add it too early, which is why I always add it after cooking.
Serving & Storage Suggestions
These crispy air fryer chicken thighs with garlic Parmesan are best served immediately, while the skin is still crackling and the garlic butter is warm and melty. I like to serve them on a platter with a sprinkle of extra fresh parsley and a lemon wedge on the side for squeezing.
For sides, you can’t go wrong with a simple green salad dressed with lemon vinaigrette. The acidity cuts through the richness of the chicken perfectly. Roasted vegetables — especially broccoli, asparagus, or green beans — are also excellent. And if you’re feeling indulgent, serve them with creamy mashed potatoes or crusty bread to soak up every last drop of that garlic butter.
For beverages, a crisp white wine like Sauvignon Blanc or Pinot Grigio pairs beautifully. If you’re a beer person, go with a light lager or a wheat beer. And for the non-drinkers, sparkling water with lemon is perfect.
Storage: Leftover chicken will keep in an airtight container in the refrigerator for up to 4 days. The skin will lose some of its crispiness, but the flavor will actually deepen. I’ve been known to eat cold chicken straight from the fridge the next day — don’t judge me.
Reheating: The air fryer is your best friend here. Reheat at 350°F for 3-4 minutes, or until the skin crisps back up and the internal temperature reaches 165°F. The microwave will work in a pinch, but the skin will be soft. If you’re reheating in the oven, 350°F for about 10 minutes should do the trick.
Freezing: Cooked chicken thighs freeze beautifully for up to 3 months. Let them cool completely, then wrap each thigh individually in plastic wrap and place in a freezer bag. To reheat, thaw in the refrigerator overnight, then reheat in the air fryer at 350°F for 5-6 minutes.
Nutritional Information & Benefits
Here’s the approximate nutritional breakdown for one serving (one chicken thigh with garlic Parmesan coating):
| Nutrient | Amount |
|---|---|
| Calories | 320 |
| Protein | 28g |
| Fat | 22g |
| Saturated Fat | 8g |
| Carbohydrates | 2g |
| Fiber | 0g |
| Sugar | 0g |
| Sodium | 580mg |
Chicken thighs are an excellent source of protein, iron, and B vitamins, especially B12 and niacin. They also contain selenium, which supports thyroid function and acts as an antioxidant. The skin does add fat, but it’s mostly monounsaturated and polyunsaturated fats — the good kind.
Garlic is packed with allicin, a compound known for its anti-inflammatory and immune-boosting properties. And Parmesan cheese provides calcium and protein, though it’s also high in sodium, so keep that in mind if you’re watching your salt intake.
This recipe is naturally gluten-free, low-carb, and keto-friendly. It’s also suitable for those following a paleo diet if you skip the Parmesan (or use a paleo-friendly alternative). The main allergens are dairy (from the butter and cheese) — but as I mentioned earlier, there are easy substitutions if needed.
From a wellness perspective, I love that this recipe lets me enjoy something that feels indulgent without actually being unhealthy. It’s real food, cooked simply, with ingredients that nourish your body. That’s the kind of eating I can get behind.
Conclusion
Look, I know I’m biased, but this crispy air fryer chicken thighs with garlic Parmesan recipe is genuinely one of the best things I’ve ever made. It’s the kind of dish that makes you feel like a rockstar in the kitchen, even on a random Tuesday when you’re just trying to get dinner on the table. The crispy skin, the savory garlic butter, the juicy meat — it all comes together in a way that’s simple but somehow special.
I want you to make this your own. Play with the seasonings. Try different cheese. Add more garlic if you’re brave (I won’t stop you). The beauty of this recipe is that it’s forgiving — even if you mess up a step, it’ll still be delicious. And if you nail it? Well, you’ll be texting photos to your friends too.
When you make this — and I hope you do — come back and let me know how it turned out. Did you try a variation? Did your family love it? Did you burn your tongue because you couldn’t wait to eat it? (I’ve been there.) Drop a comment below, share a photo, or tag me on social media. I genuinely love hearing from you.
Until next time, happy cooking. And remember — the secret ingredient is always patience. Well, patience and garlic. Lots and lots of garlic.
Frequently Asked Questions
Can I use boneless, skinless chicken thighs instead?
Yes, but the texture will be different. Without the skin, you won’t get that crispy exterior. If using boneless, skinless thighs, reduce the cooking time to about 12-14 minutes at 380°F, and consider adding a light coating of oil and breadcrumbs for some crunch.
Why is my chicken skin not getting crispy?
Most likely, the skin wasn’t dried thoroughly before seasoning. Moisture is the enemy of crispiness. Also, make sure you’re not overcrowding the air fryer basket. The chicken needs space for the hot air to circulate. If the basket is too full, the steam has nowhere to go.
Can I make this recipe without an air fryer?
Absolutely. You can bake the chicken in a convection oven at 400°F for about 35-40 minutes. Place the thighs on a wire rack set inside a baking sheet to allow air circulation underneath. The skin won’t be quite as crispy as the air fryer version, but it’s still delicious.
How do I know when the chicken is fully cooked?
Use an instant-read thermometer inserted into the thickest part of the thigh, avoiding the bone. The safe internal temperature for chicken is 165°F, but I recommend 180-185°F for thighs — the extra heat renders the fat and makes the meat more tender. The juices should run clear when pierced.
Can I prep this recipe ahead of time?
Yes! You can season the chicken up to 24 hours in advance and keep it covered in the refrigerator. This actually helps the flavor penetrate deeper. Just let it sit at room temperature for 15 minutes before cooking. The garlic Parmesan butter can also be made ahead and stored in the refrigerator for up to 3 days.
Pin This Recipe!
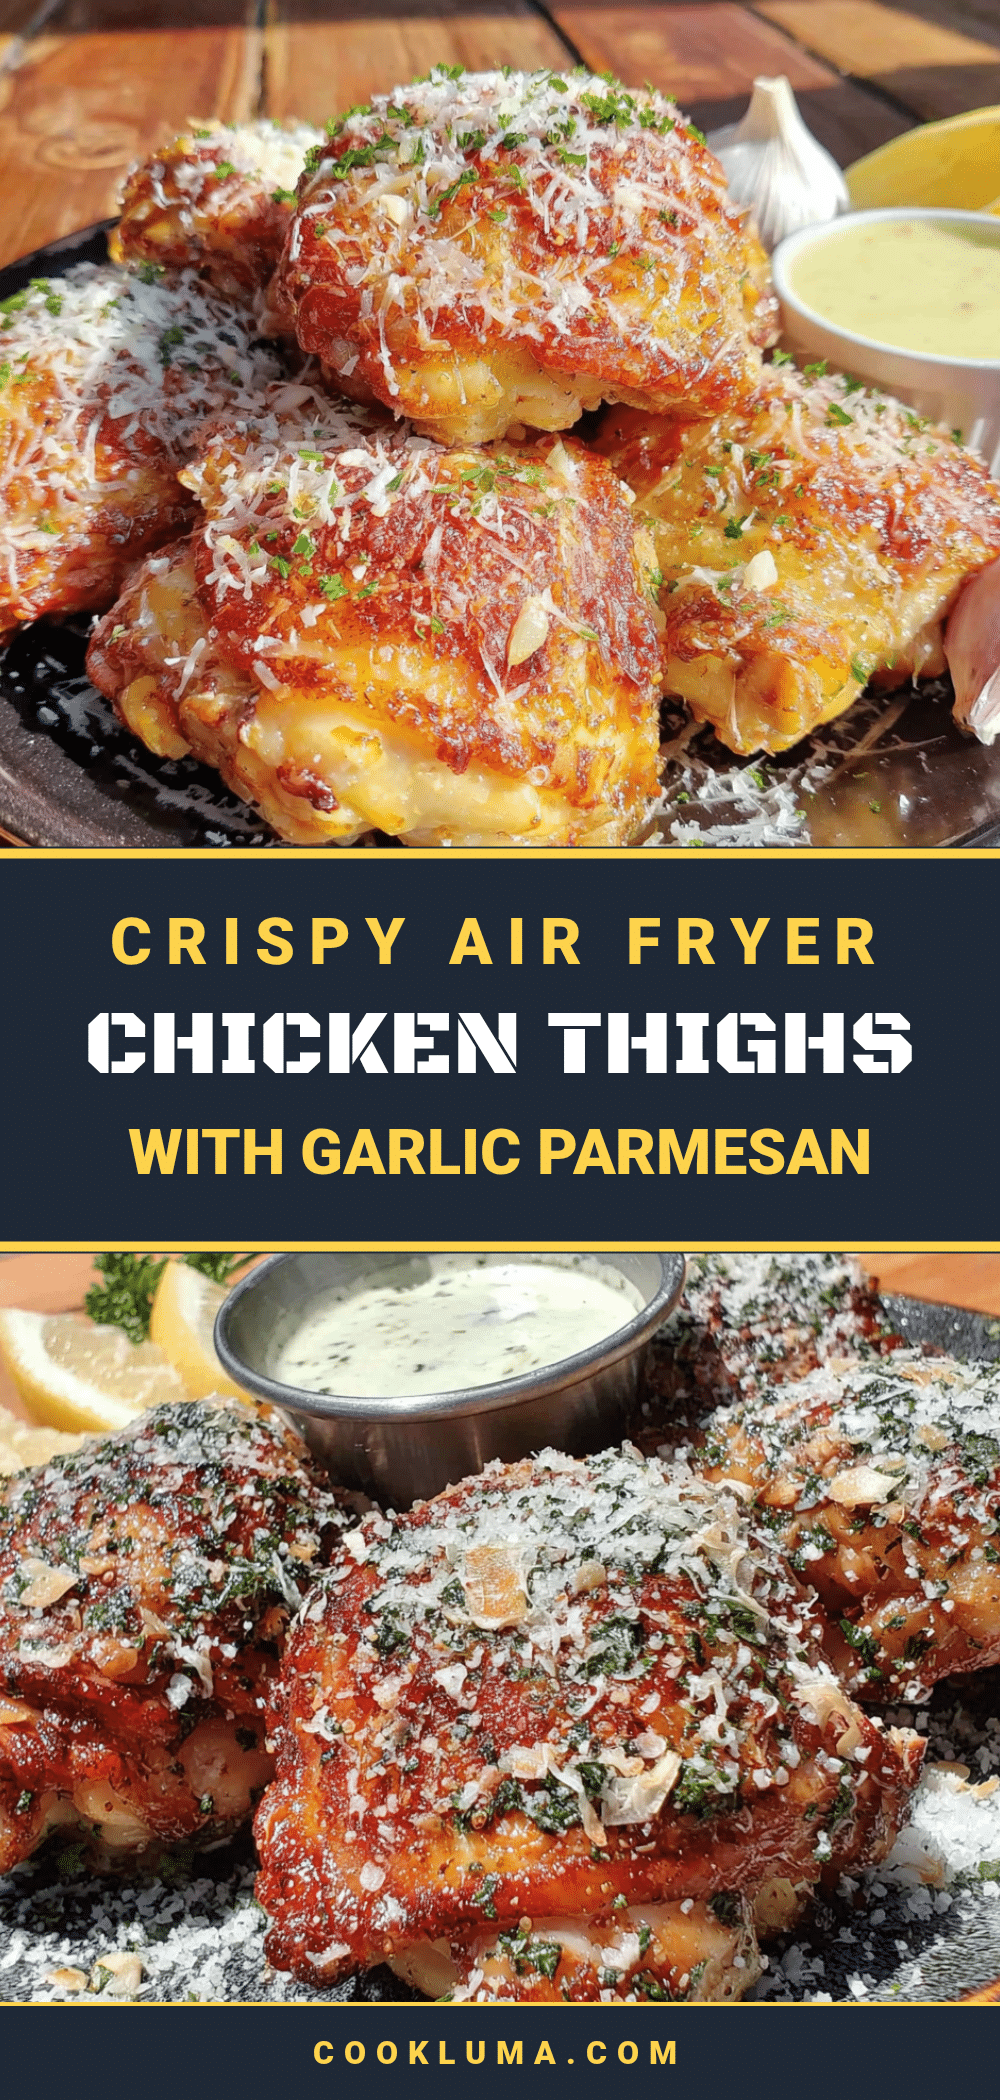
Crispy Air Fryer Chicken Thighs with Garlic Parmesan

Crispy air fryer chicken thighs with garlic Parmesan are a quick and easy weeknight dinner, delivering shatteringly crisp skin and juicy meat in about 30 minutes. This recipe uses a double-seasoning method for the perfect crunch every time.
- Prep Time: 15 minutes
- Cook Time: 24 minutes
- Total Time: 39 minutes
- Yield: 4 servings 1x
- Category: Main Course
- Cuisine: Italian-American
Ingredients
- 4 bone-in, skin-on chicken thighs (about 1.5 pounds total)
- 1 tablespoon olive oil
- 1 teaspoon fine sea salt
- ½ teaspoon black pepper, freshly ground
- ½ teaspoon garlic powder
- ½ teaspoon onion powder
- ½ teaspoon paprika (regular or smoked)
- ¼ cup grated Parmesan cheese (finely grated, not shredded)
- 3 cloves garlic, minced
- 2 tablespoons unsalted butter, melted
- 1 tablespoon fresh parsley, chopped
- ¼ teaspoon red pepper flakes (optional)
Instructions
- Pat the chicken thighs completely dry with paper towels until the skin feels tacky, not wet.
- In a small bowl, mix together the salt, pepper, garlic powder, onion powder, and paprika. Sprinkle this mixture evenly over the skin side of the chicken thighs only. Let them sit at room temperature for 10 minutes.
- Preheat your air fryer to 380°F (193°C) for 3-5 minutes.
- Brush the skin side of the chicken lightly with olive oil.
- Place the chicken skin-side down in the air fryer basket in a single layer with space between each piece.
- Cook at 380°F for 18 minutes without opening the basket.
- Flip the chicken using tongs and cook for another 5-6 minutes, or until the internal temperature reaches 185°F (85°C) at the thickest part.
- While the chicken finishes, combine the melted butter, minced garlic, grated Parmesan, and red pepper flakes (if using) in a small bowl to form a paste.
- As soon as the chicken comes out of the air fryer, brush the garlic Parmesan butter onto the skin side. Sprinkle with fresh parsley and let rest for 3 minutes before serving.
Notes
Don’t skip drying the chicken skin thoroughly—moisture prevents crispiness. Let chicken come to room temperature for 15-20 minutes before cooking for even cooking. Use a meat thermometer for best results; chicken thighs are best at 180-185°F. Work in batches if needed to avoid overcrowding the basket. Let chicken rest 3-5 minutes after brushing on garlic butter to allow juices to redistribute.
Nutrition
- Serving Size: 1 chicken thigh with
- Calories: 320
- Sodium: 580
- Fat: 22
- Saturated Fat: 8
- Carbohydrates: 2
- Protein: 28
Keywords: air fryer chicken thighs, crispy chicken thighs, garlic parmesan chicken, easy chicken recipe, weeknight dinner, keto chicken, gluten-free chicken


