I wasn’t expecting cooking advice from a man holding a hedge trimmer, but there I was, wrestling with a tangled bougainvillea in my backyard, listening to my neighbor Sal describe exactly how to make the perfect banana bread. Sal is in his seventies, built like a retired boxer, and the only thing I’d ever seen him cook was a steak on his grill. But that afternoon, covered in sweat and plant clippings, he told me about his late wife’s banana bread recipe like he was describing a holy text. “She used walnuts,” he said, wiping his forehead. “And she always mashed the bananas with a fork, never a mixer. Said the machine bruised them.” I nodded like I understood the difference, honestly having no clue. But I wrote it down on the back of a gardening receipt the moment he went inside.
That was three years ago, and let me tell you—I’ve made a lot of banana bread since then. Some were too dry, some sank in the middle, and one turned out so dense I could have used it as a doorstop. But Sal’s wife’s version? It worked on the first try. And the second. And the twentieth. There’s something about the simplicity of it that just works—you know that feeling when a recipe feels like it was made for your hands? That’s this one. It’s cozy, it’s forgiving, and it fills your kitchen with that warm, nutty smell that makes everything feel okay again.
I tweaked it over time—added a little more salt, swapped in brown sugar once when I ran out of white—but the heart of it stays the same. It’s a one-bowl wonder, which means less cleanup and more time to actually enjoy the moment. Maybe you’ve been there, standing over a mixing bowl with a fork in your hand, the radio playing softly, and the world outside feeling a little too loud. This bread is for those days. It’s for the days when you need something simple and good, something that tastes like a hug.
Why You’ll Love This Recipe
I’ve tested this banana bread more times than I care to admit, and I can tell you with confidence—this is the one. It’s not just another recipe floating around the internet. It’s the kind you’ll come back to again and again, the one you’ll text your friends about. Here’s why it works:
- Quick & Easy: From start to oven in about 15 minutes. No stand mixer required, no complicated steps. Just a bowl, a fork, and a little patience while it bakes.
- Simple Ingredients: You probably have everything in your kitchen right now. Bananas, flour, sugar, eggs, butter, walnuts. That’s it. No fancy extracts or specialty flours needed.
- Perfect for Cozy Days: Rainy afternoons, Sunday mornings, or those evenings when you just need something warm and sweet. It’s comfort food at its finest.
- Crowd-Pleaser: I’ve brought this to potlucks, book clubs, and family dinners. It disappears every single time. Kids love it, adults love it, and people always ask for the recipe.
- Unbelievably Delicious: The texture is spot-on—moist but not heavy, with a tender crumb and those little pockets of crunchy walnuts that make every bite interesting. It’s the kind of bread that makes you close your eyes after the first bite.
What makes this recipe different from all the others? It’s the technique. Using a fork to mash the bananas instead of a blender or mixer keeps the texture just right—a little chunky, a little rustic. And the walnuts? They’re toasted briefly before going into the batter, which brings out their natural oils and makes them taste almost buttery. It’s a small step, but it makes a huge difference. This isn’t just banana bread—it’s your new favorite banana bread.
What Ingredients You Will Need
This recipe uses simple, wholesome ingredients that come together to create something truly special. The beauty of it is that most of these are pantry staples, so you can whip up a loaf whenever those bananas on your counter start looking a little too spotty.
- 3 large ripe bananas, mashed (about 1 ½ cups or 340g). The riper, the better—look for bananas with lots of brown spots. They’re sweeter and easier to mash. I’ve used frozen thawed bananas here too, just drain off any excess liquid first.
- ⅓ cup (75g) unsalted butter, melted and slightly cooled. I prefer Kerrygold for its rich flavor, but any good unsalted butter works. If you only have salted butter, just reduce the added salt to ¼ teaspoon.
- ¾ cup (150g) granulated sugar. You can use brown sugar for a deeper, molasses-like flavor—I’ve done it plenty of times. Just pack it firmly when measuring.
- 1 large egg, at room temperature. Cold eggs can seize up the melted butter, so let yours sit out for 15-20 minutes before starting.
- 1 teaspoon vanilla extract. Pure vanilla extract is best, but imitation works in a pinch. I’ve even used vanilla bean paste when I wanted those tiny speckles.
- 1 ½ cups (190g) all-purpose flour. Spoon and level your flour—scooping directly from the bag can pack it down and make your bread dry. If you need a gluten-free option, use a 1:1 gluten-free baking flour blend.
- 1 teaspoon baking soda. Make sure it’s fresh—test it by dropping a little into vinegar. If it fizzes, you’re good to go.
- ¼ teaspoon salt. I use fine sea salt. It balances the sweetness perfectly.
- ½ teaspoon ground cinnamon (optional but recommended). It adds warmth and depth. I never skip it.
- ½ cup (60g) walnuts, chopped and toasted. Toasting is key—it takes about 5 minutes in a dry skillet or a 350°F oven. Watch them closely because they burn fast. I’ve forgotten them on the stove before, and let’s just say, charcoal walnuts are not a good look.
For the topping (optional but lovely):
– A handful of walnut halves, for arranging on top before baking. It makes the loaf look bakery-level pretty.
Equipment Needed
You don’t need much for this recipe, which is part of its charm. Here’s what you’ll want on hand:
- One large mixing bowl. Any bowl works—glass, ceramic, or stainless steel. I use a wide ceramic one because it feels sturdy and doesn’t slide around.
- A fork for mashing the bananas. A potato masher works too, but a fork gives you more control over the texture.
- A 9×5-inch (23×13 cm) loaf pan. I’ve used metal, glass, and ceramic—they all work, but metal gives the best browning. If using glass, reduce the oven temperature by 25°F.
- Parchment paper for lining the pan. It makes lifting the bread out so much easier. I used to grease and flour the pan, but parchment changed my life.
- A whisk or spatula for mixing. A silicone spatula is my go-to because it scrapes the bowl clean.
- A small skillet or baking sheet for toasting the walnuts. I use a small non-stick skillet because it’s faster.
- A cooling rack for cooling the bread properly. If you don’t have one, you can balance the pan on two cans—I’ve done it in a pinch.
- A toothpick or skewer for testing doneness.
Budget-friendly tip: You don’t need fancy equipment here. A thrift store loaf pan and a basic mixing bowl will work just as well as anything expensive. I got my favorite loaf pan for $2 at a garage sale, and it’s been going strong for years.
Preparation Method
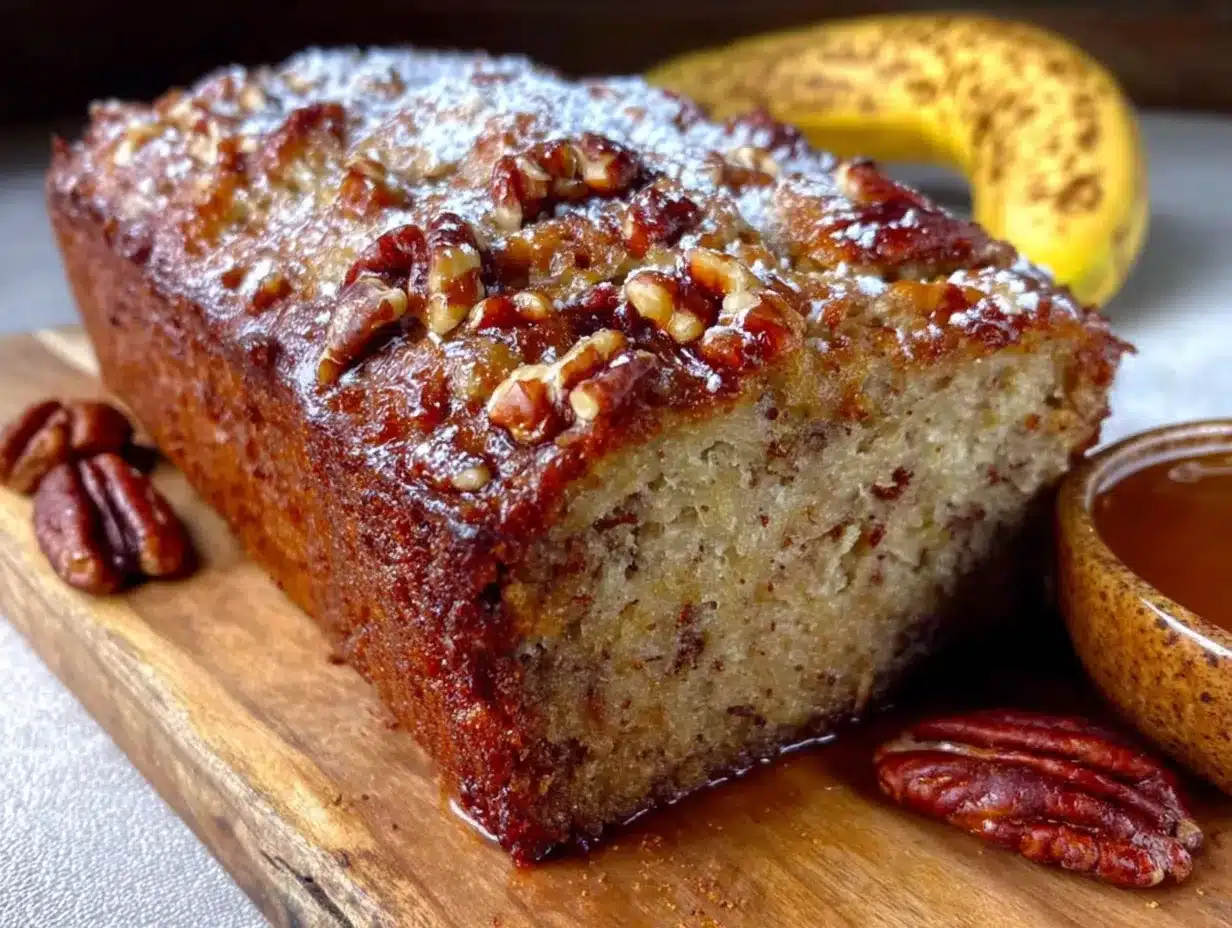
Let’s make some banana bread, shall we? Preheat your oven to 350°F (175°C) and position a rack in the center. Line your loaf pan with a strip of parchment paper, leaving some overhang on the long sides—this will be your handle for lifting the bread out later.
- Toast the walnuts: Place the chopped walnuts in a dry skillet over medium heat. Shake the pan occasionally and toast for 3-5 minutes, until they smell fragrant and are lightly golden. Keep a close eye on them—they go from perfect to burnt in seconds. I learned this the hard way. Set them aside to cool.
- Mash the bananas: In your large mixing bowl, peel the bananas and mash them with a fork until mostly smooth but with a few small lumps remaining. You want some texture here—over-mashing can make the bread dense. It should look a little chunky, like a rustic applesauce.
- Add the wet ingredients: Pour the melted butter over the mashed bananas and stir until combined. Add the sugar and mix well—it will look a little gritty, and that’s fine. Crack in the egg, add the vanilla, and stir until everything is smooth and glossy. The mixture should smell sweet and buttery at this point.
- Combine the dry ingredients: Sprinkle the flour, baking soda, salt, and cinnamon (if using) over the wet mixture. Use a spatula to fold everything together gently. Stir just until you no longer see streaks of flour—over-mixing develops gluten and makes the bread tough. A few lumps are perfectly okay.
- Fold in the walnuts: Gently fold the toasted walnuts into the batter. Save a handful to sprinkle on top if you want a pretty presentation. The batter should be thick but scoopable, not runny.
- Transfer to the pan: Scrape the batter into your prepared loaf pan and spread it evenly. If you saved some walnut halves, arrange them on top in a single layer. Give the pan a gentle tap on the counter to release any air bubbles.
- Bake: Place the pan in the preheated oven and bake for 50-60 minutes. Start checking at the 50-minute mark—insert a toothpick into the center; if it comes out clean or with just a few moist crumbs, it’s done. The top should be deep golden brown and cracked beautifully. Every oven is different, so trust your senses more than the timer. If the top is browning too quickly, tent it loosely with foil for the last 15 minutes.
- Cool properly: Let the bread cool in the pan for 10 minutes on a cooling rack. Then use the parchment overhang to lift it out and transfer it to the rack to cool completely. I know it’s tempting to slice into it warm, but it really does need to cool for at least 30 minutes—otherwise it will crumble. The texture firms up as it cools.
Cooking Tips & Techniques
After making this banana bread more times than I can count, I’ve picked up a few tricks that make the process smoother and the results more consistent. Here’s what I’ve learned:
Use really ripe bananas. This is the single most important tip. If your bananas aren’t spotty and soft, your bread will be less sweet and less moist. I’ve actually stuck bananas in a 300°F oven for 15 minutes when I was desperate—they turn black and look terrible, but they soften right up and become perfect for baking. Don’t be afraid of the brown spots; that’s where the flavor lives.
Don’t over-mix the batter. I know I’ve said this before, but it bears repeating. Stir until the flour just disappears. Over-mixing develops gluten, which gives you a tough, rubbery bread instead of a tender one. A few streaks of flour are better than a tough loaf. I’ve ruined batches by being too enthusiastic with my stirring, and it’s a sad, dense disappointment every time.
Measure your flour correctly. Scooping flour directly from the bag can pack in up to 25% more flour than you need, resulting in dry bread. Use a spoon to fluff the flour in its container, then spoon it into your measuring cup and level it off with a knife. It takes an extra five seconds and makes a world of difference.
Room temperature ingredients matter. Cold eggs can make the melted butter seize up, creating little lumps in your batter. Let your egg sit on the counter for 15-20 minutes before you start. If you forget, place it in a bowl of warm water for 5 minutes—that works too.
Toast your walnuts. I cannot stress this enough. Raw walnuts are fine, but toasted walnuts are a revelation. The heat releases their natural oils and makes them taste nuttier and more complex. They also stay crunchier in the finished bread. Just watch them like a hawk—burnt walnuts taste bitter and can ruin the whole loaf.
Let it cool completely. I know it’s hard. The smell is intoxicating, and you want that warm slice with butter melting into it. But cutting into banana bread while it’s still warm causes it to crumble and fall apart. Give it at least 30 minutes on a cooling rack. The wait is worth it, I promise.
Check for doneness with a toothpick. If the toothpick comes out wet with batter, it needs more time. If it comes out clean, it’s done. But if it comes out with a few moist crumbs attached, that’s actually perfect—the bread will continue to cook slightly from residual heat as it cools. Pull it at that point for the moistest result.
Variations & Adaptations
One of the best things about this banana bread is how adaptable it is. I’ve played around with it quite a bit, and here are some variations that work beautifully:
Chocolate Chip Banana Bread: Swap the walnuts for ½ cup (90g) of semi-sweet chocolate chips. The combination of banana and chocolate is a classic for a reason. I’ve also used dark chocolate chunks when I wanted something a little more sophisticated. The chocolate melts into little pockets of gooey goodness throughout the bread.
Gluten-Free Version: Use a 1:1 gluten-free baking flour blend in place of the all-purpose flour. I’ve tested this with Bob’s Red Mill 1:1 Baking Flour, and it works perfectly—the texture is almost identical to the original. Just make sure your blend contains xanthan gum, which helps with structure.
Vegan Adaptation: Replace the butter with melted coconut oil or vegan butter, and use a flax egg (1 tablespoon ground flaxseed mixed with 3 tablespoons water, let sit for 5 minutes) instead of the regular egg. The bread will be slightly denser but still delicious. I’ve made it for a friend with dairy and egg allergies, and she couldn’t tell the difference.
Spiced Version: Add ¼ teaspoon of nutmeg and ⅛ teaspoon of ground cloves along with the cinnamon. It gives the bread a warmer, more complex flavor that’s perfect for fall. One time I accidentally added too much nutmeg, and honestly? It was still good—just very festive.
Streusel Topping: Mix 2 tablespoons of cold butter with ¼ cup flour, ¼ cup brown sugar, and ½ teaspoon cinnamon until crumbly, and sprinkle it over the batter before baking. It creates a crunchy, sweet crust that takes the bread to another level. I do this when I want to impress guests.
Lower Sugar Option: Reduce the sugar to ½ cup (100g). The bananas provide plenty of sweetness, especially if they’re very ripe. I’ve made it with as little as ⅓ cup sugar, and it was still satisfying—just less dessert-like and more breakfast-friendly.
Serving & Storage Suggestions
This banana bread is wonderful served warm or at room temperature. For the ultimate cozy experience, slice a piece and spread it with a little salted butter while it’s still slightly warm—the butter melts into the bread and makes everything better. A drizzle of honey or a dollop of Greek yogurt on the side is also lovely.
It pairs beautifully with a cup of coffee or tea. I love it with a strong black coffee in the morning or a cup of chamomile in the evening. If you’re serving it for dessert, a scoop of vanilla ice cream on top of a warm slice is absolutely divine—the cold and warm contrast is something special.
For storage, wrap the cooled bread tightly in plastic wrap or aluminum foil. It will keep at room temperature for up to 3 days. Honestly, it’s even better on day two—the flavors have time to meld, and the texture becomes even more moist. I’ve been known to hide a slice for myself on day two.
To freeze, wrap the loaf (or individual slices) in plastic wrap, then in a layer of foil, and place in a freezer bag. It will keep for up to 3 months. When you’re ready to enjoy it, thaw at room temperature for about an hour, or pop a frozen slice in the toaster for a quick warm-up. I always keep a loaf in the freezer for emergencies—bad days, unexpected guests, or just a Tuesday that needs improving.
For reheating, I recommend warming individual slices in a 300°F oven for 5-7 minutes, or in the microwave for 15-20 seconds. The microwave is faster, but the oven gives you a slightly crisper edge. If you’re reheating from frozen, let the slice thaw first for the best texture.
The flavors actually develop over time. On day one, it’s fresh and straightforward. By day two, the banana flavor has deepened, and the walnuts have softened slightly while still retaining their crunch. If you can resist eating it all on day one, you’re in for a treat on day two.
Nutritional Information & Benefits
Here’s an approximate nutritional breakdown per slice (based on 10 slices per loaf):
| Nutrient | Amount per slice |
|---|---|
| Calories | 245 |
| Total Fat | 11g |
| Saturated Fat | 4.5g |
| Cholesterol | 35mg |
| Sodium | 195mg |
| Total Carbohydrates | 34g |
| Dietary Fiber | 2g |
| Sugars | 17g |
| Protein | 4g |
This banana bread offers some genuine nutritional benefits. Bananas are rich in potassium, which supports heart health and muscle function. Walnuts provide omega-3 fatty acids, which are great for brain health—something a 16-year-old like Pau definitely needs during those long school days. The fiber from the bananas and walnuts helps with digestion and keeps you feeling satisfied.
Dietary considerations: This recipe contains gluten, dairy, eggs, and tree nuts (walnuts). For a gluten-free version, see the variations section. For a dairy-free version, substitute the butter with coconut oil or a plant-based butter. For a nut-free version, simply omit the walnuts or replace them with an equal amount of chocolate chips or seeds like pumpkin seeds.
Potential allergens: wheat (gluten), dairy (butter), eggs, tree nuts (walnuts). Always check your ingredient labels if cooking for someone with allergies.
From a wellness perspective, I love that this bread feels indulgent while still using real, whole ingredients. It’s not health food, but it’s made with things you can feel good about eating. A slice with some fruit on the side makes a satisfying breakfast, and it’s certainly better for you than most store-bought pastries.
Conclusion
This cozy one-bowl banana bread with walnuts is the kind of recipe that becomes part of your life. It’s the bread you make when the bananas on your counter are too spotty to eat but too good to throw away. It’s the bread you bake on a rainy Sunday when you need something warm and familiar. It’s the bread you bring to a friend’s house when they need a little comfort.
What I love most about it is how forgiving it is. You can swap ingredients, adjust the sweetness, add different mix-ins, and it still turns out delicious. It’s a recipe that invites experimentation—so don’t be afraid to make it your own. Add chocolate chips if that’s your thing. Skip the walnuts if you’re not a fan. Sprinkle some coarse sugar on top for extra crunch. This bread is here for you, whatever that looks like.
I’d love to hear how yours turns out. Did you try a variation? Did you discover a new favorite way to eat it? Drop a comment below and let me know—and don’t forget to share a photo if you made it. There’s something special about seeing other people enjoy a recipe that started with a neighbor’s story and a fork-mashed banana. Happy baking, friends. May your kitchen smell warm and your heart feel full.
Frequently Asked Questions
Can I use frozen bananas for this recipe?
Yes, absolutely. Thaw them first, then drain off any excess liquid before mashing. Frozen bananas can actually be even sweeter and more flavorful than fresh ones.
Why did my banana bread sink in the middle?
This usually happens if the bread is underbaked or if you opened the oven door too early. Make sure your baking soda is fresh, and resist the urge to peek until at least 45 minutes of baking time has passed.
Can I make this without walnuts?
Of course. You can leave them out entirely, or replace them with chocolate chips, pecans, or even dried fruit like raisins or chopped dates. The bread works beautifully either way.
How do I know when my bananas are ripe enough?
Look for bananas with lots of brown spots on the peel. They should be soft to the touch and smell sweet. If your bananas aren’t ripe enough, you can speed up the process by placing them in a paper bag with an apple overnight.
Can I double this recipe?
Yes, the recipe doubles beautifully. Just use a larger bowl and bake in two separate loaf pans. You can also freeze one loaf for later—it’s always nice to have a backup plan.
Pin This Recipe!
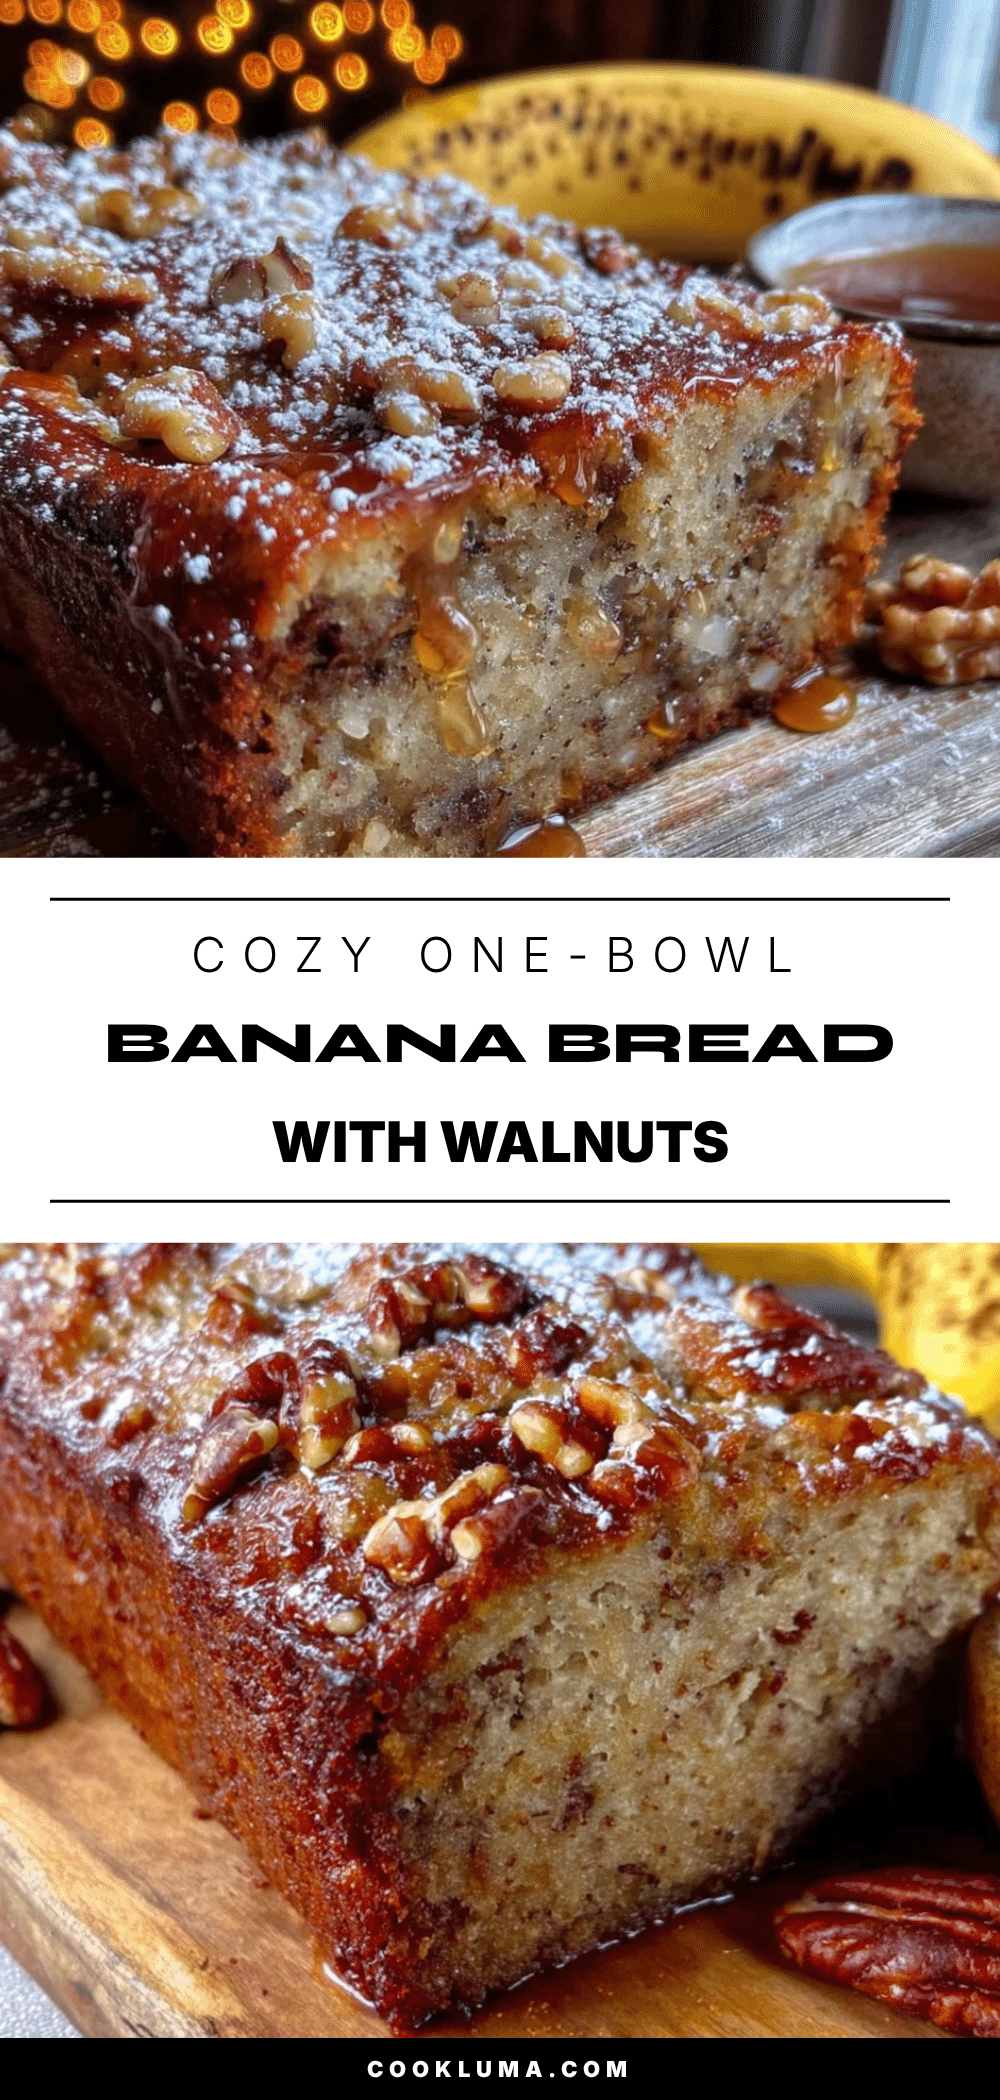
Cozy One-Bowl Banana Bread with Walnuts
This cozy one-bowl banana bread with walnuts is a forgiving, comforting recipe that fills your kitchen with a warm, nutty aroma. Made with simple ingredients and a fork-mashing technique, it delivers a moist, tender crumb with crunchy pockets of toasted walnuts.
- Prep Time: 15 minutes
- Cook Time: 55 minutes
- Total Time: 1 hour 10 minutes
- Yield: 10 servings 1x
- Category: Dessert
- Cuisine: American
Ingredients
- 3 large ripe bananas, mashed (about 1 ½ cups or 340g)
- ⅓ cup (75g) unsalted butter, melted and slightly cooled
- ¾ cup (150g) granulated sugar
- 1 large egg, at room temperature
- 1 teaspoon vanilla extract
- 1 ½ cups (190g) all-purpose flour
- 1 teaspoon baking soda
- ¼ teaspoon salt
- ½ teaspoon ground cinnamon (optional but recommended)
- ½ cup (60g) walnuts, chopped and toasted
- A handful of walnut halves for topping (optional)
Instructions
- Preheat oven to 350°F (175°C). Line a 9×5-inch loaf pan with parchment paper, leaving overhang on the long sides.
- Toast the walnuts: Place chopped walnuts in a dry skillet over medium heat. Shake occasionally and toast for 3-5 minutes until fragrant and lightly golden. Set aside to cool.
- Mash the bananas: In a large mixing bowl, peel bananas and mash with a fork until mostly smooth with a few small lumps.
- Add wet ingredients: Pour melted butter over mashed bananas and stir. Add sugar and mix well. Add egg and vanilla, stirring until smooth and glossy.
- Combine dry ingredients: Sprinkle flour, baking soda, salt, and cinnamon (if using) over the wet mixture. Fold gently with a spatula until just combined—do not over-mix.
- Fold in walnuts: Gently fold toasted walnuts into the batter. Reserve a handful for topping if desired.
- Transfer to pan: Scrape batter into prepared loaf pan and spread evenly. Arrange reserved walnut halves on top if using. Tap pan gently on counter to release air bubbles.
- Bake: Bake for 50-60 minutes, until a toothpick inserted in the center comes out clean or with a few moist crumbs. If top browns too quickly, tent with foil for the last 15 minutes.
- Cool: Let bread cool in pan for 10 minutes on a cooling rack. Use parchment overhang to lift out and transfer to rack to cool completely (at least 30 minutes) before slicing.
Notes
Use very ripe bananas with brown spots for best sweetness and moisture. Do not over-mix the batter to avoid tough bread. Measure flour correctly by spooning and leveling. Let ingredients come to room temperature. Toast walnuts to enhance flavor. Cool completely before slicing to prevent crumbling. Bread keeps at room temperature for up to 3 days, or freeze for up to 3 months.
Nutrition
- Serving Size: 1 slice
- Calories: 245
- Sugar: 17
- Sodium: 195
- Fat: 11
- Saturated Fat: 4.5
- Carbohydrates: 34
- Fiber: 2
- Protein: 4
Keywords: banana bread, walnut banana bread, one-bowl banana bread, easy banana bread, moist banana bread


