This was supposed to be a classic sweet potato casserole, the kind with the marshmallow topping that my family has been making for decades. I had the sweet potatoes roasting, the marshmallows laid out, and I was feeling pretty smug about getting a jump on Thanksgiving prep on a random Tuesday afternoon. Then my phone rang, I got distracted by a conversation about someone’s new puppy, and I completely forgot about the butter I had melting on the stove. By the time I smelled it, that butter had gone past golden and straight into nutty, toasty, brown butter territory. I stood there staring at the pan, honestly ready to toss it and start over. But something made me stop. The smell was incredible—like toasted hazelnuts and caramel. So I grabbed the maple syrup instead of the marshmallows, poured it all over those roasted sweet potatoes, and held my breath. What came out of the oven was nothing like the plan. And it was so much better. That happy little accident turned into my most-requested fall side dish, and now I can’t imagine the holiday table without it. Maybe you’ve had one of those kitchen moments where everything goes sideways, and somehow you end up with something you love even more. That’s this recipe. It’s the kind of dish that makes you slow down and actually taste the season.
Why You’ll Love This Recipe
Let me tell you, I’ve tested this recipe more times than I care to count. I’ve made it for quiet weeknight dinners, for a chaotic Friendsgiving with twelve people crammed into a tiny apartment, and for a fancy dinner party where I was trying way too hard to impress. Every single time, it works. Here’s why this one stands out from every other sweet potato recipe out there.
- Simple Ingredients, Big Flavor: You don’t need a specialty grocery store for this one. Sweet potatoes, butter, maple syrup, and a few pantry spices. That’s it. No weird ingredients you’ll never use again.
- Comes Together in Under an Hour: The oven does most of the work here. You’ll spend maybe 15 minutes actively cooking, and the rest is just letting the magic happen.
- Perfect for Fall Gatherings: Whether it’s Thanksgiving, a cozy Sunday dinner, or a random Tuesday when you need some comfort, this dish fits. It’s fancy enough for company but easy enough for a regular night.
- Crowd-Pleaser Guaranteed: I’ve served this to kids who swear they hate sweet potatoes, and they went back for seconds. The brown butter and maple combo is just that good.
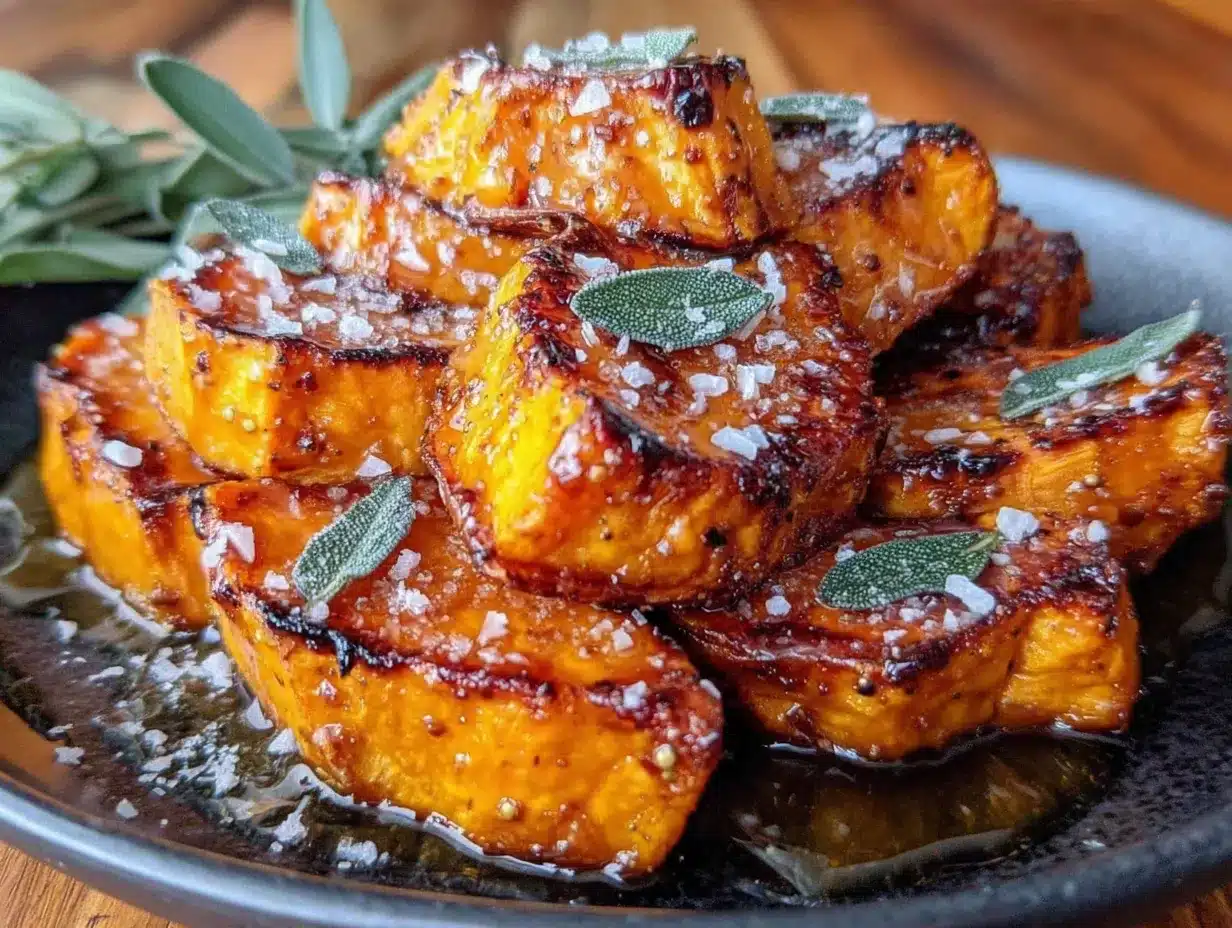
- That Unforgettable Texture: The edges get all caramelized and slightly crispy while the insides stay creamy and soft. It’s the kind of texture contrast that makes you keep going back for just one more bite.
This isn’t just another sweet potato side dish. The technique of browning the butter first changes everything. It adds this deep, nutty richness that plain melted butter just can’t touch. And when you combine that with real maple syrup—not the imitation stuff, please—you get a flavor that feels both familiar and totally new. Honestly, this is the kind of recipe that makes you close your eyes after the first bite. It’s comfort food that feels a little bit special, without any of the stress.
What Ingredients You Will Need
This recipe uses simple, wholesome ingredients that come together to create something truly special. Most of these are probably already in your kitchen, which is exactly how I like it. Let’s break down what you’ll need and why each one matters.
- Sweet Potatoes (3 pounds, about 4 medium): Look for ones that are firm and evenly shaped so they cook at the same rate. I prefer the orange-fleshed varieties like Beauregard or Garnet—they’re naturally sweeter and get beautifully creamy when roasted. You can peel them or leave the skin on, but I find peeling gives a more consistent texture for this dish.
- Unsalted Butter (1/2 cup, 1 stick): This is the star of the show. Using unsalted butter lets you control the salt level, which matters because we’re browning it. I’ve tried this with salted butter, and it works in a pinch, but the salt can sometimes mask that delicate nutty flavor you’re after. Go with unsalted if you can.
- Pure Maple Syrup (1/3 cup): Please, please use the real stuff. The pancake syrup with artificial flavoring will not give you the same result. Grade A dark amber is my go-to for this recipe—it has a stronger maple flavor that stands up to the brown butter. The difference between real maple syrup and imitation is like the difference between a home-cooked meal and fast food. You’ll taste it.
- Brown Sugar (2 tablespoons, packed): A little bit of brown sugar adds depth and helps with that caramelization on the edges. Light or dark brown sugar both work, but dark brown will give you a slightly more molasses-y flavor that pairs beautifully with the maple.
- Cinnamon (1 teaspoon): Warm and familiar, cinnamon is the backbone of fall cooking. It brings out the natural sweetness of the potatoes without overpowering them.
- Ground Nutmeg (1/4 teaspoon): Just a pinch. Nutmeg can be overwhelming if you use too much, but the right amount adds this subtle warmth that makes the dish feel cozier.
- Salt (1/2 teaspoon, plus more for finishing): Salt is crucial here. It balances the sweetness and makes all the other flavors pop. I like to use a flaky sea salt like Maldon for finishing—it adds little bursts of saltiness that contrast beautifully with the sweet glaze.
- Vanilla Extract (1 teaspoon): Pure vanilla extract adds a layer of complexity that you might not notice on its own, but you’d miss if it weren’t there. It rounds out the flavors and makes everything taste more, well, complete.
- Optional Garnishes: Chopped pecans or walnuts add a lovely crunch. Fresh thyme or rosemary brings an herby contrast that cuts through the richness. And if you’re feeling indulgent, a drizzle of extra maple syrup right before serving never hurts.
I’ve made this recipe using different types of sweet potatoes, and I have to say, the orange-fleshed ones really are the best here. They get so creamy when roasted. If you can only find the white-fleshed or purple variety, they’ll still work, but the texture will be a bit drier and the flavor less sweet. For the butter, I usually go with Kerrygold or another European-style butter because the higher fat content gives you a richer brown butter flavor. But honestly, any good unsalted butter will do the job.
Equipment Needed
You don’t need a fancy kitchen to pull this off. Here’s what you’ll need:
- Large Baking Sheet: A rimmed baking sheet is ideal. The rim keeps any sticky glaze from dripping onto your oven floor. I use a half-sheet pan, which is about 18 by 13 inches. If you don’t have one, a 9×13 baking dish will work, though you won’t get quite as much caramelization on the edges.
- Medium Skillet or Saucepan: You need this for browning the butter. A light-colored pan is actually better here because you can see the butter change color more easily. I learned this the hard way after burning several batches in a dark nonstick pan.
- Parchment Paper or Aluminum Foil: Lining your baking sheet makes cleanup so much easier. The maple syrup glaze gets sticky and can be a pain to scrub off. Trust me on this one.
- Mixing Bowl: For tossing the sweet potatoes with the butter mixture. Any medium bowl will do.
- Sharp Knife and Cutting Board: You’ll need these for peeling and cutting the sweet potatoes. A good chef’s knife makes the job much easier.
- Measuring Cups and Spoons: For accuracy, especially with the maple syrup and brown butter.
If you don’t have a skillet for browning the butter, a small saucepan works perfectly fine. And honestly, I’ve made the brown butter in a microwave before in a pinch—just microwave the butter in 30-second intervals, stirring each time, until it turns golden brown and smells nutty. It’s not quite as controlled, but it gets the job done.
Preparation Method
Alright, let’s get cooking. I’m going to walk you through this step by step, with all the little details I’ve picked up along the way.
- Preheat your oven to 400°F (200°C). Position a rack in the middle of the oven. Getting the oven to the right temperature is important here—we want the sweet potatoes to roast, not steam. Give it a full 15 to 20 minutes to heat up properly.
- Prepare the sweet potatoes. Peel 3 pounds of sweet potatoes (about 4 medium) and cut them into 1-inch cubes. Try to make them as uniform as possible so they cook evenly. I usually aim for cubes that are about the size of a large marshmallow. If some are much smaller than others, they’ll cook faster and might turn to mush before the bigger pieces are done. Take your time with this step.
- Start the brown butter. Place 1/2 cup (1 stick) of unsalted butter in a medium skillet or saucepan over medium heat. Let it melt completely, then continue cooking, swirling the pan occasionally. The butter will start to foam and bubble—that’s normal. After about 3 to 4 minutes, the foam will subside, and you’ll see tiny brown specks forming at the bottom of the pan. The butter will smell nutty and toasty. This is your moment. As soon as it turns a golden brown color and smells amazing, remove it from the heat. Don’t walk away during this process—brown butter can go from perfect to burnt in about 30 seconds. I know this from experience. I’ve ruined more than a few batches by getting distracted.
- Make the glaze. To the warm brown butter, add 1/3 cup pure maple syrup, 2 tablespoons packed brown sugar, 1 teaspoon cinnamon, 1/4 teaspoon ground nutmeg, 1/2 teaspoon salt, and 1 teaspoon vanilla extract. Whisk everything together until the brown sugar dissolves and the mixture is smooth. It should smell incredible at this point—warm, sweet, and nutty.
- Toss the sweet potatoes. Place the cubed sweet potatoes in a large mixing bowl. Pour the brown butter mixture over them and toss well to coat every piece. I use a rubber spatula to make sure I get every last bit of that glaze. The sweet potatoes should be evenly coated, with no dry spots.
- Arrange on the baking sheet. Line a large rimmed baking sheet with parchment paper or aluminum foil. Spread the sweet potatoes in a single, even layer. Make sure they’re not crowded—if they’re piled on top of each other, they’ll steam instead of roast, and you won’t get those gorgeous caramelized edges. If your baking sheet is too small, use two sheets or work in batches.
- Roast for 35 to 40 minutes. Place the baking sheet in the preheated oven and roast for 20 minutes. Then, remove the sheet from the oven and use a spatula to flip the sweet potatoes. Return to the oven and continue roasting for another 15 to 20 minutes, or until the sweet potatoes are tender when pierced with a fork and the edges are caramelized and slightly crispy. The glaze should be bubbling and sticky. Keep an eye on them during the last 5 minutes—ovens vary, and you don’t want them to burn.
- Finish and serve. Remove from the oven and let cool for about 5 minutes on the baking sheet. Transfer to a serving dish. If you’re using garnishes, now’s the time. Sprinkle with flaky sea salt, chopped pecans, or fresh thyme. The salt is especially important—it cuts through the sweetness and makes everything taste more balanced.
A few things I’ve learned the hard way: Don’t skip the flipping step. It makes a huge difference in getting even caramelization. Also, if you’re making a double batch for a crowd, use two baking sheets and rotate them halfway through cooking. And here’s a pro tip—if you want extra-crispy edges, turn on the broiler for the last 2 minutes. Watch it carefully, because it can go from perfect to burnt in seconds.
Cooking Tips & Techniques
I’ve made this recipe more times than I can count, and I’ve definitely made my share of mistakes along the way. Here are the things I wish someone had told me when I first started making it.
Master the brown butter. This is the trickiest part of the recipe, but it’s also what makes this dish so special. The key is to use medium heat and stay attentive. Swirl the pan constantly once the butter starts foaming. The color change happens fast—you’re looking for a deep golden brown with little specks at the bottom. The smell is your best clue. When it smells nutty and toasty, like toasted hazelnuts, it’s done. I’ve burned brown butter so many times by walking away for just a minute. Don’t be like me. Stay with it.
Cut evenly for even cooking. I cannot stress this enough. If your sweet potato cubes are different sizes, some will be mushy while others are still hard. Take the extra few minutes to cut them uniformly. It makes a world of difference.
Don’t overcrowd the pan. This is probably the most common mistake I see. If the sweet potatoes are piled on top of each other, they’ll steam instead of roast. You want them in a single layer with a little space between each piece. That’s how you get those beautiful caramelized edges. If you need to use two baking sheets, do it.
Flip halfway through. I know it’s tempting to just leave them alone, but flipping ensures even cooking and caramelization on all sides. Set a timer so you don’t forget.
Let them rest before serving. Those 5 minutes off the heat allow the glaze to set slightly and the flavors to meld. It also prevents anyone from burning their mouth on molten hot sweet potatoes. Trust me, I’ve been there.
Variations & Adaptations
One of the things I love about this recipe is how adaptable it is. Here are some variations I’ve tried and loved.
Herby Maple Brown Butter Sweet Potatoes: Add 2 tablespoons of fresh chopped rosemary or thyme to the brown butter glaze. The herbiness cuts through the sweetness beautifully. I made this version for a friend who said she doesn’t like sweet potatoes, and she asked for the recipe. That’s how good it is.
Spicy Maple Brown Butter Sweet Potatoes: Add 1/4 teaspoon of cayenne pepper or red pepper flakes to the glaze. The heat contrasts with the sweetness in a way that’s honestly addictive. I’ve served this at a potluck, and people couldn’t stop talking about it.
Vegan Version: Substitute the butter with a high-quality vegan butter or coconut oil. Coconut oil gives a slightly different flavor, but it’s still delicious. Use maple syrup as the sweetener, and you’re good to go. I’ve tested this with Miyoko’s vegan butter, and it works beautifully.
Air Fryer Method: If you’re short on time or want extra-crispy results, try the air fryer. Toss the sweet potatoes with the glaze, then cook at 375°F (190°C) for 15 to 20 minutes, shaking the basket halfway through. You’ll get perfectly caramelized edges in less time. Just make sure not to overcrowd the basket.
Add Some Crunch: Top with toasted pecans, walnuts, or even pumpkin seeds before serving. The crunch adds a lovely textural contrast. I usually toast the nuts in a dry skillet for a few minutes until they’re fragrant before adding them.
Serving & Storage Suggestions
These sweet potatoes are incredibly versatile when it comes to serving. Here’s how I like to enjoy them.
Serving Temperature: They’re best served warm, straight from the oven. The glaze is at its stickiest and most delicious when it’s hot. That said, they’re also surprisingly good at room temperature, which makes them perfect for potlucks and buffets.
Presentation Ideas: Transfer to a beautiful serving dish and garnish with flaky sea salt and fresh herbs. If you’re feeling fancy, drizzle a little extra maple syrup on top. The visual contrast of the golden-orange sweet potatoes against dark green herbs is gorgeous.
What to Serve With Them: These pair beautifully with roasted chicken, turkey, pork chops, or a hearty fall salad. They’re a staple on my Thanksgiving table, but I also make them for regular Sunday dinners. For a complete fall meal, I love serving them alongside my rosemary garlic roasted chicken and a simple green salad with apple cider vinaigrette.
Storage: Leftovers can be stored in an airtight container in the refrigerator for up to 4 days. The flavors actually deepen and meld together overnight, so they might be even better the next day. I’ve been known to eat them cold straight from the fridge—don’t judge me.
Reheating: The best way to reheat is in the oven at 350°F (175°C) for about 10 minutes. This helps restore some of the caramelization. You can also use the air fryer at 350°F for 5 to 7 minutes. The microwave works in a pinch, but the texture won’t be as good—the edges will lose their crispness.
Freezing: I don’t recommend freezing this dish. The sweet potatoes can become watery and mushy when thawed. If you need to make ahead, you can prep the sweet potatoes and the glaze separately, then combine and roast just before serving.
Nutritional Information & Benefits
These sweet potatoes are not only delicious but also packed with nutrients. Here’s a rough estimate per serving (based on 6 servings).
- Calories: Approximately 320 per serving
- Fat: 16g (mostly from the butter, which is fine in moderation)
- Carbohydrates: 44g
- Fiber: 5g
- Sugar: 22g (natural and added)
- Protein: 3g
- Vitamin A: Over 400% of the daily value—sweet potatoes are one of the best sources of beta-carotene
- Vitamin C: About 30% of the daily value
- Potassium: More than a banana
Sweet potatoes are a nutritional powerhouse. They’re loaded with antioxidants, fiber, and vitamins that support eye health, immune function, and digestion. The brown butter and maple syrup add some richness, but this dish is still a healthier alternative to many traditional holiday sides. I feel good serving this to my family, knowing they’re getting something that tastes indulgent but is actually good for them.
If you’re watching your sugar intake, you can reduce the maple syrup to 1/4 cup. The sweet potatoes are naturally sweet, so you won’t miss it much. For a lower-fat version, you can cut the butter to 1/4 cup, but you’ll lose some of that brown butter magic.
Conclusion
This recipe started as a mistake, but it’s become one of my most treasured dishes. There’s something about the combination of nutty brown butter and sweet maple syrup that just captures the essence of fall. Every time I make it, I’m transported back to that Tuesday afternoon when I thought I’d ruined dinner, only to discover something even better.
I hope you give these sweet potatoes a try. Don’t be afraid to make them your own—add more spice, throw in some herbs, or top them with crunchy nuts. The beauty of this recipe is that it’s forgiving and adaptable. And if you happen to burn the butter the first time? Don’t worry. I’ve done it more times than I care to admit. Just start over, and remember that sometimes the best recipes come from the biggest mistakes.
I’d love to hear how yours turn out. Leave a comment below and let me know if you tried any variations or if this has become a new fall favorite in your home. And if you’re looking for more cozy fall recipes, check out my creamy butternut squash soup and apple cinnamon baked oatmeal for breakfast. Happy cooking, friends!
Frequently Asked Questions
Can I make this recipe ahead of time?
Yes, you can prep the sweet potatoes and the glaze separately up to a day in advance. Store the cut sweet potatoes in water in the refrigerator to prevent browning, and keep the glaze in a separate container. When you’re ready to serve, drain the sweet potatoes, toss with the glaze, and roast as directed. The roasting time might be slightly longer if the sweet potatoes are cold from the fridge.
Can I use yams instead of sweet potatoes?
Absolutely. Yams and sweet potatoes are often confused, but they’re different vegetables. True yams are starchier and drier than sweet potatoes, but they’ll still work in this recipe. The texture will be a bit different—less creamy and more firm—but the flavor will still be delicious. If you’re in the US, what’s labeled as “yams” in most grocery stores is actually a variety of sweet potato, so you’re probably fine either way.
How do I know when the brown butter is ready?
The best indicators are color and smell. The butter will go from yellow to golden to a deep amber brown. You’ll see tiny brown specks forming at the bottom of the pan. And the smell—oh, the smell—will change from buttery to nutty and toasty. It should smell like toasted hazelnuts or caramel. If it smells burnt, you’ve gone too far. Don’t worry if it takes a few tries to get it right. I still mess it up sometimes.
Can I use frozen sweet potatoes?
I wouldn’t recommend it for this recipe. Frozen sweet potatoes release a lot of water as they thaw, which will make your glaze watery and prevent proper caramelization. Fresh sweet potatoes really are the way to go here. They’re available year-round and keep for weeks in a cool, dark place, so there’s no reason not to use fresh.
What if I don’t have maple syrup?
You can substitute honey or agave nectar in equal amounts. The flavor will be different—honey has its own distinct taste, and agave is milder—but the recipe will still work. If you use honey, I’d recommend a mild variety like clover honey so it doesn’t overpower the brown butter. Brown sugar mixed with a little water can also work in a pinch, but you’ll lose that distinct maple flavor that makes this dish special.
Pin This Recipe!
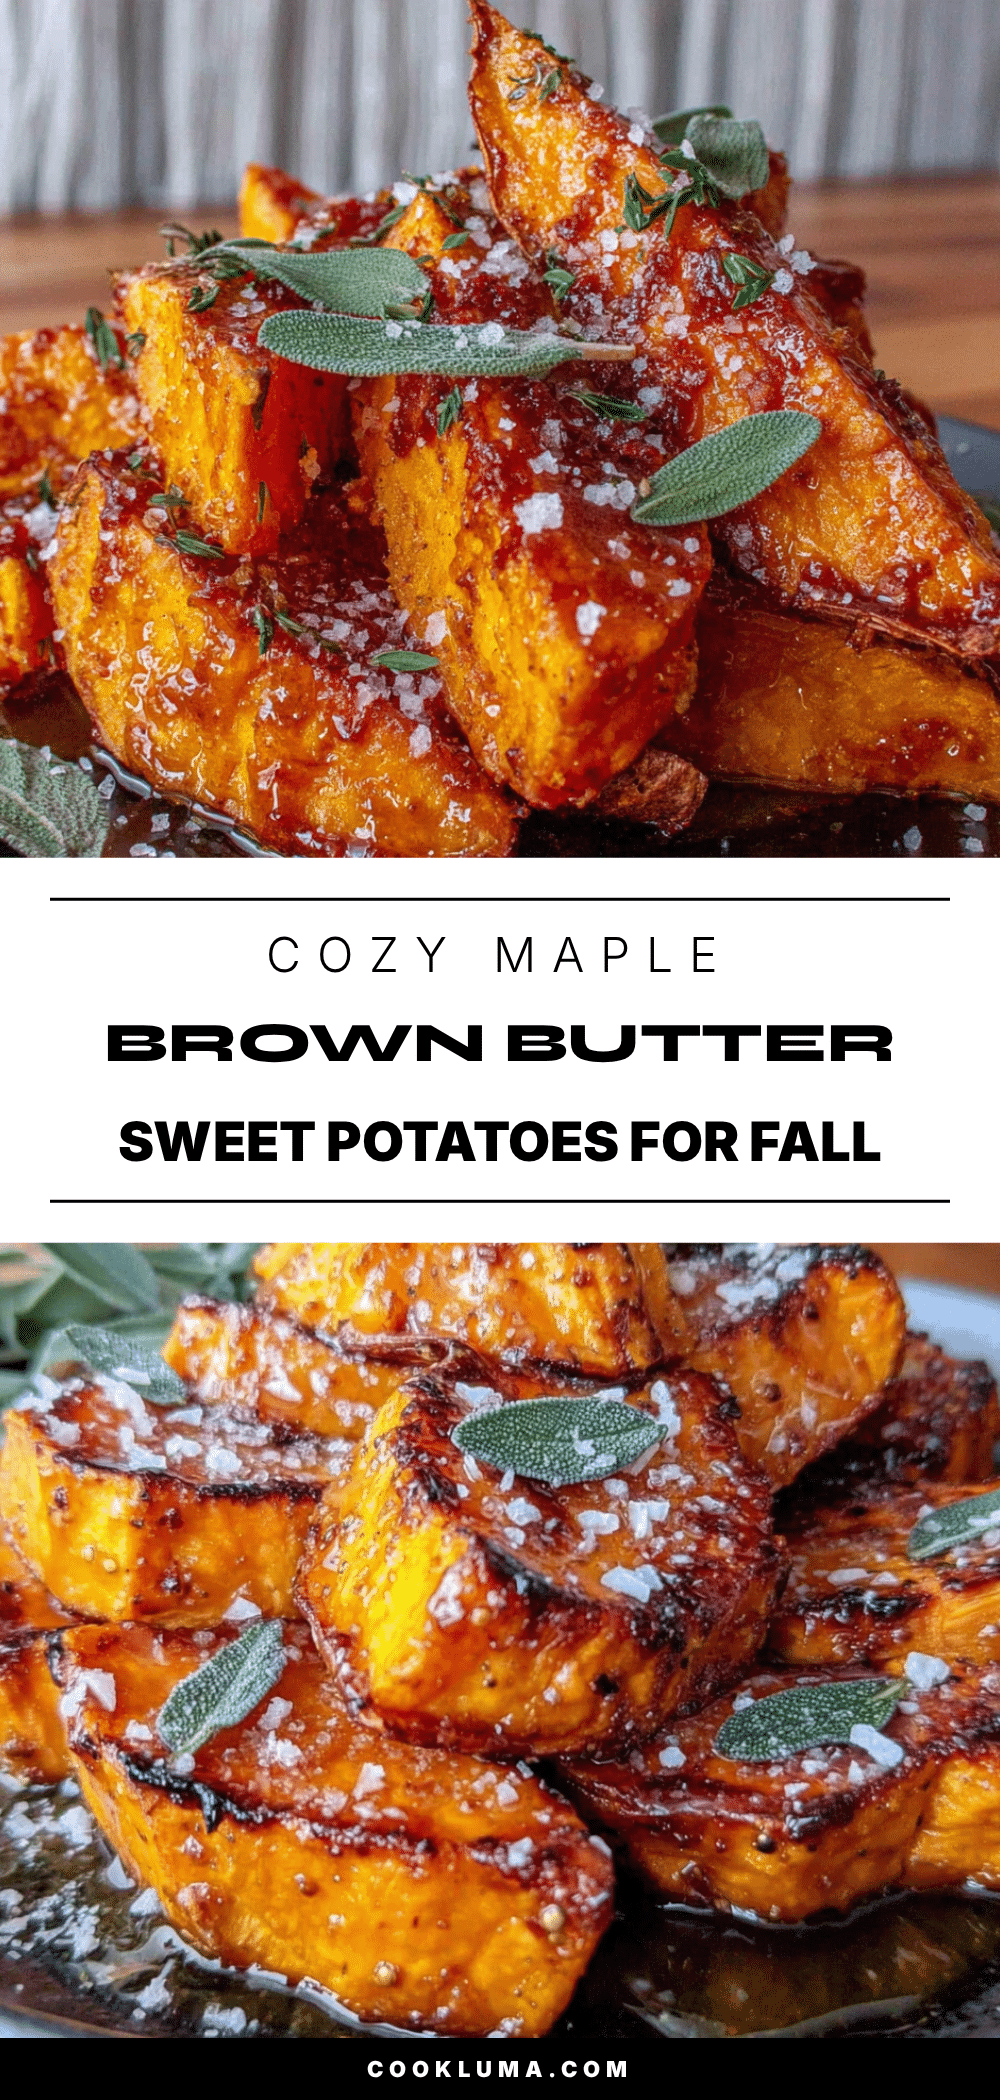
Cozy Maple Brown Butter Sweet Potatoes: Easy Fall Side
A happy accident turned into the most-requested fall side dish: roasted sweet potatoes coated in a nutty brown butter and maple glaze, caramelized to perfection. Simple ingredients, big flavor, and ready in under an hour.
- Prep Time: 15 minutes
- Cook Time: 35-40 minutes
- Total Time: 50-55 minutes
- Yield: 6 servings 1x
- Category: Side Dish
- Cuisine: American
Ingredients
- 3 pounds sweet potatoes (about 4 medium), peeled and cut into 1-inch cubes
- 1/2 cup (1 stick) unsalted butter
- 1/3 cup pure maple syrup
- 2 tablespoons packed brown sugar
- 1 teaspoon ground cinnamon
- 1/4 teaspoon ground nutmeg
- 1/2 teaspoon salt, plus more for finishing
- 1 teaspoon vanilla extract
- Optional garnishes: chopped pecans or walnuts, fresh thyme or rosemary, flaky sea salt
Instructions
- Preheat your oven to 400°F (200°C). Position a rack in the middle of the oven.
- Peel 3 pounds of sweet potatoes and cut them into 1-inch cubes, as uniform as possible.
- Place 1/2 cup unsalted butter in a medium skillet or saucepan over medium heat. Melt completely, then continue cooking, swirling occasionally, until the butter turns golden brown and smells nutty (about 3-4 minutes). Remove from heat immediately.
- To the warm brown butter, add 1/3 cup pure maple syrup, 2 tablespoons packed brown sugar, 1 teaspoon cinnamon, 1/4 teaspoon nutmeg, 1/2 teaspoon salt, and 1 teaspoon vanilla extract. Whisk until smooth.
- Place the cubed sweet potatoes in a large mixing bowl. Pour the brown butter mixture over them and toss well to coat evenly.
- Line a large rimmed baking sheet with parchment paper or aluminum foil. Spread the sweet potatoes in a single, even layer, not crowded.
- Roast for 20 minutes. Remove from oven, flip the sweet potatoes, and continue roasting for another 15-20 minutes, until tender and edges are caramelized.
- Remove from oven and let cool for about 5 minutes. Transfer to a serving dish. Garnish with flaky sea salt, chopped nuts, or fresh herbs if desired.
Notes
Don’t skip flipping the sweet potatoes halfway through for even caramelization. For extra-crispy edges, broil for the last 2 minutes, watching carefully. Brown butter can burn quickly—stay attentive. If making ahead, prep sweet potatoes and glaze separately up to a day in advance.
Nutrition
- Serving Size: 1 serving (about 1/6
- Calories: 320
- Sugar: 22
- Sodium: 280
- Fat: 16
- Saturated Fat: 10
- Carbohydrates: 44
- Fiber: 5
- Protein: 3
Keywords: maple brown butter sweet potatoes, roasted sweet potatoes, fall side dish, Thanksgiving side, easy sweet potato recipe, brown butter sweet potatoes


