The cookie swap was in less than twelve hours and I’d completely forgotten. Everyone else would be bringing those elaborate, bakery-worthy creations—the kind with hand-piped details and edible glitter that probably took three days and a pastry degree to produce. I had a half-stick of butter that had been sitting in my fridge since Thanksgiving, a bag of gluten-free flour I’d bought on a whim, and about four hours before I needed to be anywhere. Honestly, I was ready to just show up with a store-bought tin and call it a day.
But then I remembered my grandmother’s sugar cookie recipe. Or, well, a version of it. She never made them gluten-free, but she always said the secret wasn’t in the flour—it was in the patience. I figured I had nothing to lose. Worst case scenario, I’d have a kitchen disaster and a funny story. Best case? I’d have something to bring that wasn’t embarrassing.
I started mixing, and let me tell you, the dough came together way easier than I expected. It was soft and slightly sticky, just like I remembered hers being. The smell of vanilla and butter filled my tiny apartment, and for a second, I forgot I was racing against the clock. I rolled it out, cut stars and trees, and popped them in the oven. While they baked, I whipped up a quick royal icing—egg whites, powdered sugar, a splash of lemon juice. It felt rushed, but something about the process was calming.
When I walked into that cookie swap, I was still a little flustered. My icing was a bit uneven, and a few cookies had cracked at the edges. But you know what? They were the first ones gone. People kept coming back, asking for the recipe, and I had to admit—it was the gluten-free version. That night, I learned something: you don’t need perfection to win. You just need a recipe that tastes like home. And these cookies? They taste exactly like that.
Why You’ll Love This Recipe
Let’s be real—gluten-free baking can be a gamble. Sometimes it’s dry, sometimes it crumbles before you even get a bite, and sometimes it just tastes… off. But these cozy gluten-free Christmas sugar cookies? They’re different. I’ve tested this recipe more times than I can count, and I can say with confidence: this is the one.
- Quick & Easy: From start to finish, these come together in under an hour. The dough chills for just 30 minutes, and the baking time is only 8-10 minutes. Perfect for when you’re short on time but still want something special.
- Simple Ingredients: No weird gums or obscure flours. You probably already have most of what you need in your pantry—butter, sugar, eggs, vanilla, and a good gluten-free flour blend.
- Perfect for Christmas: Whether it’s a cookie swap, a cozy night in, or a last-minute gift, these cookies fit right in. They’re festive without being fussy.
- Crowd-Pleaser: I’ve served these to gluten-eaters and gluten-free folks alike, and honestly? No one can tell the difference. They’re soft, buttery, and just sweet enough.
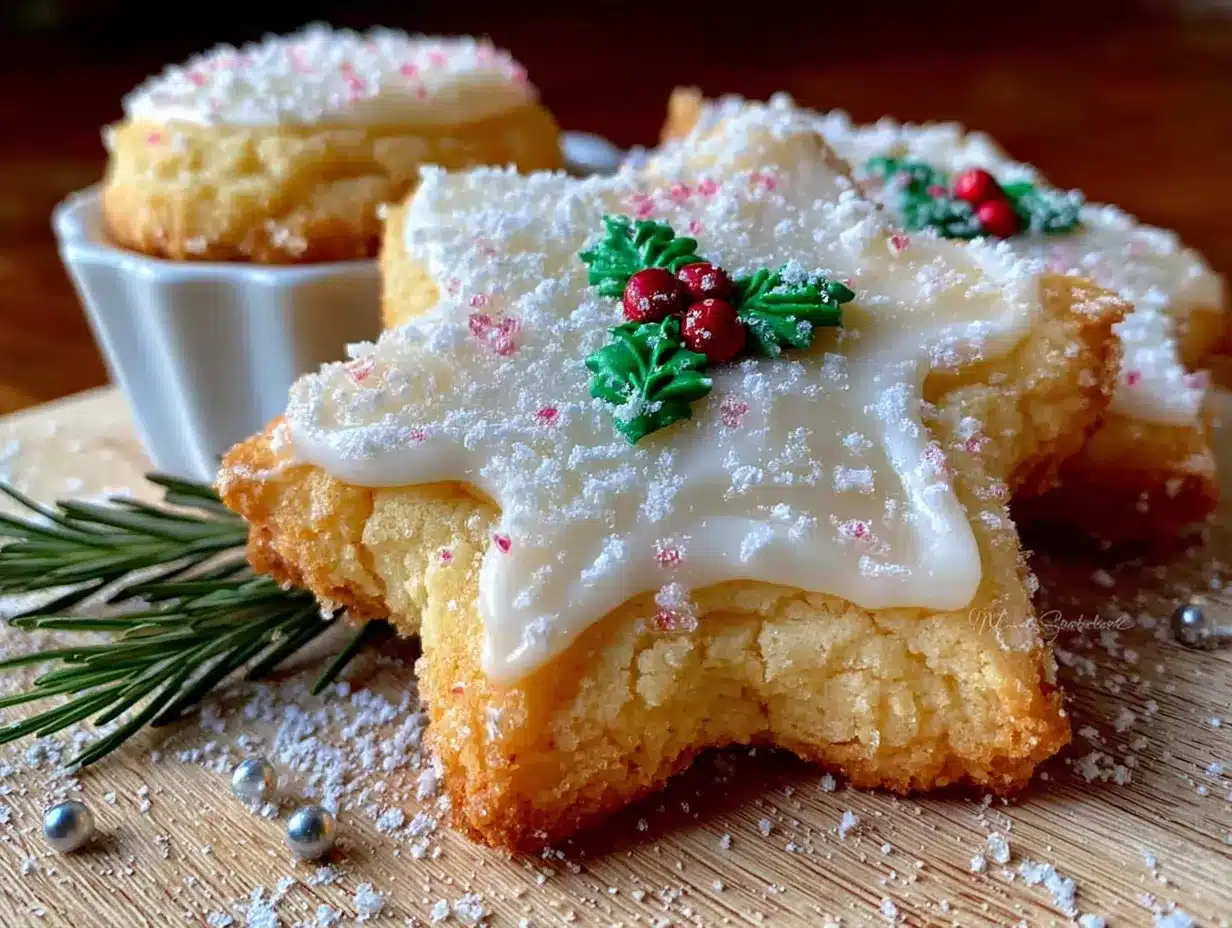
- Unbelievably Delicious: The texture is spot-on—crisp edges, soft centers, and a royal icing that sets up perfectly. It’s comfort food at its finest.
What makes this recipe different is the technique. I use a blend of almond flour and a gluten-free all-purpose flour mix, which gives the cookies a tenderness that’s hard to achieve with just one flour. Plus, the royal icing is foolproof—no raw eggs, no stress. It dries hard enough to stack, but stays soft enough to bite through. This isn’t just another gluten-free sugar cookie. It’s the one you’ll make every year.
What Ingredients You Will Need
This recipe uses simple, wholesome ingredients that come together to create a cookie that’s both tender and sturdy enough for decorating. Most of these are pantry staples, and I’ve included notes on substitutions where they work best.
- For the Cookies:
- 1 cup (226g) unsalted butter, softened (I use Kerrygold for the best flavor)
- 1 cup (200g) granulated sugar
- 1 large egg, room temperature
- 1 teaspoon vanilla extract
- 1/2 teaspoon almond extract (optional, but adds a lovely nutty note)
- 2 1/2 cups (300g) gluten-free all-purpose flour blend (I recommend Bob’s Red Mill 1-to-1 or King Arthur Measure for Measure)
- 1/2 cup (60g) almond flour (adds tenderness and helps prevent crumbliness)
- 1 teaspoon xanthan gum (omit if your flour blend already contains it)
- 1/2 teaspoon salt
- 1/2 teaspoon baking powder
- For the Royal Icing:
- 3 tablespoons meringue powder (I use Wilton)
- 4 cups (480g) powdered sugar, sifted
- 1/3 cup (80ml) warm water
- 1 teaspoon vanilla extract (or clear vanilla for pure white icing)
- Gel food coloring (optional, for decorating)
Ingredient Tips: For the butter, make sure it’s truly softened—not melted, not cold. You should be able to press your finger into it and leave an indent. If you’re dairy-free, you can substitute with a high-quality vegan butter stick (not margarine), but the texture will be slightly different. The almond flour is key here—it adds fat and moisture that gluten-free flours often lack. If you have a nut allergy, you can substitute with an equal amount of oat flour, but the cookies will be a bit more delicate.
Equipment Needed
You don’t need a fancy kitchen to make these cookies work. Here’s what I use, along with a few budget-friendly alternatives:
- Stand mixer or hand mixer: I prefer my KitchenAid for creaming butter and sugar, but a hand mixer works just fine. You could even do it by hand with a wooden spoon if you’re patient.
- Rolling pin: A standard rolling pin is fine. If you don’t have one, a wine bottle works in a pinch—just wrap it in plastic wrap first.
- Cookie cutters: Christmas shapes are fun, but any shape works. I’ve used everything from stars to snowflakes to simple circles.
- Parchment paper: Non-negotiable for gluten-free cookies. They’re more delicate, and parchment prevents sticking without adding extra flour.
- Baking sheets: Light-colored aluminum sheets work best. Dark sheets can cause the bottoms to brown too quickly.
- Piping bags or squeeze bottles: For the royal icing. I use disposable piping bags with a #2 tip, but squeeze bottles are easier for beginners.
- Cooling rack: Essential for letting the icing set properly.
Budget Tip: If you don’t have piping bags, you can use a zip-top bag with a tiny corner snipped off. It’s not as precise, but it gets the job done.
Preparation Method
- Cream the butter and sugar. In a large bowl, beat the softened butter and granulated sugar together on medium speed until light and fluffy, about 3-4 minutes. Scrape down the sides of the bowl halfway through. You’re looking for a pale, airy mixture—this is what gives the cookies their tender texture.
- Add the wet ingredients. Beat in the egg, vanilla extract, and almond extract (if using) until fully combined. The mixture might look slightly curdled at this point—that’s okay. It will come together once the dry ingredients are added.
- Combine the dry ingredients. In a separate bowl, whisk together the gluten-free flour blend, almond flour, xanthan gum (if needed), salt, and baking powder. Make sure there are no lumps—almond flour can be clumpy, so break them up with your fingers if necessary.
- Mix the dough. Gradually add the dry ingredients to the wet mixture, mixing on low speed until just combined. The dough will be soft and slightly sticky. Don’t overmix, or the cookies will be tough. If the dough seems too sticky to handle, add an extra tablespoon of flour.
- Chill the dough. Divide the dough in half, flatten each half into a disk, wrap tightly in plastic wrap, and refrigerate for at least 30 minutes. This step is crucial—chilling prevents the cookies from spreading too much and makes the dough easier to roll out.
- Preheat and prepare. Preheat your oven to 350°F (175°C). Line two baking sheets with parchment paper.
- Roll and cut. On a lightly floured surface (use gluten-free flour), roll one disk of dough to about 1/4-inch thickness. Cut into desired shapes and place on the prepared baking sheets, spacing them about 2 inches apart. Gather the scraps, re-roll, and cut again.
- Bake. Bake for 8-10 minutes, or until the edges are just barely golden. The centers will look slightly underdone—that’s perfect. They’ll continue to set as they cool. Let them cool on the baking sheet for 5 minutes, then transfer to a wire rack to cool completely.
- Make the royal icing. In a large bowl, combine the meringue powder and sifted powdered sugar. Add the warm water and vanilla extract. Beat on low speed until combined, then increase to medium-high and beat for 5-7 minutes, until the icing is thick, glossy, and holds stiff peaks. If it’s too thick, add water a teaspoon at a time. If it’s too thin, add more powdered sugar.
- Decorate. Transfer the icing to piping bags or squeeze bottles. Outline each cookie with a thin line of icing, then flood the inside with a slightly thinner consistency. Use a toothpick to spread the icing into corners and pop any air bubbles. Let the cookies dry at room temperature for 4-6 hours, or overnight.
Pro Tip: If you’re short on time, you can skip the chilling step, but your cookies will spread more. I’ve done it in a pinch, and they still taste great—they just look a little more rustic.
Cooking Tips & Techniques
I’ve made these cookies more times than I can count, and I’ve definitely had my share of failures. Here’s what I’ve learned along the way:
- Don’t skip the almond flour. The first time I made these, I used only gluten-free all-purpose flour, and the cookies were dry and crumbly. The almond flour adds fat and moisture, which is exactly what gluten-free baked goods need. Trust me on this one.
- Chill the dough thoroughly. I once tried to rush this step and ended up with cookies that spread into weird, flat blobs. Chilling solidifies the butter, which means less spread and cleaner edges. If your kitchen is warm, chill for a full hour.
- Use a light touch with the rolling pin. Gluten-free dough is more delicate than regular dough. Roll gently and use enough flour to prevent sticking, but not so much that the dough becomes dry. If the dough cracks at the edges, just press it back together with your fingers.
- Watch the oven closely. These cookies go from perfectly baked to overdone in about 30 seconds. I set a timer for 8 minutes and check them. The edges should be just barely golden, and the centers should look slightly soft. They’ll firm up as they cool.
- Royal icing consistency is everything. For outlining, the icing should be thick enough to hold its shape—think toothpaste. For flooding, it should be thinner, like honey. If you lift the spoon and the icing falls back into the bowl in a ribbon that disappears within 10 seconds, you’re in the right zone.
My biggest failure? I once tried to speed up the drying process by putting the iced cookies in the fridge. Bad idea. The condensation ruined the icing, and I had to start over. Patience is key with royal icing—let them dry at room temperature, no shortcuts.
Variations & Adaptations
One of the best things about this recipe is how flexible it is. Here are a few ways to make it your own:
- Dairy-Free Version: Substitute the butter with a high-quality vegan butter stick. I’ve used Earth Balance and Miyoko’s with good results. The cookies will be slightly less tender, but still delicious.
- Egg-Free Version: Replace the egg with a flax egg (1 tablespoon ground flaxseed + 3 tablespoons water, let sit for 5 minutes). The cookies will be a bit more delicate, so handle them gently.
- Flavor Variations: Add 1 teaspoon of lemon zest or orange zest to the dough for a citrusy twist. Or swap the vanilla extract for peppermint extract for a holiday spin. I once made a batch with lavender extract, and they were surprisingly lovely.
- Different Icing Options: If royal icing isn’t your thing, you can use a simple glaze (powdered sugar + milk + vanilla) or even a cream cheese frosting. Just keep in mind that these will need to be refrigerated if using dairy-based frosting.
- Seasonal Shapes: These cookies aren’t just for Christmas. Use heart-shaped cutters for Valentine’s Day, flowers for spring, or pumpkins for fall. The dough is versatile enough to work year-round.
Personal Variation: My favorite version is a simple vanilla cookie with a thin layer of royal icing and a sprinkle of coarse sanding sugar. It’s not fancy, but it reminds me of the cookies my grandmother used to make. Sometimes simple is best.
Serving & Storage Suggestions
These cookies are best served at room temperature, after the icing has fully set. I like to arrange them on a festive platter or pack them in a tin for gifting. They’re perfect with a cup of hot cocoa, a mug of coffee, or a glass of cold milk.
Storage: Once the icing is completely dry, store the cookies in an airtight container at room temperature. They’ll keep for up to 2 weeks—if they last that long. Layer them between sheets of parchment paper to prevent the icing from sticking.
Freezing: You can freeze the unbaked dough for up to 3 months. Wrap it tightly in plastic wrap and then in foil. When you’re ready to bake, thaw it in the fridge overnight, then roll, cut, and bake as directed. You can also freeze the baked, un-iced cookies for up to 2 months. Thaw at room temperature, then decorate.
Flavor Development: Honestly, these cookies taste even better the next day. The flavors meld together, and the texture softens slightly. If you can resist eating them all on day one, you’ll be rewarded on day two.
Nutritional Information & Benefits
While these are definitely a treat, there are a few nutritional highlights worth noting:
- Estimated per cookie (with icing): Calories: 120, Fat: 5g, Carbs: 18g, Protein: 2g, Sugar: 12g
- Almond flour benefits: Almond flour is rich in vitamin E, magnesium, and healthy fats. It also adds a boost of protein and fiber compared to regular flour.
- Gluten-free: These cookies are safe for those with celiac disease or gluten sensitivity, as long as you use certified gluten-free ingredients.
- Potential allergens: Contains dairy, eggs, and tree nuts (almonds). For nut-free, substitute oat flour for almond flour.
- Health perspective: I believe in balance. These cookies are a celebration—something to enjoy during the holidays without guilt. They’re made with real ingredients, and that counts for something.
Conclusion
These cozy gluten-free Christmas sugar cookies are more than just a recipe—they’re a little piece of comfort that you can share with the people you love. Whether you’re a seasoned baker or someone who’s never made a gluten-free cookie in your life, I promise you can make these work. The dough is forgiving, the icing is simple, and the result is something that will make you feel proud.
I love this recipe because it reminds me that you don’t need perfection to create something special. Sometimes the best things come from a little bit of panic and a whole lot of heart. So go ahead—make a mess, lick the spoon, and enjoy every single bite. And if you try this recipe, I’d love to hear about it. Leave a comment below, share your photos, and let me know how you made it your own.
Happy baking, friends. May your cookies be cozy, your icing be smooth, and your holidays be full of warmth.
Frequently Asked Questions
Can I make these cookies ahead of time?
Absolutely! You can make the dough up to 3 days in advance and keep it in the fridge. You can also bake the cookies and freeze them (un-iced) for up to 2 months. Just thaw and decorate when you’re ready.
Why did my cookies spread too much?
This usually happens if the dough wasn’t chilled long enough or if the butter was too soft. Make sure to chill the dough for at least 30 minutes, and if your kitchen is warm, go for a full hour. Also, check that your baking powder isn’t expired.
Can I use a different gluten-free flour blend?
Yes, but results may vary. I’ve had the best luck with blends that contain xanthan gum and a mix of rice flour, tapioca starch, and potato starch. Avoid blends with high amounts of coconut flour, as they can make the cookies dry.
How do I get the royal icing to dry faster?
Unfortunately, you can’t rush royal icing. It needs time to dry at room temperature. However, you can use a fan to circulate air around the cookies, which can speed up the process slightly. Just don’t put them in the fridge or freezer—the moisture will ruin the icing.
Can I skip the almond flour?
You can, but the cookies won’t be as tender. If you need a nut-free option, substitute the almond flour with an equal amount of oat flour. The texture will be slightly different, but they’ll still be delicious.
Pin This Recipe!
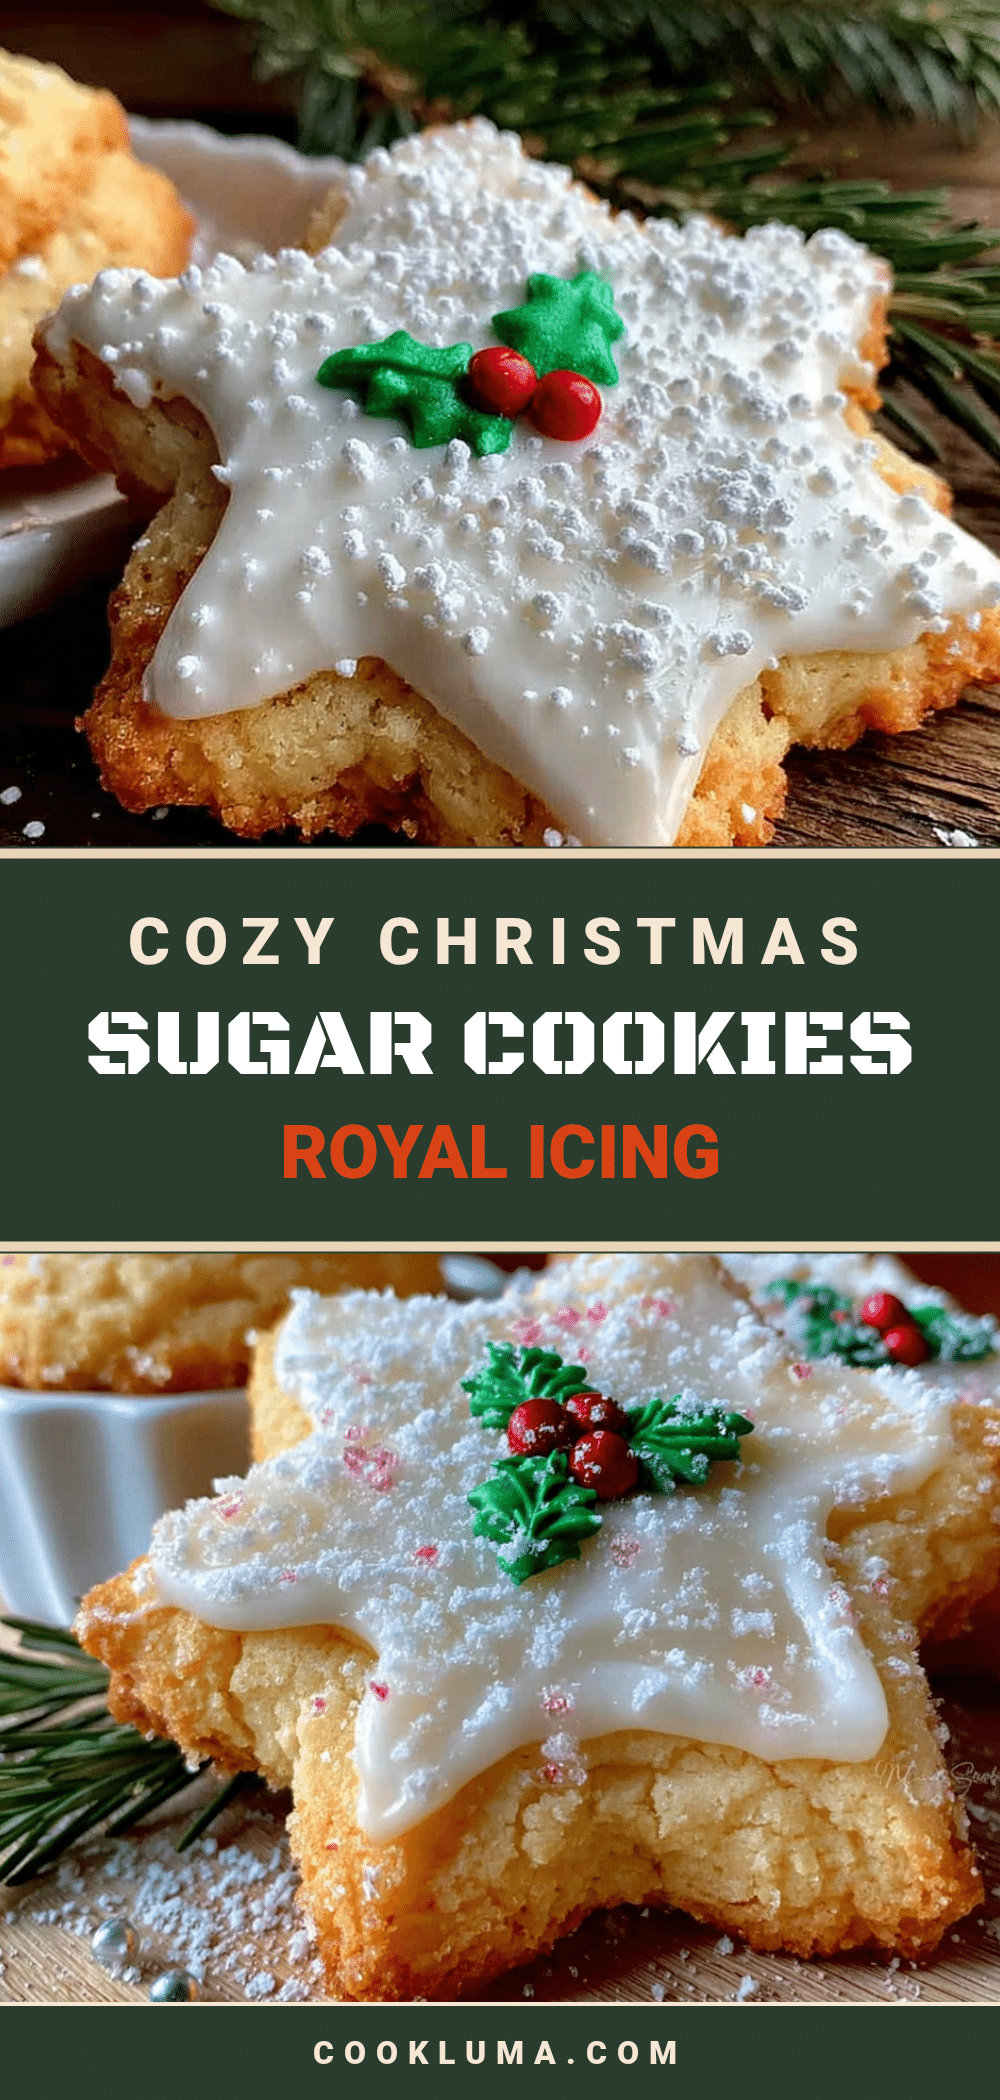
Cozy Gluten-Free Christmas Sugar Cookies: Easy Royal Icing Recipe

These soft, buttery gluten-free sugar cookies are perfect for Christmas cookie swaps, cozy nights in, or last-minute gifts. With a foolproof royal icing that sets up perfectly, they’re a crowd-pleaser that no one will guess is gluten-free.
- Prep Time: 20 minutes
- Cook Time: 10 minutes
- Total Time: 1 hour (including 30 minutes chilling)
- Yield: 24 cookies 1x
- Category: Dessert
- Cuisine: American
Ingredients
- 1 cup (226g) unsalted butter, softened
- 1 cup (200g) granulated sugar
- 1 large egg, room temperature
- 1 teaspoon vanilla extract
- 1/2 teaspoon almond extract (optional)
- 2 1/2 cups (300g) gluten-free all-purpose flour blend
- 1/2 cup (60g) almond flour
- 1 teaspoon xanthan gum (omit if flour blend contains it)
- 1/2 teaspoon salt
- 1/2 teaspoon baking powder
- 3 tablespoons meringue powder
- 4 cups (480g) powdered sugar, sifted
- 1/3 cup (80ml) warm water
- 1 teaspoon vanilla extract (or clear vanilla)
- Gel food coloring (optional)
Instructions
- Cream the butter and sugar: In a large bowl, beat the softened butter and granulated sugar together on medium speed until light and fluffy, about 3-4 minutes. Scrape down the sides of the bowl halfway through.
- Add the wet ingredients: Beat in the egg, vanilla extract, and almond extract (if using) until fully combined.
- Combine the dry ingredients: In a separate bowl, whisk together the gluten-free flour blend, almond flour, xanthan gum (if needed), salt, and baking powder until no lumps remain.
- Mix the dough: Gradually add the dry ingredients to the wet mixture, mixing on low speed until just combined. The dough will be soft and slightly sticky. If too sticky, add an extra tablespoon of flour.
- Chill the dough: Divide the dough in half, flatten each half into a disk, wrap tightly in plastic wrap, and refrigerate for at least 30 minutes.
- Preheat and prepare: Preheat oven to 350°F (175°C). Line two baking sheets with parchment paper.
- Roll and cut: On a lightly floured surface (use gluten-free flour), roll one disk of dough to about 1/4-inch thickness. Cut into desired shapes and place on prepared baking sheets, spacing about 2 inches apart. Gather scraps, re-roll, and cut again.
- Bake: Bake for 8-10 minutes, or until edges are just barely golden. Centers will look slightly underdone. Let cool on baking sheet for 5 minutes, then transfer to a wire rack to cool completely.
- Make the royal icing: In a large bowl, combine meringue powder and sifted powdered sugar. Add warm water and vanilla extract. Beat on low until combined, then increase to medium-high and beat for 5-7 minutes until thick, glossy, and holds stiff peaks. Adjust consistency as needed.
- Decorate: Transfer icing to piping bags or squeeze bottles. Outline each cookie with a thin line of icing, then flood the inside with a slightly thinner consistency. Use a toothpick to spread icing and pop air bubbles. Let dry at room temperature for 4-6 hours or overnight.
Notes
Don’t skip the almond flour—it adds tenderness. Chill dough thoroughly to prevent spreading. Watch oven closely as cookies go from perfect to overdone quickly. Royal icing needs patience; let dry at room temperature, not in the fridge. Cookies taste even better the next day.
Nutrition
- Serving Size: 1 cookie
- Calories: 120
- Sugar: 12
- Sodium: 80
- Fat: 5
- Saturated Fat: 3
- Carbohydrates: 18
- Fiber: 1
- Protein: 2
Keywords: gluten-free sugar cookies, Christmas cookies, royal icing, gluten-free baking, holiday cookies, easy sugar cookies


