It was 11:47 PM on a rainy Thursday in March, and I was hit with a desperate craving for something warm, chocolatey, and comforting. The kids had been down for hours, the house was finally quiet, and I wanted that feeling—you know, the one where you wrap your hands around a mug and everything slows down for a minute. I didn’t have fancy chocolate shavings or those expensive little marshmallows you see in magazine spreads, but I had a box of instant hot cocoa mix that was about to expire and a bag of mini marshmallows that had seen better days. The idea that arrived was simple: why not make a whole thing out of it, a little station where everyone (including me) could build their perfect cup without breaking the bank?
Honestly, I wasn’t trying to be creative. I was just tired and wanted something sweet without putting on real pants or driving to the store. But as I stood there in my fuzzy slippers, staring at the pantry shelves, something clicked. I grabbed a muffin tin from the cupboard and started filling each little cup with whatever I could find—crushed candy canes from Christmas, a jar of sprinkles that had been sitting in the back for months, some chocolate chips I was saving for cookies. By the time I was done, I had a makeshift hot cocoa bar that looked way fancier than it had any right to be. And the best part? I hadn’t spent a dime.
That night, I drank three cups of cocoa (don’t judge) and felt like the luckiest person alive. The next morning, my kids saw the leftover setup and lost their minds. They spent the whole weekend building their own combinations, arguing over who got the last of the peppermint sticks, and asking if we could do it again. That’s when I realized this wasn’t just a late-night whim—it was a tradition waiting to happen. So here we are, a few years later, and I’m sharing exactly how you can pull off a cozy DIY hot cocoa bar that your kids will adore and your wallet will thank you for.
Why You’ll Love This Recipe
Let’s be real for a second—I’ve tested this setup more times than I can count, and I’m not just saying it’s good because I came up with it. This hot cocoa bar has survived birthday parties, snow days, sleepovers, and even a few grumpy Monday mornings. It works because it’s built around real-life constraints: limited time, limited budget, and the need to keep small humans happy without losing your mind.
- Budget-Friendly: You don’t need fancy ingredients. Most of the toppings are things you probably already have in your pantry or fridge. I’m talking about chocolate chips, sprinkles, mini marshmallows, and maybe some whipped cream if you’re feeling fancy. The whole thing can come together for under ten bucks, especially if you shop sales or use what you’ve got.
- Kid-Approved: My kids have strong opinions about everything, and this one gets a unanimous thumbs-up. They love being able to customize their own mugs, and honestly, the messier they get, the happier they are. It’s the kind of activity that keeps them entertained for a solid hour—which, let’s face it, is a parenting win.
- Perfect for Any Occasion: Movie night, holiday gatherings, playdates, or just a random Tuesday—this bar fits right in. It’s flexible enough for a small family or a crowd, and you can scale it up or down depending on who’s coming over.
- Simple Setup: No complicated recipes, no special equipment. You just need a few bowls, a muffin tin (or some ramekins), and your favorite cocoa base. It’s literally dump-and-go, which is my favorite kind of cooking.
- Crowd-Pleaser: I’ve brought this to potlucks and school events, and people always ask for the recipe. It’s one of those things that looks impressive but takes almost zero effort—my favorite combination.
What makes this different from every other hot cocoa bar out there? It’s the intentional focus on affordability without skimping on the fun. Instead of telling you to buy expensive gourmet toppings, I’ll show you how to repurpose everyday ingredients into something special. Plus, I’ve included a few tricks I learned the hard way—like how to keep marshmallows from getting stale and which toppings actually work well together. This isn’t just another version of the same old thing; it’s the version that fits your life and your budget.
What Ingredients You Will Need
This recipe uses simple, affordable ingredients that you can find at any grocery store. The beauty of a DIY hot cocoa bar is that you can customize it based on what your family loves and what you already have on hand. Here’s what I recommend starting with:
For the Cocoa Base
- Hot cocoa mix (1 box or about 12-16 servings): I prefer the classic Swiss Miss brand for its consistent flavor, but any brand works. If you’re feeling ambitious, you can make your own from scratch using cocoa powder, sugar, and powdered milk—but honestly, the boxed stuff is fine for this.
- Milk (1 gallon, whole or 2%): Whole milk makes the creamiest cocoa, but 2% works too. For a dairy-free option, use oat milk or almond milk—just know that oat milk gives the best texture.
- Water (optional): Some people like to mix cocoa with half water, half milk to save on cost. It’s not as rich, but it still tastes good.
Toppings Bar (The Fun Stuff)
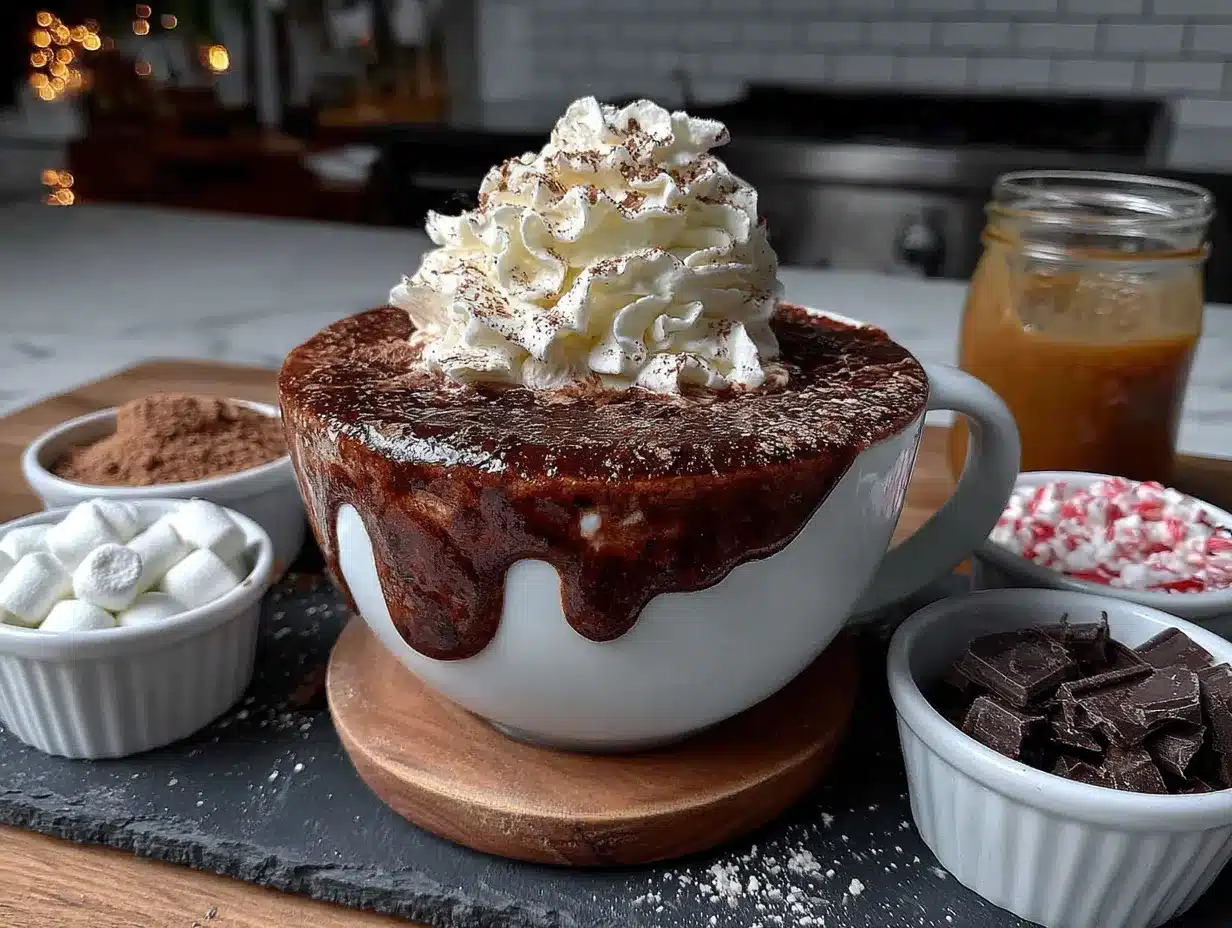
- Mini marshmallows (1 bag): The classic choice. I like to buy the name-brand ones because they hold their shape better, but store brands work fine.
- Chocolate chips (½ cup, semi-sweet or milk): These melt into the cocoa and make it extra indulgent. I recommend Ghirardelli for the best flavor, but any brand will do.
- Crushed candy canes or peppermint candies (½ cup): Perfect for winter holidays. Just put them in a zip-top bag and smash them with a rolling pin—the kids love helping with this part.
- Rainbow sprinkles (¼ cup): Adds a pop of color and crunch. Funfetti-style sprinkles work best.
- Whipped cream (1 can or homemade): Store-bought is convenient, but if you have time, homemade whipped cream is a game-changer. Just whip heavy cream with a little sugar and vanilla until soft peaks form.
- Caramel sauce or chocolate syrup (¼ cup each): For drizzling on top. I like Hershey’s syrup for the price point, but any brand works.
- Crushed graham crackers or cookies (½ cup): Adds a nice texture. I’ve used leftover Oreos and vanilla wafers with great success.
- Cinnamon sticks or ground cinnamon (optional): For a warm, spicy kick. Cinnamon sticks also make cute stirrers.
Budget-Friendly Swaps
If you’re working with a tight budget (and who isn’t these days?), here are some swaps that work beautifully:
- Skip the whipped cream and use extra marshmallows instead.
- Use leftover Halloween candy instead of buying new toppings. Crushed Kit Kats, chopped peanut butter cups, or even broken up candy bars work great.
- Make your own sprinkles by crushing colorful cereal like Froot Loops.
- Use hot chocolate packets from the dollar store—they taste fine, I promise.
Equipment Needed
You don’t need much to set up a hot cocoa bar, which is part of the appeal. Here’s what I use:
- Muffin tin or small bowls (1-2): A muffin tin is perfect for holding individual toppings. It keeps everything organized and looks cute. If you don’t have one, use ramekins, small cups, or even a clean egg carton.
- Large pitcher or teapot (1): For serving the hot cocoa. A clear glass pitcher looks nice, but any heat-safe container works.
- Mugs (one per person): Let each kid pick their own mug—it adds to the fun. I’ve used mismatched thrift store mugs for years, and they add character.
- Spoon or ladle (1): For serving the cocoa. A soup ladle works great.
- Small tongs or spoons (one per topping): To keep things sanitary. If you’re short on supplies, just use clean fingers—it’s a hot cocoa bar, not a Michelin-star restaurant.
- Cutting board and knife (1): For chopping any larger toppings like candy bars or fruit (if you’re adding strawberries).
- Zip-top bags (1-2): For crushing candy canes or cookies. Let the kids do this part—they love the noise.
If you’re on a tight budget, don’t stress about having the “right” equipment. I’ve used a plastic tray from the dollar store and paper cups in a pinch, and it worked just fine. The key is making it feel special, not expensive.
Preparation Method
Setting up a hot cocoa bar is one of the easiest things you’ll ever do. Here’s my step-by-step process, including all the little tricks I’ve learned along the way.
- Prepare the toppings (10 minutes): Start by getting all your toppings ready. If you’re using candy canes, place them in a zip-top bag and crush them with a rolling pin or heavy pan. Let the kids help—they’ll love the smashing part. For larger items like chocolate bars, chop them into small pieces on a cutting board. If you’re using fresh fruit (like strawberries), slice them thin and set them aside. Pro tip: Do this step before you make the cocoa so everything is ready to go.
- Set up the bar (5 minutes): Arrange your muffin tin or small bowls on a table or counter. Fill each compartment with a different topping—marshmallows in one, chocolate chips in another, sprinkles in another, and so on. If you’re using a muffin tin, you can fit up to 12 different toppings, which is plenty for a crowd. Place small spoons or tongs next to each topping so people can serve themselves without making a mess (well, less of a mess).
- Make the cocoa base (10 minutes): In a large pot on the stove, combine 4 cups of milk and 4 cups of water (or use all milk for a richer version). Heat over medium heat until it’s steaming but not boiling—about 5-7 minutes. Whisk in 1 cup of hot cocoa mix until fully dissolved. If you’re making a big batch, use 1 packet of mix per cup of liquid. For a single serving, just heat 1 cup of milk in the microwave for 90 seconds and stir in 1 packet of mix. I usually make a big batch because my kids always want seconds (or thirds).
- Serve the cocoa (5 minutes): Pour the hot cocoa into a large pitcher or teapot. Place it next to the toppings bar with a ladle or spoon. Let everyone fill their own mug, then go wild with the toppings. I like to let my kids go first so they can make their creations without me hovering—it’s more fun that way.
- Add the finishing touches (2 minutes): Once everyone has their cocoa, add a dollop of whipped cream on top (if using) and a drizzle of caramel or chocolate sauce. Sprinkle on some crushed candy canes or a dash of cinnamon for extra flair. If you’re feeling fancy, add a cinnamon stick as a stirrer—it looks beautiful and adds a subtle flavor.
Troubleshooting tip: If your cocoa is too thin, whisk in a little more mix. If it’s too thick, add a splash of milk. I’ve had to do this more times than I care to admit, especially when I’m distracted by kids asking for more marshmallows.
Cooking Tips & Techniques
After years of trial and error (and a few spectacular messes), I’ve picked up some tricks that make this whole process smoother. Here’s what I wish someone had told me:
- Keep the cocoa warm: If you’re serving a crowd, transfer the cocoa to a slow cooker on the “warm” setting. It stays hot for hours without scorching. I learned this the hard way after my first batch went cold while everyone was busy decorating their mugs.
- Prep toppings in advance: You can crush candy canes and chop chocolate up to 3 days ahead. Store them in airtight containers at room temperature. This saves so much stress on the day of your event.
- Use a muffin tin for portion control: A muffin tin is perfect for keeping toppings separate and preventing kids from grabbing handfuls of sprinkles (yes, I’ve seen it happen). Plus, it looks adorable on the table.
- Don’t forget the napkins: Trust me on this one. Hot cocoa with toppings is messy, especially for little kids. Have a stack of napkins handy, and maybe a wet cloth for wiping sticky fingers.
- Let kids experiment: I’ve seen my kids put gummy bears in their cocoa, and you know what? They loved it. Don’t police the combinations—part of the fun is discovering what works (and what doesn’t).
- Make it a tradition: I’ve started doing this on the first snow day of the year, and my kids look forward to it all winter. It’s become a cozy ritual that costs almost nothing but means everything.
Variations & Adaptations
One of the best things about a hot cocoa bar is how flexible it is. Here are some variations I’ve tried and loved:
- Dairy-Free Version: Use oat milk or coconut milk instead of regular milk. Oat milk gives the creamiest texture, but coconut milk adds a nice tropical twist. For toppings, use dairy-free chocolate chips and skip the whipped cream (or use a coconut-based whipped cream).
- Peppermint Hot Cocoa: Add a drop of peppermint extract to the cocoa base before serving. Top with crushed candy canes and a peppermint stick for stirring. This is my personal favorite during the holidays.
- S’mores Hot Cocoa: Add crushed graham crackers, mini marshmallows, and chocolate chips to the toppings bar. For an extra treat, toast a marshmallow over the stove and drop it into the cocoa. My kids go crazy for this version.
- Spicy Mexican Hot Cocoa: Stir in a pinch of cinnamon and a tiny pinch of cayenne pepper to the cocoa base. Top with a cinnamon stick and a dollop of whipped cream. This one is more for the adults, but some adventurous kids love it too.
- Fruit-Infused Cocoa: Add sliced strawberries, banana chips, or dried cherries to the toppings bar. The fruit adds a fresh contrast to the rich chocolate. I was skeptical at first, but strawberry and chocolate is a classic combo for a reason.
Serving & Storage Suggestions
This hot cocoa bar is best served immediately while the cocoa is hot and the toppings are fresh. Here’s how to make the most of it:
- Serving temperature: Serve the cocoa piping hot, but let it cool for a minute before letting kids handle their mugs. I usually pour the cocoa and let it sit for 2-3 minutes before adding toppings.
- Presentation ideas: Set up the toppings bar on a tray or cutting board for easy access. I like to use a wooden board for a rustic look, but a simple baking sheet works just as well. Add a few candles or fairy lights for extra coziness.
- Complementary dishes: Serve with cookies, biscotti, or a slice of banana bread on the side. My kids love dunking cookies into their cocoa—it’s a mess, but it’s worth it.
- Storage: Leftover cocoa can be stored in the fridge for up to 3 days. Reheat on the stove or in the microwave, adding a splash of milk to thin it out if needed. Toppings should be stored separately in airtight containers at room temperature.
- How flavors develop: The cocoa itself tastes best fresh, but the toppings can be made ahead of time. I’ve noticed that crushed candy canes lose their crunch after a day or two, so it’s best to crush them right before serving.
Nutritional Information & Benefits
Let’s be honest—hot cocoa isn’t a health food, but it does have some surprising benefits. Here’s the breakdown for one serving (using whole milk and standard toppings):
- Calories: Approximately 250-350 per mug, depending on toppings.
- Protein: 8-10 grams from the milk, which helps keep you full.
- Calcium: About 30% of your daily needs from the milk, great for bone health.
- Antioxidants: Cocoa is rich in flavonoids, which support heart health and reduce inflammation. Who knew your cozy drink was doing good things for your body?
- Dietary considerations: This recipe can easily be made gluten-free (check your cocoa mix) and dairy-free (using plant-based milk). It’s also nut-free if you skip any nut-based toppings.
From a personal perspective, I love that this treat brings my family together. Sure, it’s not the most nutritious thing we eat, but the joy it brings is worth every calorie. And if you use low-fat milk and go easy on the toppings, it can be a reasonable indulgence.
Conclusion
Look, I know a hot cocoa bar sounds like one of those Pinterest-perfect projects that looks amazing but takes way too much effort. But I promise you, this one is different. It’s built for real families with real budgets and real schedules. You don’t need fancy ingredients or special equipment—just a willingness to have fun and let your kids get a little messy. The best part? Watching their faces light up when they see the toppings bar and realize they get to be in charge of their own creation.
I hope you give this a try, and I hope it becomes a tradition in your home like it has in mine. Whether it’s a snowy afternoon, a birthday party, or just a regular Tuesday, this hot cocoa bar has a way of making everything feel a little more special. And if you come up with any wild topping combinations, please share them in the comments—I’m always looking for new ideas (my kids recently tried adding potato chips, and honestly, it wasn’t bad). Go ahead, grab your favorite mug, and make some memories. You’ve got this.
Frequently Asked Questions
Can I use hot chocolate packets instead of a mix?
Absolutely. Packets work perfectly and are actually more convenient for small batches. Just use one packet per cup of milk or water.
How do I keep the cocoa warm for a party?
Pour the prepared cocoa into a slow cooker set to “warm.” It will stay hot for hours without burning. Stir occasionally to prevent a skin from forming on top.
Can I make this ahead of time?
You can prep the toppings up to 3 days in advance, but the cocoa itself is best made fresh. If you need to make it ahead, store it in the fridge and reheat gently on the stove.
What if my kids are picky eaters?
Keep the toppings simple and let them choose what they want. Most kids love marshmallows and sprinkles, so start with those and add more options as they get comfortable.
How much does this cost?
Depending on what you already have at home, this can cost as little as $5-10 for a family of four. Using store-brand ingredients and skipping expensive toppings keeps it very budget-friendly.
Pin This Recipe!
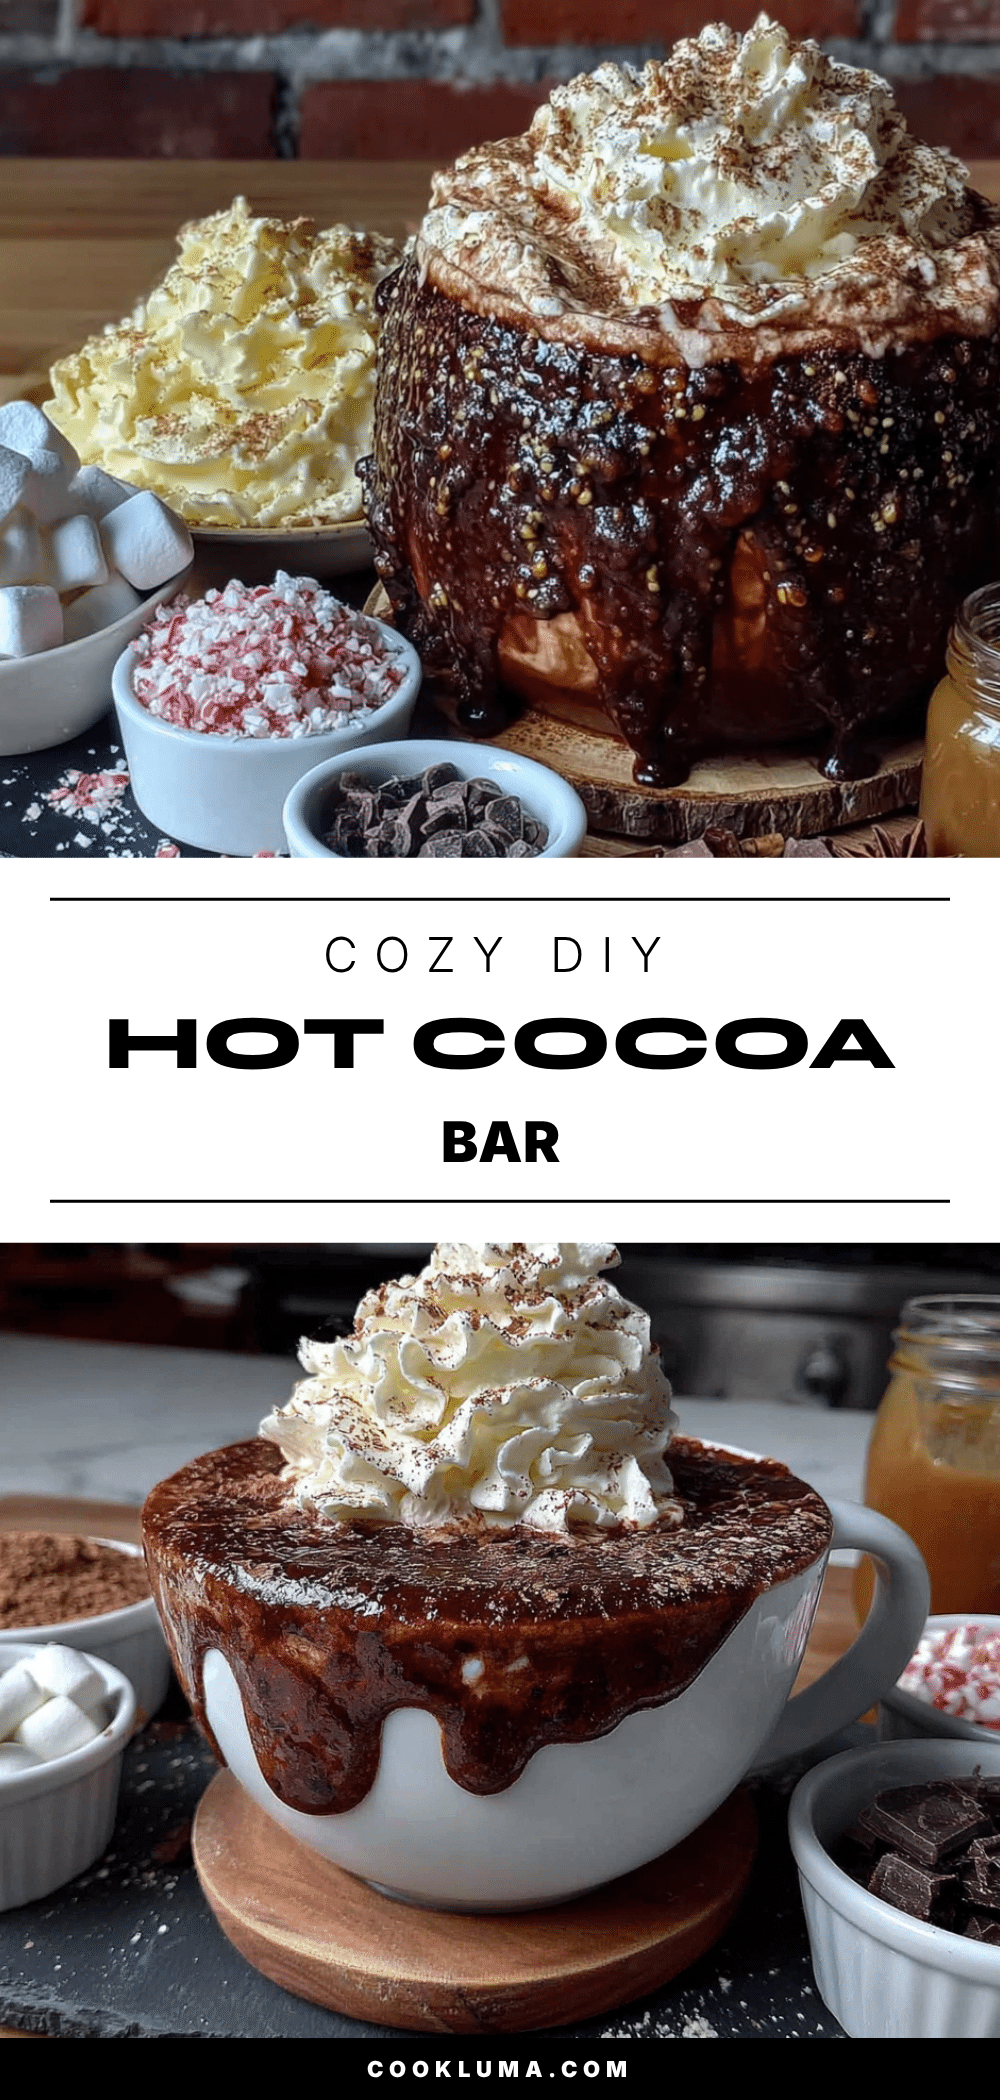
Cozy DIY Hot Cocoa Bar Kids Love on a Budget
A budget-friendly, kid-approved DIY hot cocoa bar that’s perfect for any occasion. This simple setup uses everyday ingredients to create a fun, customizable treat that brings the whole family together.
- Prep Time: 15 minutes
- Cook Time: 10 minutes
- Total Time: 25 minutes
- Yield: 12-16 servings 1x
- Category: Beverage
- Cuisine: American
Ingredients
- 1 box (12-16 servings) hot cocoa mix
- 1 gallon whole or 2% milk
- Water (optional, for mixing)
- 1 bag mini marshmallows
- ½ cup semi-sweet or milk chocolate chips
- ½ cup crushed candy canes or peppermint candies
- ¼ cup rainbow sprinkles
- 1 can whipped cream (or homemade)
- ¼ cup caramel sauce
- ¼ cup chocolate syrup
- ½ cup crushed graham crackers or cookies
- Cinnamon sticks or ground cinnamon (optional)
Instructions
- Prepare the toppings: Crush candy canes in a zip-top bag with a rolling pin. Chop larger items like chocolate bars into small pieces. Set all toppings aside.
- Set up the bar: Arrange a muffin tin or small bowls on a table. Fill each compartment with a different topping. Place small spoons or tongs next to each.
- Make the cocoa base: In a large pot, combine 4 cups milk and 4 cups water (or use all milk). Heat over medium heat until steaming, about 5-7 minutes. Whisk in 1 cup hot cocoa mix until dissolved. For a single serving, heat 1 cup milk in the microwave for 90 seconds and stir in 1 packet of mix.
- Serve the cocoa: Pour hot cocoa into a large pitcher or teapot. Place next to the toppings bar with a ladle. Let everyone fill their own mug and add toppings.
- Add finishing touches: Top with whipped cream, a drizzle of caramel or chocolate sauce, and crushed candy canes or cinnamon. Add a cinnamon stick as a stirrer if desired.
Notes
Prep toppings up to 3 days ahead. Keep cocoa warm in a slow cooker on ‘warm’ setting. Let kids experiment with combinations—part of the fun is discovery. Use a muffin tin for portion control and easy cleanup.
Nutrition
- Serving Size: 1 mug (about 8 oz)
- Calories: 250350
- Sugar: 2535
- Sodium: 200300
- Fat: 812
- Saturated Fat: 57
- Carbohydrates: 3545
- Fiber: 12
- Protein: 810
Keywords: hot cocoa bar, DIY hot cocoa, budget-friendly, kid-friendly, winter treat, holiday drink, hot chocolate bar


