I wasn’t expecting cooking advice from the quietest guy at the hardware store, but there I was, buying a new spatula, listening to him describe exactly how to make stuffing. His name was Frank, and he had this gruff voice that didn’t match the gentle way he talked about butter. He said the secret was letting it get a little nutty, a little brown, and that store-bought breadcrumbs were a waste of good money. He pointed at a bag of day-old sourdough on the counter by the register, said it was the only bread worth using. Honestly, I almost laughed. I mean, here I was, just trying to find a decent turner for my cast iron pan, and I got a full culinary lesson from a man who probably hadn’t smiled since the 80s.
The whole thing felt a little absurd. I scribbled his instructions on the back of a receipt, thinking I’d probably forget about it. But the image of that nutty brown butter stuck with me. It was a rainy Tuesday, the kind where you just want something warm and familiar, and I had that crumpled piece of paper in my coat pocket. I figured, why not? Maybe you’ve been there, where the best recipe comes from the most unexpected person. It’s like the universe just drops a little bit of magic in your lap when you’re not looking.
So I went home, grabbed that sourdough, and made Frank’s stuffing. And let me tell you, the moment that brown butter hit the sage, my whole kitchen smelled like fall. It was cozy, it was rich, and it had this depth that no boxed mix could ever dream of. That stuffing became my go-to for every chilly evening and holiday table. It’s the kind of recipe that feels like a warm hug, and I keep making it because it reminds me that good things come from the strangest places.
Why You’ll Love This Recipe
This isn’t just another stuffing recipe that gets lost in the shuffle of holiday sides. It’s the one that gets asked for by name, the one that disappears first from the serving dish. I’ve tested this version more times than I can count, tweaking the ratio of bread to butter until it was absolutely perfect. It’s been family-approved, friend-approved, and even neighbor-approved after I dropped off a pan during a particularly cold week.
- Quick & Easy: Comes together in about 45 minutes, with just 15 minutes of hands-on prep. Perfect for busy weeknights or when you’re juggling a full Thanksgiving menu.
- Simple Ingredients: No fancy grocery trips needed. You likely already have sourdough, butter, sage, and a few aromatics in your kitchen right now.
- Perfect for Cozy Evenings: Great for a slow Sunday dinner, a holiday feast, or just a night when you need something deeply comforting.
- Crowd-Pleaser: Always gets rave reviews from kids and adults alike. The nutty brown butter flavor is universally loved.
- Unbelievably Delicious: The texture and flavor combo is next-level comfort food. The crispy edges, the soft center, that rich, savory-sweet taste of browned butter.
What makes this recipe different from the rest is the technique. Most stuffings rely on raw butter, but taking the time to brown it first unlocks a whole new world of flavor. It adds a toasty, almost caramel-like note that pairs perfectly with the earthy sage and the tangy sourdough. This isn’t just another version—it’s your best version. It’s the kind that makes you close your eyes after the first bite, the kind that turns a simple side dish into the star of the show.
What Ingredients You Will Need
This recipe uses simple, wholesome ingredients to deliver bold flavor and satisfying texture without the fuss. Each component plays a specific role, from the rich nuttiness of the browned butter to the hearty chew of the sourdough. Here’s what you’ll need to gather.
- Unsalted butter, 1 cup (2 sticks / 226g) – The star of the show. Using unsalted butter lets you control the final salt level. I personally recommend Kerrygold for its rich, creamy flavor that browns beautifully.
- Fresh sage leaves, 1/4 cup (about 12-15 leaves), roughly chopped – Don’t use dried sage here. Fresh sage has a more delicate, peppery flavor that softens and becomes sweet when cooked in brown butter.
- Day-old sourdough bread, 1 large loaf (about 1 lb / 450g), cut into 1-inch cubes – This is non-negotiable. The tanginess of the sourdough cuts through the richness of the butter. Stale bread is ideal because it absorbs the liquid without turning to mush. If your bread is fresh, spread the cubes on a baking sheet and toast them at 300°F (150°C) for 10 minutes.
- Yellow onion, 1 large (about 200g), diced – Adds a savory, slightly sweet base. You can use a white onion if that’s what you have, but yellow is sweeter and more mellow.
- Celery stalks, 3 large (about 150g), diced – Provides that classic stuffing crunch and a fresh, vegetal note.
- Garlic cloves, 4, minced – For a little pungent kick that mellows during baking.
- Chicken or vegetable broth, 2 cups (480ml) – The liquid that brings everything together. Use a low-sodium broth so you can control the salt. For a richer flavor, use chicken broth; for a vegetarian version, use a good-quality vegetable broth.
- Large eggs, 2 – These act as a binder, helping the stuffing hold its shape rather than crumbling apart.
- Salt, 1 teaspoon (6g) – I use fine sea salt. Adjust to taste, especially if your broth is salty.
- Black pepper, 1/2 teaspoon (2g) – Freshly ground is best for that little punch of heat.
- Optional: Fresh parsley, 2 tablespoons, chopped – For a fresh, bright garnish at the end.
Equipment Needed
You don’t need a professional kitchen to make this stuffing, but a few key tools will make the process much smoother. Here’s what I use every time.
- Large skillet or sauté pan – A 12-inch skillet is perfect for browning the butter and cooking the aromatics. A light-colored pan helps you see the butter change color as it browns.
- 9×13-inch baking dish – This is the standard size for a good, thick layer of stuffing. A ceramic or glass dish distributes heat evenly.
- Large mixing bowl – You need a big bowl to toss the bread cubes with the butter mixture and broth without making a mess.
- Sharp knife and cutting board – For dicing the onion, celery, and chopping the sage.
- Wooden spoon or silicone spatula – For stirring the butter as it browns. A silicone spatula is great for scraping every last bit of that golden goodness.
- Whisk – To beat the eggs and broth together.
If you don’t have a 9×13-inch dish, you can use a 10-inch cast iron skillet or a 2-quart casserole dish. Just keep an eye on the baking time, as a deeper dish might need a few extra minutes. I’ve also made this in a disposable aluminum pan for potlucks, and it works perfectly. My favorite budget-friendly option is a simple glass baking dish from a thrift store—they last forever and heat beautifully.
Preparation Method
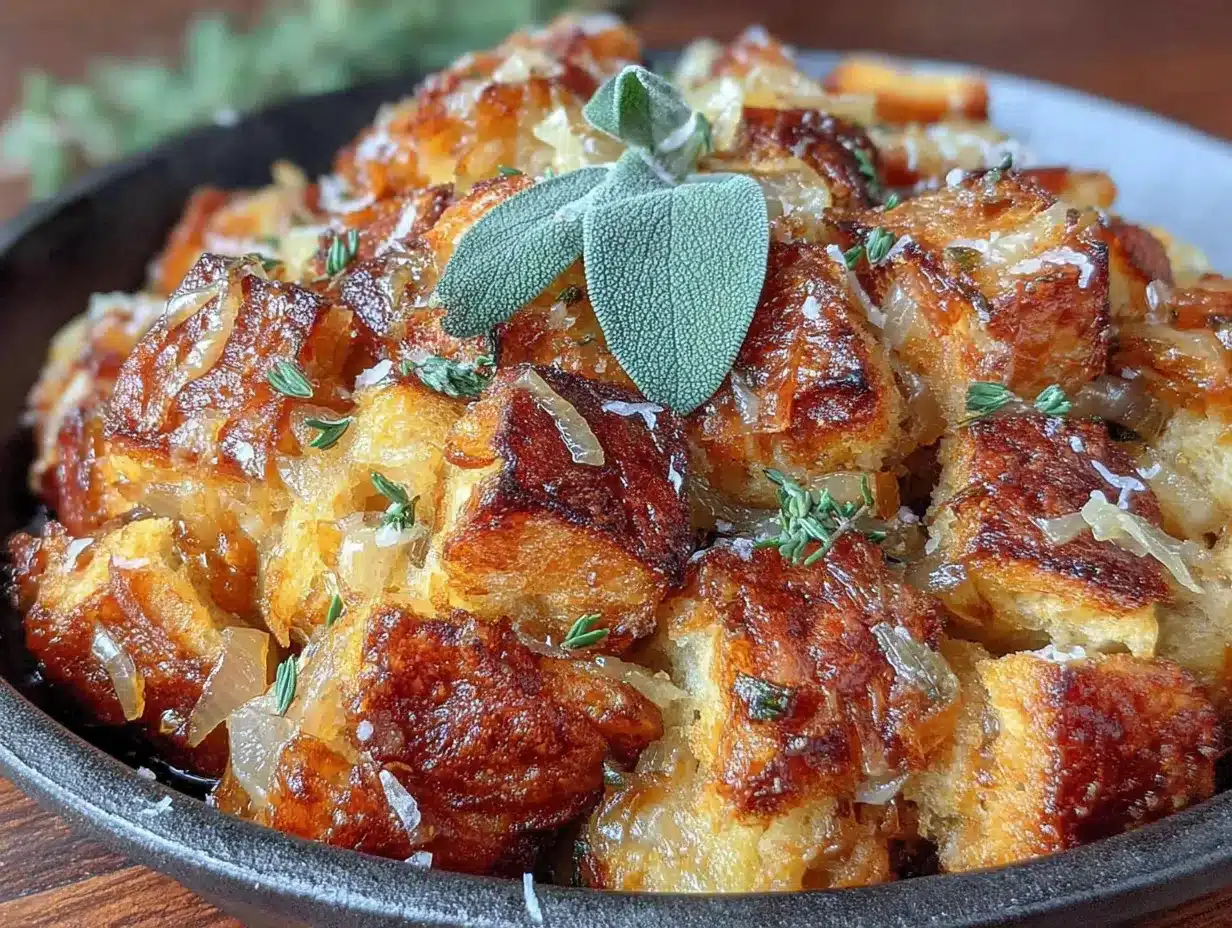
Let’s get cooking. This stuffing comes together in a few simple steps, and the result is pure magic. Take your time with the butter—it’s the heart of this recipe.
- Preheat your oven to 375°F (190°C). While it’s heating, spread your sourdough cubes on a large baking sheet. If they aren’t stale, pop them in the oven for 8-10 minutes to dry them out. You want them slightly firm but not hard. Set them aside in a large mixing bowl.
- Brown the butter. Place your large skillet over medium heat. Add the 1 cup of unsalted butter. Let it melt completely, then continue cooking, swirling the pan occasionally. The butter will foam up, then the foam will subside, and you’ll see little brown specks forming at the bottom. This takes about 5-7 minutes. Watch it closely—it can go from perfect to burnt in seconds. The moment it smells nutty and looks like liquid gold with amber specks, remove it from the heat.
- Infuse the sage. Immediately add the chopped fresh sage to the hot brown butter. It will sizzle and crackle, releasing its fragrant oils. Stir it for about 30 seconds, just until the sage is fragrant and slightly crispy. Be careful not to let the garlic burn if you’re adding it now.
- Sauté the aromatics. Add the diced onion and celery to the skillet with the sage butter. Return the pan to medium heat. Cook for 5-7 minutes, stirring occasionally, until the onions are translucent and the celery is tender. Add the minced garlic and cook for another 30 seconds until fragrant. The kitchen should smell incredible at this point.
- Combine the wet ingredients. In a separate small bowl or measuring cup, whisk together the 2 cups of chicken broth and the 2 large eggs until they are fully combined and slightly frothy.
- Assemble the stuffing. Pour the cooked onion, celery, and sage-butter mixture over the bread cubes in the large bowl. Toss gently with a wooden spoon or your hands (clean hands work best!) until the bread is evenly coated. Then, pour the broth and egg mixture over the bread. Toss again until every cube is moistened. You should see some liquid pooling at the bottom of the bowl. Season with 1 teaspoon of salt and 1/2 teaspoon of black pepper. Give it one more gentle toss.
- Transfer to the baking dish. Pour the stuffing mixture into your greased 9×13-inch baking dish. Spread it into an even layer. Don’t press it down too hard—you want some air pockets for texture. If you like a crispy top, leave it a little mounded.
- Bake to perfection. Place the dish in the preheated oven. Bake for 25-30 minutes, or until the top is golden brown and crispy. The edges should be beautifully caramelized. If you want an extra-crispy top, you can broil it for the last 2 minutes, but watch it like a hawk so it doesn’t burn.
- Rest and serve. Let the stuffing rest for 5-10 minutes after you take it out of the oven. This allows the liquid to settle and makes it easier to serve. Garnish with fresh parsley if you like, and scoop it out while it’s still warm.
Cooking Tips & Techniques
I’ve made this stuffing more times than I can count, and I’ve learned a few things the hard way. Here are my best tips to make sure yours turns out perfect every time.
Don’t rush the brown butter. This is the most important step. I once tried to speed it up by cranking the heat, and I ended up with burnt butter that tasted bitter. Keep the heat on medium, and be patient. Swirl the pan often. The butter will go through stages: melting, foaming, then quieting down. The brown specks will appear suddenly. The moment you smell that nutty aroma, pull it off the heat. Trust your nose—it knows.
Use stale bread. Fresh, soft sourdough will turn into a gluey mess. If your bread is fresh, don’t skip the toasting step. You want the cubes to be dry enough to soak up the broth without falling apart. I like to leave my bread out on the counter for a day or two before making this. It’s a great way to use up leftover bread.
Season in layers. Don’t just dump all the salt in at the end. Season the onion and celery as they cook, and season the broth mixture. This builds a deeper, more complex flavor. I always taste the butter-sage mixture before adding it to the bread, just to make sure it’s perfectly seasoned.
Don’t overmix. When you combine the bread with the liquid, toss it gently. Overmixing can break the bread cubes into crumbs, giving you a dense, pasty stuffing. You want distinct pieces of bread that are well-coated but still have their shape.
Let it rest. I know it’s hard to wait when the kitchen smells this good, but letting the stuffing rest for 10 minutes after baking is crucial. It allows the custard to set, so the stuffing holds its shape when you scoop it out. If you dig in right away, it might be a little loose.
Variations & Adaptations
This recipe is a wonderful base, and it’s easy to make it your own. Here are a few ways I’ve adapted it over the years.
- Vegetarian Version: Simply swap the chicken broth for a good quality vegetable broth. I like using one with mushrooms for extra umami. Add a handful of sautéed mushrooms to the onion and celery mixture for an even heartier stuffing.
- Add Some Meat: For a non-vegetarian twist, cook 1/2 pound of breakfast sausage or Italian sausage in the skillet before you start the butter. Remove it, crumble it, and add it back when you combine everything. It adds a lovely savory richness.
- Seasonal Fruit: In the fall, I love adding 1/2 cup of dried cranberries or chopped dried apples to the bread mixture. They plump up during baking and add little bursts of sweetness that are amazing with the sage.
- Nutty Crunch: Toast 1/2 cup of pecans or walnuts and fold them in just before baking. The crunch is a lovely contrast to the soft bread. I did this for a Thanksgiving potluck once, and it was a huge hit.
- Gluten-Free Option: Use a good quality gluten-free sourdough or a sturdy gluten-free bread. The process is exactly the same, just make sure your bread is well-toasted so it doesn’t get mushy.
Serving & Storage Suggestions
This stuffing is incredibly versatile. It’s perfect as a side dish for a holiday turkey or roast chicken, but it’s also hearty enough to be a main course on a cozy night.
Serve it warm, straight from the baking dish. I love the contrast between the crispy, golden top and the soft, tender inside. A sprinkle of fresh parsley or a few extra fried sage leaves on top makes it look beautiful. For a full meal, pair it with a simple green salad with a tangy vinaigrette to cut through the richness. A glass of dry white wine or a crisp apple cider is a wonderful accompaniment.
Storing Leftovers: Let the stuffing cool completely, then transfer it to an airtight container. It will keep in the refrigerator for up to 4 days. The flavors actually meld and deepen overnight, so leftovers are often even better the next day.
Freezing: This stuffing freezes beautifully. You can freeze the unbaked stuffing in a freezer-safe dish for up to 3 months. Thaw it overnight in the refrigerator, then bake it as directed, adding 10-15 minutes to the baking time. You can also freeze baked leftovers. Just reheat them in a 350°F (175°C) oven until warmed through.
Reheating: The best way to reheat stuffing is in the oven. Place it in a baking dish, add a splash of broth to keep it moist, cover with foil, and bake at 350°F (175°C) for 15-20 minutes. Uncover for the last 5 minutes to re-crisp the top. You can also reheat individual portions in the microwave, but the top won’t be as crispy.
Nutritional Information & Benefits
While this is definitely a comfort food dish, it does have some redeeming qualities. Here’s a rough estimate per serving (based on 8 servings).
| Nutrient | Amount Per Serving |
|---|---|
| Calories | ~350 kcal |
| Fat | 22g |
| Saturated Fat | 13g |
| Carbohydrates | 30g |
| Fiber | 2g |
| Protein | 8g |
| Sodium | 450mg |
Sourdough bread is naturally easier to digest than other breads due to its fermentation process, which can be easier on the stomach. Sage is a fantastic herb with anti-inflammatory properties. The butter, while rich, provides fat-soluble vitamins A, D, and E. This recipe can be made gluten-free by using gluten-free bread, and it’s naturally nut-free (unless you add the optional nuts). It contains dairy from the butter. For a dairy-free version, you can substitute the butter with a high-quality vegan butter or olive oil, though the brown butter flavor will be different.
Conclusion
This Cozy Brown Butter Sage Stuffing with Sourdough is more than just a side dish—it’s a little piece of warmth you can create any time you need it. It’s the recipe I turn to when the weather gets cold, when I’m feeling nostalgic, or when I just want to make my kitchen smell like a hug. The nutty brown butter, the fragrant sage, the tangy sourdough—every bite is a reminder that simple ingredients, treated with care, can be extraordinary.
I hope you give this recipe a try. Don’t be afraid to make it your own—add some sausage, throw in some cranberries, or keep it exactly as is. It’s forgiving and delicious. And if you do make it, I’d love to hear about it. Leave a comment below, share a photo, or tell me about the most unexpected place you’ve ever found a great recipe. Happy cooking, friends!
Frequently Asked Questions
Can I make this stuffing ahead of time?
Absolutely! You can assemble the stuffing completely, cover it, and refrigerate it for up to 24 hours before baking. Just add about 10-15 minutes to the baking time since you’ll be starting from a cold dish.
What if I don’t have sourdough bread?
You can use any sturdy, day-old bread like a French boule, ciabatta, or even a good country white bread. The key is that it’s stale and has a firm texture. Avoid soft sandwich bread, as it will turn mushy.
My stuffing came out dry. What went wrong?
This usually happens if the bread was too dry or if you didn’t use enough liquid. Make sure your bread cubes are just slightly stale, not completely hard and brittle. Also, be sure to toss the bread well with the broth mixture so every cube is moistened.
Can I cook this in a slow cooker?
Yes, you can! Prepare the stuffing as directed, then transfer it to a greased slow cooker. Cook on low for 3-4 hours or on high for 1.5-2 hours. The top won’t get crispy, so you can transfer it to a baking dish and broil it for a few minutes at the end if you like.
Can I use dried sage instead of fresh?
You can, but the flavor will be different. Dried sage is more potent and can sometimes taste a bit musty. If you use dried, start with 1 tablespoon and add it with the onion and celery so it can rehydrate. Fresh sage is really worth seeking out for this recipe.
Pin This Recipe!
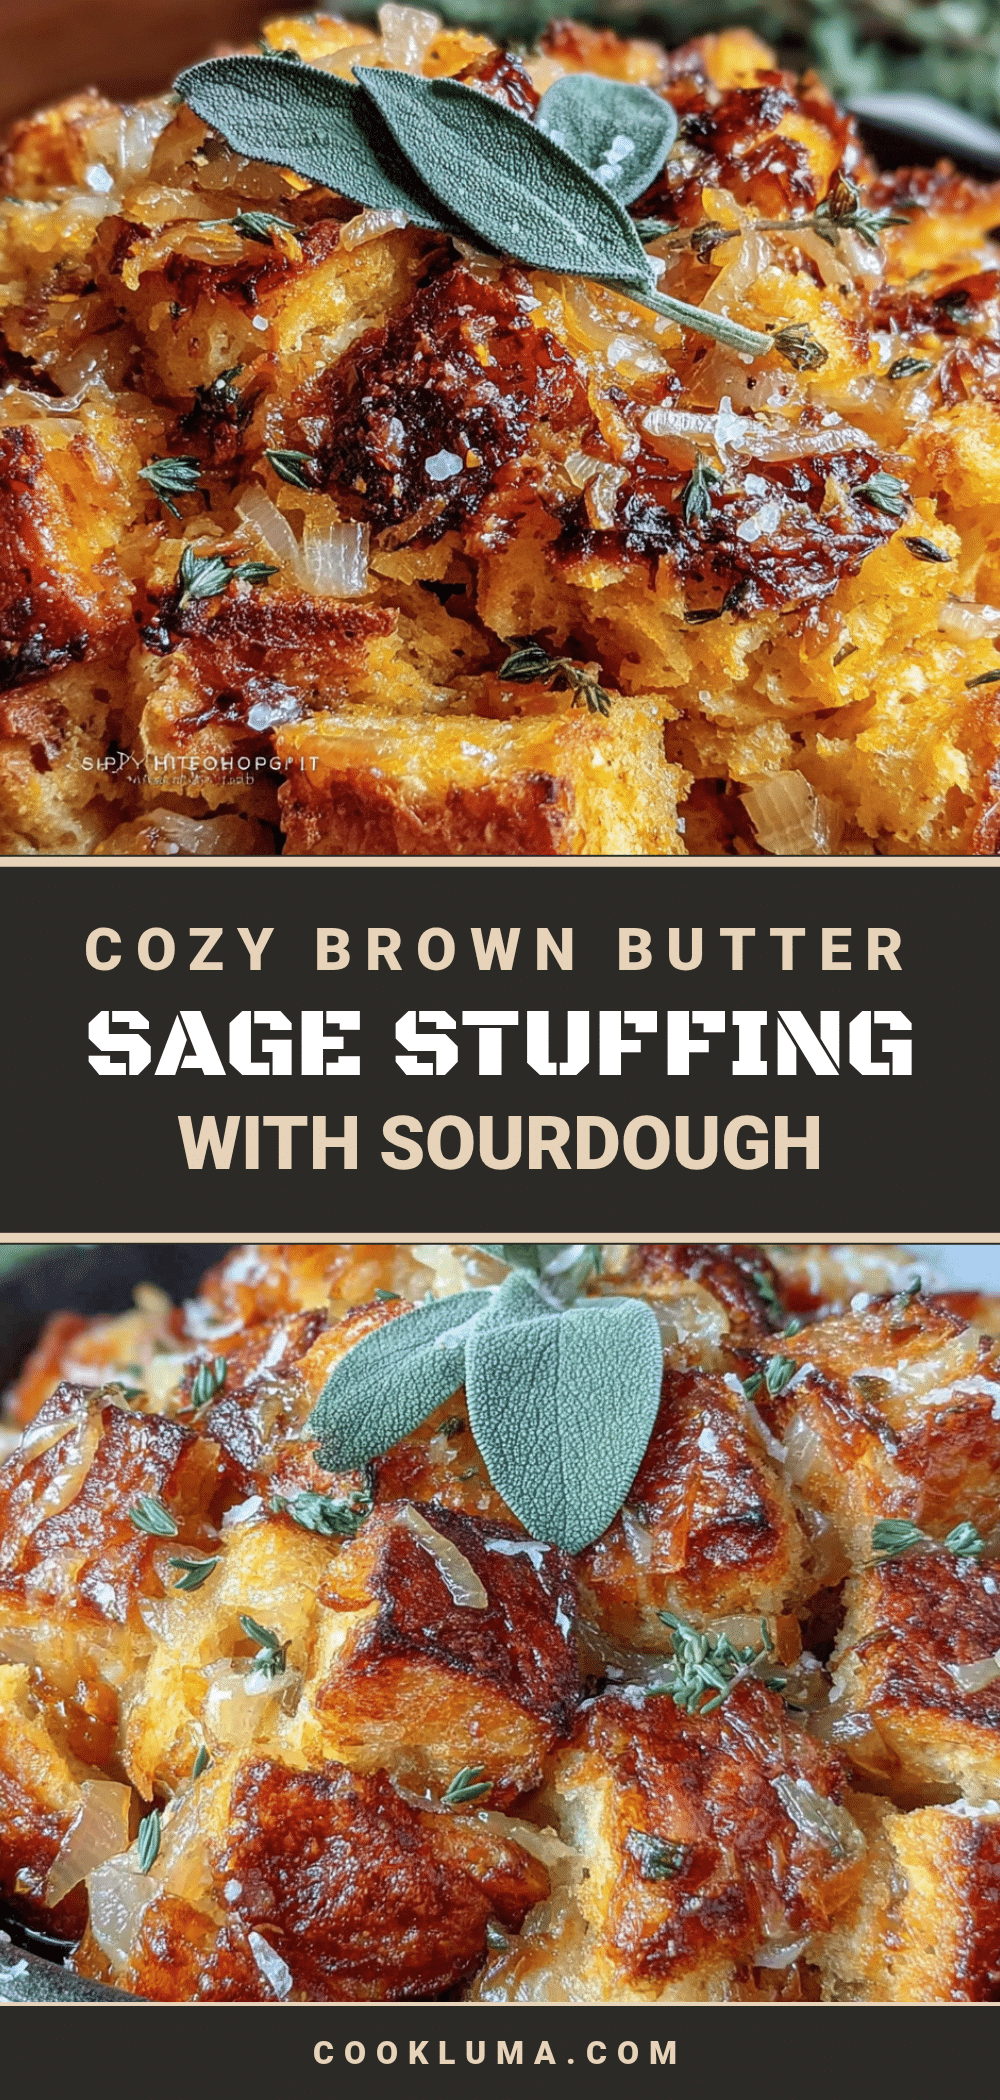
Cozy Brown Butter Sage Stuffing with Sourdough

This nutty, savory stuffing features browned butter and fresh sage, with tangy sourdough bread for a cozy, crowd-pleasing side dish perfect for holidays or chilly evenings.
- Prep Time: 15 minutes
- Cook Time: 30 minutes
- Total Time: 45 minutes
- Yield: 8 servings 1x
- Category: Side Dish
- Cuisine: American
Ingredients
- 1 cup (2 sticks / 226g) unsalted butter
- 1/4 cup (about 12–15 leaves) fresh sage leaves, roughly chopped
- 1 large loaf (about 1 lb / 450g) day-old sourdough bread, cut into 1-inch cubes
- 1 large yellow onion (about 200g), diced
- 3 large celery stalks (about 150g), diced
- 4 garlic cloves, minced
- 2 cups (480ml) low-sodium chicken or vegetable broth
- 2 large eggs
- 1 teaspoon (6g) fine sea salt
- 1/2 teaspoon (2g) freshly ground black pepper
- Optional: 2 tablespoons fresh parsley, chopped (for garnish)
Instructions
- Preheat your oven to 375°F (190°C). Spread sourdough cubes on a large baking sheet. If not stale, toast for 8-10 minutes to dry them out. Set aside in a large mixing bowl.
- Brown the butter: In a large skillet over medium heat, melt 1 cup unsalted butter. Continue cooking, swirling occasionally, until it foams, then subsides, and brown specks form (about 5-7 minutes). Remove from heat when it smells nutty and looks like liquid gold with amber specks.
- Infuse the sage: Immediately add chopped fresh sage to the hot brown butter. Stir for about 30 seconds until fragrant and slightly crispy.
- Sauté the aromatics: Add diced onion and celery to the skillet with the sage butter. Cook over medium heat for 5-7 minutes, stirring occasionally, until onions are translucent and celery is tender. Add minced garlic and cook for another 30 seconds.
- Combine wet ingredients: In a small bowl, whisk together 2 cups chicken broth and 2 large eggs until fully combined and slightly frothy.
- Assemble the stuffing: Pour the cooked onion, celery, and sage-butter mixture over the bread cubes. Toss gently. Then pour the broth and egg mixture over the bread. Toss again until every cube is moistened. Season with 1 teaspoon salt and 1/2 teaspoon black pepper. Toss gently once more.
- Transfer to a greased 9×13-inch baking dish. Spread into an even layer without pressing down too hard.
- Bake for 25-30 minutes, until the top is golden brown and crispy. For extra crispiness, broil for the last 2 minutes, watching carefully.
- Let the stuffing rest for 5-10 minutes before serving. Garnish with fresh parsley if desired.
Notes
Don’t rush the brown butter; keep heat on medium and watch for nutty aroma. Use stale bread to avoid mushiness. Season in layers for deeper flavor. Let stuffing rest after baking for better texture.
Nutrition
- Serving Size: 1 serving (about 1/8
- Calories: 350
- Sodium: 450
- Fat: 22
- Saturated Fat: 13
- Carbohydrates: 30
- Fiber: 2
- Protein: 8
Keywords: stuffing, brown butter, sage, sourdough, Thanksgiving, side dish, holiday, comfort food


