This was supposed to be a batch of simple peanut butter cookies. Just a quick bake for a Tuesday night, nothing fancy. I had the butter softening on the counter, the peanut butter measured out, and I was feeling pretty good about myself for being so organized. Then I realized I was completely out of chocolate chips — the one thing I needed to make these cookies feel special. I stood there staring into the pantry like it had personally betrayed me. But there, shoved in the back, was a half-empty bag of Hershey’s Kisses left over from some long-forgotten project. I figured, why not? I mean, how bad could it be? Honestly, I was already committed to the dough, and I wasn’t about to let a missing ingredient stop me. So I pressed those little chocolate drops into the warm cookies, and let me tell you — what came out of that oven was nothing like the plan. It was better. So much better that I’ve never gone back to the original recipe. That happy little accident turned into the cookie that shows up at every holiday party I’ve been to since. And maybe you’ve been there — staring at a recipe, realizing you’re missing something, and just going for it anyway. That’s the kind of energy this recipe was born from. It’s why I keep making it, year after year, even when I have all the right ingredients. Some things are just meant to be discovered by accident.
Why You’ll Love This Recipe
Let’s be honest — holiday baking can feel like a marathon. Between the sugar cookies that need rolling and cutting, the gingerbread that needs chilling, and the endless dishes, it’s easy to get overwhelmed. That’s why these Classic Peanut Butter Blossom Cookies are my go-to. They deliver all the festive feels without the fuss.
- Quick & Easy: From start to finish, you’re looking at about 30 minutes. The dough comes together in one bowl, no chilling required. Perfect for those moments when you realize you need a dessert for tomorrow’s cookie swap.
- Simple Ingredients: You probably have everything in your pantry right now. Peanut butter, sugar, butter, flour, eggs — the usual suspects. No fancy extracts or specialty flours needed.
- Perfect for Holiday Baking: These cookies are basically the unofficial mascot of Christmas cookie plates. They’re festive, kid-friendly, and they travel well for parties.
- Crowd-Pleaser: I’ve brought these to work parties, family gatherings, and neighbor drop-offs. They disappear faster than anything else on the table. Kids love the chocolate surprise in the middle, and adults appreciate the nostalgic factor.
- Unbelievably Delicious: The combination of soft, salty peanut butter cookie with that smooth milk chocolate kiss is pure magic. It’s the kind of cookie that makes you close your eyes after the first bite.
What sets this recipe apart is the texture. I’ve tested countless versions, and this one hits that perfect sweet spot — soft and tender but sturdy enough to hold the chocolate kiss without crumbling. The secret is in the ratio of peanut butter to butter and the way you handle the dough. It’s not just another version of the classic; it’s the version you’ll come back to every single year.
What Ingredients You Will Need
This recipe uses simple, pantry-friendly ingredients that come together to create something truly special. Here’s what you’ll need and why each one matters.
- 1 ¾ cups (220g) all-purpose flour — The backbone of the cookie. I use Gold Medal unbleached flour for consistent results. Spoon and level your flour for the best texture.
- 1 teaspoon baking soda — Helps the cookies spread just enough and gives them that tender crumb.
- ½ teaspoon salt — Don’t skip this. It balances the sweetness and makes the peanut butter flavor pop.
- ½ cup (113g) unsalted butter, softened — Room temperature is key here. If you forget to set it out, cut it into small cubes and let it sit for 10 minutes.
- ½ cup (100g) granulated sugar — For sweetness and that slight crackle on top.
- ½ cup (100g) packed light brown sugar — Adds moisture and a hint of molasses flavor that pairs beautifully with peanut butter.
- ¾ cup (192g) creamy peanut butter — I recommend Skippy or Jif for the best texture. Natural peanut butter that separates can make the cookies greasy and dry.
- 1 large egg, room temperature — Binds everything together. If your egg is cold, place it in a bowl of warm water for 5 minutes.
- 1 teaspoon vanilla extract — Pure vanilla makes a difference. Imitation works in a pinch, but the flavor won’t be as rich.
- 2 tablespoons milk — Adds a touch of moisture to keep the cookies soft. Any kind works — dairy or plant-based.
- ¼ cup (50g) granulated sugar, for rolling — That sparkly coating is what makes these cookies look so festive.
- 36 Hershey’s Kisses, unwrapped — Milk chocolate is classic, but I’ve used dark chocolate and even caramel-filled ones. More on that in the variations section.
For the peanut butter, stick with the regular stuff — the kind that doesn’t need stirring. I learned this the hard way when I used a natural brand and ended up with cookies that spread into flat puddles. The stabilizers in conventional peanut butter help the cookies hold their shape.
Equipment Needed
You don’t need a fancy kitchen to make these cookies. Here’s what you’ll need:
- Electric mixer — A stand mixer with the paddle attachment is ideal, but a hand mixer works just fine. I’ve made these with both, and the results are identical.
- Large mixing bowl — One bowl is all you need for the dough.
- Medium bowl — For whisking the dry ingredients together.
- Baking sheets — Two standard half-sheet pans work perfectly. If you only have one, let it cool completely between batches.
- Parchment paper or silicone baking mat — Silpat mats are my favorite because they prevent sticking and promote even browning.
- Cookie scoop — A 1-tablespoon scoop ensures uniform cookies. If you don’t have one, use a measuring spoon.
- Wire cooling rack — Essential for cooling the cookies before adding the Kisses.
- Small bowl — For the rolling sugar.
If you’re on a budget, skip the silicone mat and use parchment paper. It’s cheap and works beautifully. Just don’t use wax paper — it will melt in the oven.
Preparation Method
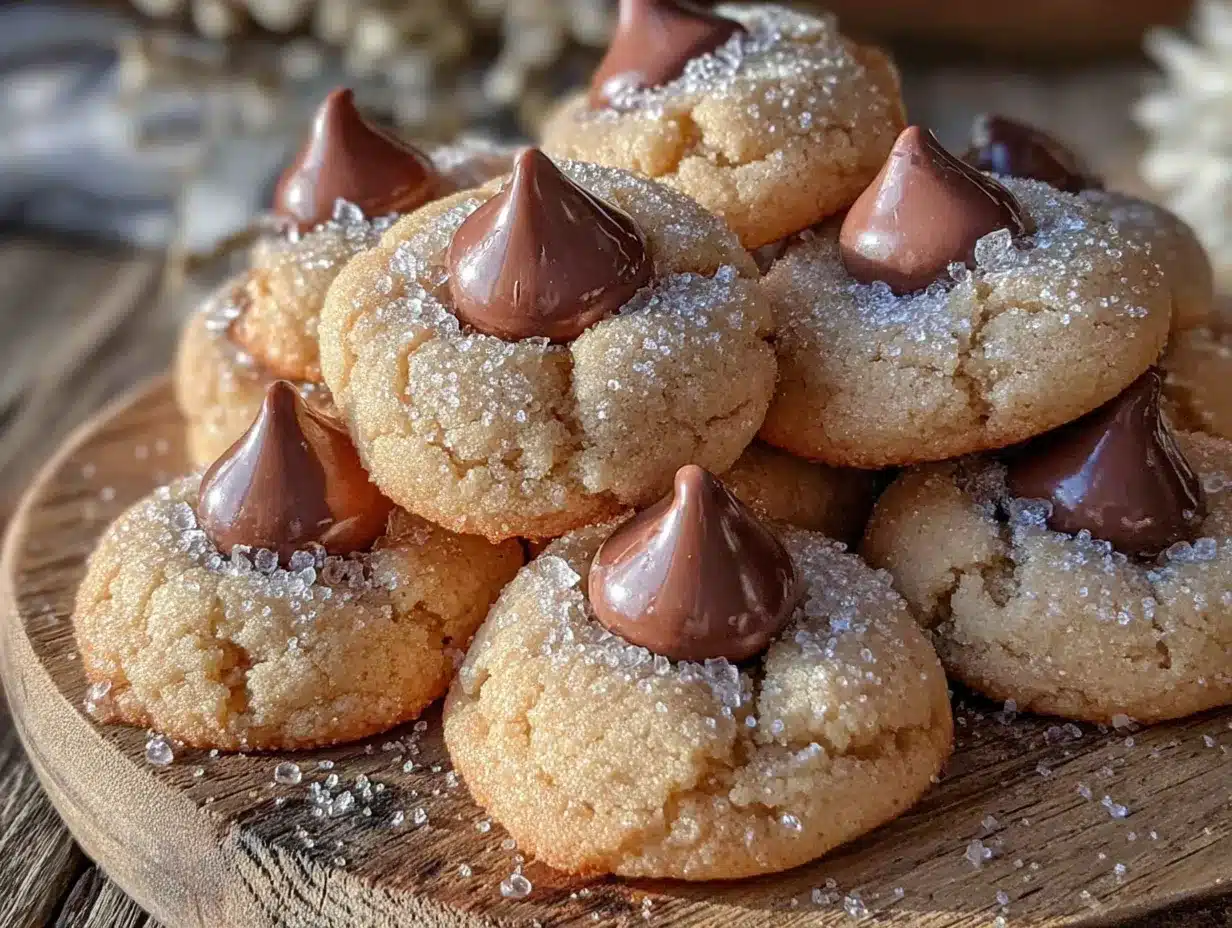
Preheat your oven to 375°F (190°C). Line two baking sheets with parchment paper or silicone mats.
-
In a medium bowl, whisk together the flour, baking soda, and salt. Set this aside while you work on the wet ingredients.
-
In a large mixing bowl, beat the softened butter, granulated sugar, and brown sugar together on medium speed until light and fluffy — about 2 to 3 minutes. You want it to look pale and airy. Scrape down the sides of the bowl halfway through.
-
Add the peanut butter and beat until well combined. The mixture might look a little grainy at this point, and that’s totally normal. Don’t panic.
-
Beat in the egg, vanilla extract, and milk until everything is smooth and creamy. The batter should be thick and cohesive.
-
Gradually add the flour mixture to the wet ingredients, mixing on low speed until just combined. Be careful not to overmix — stop as soon as you don’t see any more streaks of flour. Overworking the dough will make the cookies tough.
-
Place the ¼ cup of granulated sugar for rolling in a small bowl. Using a cookie scoop or a tablespoon, portion out the dough and roll each piece into a smooth ball. The dough should be soft but not sticky. If it feels too sticky, chill it for 10 minutes.
-
Roll each dough ball in the sugar until completely coated. Place them on the prepared baking sheets, spacing them about 2 inches apart. You should get about 36 cookies total, so 18 per sheet.
-
Bake one sheet at a time for 10 to 12 minutes, or until the cookies are lightly golden around the edges and puffed in the center. They will look slightly underdone in the middle — that’s exactly what you want. Overbaking will make them dry.
-
Remove the baking sheet from the oven and let the cookies cool on the sheet for exactly 2 minutes. This is crucial. If you try to add the Kisses right away, the chocolate will melt into a puddle. If you wait too long, the cookie will be too firm to hold the candy.
-
While the cookies are still warm, gently press a Hershey’s Kiss into the center of each one. Press just until the edges of the cookie crack slightly — don’t push all the way through. The heat from the cookie will soften the chocolate just enough to make it stick.
-
Transfer the cookies to a wire cooling rack and let them cool completely. The chocolate will set as they cool, creating that perfect contrast between soft cookie and firm chocolate.
One thing I learned the hard way — don’t skip the 2-minute cooling time. My first batch was a disaster because I got too excited and pressed the Kisses in right away. I ended up with chocolate smears everywhere and cookies that looked more like abstract art than holiday treats.
Cooking Tips & Techniques
Getting these cookies right comes down to a few key details. Here’s what I’ve learned from years of making them.
Don’t overmix the dough. I know it’s tempting to keep beating until everything looks perfectly smooth, but that develops the gluten and makes the cookies tough. Mix just until the flour disappears, and you’ll be rewarded with tender, soft cookies.
Room temperature ingredients matter. Cold butter won’t cream properly, and a cold egg can make the dough seize up. Set everything out 30 minutes before you start. If you’re in a rush, microwave the butter for 10 seconds at a time until it’s soft but not melted.
Watch the baking time like a hawk. Ovens vary wildly — I’ve baked these in three different ovens, and the timing has ranged from 9 to 13 minutes. Start checking at 9 minutes. The cookies are done when the edges are set and lightly golden, but the centers still look soft and slightly puffy.
Use a cookie scoop for uniformity. This isn’t just about aesthetics — evenly sized cookies bake at the same rate. I use a 1-tablespoon scoop, and it makes the whole process faster and more consistent.
Let the Kisses soften naturally. Don’t microwave the chocolate or try to press them in too hard. The residual heat from the cookie will do all the work. If you’re making a large batch, unwrap the Kisses while the cookies bake so you’re ready to go.
Rotate your baking sheet halfway through. Most ovens have hot spots, and rotating ensures even browning. Just be quick about it so the oven doesn’t lose too much heat.
I once forgot to rotate the sheet and ended up with cookies that were golden on one side and pale on the other. They still tasted fine, but they looked a little lopsided. Lesson learned.
Variations & Adaptations
These cookies are wonderfully adaptable. Here are some variations I’ve tried and loved.
Dark Chocolate Lovers: Swap the milk chocolate Kisses for dark chocolate ones. The bitterness of the dark chocolate balances the sweetness of the cookie beautifully. I tried this with 60% cacao Kisses, and it was a hit with the adults at my holiday party.
Peanut Butter Twist: Use crunchy peanut butter instead of creamy for a little texture. The small peanut pieces add a nice crunch that contrasts with the soft cookie. Just make sure it’s still the conventional kind, not natural.
Gluten-Free Version: Substitute the all-purpose flour with a 1:1 gluten-free baking flour. I’ve used Bob’s Red Mill and King Arthur brands with great success. The texture is slightly more delicate, so handle the dough gently.
Holiday Sparkle: Mix a pinch of cinnamon or nutmeg into the rolling sugar for a warm, festive twist. I did this last Christmas, and the subtle spice flavor was incredible with the chocolate.
Stuffed Cookies: For an extra indulgence, press a small piece of chocolate into the center of each dough ball before baking, then top with the Kiss after baking. It’s a double-chocolate surprise that’s dangerously good.
My personal favorite variation is using caramel-filled Kisses during the fall. The caramel gets soft and gooey from the warmth of the cookie, and it’s absolutely divine. Just be careful — the caramel can get very hot, so let them cool a bit longer before serving.
Serving & Storage Suggestions
These cookies are best served at room temperature, which means you can make them ahead of time and still have them ready for your holiday gathering. Arrange them on a festive platter or in a cookie tin lined with parchment paper for a beautiful presentation.
For storing, place the cooled cookies in an airtight container at room temperature. They’ll stay fresh for up to 5 days. Layer them between sheets of wax paper to prevent the chocolate Kisses from sticking to each other.
You can also freeze these cookies — both baked and unbaked. For baked cookies, place them in a single layer on a baking sheet and freeze until solid, then transfer to a freezer-safe bag. They’ll keep for up to 3 months. Thaw at room temperature for about 30 minutes before serving.
For unbaked dough, roll the dough into balls and freeze them on a baking sheet. Once frozen, transfer to a freezer bag. When you’re ready to bake, roll the frozen dough balls in sugar and add 2 to 3 minutes to the baking time. This is my favorite trick for holiday baking — I always keep a batch in the freezer for unexpected guests.
One thing I’ve noticed — the flavors actually develop over time. The cookies taste even better on day two or three, as the peanut butter and chocolate meld together. So if you can resist eating them all right away, you’re in for a treat.
Nutritional Information & Benefits
Per cookie (based on 36 cookies): approximately 140 calories, 8g fat, 16g carbohydrates, 3g protein. These are estimates and will vary based on exact ingredients used.
While these are definitely a treat, peanut butter does offer some nutritional benefits. It’s a good source of protein and healthy fats, and it contains vitamin E, magnesium, and potassium. The cookies also provide a small amount of calcium and iron from the flour and chocolate.
For those with dietary concerns, note that this recipe contains peanuts, dairy, wheat, and eggs. It can be made gluten-free with the right flour substitution, but it’s not suitable for vegan diets without significant modifications.
I like to think of these cookies as a balanced indulgence. They’re not health food, but they’re made with real ingredients — no preservatives, no artificial flavors, just honest baking. And honestly, a little sweetness in life is good for the soul.
Conclusion
These Classic Peanut Butter Blossom Cookies are everything I want in a holiday treat — easy to make, impossible to resist, and packed with nostalgic charm. They came from a happy accident in my kitchen, but they’ve earned a permanent spot in my holiday rotation. The combination of soft, salty peanut butter cookie and smooth chocolate is just unbeatable.
I hope you’ll give this recipe a try and make it your own. Maybe you’ll add a sprinkle of sea salt on top, or use dark chocolate Kisses, or double the batch because one is never enough. Whatever you do, I’d love to hear about it. Drop a comment below and tell me how your cookies turned out, or share a photo on social media and tag me. Happy baking, friends — may your cookies be soft, your chocolate perfectly pressed, and your holidays filled with sweetness.
Frequently Asked Questions
Can I use natural peanut butter in this recipe?
I don’t recommend it. Natural peanut butter that separates can make the cookies greasy and cause them to spread too much. Stick with conventional brands like Skippy or Jif for the best texture and shape.
Why did my cookies spread too much?
This usually happens if the butter was too soft, the dough was overmixed, or the baking sheet was too warm. Make sure your butter is softened but not melted, mix just until combined, and let your baking sheets cool completely between batches.
Can I make the dough ahead of time?
Absolutely. You can refrigerate the dough for up to 3 days or freeze the rolled dough balls for up to 3 months. If baking from frozen, add 2 to 3 minutes to the baking time.
How do I keep the Kisses from melting completely?
Let the cookies cool on the baking sheet for exactly 2 minutes before pressing in the Kisses. This allows the cookie to firm up slightly while still being warm enough to soften the chocolate just enough to stick.
Can I use a different chocolate candy?
Yes! Try dark chocolate Kisses, caramel-filled ones, or even mini peanut butter cups. Just make sure whatever you use is similar in size and shape to a standard Kiss so it fits nicely in the center of the cookie.
Pin This Recipe!
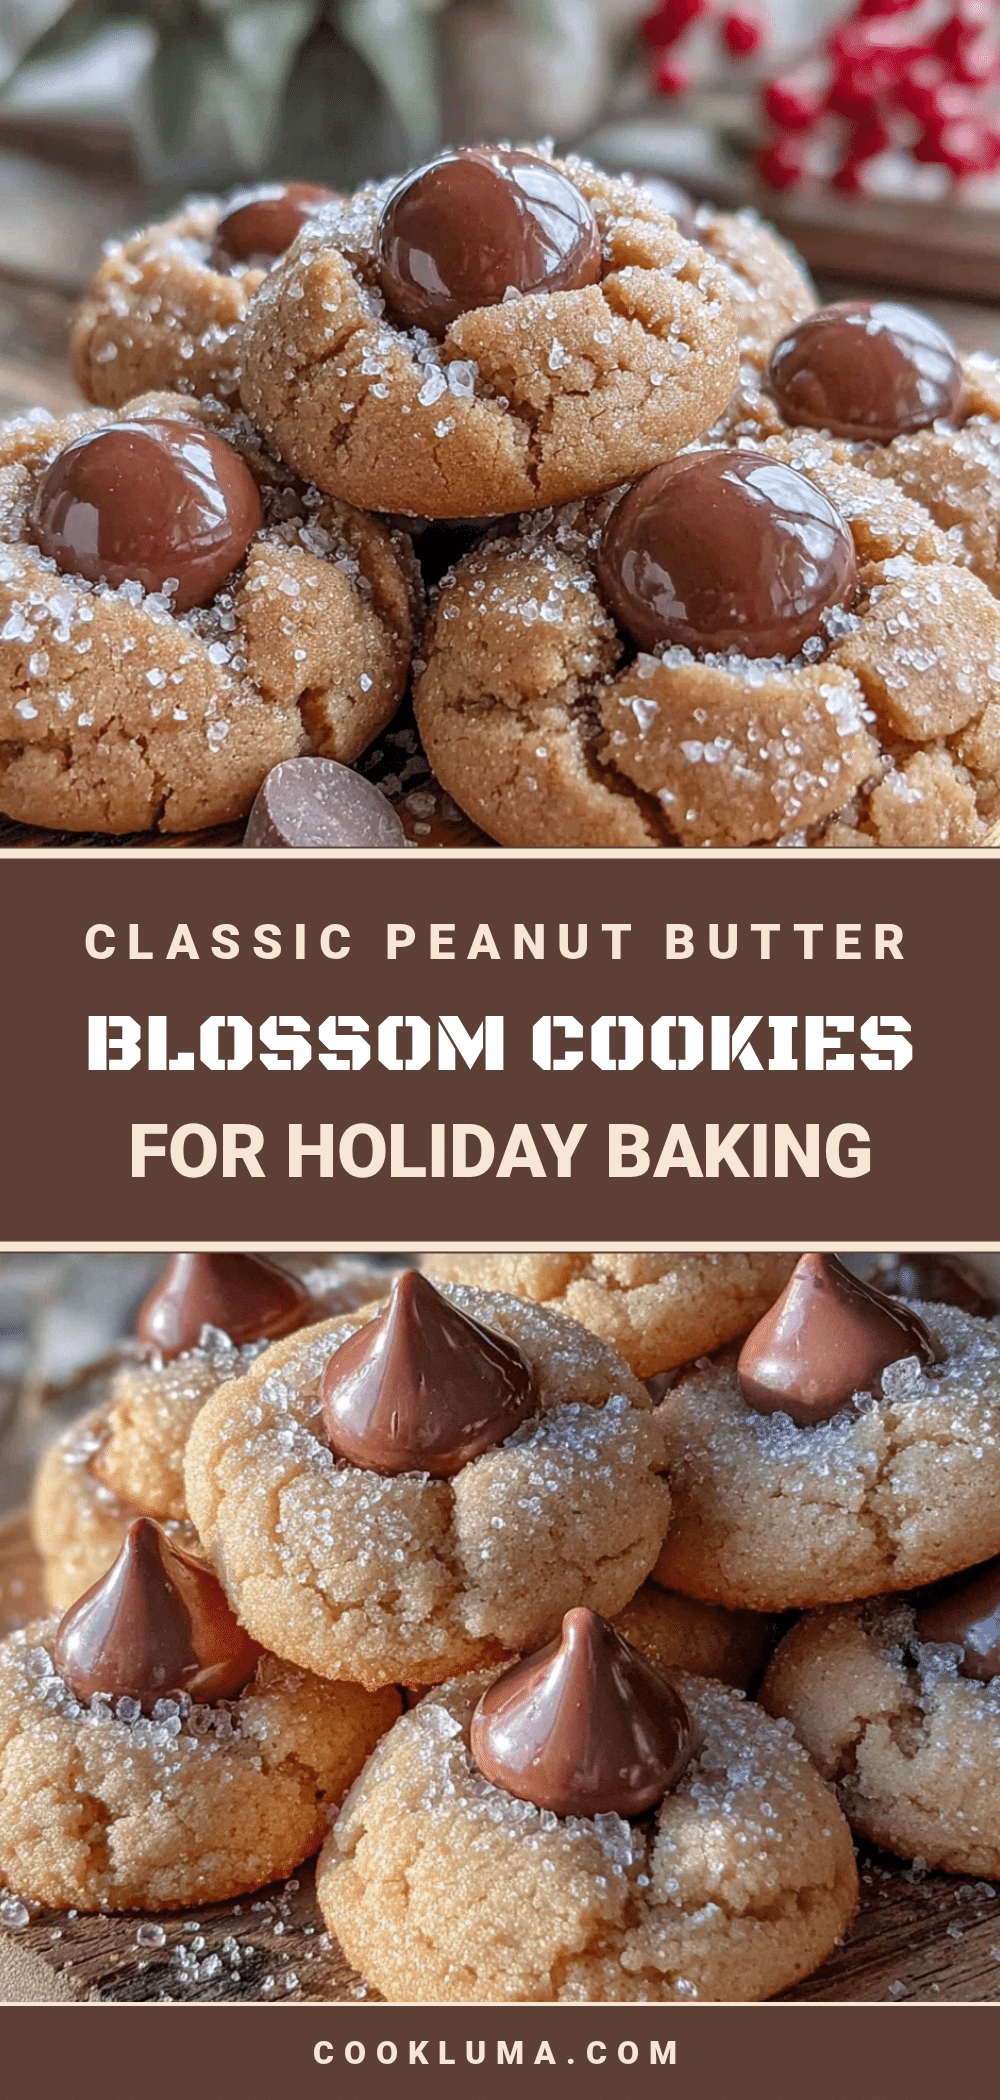
Classic Peanut Butter Blossom Cookies: The Best Holiday Treat
These Classic Peanut Butter Blossom Cookies are soft, salty, and sweet with a milk chocolate Kiss pressed into the center. They’re quick, easy, and perfect for holiday baking.
- Prep Time: 15 minutes
- Cook Time: 12 minutes
- Total Time: 27 minutes
- Yield: 36 cookies 1x
- Category: Dessert
- Cuisine: American
Ingredients
- 1 ¾ cups (220g) all-purpose flour
- 1 teaspoon baking soda
- ½ teaspoon salt
- ½ cup (113g) unsalted butter, softened
- ½ cup (100g) granulated sugar
- ½ cup (100g) packed light brown sugar
- ¾ cup (192g) creamy peanut butter (e.g., Skippy or Jif)
- 1 large egg, room temperature
- 1 teaspoon vanilla extract
- 2 tablespoons milk (dairy or plant-based)
- ¼ cup (50g) granulated sugar, for rolling
- 36 Hershey’s Kisses, unwrapped
Instructions
- Preheat oven to 375°F (190°C). Line two baking sheets with parchment paper or silicone mats.
- In a medium bowl, whisk together flour, baking soda, and salt. Set aside.
- In a large mixing bowl, beat softened butter, granulated sugar, and brown sugar on medium speed until light and fluffy, about 2-3 minutes. Scrape down sides halfway through.
- Add peanut butter and beat until well combined. Mixture may look grainy.
- Beat in egg, vanilla extract, and milk until smooth and creamy.
- Gradually add flour mixture to wet ingredients, mixing on low speed until just combined. Do not overmix.
- Place ¼ cup granulated sugar for rolling in a small bowl. Using a cookie scoop or tablespoon, portion dough and roll into smooth balls. If sticky, chill for 10 minutes.
- Roll each dough ball in sugar until completely coated. Place on prepared baking sheets, spacing 2 inches apart (about 18 per sheet).
- Bake one sheet at a time for 10-12 minutes, until edges are lightly golden and centers are puffed and slightly underdone.
- Remove from oven and let cookies cool on baking sheet for exactly 2 minutes.
- Gently press a Hershey’s Kiss into the center of each warm cookie until edges crack slightly.
- Transfer cookies to a wire cooling rack and let cool completely. Chocolate will set as they cool.
Notes
Don’t skip the 2-minute cooling time before adding Kisses to prevent chocolate from melting into a puddle. Use conventional peanut butter (not natural) for best texture. For gluten-free, substitute with 1:1 gluten-free baking flour. Cookies stay fresh in an airtight container at room temperature for up to 5 days. Can be frozen baked or unbaked for up to 3 months.
Nutrition
- Serving Size: 1 cookie
- Calories: 140
- Sugar: 10
- Sodium: 95
- Fat: 8
- Saturated Fat: 3
- Carbohydrates: 16
- Fiber: 1
- Protein: 3
Keywords: peanut butter blossom cookies, holiday cookies, Christmas cookies, peanut butter cookies, Hershey's Kiss cookies, easy cookie recipe


