I was standing in the middle of a grocery store aisle last November, somewhere between the canned pumpkin and the evaporated milk, when a smell hit me—not from a can, but from the air itself. It was that warm, spicy scent of cinnamon and cloves, and suddenly I was eight years old in my Aunt Rose’s tiny kitchen, watching her pull a perfect pumpkin pie from the oven. The memory was so sharp I could almost feel the worn linoleum under my bare feet and hear the clatter of her old mixer. That moment, right there in aisle seven, was when I knew I had to stop buying pre-made pies and figure out how to make one from scratch that could live up to that memory. Honestly, I’d been nervous about it for years. The thought of making a pastry crust and roasting my own pumpkin felt like something only professional bakers did. But let me tell you, that first attempt was a beautiful, messy disaster. The crust crumbled, the filling was a little too runny, and I may or may not have forgotten to add sugar. But the smell in my kitchen? It was exactly the same. And that was enough to keep me going. Maybe you’ve been there, standing in your own kitchen, wondering if you can pull off a classic dish for a crowd. This classic homemade pumpkin pie from scratch is the answer. It’s the kind of dessert that makes people close their eyes after the first bite, and it’s the recipe I now bring to every single dinner party and holiday gathering. It’s not just a dessert; it’s a feeling, a memory, a little bit of Aunt Rose’s kitchen brought into my own.
Why You’ll Love This Recipe
This isn’t just another pumpkin pie recipe. This is the one that will have your guests asking for the recipe before they’ve even finished their slice. I’ve tested this version more times than I can count, tweaking the spice blend and the baking time until it was absolutely perfect for a crowd.
- Perfect for Hosting: This pie is designed to be made ahead of time, so you’re not stuck in the kitchen when your guests arrive. Bake it the day before, and it tastes even better.
- Simple Ingredients: No weird, hard-to-find items. You probably have most of these in your pantry right now, which is a lifesaver when you’re planning a big dinner.
- Unbelievably Delicious: The combination of a buttery, flaky crust and a silky, spiced filling is pure comfort. It’s the kind of dessert that makes you forget about the main course.
- Crowd-Pleaser: I’ve served this at everything from Thanksgiving to casual potlucks, and it’s always the first thing to disappear. Kids and adults both go crazy for it.
- Stress-Free: The recipe is broken down into simple steps, so even a beginner baker can pull it off with confidence. I promise, if I can do it, you can too.
What makes this recipe different from the rest is the technique. I use a combination of brown sugar and maple syrup for a deeper, more complex sweetness, and I pre-cook the pumpkin puree just a little to concentrate the flavor. It’s a small step that makes a huge difference. This isn’t just another version of pumpkin pie; it’s the best version. It’s the one that makes you feel like a hero at your own party.
What Ingredients You Will Need
This recipe uses simple, wholesome ingredients to deliver that classic, rich flavor and silky texture. Most of these are pantry staples, which makes this pie perfect for last-minute hosting emergencies. Let’s break down what you’ll need and why each one matters.
- For the Crust:
- 1 ¼ cups all-purpose flour (I prefer King Arthur for its consistent protein content)
- ½ teaspoon salt
- 1 tablespoon granulated sugar (helps with browning)
- ½ cup (1 stick) cold unsalted butter, cut into small cubes (the key to a flaky crust)
- 3-4 tablespoons ice water (add one at a time, you may not need all of it)
- For the Filling:
- 2 cups pumpkin puree (see note below about homemade vs. canned)
- 1 ¼ cups heavy cream (for the richest texture; you can use half-and-half if needed)
- ¾ cup packed light brown sugar
- 2 tablespoons pure maple syrup (not pancake syrup, trust me on this)
- 2 large eggs, plus 1 egg yolk (the yolk adds extra richness)
- 1 teaspoon vanilla extract
- 2 teaspoons ground cinnamon (I use Vietnamese cinnamon for a warmer flavor)
- 1 teaspoon ground ginger
- ½ teaspoon ground nutmeg (freshly grated is best)
- ¼ teaspoon ground cloves
- ½ teaspoon salt
Ingredient Notes: For the pumpkin puree, you can absolutely use canned. I often do when I’m short on time. But if you want to impress your guests, roasting a small sugar pumpkin is surprisingly easy and makes the pie taste incredibly fresh. Just cut it in half, scoop out the seeds, and roast it cut-side down at 400°F for about 45 minutes. Scoop out the flesh and blend it until smooth. For the butter in the crust, make sure it’s very cold. If it starts to soften while you’re working, pop the bowl in the fridge for 10 minutes. This is the secret to a flaky crust. You can also use a gluten-free all-purpose flour blend for the crust if needed, but add an extra tablespoon of ice water as gluten-free flours tend to be more absorbent.
Equipment Needed
You don’t need a fancy kitchen to make this pie. Here’s what you’ll need to get the job done.
- 9-inch Pie Dish: A standard glass or ceramic pie dish works perfectly. I love my deep-dish ceramic one because it holds all that delicious filling without overflowing.
- Rolling Pin: A standard rolling pin is fine. If you don’t have one, a clean wine bottle works in a pinch—I’ve done it more times than I care to admit.
- Large Mixing Bowls: You’ll need one for the crust and one for the filling.
- Pastry Blender or Two Forks: For cutting the butter into the flour. A food processor works too, but be careful not to overwork the dough.
- Whisk: For combining the filling ingredients smoothly.
- Plastic Wrap: To chill the dough.
- Parchment Paper and Pie Weights: For blind baking the crust. You can use dried beans or rice as weights if you don’t have pie weights.
If you’re on a budget, skip the fancy pie weights. A bag of dried beans from the store will do the same job, and you can reuse them for blind baking again and again. Just let them cool completely before storing them in a jar.
Preparation Method
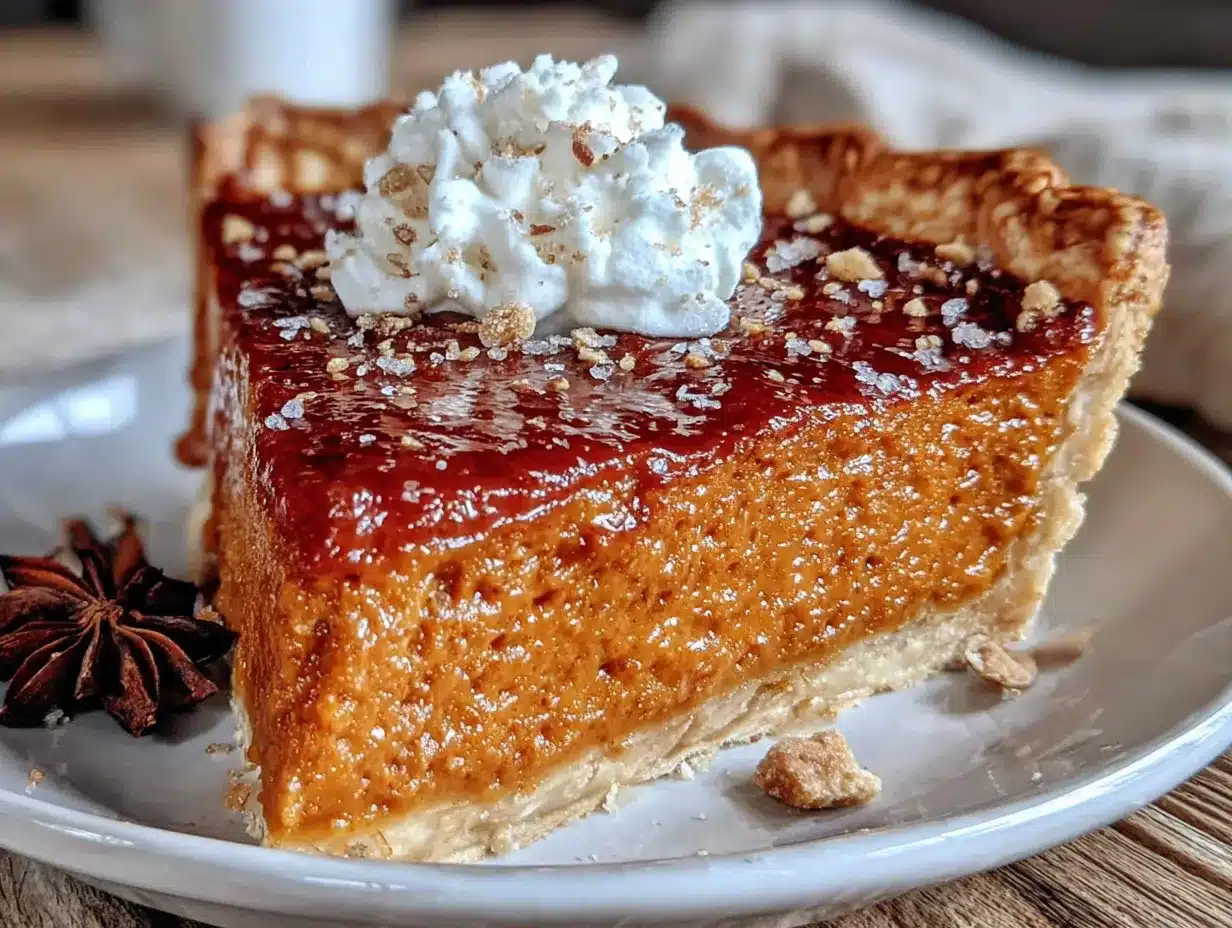
Let’s get baking. This method is broken down into clear steps, so you can follow along without any stress. Take your time, and remember, even if the crust cracks a little, it will still taste amazing.
- Make the Crust: In a large bowl, whisk together the flour, salt, and sugar. Add the cold butter cubes. Using a pastry blender or your fingertips, work the butter into the flour until the mixture looks like coarse meal with some pea-sized butter pieces remaining. This is crucial for a flaky texture. Drizzle 3 tablespoons of ice water over the mixture and stir with a fork until the dough begins to come together. If it’s too dry, add the remaining tablespoon of water. The dough should hold together when you squeeze it.
- Chill the Dough: Turn the dough out onto a piece of plastic wrap. Flatten it into a disc about 1 inch thick. Wrap it tightly and refrigerate for at least 1 hour, or up to 2 days. This rest is non-negotiable—it relaxes the gluten and keeps the crust tender.
- Roll Out the Crust: On a lightly floured surface, roll the chilled dough into a 12-inch circle, about ⅛-inch thick. Roll from the center out, turning the dough occasionally to prevent sticking. Carefully transfer the dough to your 9-inch pie dish. Gently press it into the bottom and up the sides. Trim the overhang to about ½ inch, then fold it under and crimp the edges with your fingers or a fork. Place the crust in the freezer for 15 minutes while you preheat the oven.
- Blind Bake the Crust: Preheat your oven to 375°F (190°C). Line the chilled crust with parchment paper and fill it with pie weights or dried beans. Bake for 15 minutes. Remove the parchment and weights, then bake for another 8-10 minutes, until the bottom looks dry and lightly golden. Set the crust aside to cool slightly. Lower the oven temperature to 350°F (175°C).
- Make the Filling: In a large bowl, whisk together the pumpkin puree, heavy cream, brown sugar, and maple syrup until smooth. Add the eggs and egg yolk, one at a time, whisking well after each addition. Stir in the vanilla extract. In a small bowl, combine the cinnamon, ginger, nutmeg, cloves, and salt. Add the spice mixture to the pumpkin mixture and whisk until everything is fully incorporated. The filling should be smooth and fragrant.
- Bake the Pie: Pour the filling into the pre-baked crust. Place the pie on the middle rack of the oven. Bake for 50-60 minutes, or until the edges are set and the center is just slightly jiggly. It will continue to set as it cools. If the crust edges are browning too quickly, cover them with a pie shield or strips of foil after 30 minutes.
- Cool Completely: Remove the pie from the oven and place it on a wire rack. Let it cool completely at room temperature, about 2-3 hours. This is essential for the filling to set properly. Do not rush this step.
- Chill Before Serving: Once cool, refrigerate the pie for at least 4 hours, or preferably overnight. This makes it easier to slice cleanly and allows the flavors to meld together beautifully.
Cooking Tips & Techniques
I’ve made every mistake in the book with pumpkin pie, so you don’t have to. Here are the lessons I learned the hard way.
Don’t Overwork the Dough: The biggest mistake I made with my first crust was handling it too much. Overworking the dough develops gluten, which makes the crust tough. Mix it just until it comes together, and don’t knead it. If you see streaks of butter, that’s a good thing—those little pockets of fat create steam in the oven and give you those beautiful, flaky layers.
Blind Baking is Key: I used to skip this step, and I always ended up with a soggy bottom crust. Blind baking the crust before adding the filling ensures it stays crisp and flaky. Don’t skip it, even if you’re in a hurry. Your guests will thank you.
Watch the Oven: Oven temperatures can vary wildly. Start checking your pie at the 45-minute mark. The edges should be set, and the center should wobble just a little when you gently shake the pan. If you overbake it, the filling can crack. It will still taste good, but it won’t look as pretty for the dinner table.
Make it Ahead: This is the ultimate hosting hack. You can make this pie up to two days in advance. Just bake it, cool it, and keep it covered in the refrigerator. When you’re ready to serve, let it sit at room temperature for about 20 minutes, then slice and serve. It actually tastes better the next day because the spices have had time to meld.
Variations & Adaptations
This recipe is a wonderful base, and it’s easy to tweak it to suit your guests’ tastes or dietary needs.
- Spice It Up: For a more complex flavor, add a pinch of black pepper or a teaspoon of orange zest to the filling. The pepper adds a subtle warmth, and the orange brightens the whole pie.
- Dairy-Free Version: Substitute the heavy cream with full-fat coconut cream. The texture will be just as rich and creamy, with a subtle coconut flavor that pairs beautifully with the pumpkin.
- Gluten-Free Crust: Use a 1:1 gluten-free all-purpose flour blend. Add an extra tablespoon of ice water, as these blends tend to be more absorbent. The crust will be a little more delicate, so handle it gently.
- Maple Pecan Topping: Before baking, sprinkle the top of the pie with a mixture of chopped pecans and a tablespoon of maple syrup. It adds a lovely crunch and a touch of elegance.
- Chocolate Twist: For a truly decadent dessert, melt 4 ounces of dark chocolate and drizzle it over the baked and cooled pie. It’s a showstopper that feels incredibly indulgent.
I once made a version with a gingersnap crust for a friend’s dinner party, and it was a huge hit. Just crush 2 cups of gingersnap cookies, mix with 5 tablespoons of melted butter, and press into the pie dish. No blind baking needed. It adds a spicy, crunchy contrast to the smooth filling.
Serving & Storage Suggestions
This pie is a star on its own, but the right accompaniments can make it truly unforgettable.
Serving: Serve the pie at room temperature or slightly chilled. A dollop of lightly sweetened whipped cream is the classic choice, and for good reason—it cuts through the richness of the filling perfectly. For a fancier presentation, add a sprinkle of cinnamon or a drizzle of caramel sauce over the whipped cream. You can also serve it with a scoop of vanilla bean ice cream for an extra decadent treat. When you’re hosting a crowd, slice the pie into 8 to 10 generous pieces. Use a sharp, thin-bladed knife, and wipe it clean between cuts for the neatest slices.
Storage: Leftover pie should be covered and stored in the refrigerator. It will stay fresh for up to 4 days. The flavors actually continue to develop, so it might taste even better on day two. You can also freeze the baked pie for up to 3 months. Wrap it tightly in plastic wrap, then in a layer of aluminum foil. Thaw it overnight in the refrigerator before serving. To reheat individual slices, place them in a 300°F oven for about 10 minutes, or microwave them for 20-30 seconds. The crust will be softer if microwaved, but it’s still delicious.
Nutritional Information & Benefits
While this is definitely a treat, it does have some redeeming qualities. Please note that these are estimates and will vary based on specific ingredients and serving sizes.
- Estimated per slice (1/8 of pie): Approximately 380 calories, 22g fat, 44g carbohydrates, 5g protein, 28g sugar.
- Vitamin A Powerhouse: Pumpkin is loaded with vitamin A, which is great for your vision and immune system. One slice provides a significant portion of your daily needs.
- Fiber Content: Pumpkin also contains a good amount of fiber, which aids in digestion.
- Dietary Considerations: This recipe can be made dairy-free and gluten-free with the substitutions mentioned in the variations section. It is not suitable for a low-carb or keto diet without significant modifications.
- Potential Allergens: This recipe contains dairy (butter, cream) and gluten (flour). It also contains eggs.
I personally love that this pie feels indulgent but isn’t completely devoid of nutritional value. It’s the kind of dessert that satisfies your sweet tooth while also giving you a little something good. It’s all about balance, right?
Conclusion
This classic homemade pumpkin pie from scratch is more than just a recipe; it’s a way to bring people together. It’s the dessert that turns a simple gathering into a memorable occasion, the one that makes your guests feel special and cared for. I’ve made this pie for countless dinners and parties, and it never fails to get that same reaction—a moment of quiet appreciation followed by a chorus of compliments. The beauty of this recipe is that it’s forgiving enough for a beginner but impressive enough for a seasoned host. I encourage you to make it your own. Maybe you’ll add a little extra ginger, or try that gingersnap crust I mentioned. The best recipes are the ones that evolve with you. So go ahead, preheat your oven, and give it a try. I promise, the smell that fills your kitchen will be worth every single step. And when you see the smiles on your guests’ faces, you’ll know exactly why this pie has become my go-to. Don’t forget to leave a comment below and let me know how it turned out—I’d love to hear about your own kitchen adventures!
Frequently Asked Questions
Can I use canned pumpkin puree instead of roasting a fresh pumpkin?
Absolutely! Canned pumpkin puree works perfectly and is a huge time-saver. I use it all the time, especially when I’m making multiple pies for a big gathering. Just make sure you’re buying 100% pure pumpkin puree, not pumpkin pie filling, which is already sweetened and spiced.
Why did my pie crust shrink during blind baking?
This usually happens when the dough hasn’t been chilled enough before baking. Make sure you chill the shaped crust in the freezer for at least 15 minutes before you put it in the oven. Also, avoid stretching the dough when you press it into the pie dish, as stretched dough will shrink back as it bakes.
My pie filling is cracking on top. What did I do wrong?
Cracks usually mean the pie was overbaked. The filling continues to cook and set as it cools, so you want to take it out of the oven when the center is still slightly jiggly. It should look set around the edges but wobble just a little in the very middle. Also, make sure your oven temperature is accurate—an oven thermometer is a cheap and worthwhile investment.
Can I make this pie gluten-free?
Yes, you can. Use a good quality 1:1 gluten-free all-purpose flour blend for the crust. The dough will be a little more delicate, so handle it gently. The filling is naturally gluten-free, so no changes are needed there.
How far in advance can I make this pie for a party?
You can make this pie up to two days in advance. Bake it, let it cool completely, then cover it and store it in the refrigerator. It actually tastes better the next day because the spices have had time to meld. Just let it sit at room temperature for about 20 minutes before slicing and serving.
Pin This Recipe!
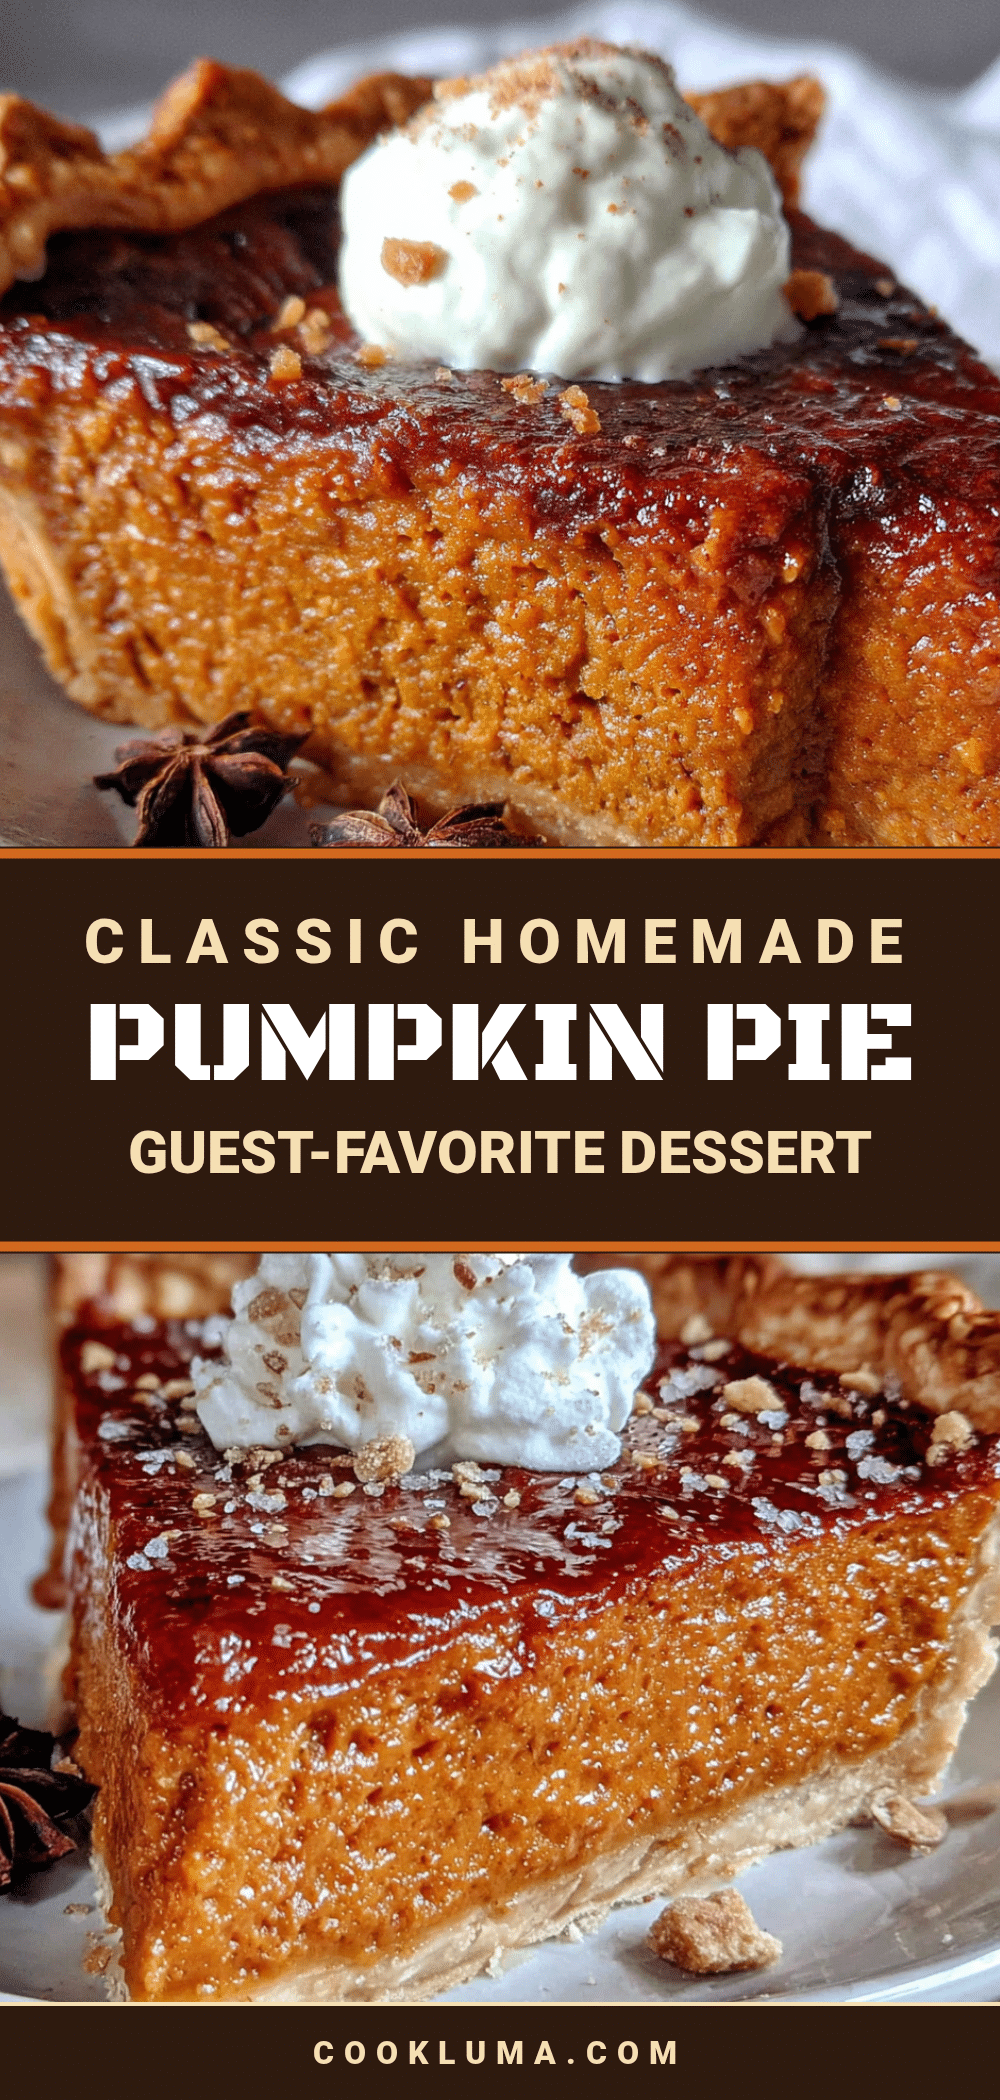
Classic Homemade Pumpkin Pie from Scratch – Best Easy Dessert
This classic homemade pumpkin pie from scratch is the perfect dessert for any gathering. With a buttery, flaky crust and a silky, spiced filling, it’s a crowd-pleaser that can be made ahead of time.
- Prep Time: 1 hour 30 minutes
- Cook Time: 1 hour 15 minutes
- Total Time: 2 hours 45 minutes
- Yield: 8 servings 1x
- Category: Dessert
- Cuisine: American
Ingredients
- 1 ¼ cups all-purpose flour
- ½ teaspoon salt
- 1 tablespoon granulated sugar
- ½ cup (1 stick) cold unsalted butter, cut into small cubes
- 3–4 tablespoons ice water
- 2 cups pumpkin puree
- 1 ¼ cups heavy cream
- ¾ cup packed light brown sugar
- 2 tablespoons pure maple syrup
- 2 large eggs, plus 1 egg yolk
- 1 teaspoon vanilla extract
- 2 teaspoons ground cinnamon
- 1 teaspoon ground ginger
- ½ teaspoon ground nutmeg
- ¼ teaspoon ground cloves
- ½ teaspoon salt
Instructions
- Make the Crust: In a large bowl, whisk together the flour, salt, and sugar. Add the cold butter cubes. Using a pastry blender or your fingertips, work the butter into the flour until the mixture looks like coarse meal with some pea-sized butter pieces remaining. Drizzle 3 tablespoons of ice water over the mixture and stir with a fork until the dough begins to come together. If it’s too dry, add the remaining tablespoon of water.
- Chill the Dough: Turn the dough out onto a piece of plastic wrap. Flatten it into a disc about 1 inch thick. Wrap it tightly and refrigerate for at least 1 hour, or up to 2 days.
- Roll Out the Crust: On a lightly floured surface, roll the chilled dough into a 12-inch circle, about ⅛-inch thick. Carefully transfer the dough to a 9-inch pie dish. Gently press it into the bottom and up the sides. Trim the overhang to about ½ inch, then fold it under and crimp the edges. Place the crust in the freezer for 15 minutes while you preheat the oven.
- Blind Bake the Crust: Preheat your oven to 375°F (190°C). Line the chilled crust with parchment paper and fill it with pie weights or dried beans. Bake for 15 minutes. Remove the parchment and weights, then bake for another 8-10 minutes, until the bottom looks dry and lightly golden. Set the crust aside to cool slightly. Lower the oven temperature to 350°F (175°C).
- Make the Filling: In a large bowl, whisk together the pumpkin puree, heavy cream, brown sugar, and maple syrup until smooth. Add the eggs and egg yolk, one at a time, whisking well after each addition. Stir in the vanilla extract. In a small bowl, combine the cinnamon, ginger, nutmeg, cloves, and salt. Add the spice mixture to the pumpkin mixture and whisk until everything is fully incorporated.
- Bake the Pie: Pour the filling into the pre-baked crust. Place the pie on the middle rack of the oven. Bake for 50-60 minutes, or until the edges are set and the center is just slightly jiggly. If the crust edges are browning too quickly, cover them with a pie shield or strips of foil after 30 minutes.
- Cool Completely: Remove the pie from the oven and place it on a wire rack. Let it cool completely at room temperature, about 2-3 hours.
- Chill Before Serving: Once cool, refrigerate the pie for at least 4 hours, or preferably overnight.
Notes
For the pumpkin puree, you can use canned or roast a small sugar pumpkin. Make sure the butter for the crust is very cold. Blind baking is key to avoid a soggy bottom. The pie can be made up to two days in advance and stored in the refrigerator.
Nutrition
- Serving Size: 1 slice (1/8 of pie)
- Calories: 380
- Sugar: 28
- Sodium: 350
- Fat: 22
- Saturated Fat: 13
- Carbohydrates: 44
- Fiber: 3
- Protein: 5
Keywords: pumpkin pie, homemade, from scratch, classic, easy, dessert, Thanksgiving, fall


