My neighbor, Mrs. Gable, watched me fumbling with a carton of store-bought eggnog last December and didn’t say anything at first. She just stood there on her porch, arms crossed, shaking her head. Then she disappeared inside and came back with a mason jar filled with something that looked like liquid gold. “Try this,” she said, handing it over. “And throw that cardboard nonsense away.” That jar changed my entire holiday season. I mean, honestly, I had no idea what I was missing. Her bourbon eggnog was creamy, perfectly spiced, and had this warmth that store-bought stuff could never touch. I asked her for the recipe, and she laughed—said it wasn’t really a recipe, just something her grandmother threw together by feel. Over the next week, I watched her make it twice, took notes, messed up a batch (too much bourbon, let me tell you), and finally got it right. Maybe you’ve been there—staring at a carton in the grocery store, wondering why homemade always feels like too much work. This version is quick, I promise. It comes together in under ten minutes, and you probably have most of the ingredients already. That first sip of real, fresh-nutmeg-spiked eggnog? Honestly, it’s the kind of moment that makes you forget about the fancy cocktails and just sit still for a second. This recipe stayed with me because it’s not about showing off—it’s about sharing something real with people you actually like.
Why You’ll Love This Recipe
Let’s face it—between work, errands, and the general chaos of the holidays, who has time to fuss over a complicated drink? This bourbon eggnog is designed for real people with real schedules. Here’s why it works:
- Quick & Easy: Comes together in under 10 minutes—perfect for when guests show up early or you just need a little something after a long Tuesday.
- Simple Ingredients: No need to hunt down obscure spices or special equipment. Eggs, milk, cream, sugar, bourbon, and fresh nutmeg—that’s it.
- Perfect for Weeknight Holiday Cheer: Not every celebration needs to be a party. Sometimes it’s just Tuesday night and you want something cozy in your hand while you wrap presents.
- Crowd-Pleaser: I’ve served this to bourbon lovers and skeptics alike, and it disappears every single time. Even folks who swear they don’t like eggnog change their tune.
- Unbelievably Delicious: The fresh nutmeg makes all the difference. It’s warm, aromatic, and nothing like that dusty pre-ground stuff. The bourbon adds a gentle kick without overpowering the creamy base.
What makes this recipe different from the rest? It’s the technique. Most recipes have you separating eggs and whipping whites—fussy, time-consuming, and honestly, who needs another dirty bowl? This version uses whole eggs blended directly into the mixture, giving you that thick, velvety texture without the extra steps. It’s the kind of shortcut that Mrs. Gable would approve of—efficient, practical, and no sacrifice in flavor.
This isn’t just another eggnog recipe. It’s the one that makes you close your eyes after the first sip. It’s comfort in a cup—richer, faster, and more satisfying than anything you’ll find in a carton. Perfect for impressing unexpected guests without stress, or turning a quiet evening into something that feels a little bit special.
What Ingredients You Will Need
This recipe uses simple, everyday ingredients to deliver that classic eggnog flavor with a boozy twist. Most of these are probably already in your kitchen, which is exactly the point.
For the Eggnog Base
- 4 large eggs, at room temperature (cold eggs don’t emulsify as smoothly)
- 1/3 cup granulated sugar (adds just the right sweetness without being cloying)
- 2 cups whole milk (full-fat gives the best texture, but 2% works in a pinch)
- 1 cup heavy cream (this is what makes it luxuriously thick—don’t skimp here)
- 1 teaspoon vanilla extract (pure, not imitation, if you can swing it)
- 1/2 teaspoon ground cinnamon (optional, but I love the warmth it adds)
- 1/4 teaspoon ground cloves (just a pinch—cloves are powerful)
- 1/4 teaspoon salt (trust me on this—it balances the sweetness)
For the Bourbon
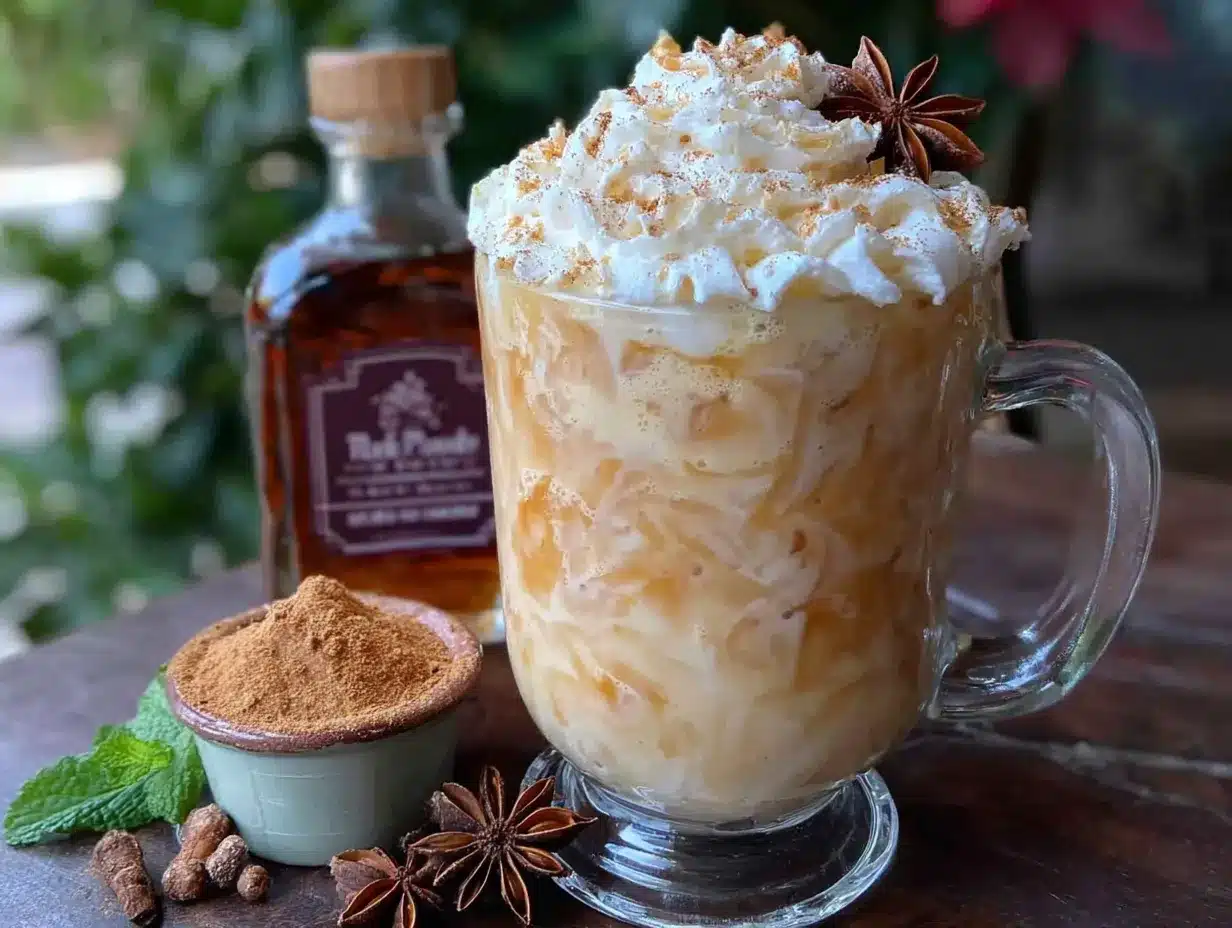
- 1 to 1 1/2 cups bourbon (start with 1 cup, taste, and add more if you like it stronger. I recommend Maker’s Mark or Buffalo Trace for their smooth, slightly sweet profiles that complement the eggnog beautifully)
For Garnish
- 1 whole nutmeg, for grating fresh (this is non-negotiable—fresh nutmeg is what separates good eggnog from unforgettable eggnog)
- Optional: cinnamon sticks, whipped cream, or a sprinkle of cinnamon on top
Ingredient Notes & Substitutions:
- Egg safety: If you’re concerned about raw eggs, use pasteurized eggs (they’re widely available and work perfectly). You can also gently heat the eggnog to 160°F on the stove, stirring constantly, then cool it before adding the bourbon.
- Dairy-free option: Substitute oat milk and canned coconut cream for the milk and heavy cream. The texture will be slightly thinner but still delicious.
- Bourbon alternatives: Rye whiskey adds a spicier kick, while brandy gives a fruitier, more traditional eggnog flavor. I’ve tried all three, and honestly, they’re all fantastic—it just depends on your mood.
- Sweetener swap: Maple syrup or honey can replace the sugar, but reduce the amount by about a tablespoon since they’re sweeter. The flavor will shift slightly, but in a good way.
Equipment Needed
You don’t need a fancy bar setup for this. Here’s what you’ll actually use:
- Large mixing bowl (glass or stainless steel works best—plastic can hold onto odors)
- Whisk (a balloon whisk is ideal, but a regular one does the job)
- Pitcher or large jar for serving and storing
- Microplane or fine grater for the fresh nutmeg (a regular box grater works, but the microplane gives you those beautiful, fluffy shavings)
- Measuring cups and spoons
- Optional: An immersion blender or regular blender (this makes the eggnog incredibly smooth and frothy in seconds—I discovered this trick after a particularly whisk-heavy Christmas Eve and never looked back)
Budget-friendly tip: If you don’t have a microplane, use the smallest holes on a box grater. It’s not quite as pretty, but the flavor is the same. And honestly, I’ve grated nutmeg with a vegetable peeler in a pinch—it works, you just get bigger flakes.
Preparation Method
This comes together fast, so read through the steps once before you start. Trust me, it’s simpler than it looks.
- Whisk the eggs and sugar together (2 minutes): In a large mixing bowl, combine the 4 eggs and 1/3 cup sugar. Whisk vigorously for about 2 minutes until the mixture turns pale yellow and slightly thick. You’re looking for that ribbon stage—when you lift the whisk, the mixture should fall back into the bowl in a slow, thick ribbon. If you’re using a blender, pulse it 4-5 times on low speed instead.
- Add the milk and cream (1 minute): Pour in the 2 cups milk and 1 cup heavy cream. Whisk or blend until fully combined. The mixture will look thin now, but don’t worry—it thickens as it chills. Pro tip: If you’re using a blender, this is where it really shines. The mixture becomes silky smooth in about 15 seconds.
- Season the base (30 seconds): Add the vanilla extract, cinnamon, cloves, and salt. Whisk or pulse to combine. Taste it at this point—before the bourbon goes in. This is your chance to adjust sweetness or spice. I once forgot the salt and the whole batch tasted flat. Learn from my mistake.
- Add the bourbon (30 seconds): Start with 1 cup of bourbon. Whisk it in gently. Now taste again. This is the fun part. If you want a stronger kick, add more bourbon in 1/4 cup increments until it tastes right to you. I usually end up around 1 1/4 cups—enough to feel it, but not so much that it overpowers the creamy eggnog flavor. Remember, the alcohol flavor will mellow slightly as it chills.
- Chill thoroughly (at least 2 hours, but overnight is better): Pour the eggnog into a pitcher or jar and refrigerate. This step is crucial. Chilling allows the flavors to meld and the texture to thicken. I know it’s tempting to drink it right away, but patience pays off here. The difference between room-temp eggnog and properly chilled eggnog is night and day.
- Serve with fresh nutmeg (30 seconds per serving): When you’re ready to serve, pour the eggnog into cups or mugs. Grate fresh nutmeg directly over each serving—about 4-5 passes with the microplane per cup. Stir it in lightly or leave it floating on top. The aroma hits you immediately, and that first sip with the fresh nutmeg is just… magic.
- Garnish and enjoy (optional): Top with a dollop of whipped cream if you’re feeling fancy, or a cinnamon stick for stirring. Serve immediately.
Sensory Cues: At step 1, the egg-sugar mixture should look pale and feel smooth between your fingers (if you’re brave enough to check). At step 5, the finished eggnog should coat the back of a spoon—not as thick as custard, but noticeably richer than milk. When you grate the nutmeg, you should smell that warm, piney, slightly sweet aroma immediately. If you don’t, your nutmeg might be old—time for a fresh one.
Cooking Tips & Techniques
I’ve made this recipe more times than I can count, and I’ve definitely learned a few things the hard way. Here’s what I wish someone had told me:
Temperature matters: Room-temperature eggs emulsify into the milk and cream much more smoothly than cold ones. If you forgot to take them out ahead of time, place them in a bowl of warm water for 5 minutes. It’s not perfect, but it helps.
Don’t over-whisk: Once the bourbon goes in, stop whisking. Over-mixing can make the eggnog slightly thin. You want it incorporated, not aerated. I learned this after a particularly aggressive whisking session left me with watery eggnog. Not my finest moment.
The blender shortcut: If you have an immersion blender, use it. It emulsifies the eggs and cream into a silky, restaurant-quality texture in about 20 seconds. I discovered this by accident when my whisk broke mid-recipe, and now I rarely go back to hand-whisking.
Taste as you go: This is the most important tip. Everyone’s palate is different. You might want more sugar, less bourbon, or an extra pinch of cloves. Trust your taste buds. I once followed a recipe exactly and ended up with eggnog that tasted like a sugar bomb. Adjust, adjust, adjust.
Make it ahead: Eggnog actually gets better after a day in the fridge. The flavors meld, the texture thickens, and the bourbon mellows. Make it the night before you plan to serve it. Your future self will thank you.
Common mistake to avoid: Adding the bourbon before the eggs and sugar are fully combined. If you do, the alcohol can “cook” the eggs slightly, creating a grainy texture. Always whisk the eggs and sugar first, then add the dairy, then the bourbon. Order matters here.
Variations & Adaptations
This recipe is a great starting point, but don’t be afraid to make it your own. Here are a few versions I’ve tried and loved:
Spiced Chai Eggnog: Steep 2 chai tea bags in 1/4 cup warm milk for 5 minutes, then add that infused milk to the base. The chai spices (cardamom, ginger, black pepper) add a lovely warmth that pairs beautifully with the bourbon. I made this for a holiday brunch and it was gone in 20 minutes.
Vegan Bourbon Eggnog: Substitute the eggs with 1/2 cup silken tofu (blended until smooth) and use oat milk and coconut cream instead of dairy. The tofu gives it that thick, creamy texture without any animal products. It sounds weird, I know, but trust me—it works. I tested this for a friend with dietary restrictions and ended up liking it almost as much as the original.
Extra-Boozy Grown-Up Version: Replace 1/4 cup of the milk with dark rum or brandy in addition to the bourbon. The combination of spirits adds complexity without being overwhelming. I call this the “Holiday Survival” version, and it’s perfect for those family gatherings where you need a little extra fortitude.
Low-Sugar Option: Use a monk fruit sweetener or stevia blend instead of sugar. Reduce the amount by half, then taste and adjust. The texture will be slightly thinner, but the flavor is still fantastic. I’ve been experimenting with this for my dad, who’s watching his sugar intake, and he gives it two thumbs up.
Serving & Storage Suggestions
This eggnog is best served chilled, straight from the fridge. Pour it into small cups or mugs—it’s rich, so a little goes a long way. I like to serve it in 4-ounce glasses, which feels generous without being overwhelming.
Perfect pairings: Serve alongside gingerbread cookies, shortbread, or a slice of pound cake. The spices in the eggnog complement the buttery sweetness of these treats beautifully. For a savory contrast, try it with a cheese board featuring sharp cheddar or aged gouda.
Storage: Store in a sealed pitcher or jar in the refrigerator for up to 5 days. The flavors actually deepen and improve after 24 hours. Give it a gentle stir before serving, as the cream may separate slightly.
Freezing: You can freeze eggnog in an airtight container for up to 3 months. Thaw overnight in the refrigerator and whisk gently before serving. The texture will be slightly thinner after freezing, but the flavor remains excellent. I do this every year with a double batch, and it’s a lifesaver for unexpected holiday gatherings.
Reheating: If you prefer warm eggnog, gently heat it in a saucepan over low heat, stirring constantly. Do not boil, as the eggs can scramble. Add a splash of bourbon after heating for that warming kick. This is my go-to on cold, snowy evenings when I need something cozy.
Nutritional Information & Benefits
Let’s be honest—this is a treat, not a health food. But here’s what you’re working with per 4-ounce serving (using 1 cup bourbon total):
- Calories: Approximately 280-320
- Fat: 18-22g (mostly from cream and eggs)
- Protein: 6-8g (thanks to the eggs and milk)
- Carbohydrates: 18-22g (mostly sugar)
- Sugar: 16-20g
Health highlights: Eggs provide high-quality protein and choline, which supports brain health. Fresh nutmeg contains small amounts of antioxidants and has been used traditionally to aid digestion. The cloves add anti-inflammatory properties. And honestly, sometimes the mental health benefits of a cozy, delicious drink on a stressful evening are worth more than any nutrient profile.
Dietary considerations: This recipe contains eggs, dairy, and gluten-free ingredients. For a lower-calorie version, use 2% milk and reduce the heavy cream to 1/2 cup. The texture will be lighter, but still satisfying. Always check your bourbon label if you have gluten concerns—most bourbons are gluten-free, but some may have trace amounts.
Conclusion
This bourbon eggnog is more than just a drink—it’s a little moment of warmth in a busy season. It’s quick enough for a Tuesday night, special enough for a holiday party, and simple enough that you’ll actually make it instead of reaching for a carton. The fresh nutmeg makes all the difference, I promise. That first grate over the top, the aroma filling your kitchen—it’s the kind of small ritual that makes the holidays feel real.
I’d love to hear how it turns out for you. Did you try a variation? Add extra bourbon? Serve it warm on a snowy night? Drop a comment below and let me know. And if you’re looking for another quick holiday favorite, try my spiced apple cider margarita—it’s equally easy and just as crowd-pleasing.
Go ahead, make a batch. You deserve it. And if you end up grating nutmeg on everything for the next week (like I do), well, welcome to the club.
Frequently Asked Questions
Can I make this eggnog without alcohol?
Absolutely. Simply omit the bourbon and add an extra 1/2 cup of milk or cream to maintain the texture. You can also add a teaspoon of vanilla extract or a splash of non-alcoholic bourbon flavoring for that warm, oaky note without the alcohol.
How long does homemade eggnog last in the fridge?
Properly stored in a sealed container, homemade eggnog lasts 3-5 days in the refrigerator. The flavors actually improve after 24 hours as they meld together. Always give it a gentle stir before serving, and if it smells off or separates excessively, it’s time to make a fresh batch.
Can I use pre-ground nutmeg instead of fresh?
You can, but I really wouldn’t recommend it. Freshly grated nutmeg has a warmth and complexity that pre-ground nutmeg simply can’t match. Pre-ground nutmeg loses its essential oils quickly and tastes flat and dusty by comparison. A whole nutmeg costs about a dollar and lasts for months—it’s worth the tiny investment.
Is it safe to use raw eggs in eggnog?
For most healthy adults, the risk is minimal. If you’re concerned, use pasteurized eggs (sold in most grocery stores) or gently heat the eggnog base to 160°F on the stove, stirring constantly, then cool it before adding the bourbon. This kills any potential bacteria without changing the flavor or texture significantly.
Can I double this recipe for a party?
Yes, and I do it all the time. Simply double all ingredients and mix in a large pitcher or bowl. The chilling time stays the same. For a crowd, I recommend making it the day before—it gives the flavors time to develop and saves you stress on party day. Just remember to grate fresh nutmeg on each serving right before you hand it out.
Pin This Recipe!
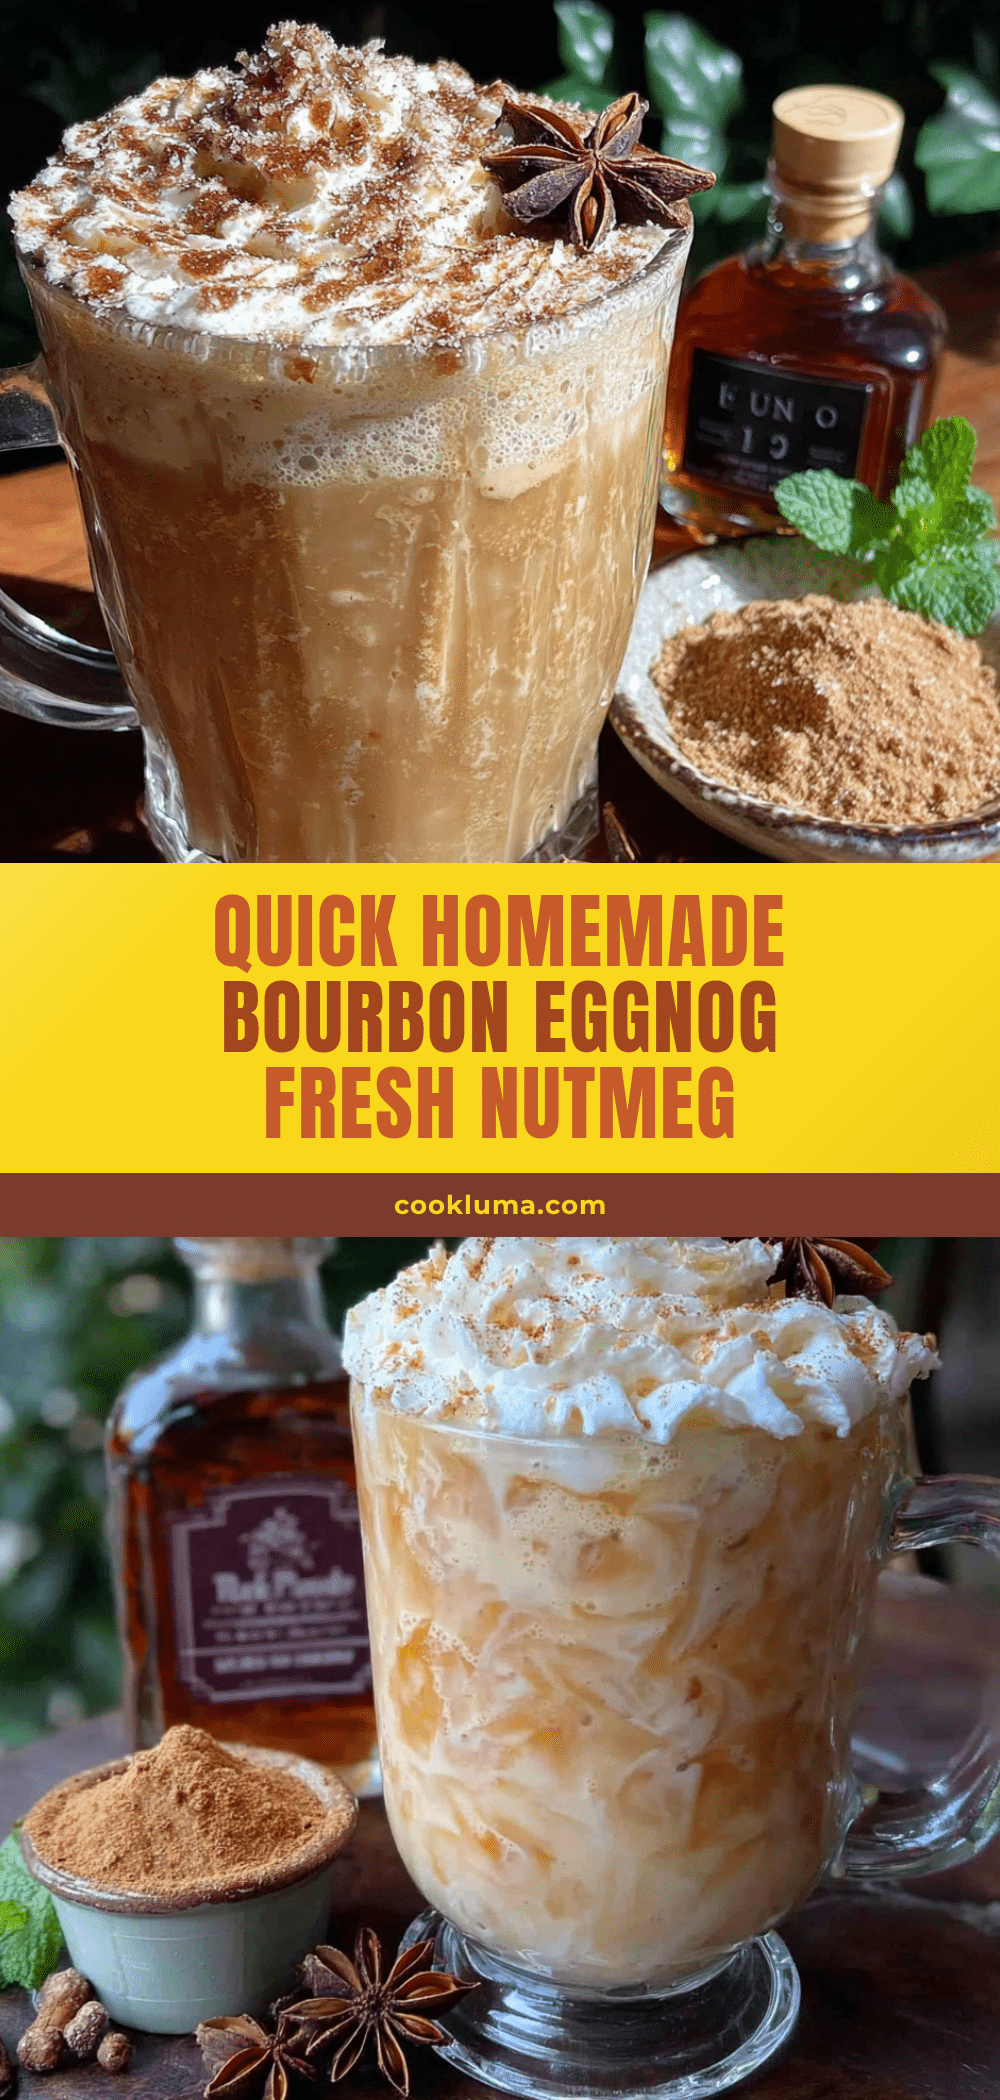
Bourbon Eggnog: Quick Homemade Recipe with Fresh Nutmeg
This quick and easy bourbon eggnog comes together in under ten minutes with simple ingredients like eggs, milk, cream, sugar, bourbon, and fresh nutmeg. It’s creamy, perfectly spiced, and far superior to store-bought versions.
- Prep Time: 10 minutes
- Cook Time: 0 minutes
- Total Time: 2 hours 10 minutes (includes chilling)
- Yield: 4 servings 1x
- Category: Beverage
- Cuisine: American
Ingredients
- 4 large eggs, at room temperature
- 1/3 cup granulated sugar
- 2 cups whole milk
- 1 cup heavy cream
- 1 teaspoon vanilla extract
- 1/2 teaspoon ground cinnamon (optional)
- 1/4 teaspoon ground cloves
- 1/4 teaspoon salt
- 1 to 1 1/2 cups bourbon (such as Maker’s Mark or Buffalo Trace)
- 1 whole nutmeg, for grating fresh
- Optional: cinnamon sticks, whipped cream, or a sprinkle of cinnamon for garnish
Instructions
- Whisk the eggs and sugar together in a large mixing bowl for about 2 minutes until pale yellow and slightly thick (ribbon stage). Alternatively, pulse in a blender 4-5 times on low.
- Add the milk and heavy cream. Whisk or blend until fully combined (about 15 seconds in a blender).
- Add vanilla extract, cinnamon, cloves, and salt. Whisk or pulse to combine. Taste and adjust sweetness or spice.
- Add 1 cup of bourbon and whisk gently. Taste and add more bourbon in 1/4 cup increments if desired (up to 1 1/2 cups total).
- Pour into a pitcher or jar and refrigerate for at least 2 hours, preferably overnight, to allow flavors to meld and texture to thicken.
- When ready to serve, pour eggnog into cups or mugs. Grate fresh nutmeg directly over each serving (about 4-5 passes with a microplane). Stir lightly or leave floating.
- Optional: Top with whipped cream or a cinnamon stick. Serve immediately.
Notes
For egg safety, use pasteurized eggs or gently heat the eggnog base to 160°F on the stove, then cool before adding bourbon. For a dairy-free version, substitute oat milk and coconut cream. Bourbon can be replaced with rye whiskey or brandy. Eggnog keeps in the fridge for 3-5 days and can be frozen for up to 3 months.
Nutrition
- Serving Size: 4 ounces
- Calories: 300
- Sugar: 18
- Sodium: 150
- Fat: 20
- Saturated Fat: 12
- Carbohydrates: 20
- Protein: 7
Keywords: bourbon eggnog, homemade eggnog, quick eggnog, fresh nutmeg, holiday drink, Christmas cocktail, easy eggnog recipe


