I was standing in the checkout line at the hardware store—of all places—when the woman behind me started talking about chicken. Not just any chicken, mind you. She was describing these garlic butter chicken thighs that her husband’s poker group apparently went nuts over every single time. I wasn’t looking for cooking advice from a stranger holding a chainsaw blade, but there I was, listening to her explain the whole thing while the cashier rang up my paintbrushes. She called them “the only thing that makes grown men fight over the last piece.” I mean, I had to try that.
She scribbled the basics on the back of a receipt—no measurements, just a few ingredients scrawled in messy handwriting. Honestly, I almost tossed it. But something about the way she talked about that crispy, golden skin and the buttery garlic sauce made me think she was onto something. So I took her word-for-word, filled in the blanks through trial and error, and ended up with a recipe that now has my own friends asking for the details every single time they come over.
These one-pan garlic butter chicken thighs are the kind of dish that makes you look like you spent hours in the kitchen when really, it all comes together on a single sheet pan or skillet. The skin gets shatteringly crisp, the meat stays juicy and tender, and that garlic butter sauce—oh, that sauce—it coats every bite with this rich, savory flavor that honestly ruins other chicken dishes for you. Maybe you’ve been there, standing over a hot stove, hoping tonight’s dinner will finally be the one that gets everyone talking. This is that dinner. Let me tell you how it all comes together.
Why You’ll Love This Recipe
I’ve tested this recipe at least a dozen times—for casual weeknight dinners, for birthday gatherings, even for a small holiday get-together where I was definitely trying to impress. Every single time, the pan comes back empty. That’s not an exaggeration. There’s something about the way the garlic butter sauce mingles with the pan drippings that creates this almost addictive quality. You’ll see what I mean after the first bite.
- One-Pan Wonder : Everything cooks in a single skillet or sheet pan, which means less cleanup and more time actually enjoying your company. That’s a win in my book.
- Crowd-Pleasing Flavor : The combination of garlic, butter, and perfectly seasoned chicken thighs appeals to just about everyone. Even picky eaters tend to go back for seconds.
- Impressive Without the Stress : This dish looks and tastes like something from a fancy restaurant, but it’s surprisingly straightforward to pull off. Your guests will think you slaved away—you don’t have to tell them otherwise.
- Perfect for Hosting : You can prep everything ahead of time, then pop it in the oven or on the stove right before your guests arrive. The aroma alone will set the mood for the whole evening.
- Versatile and Adaptable : Serve it with rice, crusty bread, roasted vegetables, or a simple salad. It plays well with just about any side dish you can think of.
What makes this version different from all the other garlic butter chicken recipes out there? It’s the technique. I spent a good amount of time figuring out how to get the skin perfectly crispy while keeping the meat incredibly moist. The secret is starting the chicken skin-side down in a cold pan, then letting it render slowly before cranking up the heat. It’s a small tweak, but it makes all the difference. Plus, the garlic butter sauce gets a little extra love with a splash of lemon juice and fresh herbs at the end—it cuts through the richness and keeps every bite feeling bright.
This recipe isn’t just good—it’s the kind that makes you close your eyes after the first bite. It’s comfort food that feels special enough for a dinner party, but simple enough that you’ll find yourself making it on random Tuesday nights too. That’s the sweet spot, honestly.
What Ingredients You Will Need
This recipe relies on simple, everyday ingredients that come together to create something truly memorable. Most of these are likely already in your kitchen, which makes this dish perfect for last-minute hosting situations.
- Chicken Thighs : 6 to 8 bone-in, skin-on chicken thighs (about 2 to 2.5 pounds total). The bone keeps the meat juicy during cooking, and the skin crisps up beautifully. If you can only find boneless, skinless thighs, the cook time will be shorter—about 20 to 25 minutes—but you’ll miss out on that crispy skin magic.
- Unsalted Butter : 4 tablespoons (half a stick), softened. I prefer unsalted so I can control the salt level myself. Kerrygold or any European-style butter adds extra richness, but standard butter works perfectly fine.
- Garlic : 6 to 8 cloves, minced. Fresh garlic is non-negotiable here. The pre-minced stuff in a jar just doesn’t have the same punch. Take the extra minute to mince it yourself—your taste buds will thank you.
- Olive Oil : 2 tablespoons. This helps the butter brown without burning, since butter alone has a lower smoke point. A good extra virgin olive oil adds a subtle fruity note.
- Lemon Juice : 2 tablespoons, freshly squeezed. Bottled lemon juice tastes flat and metallic. Grab a fresh lemon and roll it on the counter before juicing to get the most out of it.
- Chicken Broth : 1/2 cup. Low-sodium is best so you can adjust the saltiness. Homemade broth would be amazing here, but store-bought works great in a pinch.
- Fresh Herbs : A small handful of fresh parsley or thyme, chopped. Parsley adds a fresh, clean finish, while thyme brings an earthy, almost floral note. Use whichever you prefer or a combination of both.
- Salt and Black Pepper : To taste. I recommend kosher salt for its clean flavor and easy pinchability. Freshly cracked black pepper makes a noticeable difference.
- Paprika : 1 teaspoon. Smoked paprika adds a lovely depth, but sweet paprika works too. This isn’t just for color—it adds a subtle warmth that complements the garlic butter beautifully.
- Garlic Powder : 1/2 teaspoon. Yes, we’re using fresh garlic too. The powder reinforces the garlic flavor in a different way, creating a more complex overall taste.
- Onion Powder : 1/2 teaspoon. It rounds out the savory notes without screaming “onion.” A little goes a long way.
- Red Pepper Flakes : 1/4 teaspoon (optional). If you like a tiny kick of heat, this is your friend. It doesn’t make the dish spicy—it just wakes up the other flavors.
For the garlic butter sauce, I recommend using a good-quality butter. I’ve tried this with cheaper margarine-style spreads, and the sauce just doesn’t come together the same way. Real butter emulsifies beautifully with the broth and lemon juice, creating that silky, luxurious texture that makes this dish so special.
One ingredient selection tip: look for chicken thighs that have a good amount of fat on them. That fat renders down during cooking and keeps the meat incredibly moist. If the thighs look too lean, they might dry out before the skin crisps up. Also, let your chicken thighs sit at room temperature for about 20 minutes before cooking—this helps them cook more evenly.
Equipment Needed
You don’t need a fancy kitchen to pull this off. Here’s what you’ll need:
- Large Oven-Safe Skillet : A 12-inch cast iron skillet is my go-to for this recipe. It heats evenly, retains heat beautifully, and goes from stovetop to oven without any fuss. If you don’t have cast iron, any heavy-bottomed oven-safe skillet will work—stainless steel or enameled cast iron are great options.
- Tongs : A good pair of metal tongs makes flipping the chicken thighs much easier than trying to use a spatula. Look for ones with a nice grip.
- Meat Thermometer : This isn’t strictly necessary, but it takes the guesswork out of checking doneness. Chicken thighs are safe at 165°F, but I prefer pulling them at 175°F to 185°F—the higher temperature breaks down the connective tissue and makes the meat even more tender.
- Cutting Board and Chef’s Knife : For mincing the garlic and chopping the herbs. A sharp knife makes this part quick and painless.
- Small Bowl : For mixing the garlic butter compound. A cereal bowl works fine.
- Measuring Spoons and Cups : For accurate measurements, especially for the broth and lemon juice.
- Paper Towels : For patting the chicken thighs dry. This step is crucial for getting that crispy skin, so don’t skip it.
If you don’t have an oven-safe skillet, you can transfer the chicken to a baking dish after searing and finish it in the oven. It’s an extra step, but it works in a pinch. I’ve also made this entirely on the stovetop by covering the skillet with a lid and cooking on low heat for about 30 minutes. The skin won’t be as crispy, but the flavor is still there.
One thing I’ve learned the hard way: avoid using non-stick skillets for this recipe. The high heat needed to crisp the skin can damage the non-stick coating, and you won’t get those lovely browned bits on the bottom of the pan that make the sauce so flavorful.
Preparation Method
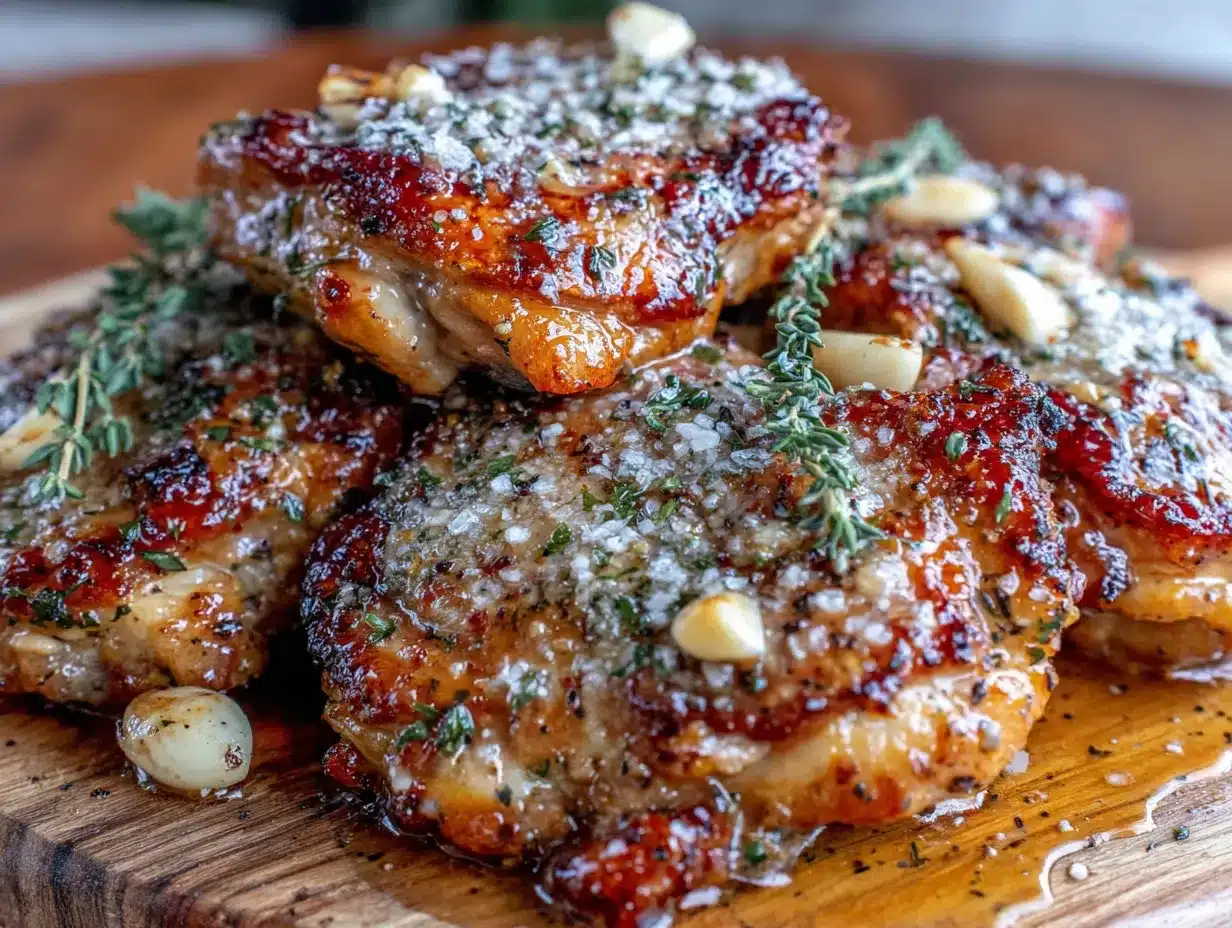
Let’s walk through this step by step. I’ve included time estimates and sensory cues so you know exactly what to look for at each stage.
- Prep the Chicken (10 minutes) : Pat the chicken thighs dry with paper towels. This is the most important step for crispy skin—moisture is the enemy of crispiness. Season both sides generously with salt, pepper, paprika, garlic powder, and onion powder. Don’t be shy with the seasoning; a lot of it will stay in the pan. Let the chicken sit at room temperature while you prepare the garlic butter.
- Make the Garlic Butter (5 minutes) : In a small bowl, combine the softened butter, minced garlic, red pepper flakes (if using), and a pinch of salt. Mash it together with a fork until everything is well incorporated. Set this aside at room temperature—cold butter won’t spread as easily over the hot chicken later.
- Preheat the Oven (5 minutes) : Set your oven to 400°F (200°C). Position a rack in the center of the oven. If you’re using a cast iron skillet, place it on the stovetop over medium-low heat.
- Start the Chicken Skin-Side Down (15 minutes) : Add the olive oil to the cold skillet and place the chicken thighs in the pan skin-side down. Here’s the trick: start with the pan cold. As the pan gradually heats up, the fat under the skin renders slowly, which gives you that incredibly crispy, almost crackling-like texture. Cook over medium-low heat for about 12 to 15 minutes. You’ll hear a gentle sizzle—that’s good. The skin should turn deep golden brown and release easily from the pan when it’s ready. If it sticks, let it cook another minute or two.
- Flip and Sear the Other Side (5 minutes) : Using your tongs, carefully flip each chicken thigh. The skin side should be beautifully browned and crispy. Cook for another 4 to 5 minutes on the second side. The chicken should look golden all over.
- Add the Garlic Butter and Broth (2 minutes) : Pour off any excess fat from the pan, leaving about 1 tablespoon. Add the garlic butter mixture to the pan and let it melt, scraping up any browned bits from the bottom—that’s where all the flavor is. Pour in the chicken broth and lemon juice, and give everything a gentle stir. The liquid should bubble immediately.
- Finish in the Oven (20 to 25 minutes) : Transfer the skillet to the preheated oven. Roast until the chicken reaches an internal temperature of 175°F to 185°F (80°C to 85°C) when inserted into the thickest part of the thigh. The skin should be deep golden and the sauce should be bubbling and slightly reduced. If you don’t have a thermometer, cut into the thickest thigh—the juices should run clear, not pink.
- Rest and Garnish (5 minutes) : Remove the skillet from the oven and let the chicken rest for 5 minutes. This allows the juices to redistribute throughout the meat. Sprinkle the fresh herbs over the top and give the pan a gentle swirl to incorporate them into the sauce.
- Serve Immediately : Spoon some of that glorious garlic butter sauce over each chicken thigh before serving. The sauce will be rich, buttery, and packed with garlic flavor—it’s the star of the show.
A few notes from my own kitchen disasters: the first time I made this, I rushed the skin-searing step and ended up with pale, rubbery skin. Don’t be like me. Be patient. That low-and-slow initial sear is what makes the magic happen. Also, if you notice the butter starting to brown too quickly in the oven, you can loosely tent the skillet with foil. But honestly, a little browning adds a nutty flavor that’s absolutely delicious.
Cooking Tips & Techniques
After making this recipe more times than I can count, I’ve picked up a few tricks that make a real difference. Here are the ones worth knowing:
Start with a Cold Pan : I mentioned this earlier, but it bears repeating. Placing the chicken skin-side down in a cold pan and letting the heat come up slowly renders the fat gradually. This gives you that ultra-crispy skin that shatters when you bite into it. If you drop the chicken into a hot pan, the skin sears too quickly and the fat doesn’t have time to render.
Don’t Crowd the Pan : If you’re making a larger batch for a crowd, use two skillets or work in batches. Overcrowding the pan lowers the temperature and causes the chicken to steam instead of sear. You’ll end up with soggy skin and pale meat—not what we’re going for.
Save the Pan Drippings : Those browned bits stuck to the bottom of the pan after searing are pure gold. When you add the broth and lemon juice, scrape them up with a wooden spoon. That’s where the deep, savory flavor in the sauce comes from. Don’t waste it.
Use a Meat Thermometer : I know I sound like a broken record, but a meat thermometer is worth its weight in gold. Chicken thighs are forgiving, but they can still dry out if overcooked. Pull them at 175°F for perfectly juicy meat. If you don’t have one, look for the juices running clear and the meat pulling away from the bone slightly.
Let the Chicken Rest : I’ve made the mistake of cutting into the chicken right out of the oven, and the juices ran all over the cutting board. Letting it rest for 5 minutes allows those juices to redistribute back into the meat, keeping every bite moist and flavorful.
Double the Sauce : If you’re serving a crowd, consider making a double batch of the garlic butter sauce. It’s that good, and people will want extra to drizzle over their rice or bread. Just keep the broth-to-butter ratio the same.
One failure I’ll admit to: I once tried to skip the patting-dry step because I was in a hurry. The skin came out patchy and chewy. It was a sad dinner. Learn from my mistakes—take the extra 30 seconds to dry those thighs thoroughly.
Variations & Adaptations
This recipe is wonderfully flexible. Here are some variations I’ve tried and loved:
Herb-Infused Version : Add a few sprigs of fresh rosemary or thyme to the skillet before roasting. The herbs infuse the sauce with an earthy, aromatic flavor that’s absolutely beautiful. I tried this last Thanksgiving as a side dish, and it was a hit.
Spicy Kick : Increase the red pepper flakes to 1/2 teaspoon or add a finely chopped serrano pepper along with the garlic. The heat builds slowly and complements the richness of the butter perfectly. My spice-loving friends request this version every time they come over.
Lemon-Herb Variation : Add the zest of one lemon along with the juice, and toss in some fresh thyme leaves. The extra citrus brightness cuts through the butter and makes the dish feel lighter—perfect for spring or summer gatherings.
Creamy Garlic Butter : After removing the chicken from the skillet, stir in 1/4 cup of heavy cream or half-and-half to the sauce. Simmer for 2 to 3 minutes until thickened. This creates a luscious, creamy sauce that’s incredible over mashed potatoes or pasta.
Dietary Adaptations : For a dairy-free version, substitute the butter with a high-quality vegan butter or ghee (if you tolerate it). The flavor will be slightly different, but still delicious. For a lower-fat option, use boneless, skinless chicken thighs and reduce the butter to 2 tablespoons—the cooking time will be shorter, so watch carefully.
Oven-to-Table Elegance : If you’re serving this at a dinner party, transfer the chicken to a serving platter and pour the sauce over the top. Garnish with fresh parsley and lemon slices for a restaurant-quality presentation. Your guests will be impressed before they even take a bite.
Serving & Storage Suggestions
These garlic butter chicken thighs are best served hot, straight from the skillet. The crispy skin is at its peak right after resting, so don’t let them sit too long.
What to Serve Alongside : This dish pairs beautifully with so many sides. For a complete meal, try serving it with:
- Fluffy white rice or buttery mashed potatoes to soak up the sauce
- Crusty bread for dipping—sourdough or a good baguette works wonders
- Roasted vegetables like asparagus, green beans, or broccoli
- A simple green salad with a lemon vinaigrette to balance the richness
- Creamy polenta or soft grits for a Southern-inspired twist
Presentation Tips for Hosting : When I’m having people over, I like to serve the chicken directly from the cast iron skillet. It looks rustic and inviting. I’ll scatter some fresh parsley and lemon wedges around the edges for color. If I’m feeling fancy, I’ll drizzle a little extra garlic butter sauce over the top right before bringing it to the table.
Storage Instructions : Leftovers can be stored in an airtight container in the refrigerator for up to 4 days. The flavors actually deepen overnight, so leftovers are often even better the next day. To reheat, place the chicken in a 350°F oven for 10 to 15 minutes, or until warmed through. You can also reheat in a skillet over medium-low heat with a splash of chicken broth to refresh the sauce.
Freezing Tips : This recipe freezes surprisingly well. Let the chicken cool completely, then transfer to a freezer-safe container or bag. It will keep for up to 3 months. To serve, thaw overnight in the refrigerator and reheat in a 350°F oven until hot and bubbly. The skin won’t be quite as crispy after freezing, but the flavor will still be excellent.
Make-Ahead Strategy for Hosting : You can prepare the garlic butter compound up to 3 days in advance and store it in the refrigerator. Season the chicken thighs and keep them covered in the fridge for up to 24 hours. When your guests arrive, all you have to do is sear and roast—the hard work is already done.
Nutritional Information & Benefits
Chicken thighs are often overlooked in favor of chicken breasts, but they’re actually a fantastic choice for both flavor and nutrition. Here’s a general estimate per serving (based on one chicken thigh with sauce):
- Calories : Approximately 350 to 400
- Protein : 25 to 30 grams
- Fat : 25 to 30 grams
- Carbohydrates : 2 to 4 grams
- Fiber : 0 grams
- Sugar : 1 gram
Chicken thighs are a great source of high-quality protein, which supports muscle health and keeps you feeling full and satisfied. They also contain important nutrients like selenium, phosphorus, and B vitamins, including niacin and B6, which play a role in energy metabolism.
The butter in this recipe adds richness, but it also provides fat-soluble vitamins like vitamin A and vitamin E. If you’re watching your saturated fat intake, you can reduce the butter to 2 tablespoons or substitute with olive oil for a lighter version.
This recipe is naturally low in carbohydrates and can fit into a keto or low-carb lifestyle. For those with dietary restrictions, it’s gluten-free as written, and can easily be made dairy-free with the substitutions mentioned earlier.
One note: the sodium content will vary depending on how much salt you use and whether you use low-sodium broth. If you’re watching your salt intake, go easy on the added salt and use unsalted butter.
Conclusion
These one-pan garlic butter chicken thighs have become my secret weapon for hosting. They’re the dish I turn to when I want to impress without spending all day in the kitchen. The crispy skin, the juicy meat, that incredible garlic butter sauce—it all comes together in a way that feels special but is actually surprisingly simple.
I love that this recipe lets me be a relaxed host. While the chicken roasts in the oven, I can actually talk to my guests, set the table, and pour myself a glass of wine. By the time I pull that sizzling skillet out of the oven, everyone’s already gathering around the table, drawn by the aroma. That’s the kind of cooking I want to share with you.
Try this recipe for your next get-together, whether it’s a casual dinner with friends or a holiday feast. Customize it with your favorite herbs or spice level—make it your own. And when your guests go back for seconds (trust me, they will), I’d love to hear about it. Leave a comment below and let me know how it turned out, or share your own twist on this recipe. Happy cooking!
Frequently Asked Questions
Can I use boneless, skinless chicken thighs for this recipe?
Yes, you can. The cooking time will be shorter—about 20 to 25 minutes total. The meat will still be juicy, but you’ll miss out on that crispy skin. If you go this route, consider adding a little extra butter to compensate for the missing fat.
How do I know when the chicken is fully cooked?
The safest way is to use a meat thermometer. Chicken thighs are safe to eat at 165°F, but they’re most tender and juicy at 175°F to 185°F. If you don’t have a thermometer, cut into the thickest part of the thigh—the juices should run clear, not pink.
Can I make this recipe ahead of time?
Absolutely. You can season the chicken and prepare the garlic butter up to 24 hours in advance. When you’re ready to cook, just follow the recipe as written. Leftovers also keep well for up to 4 days in the refrigerator.
What if I don’t have an oven-safe skillet?
No problem. Sear the chicken in any skillet, then transfer it to a baking dish. Add the garlic butter, broth, and lemon juice to the baking dish, and roast in the oven as directed. The flavor will be just as good.
Can I freeze the leftovers?
Yes, this recipe freezes beautifully. Let the chicken cool completely, then store in a freezer-safe container for up to 3 months. Thaw overnight in the refrigerator and reheat in a 350°F oven until warmed through. The skin won’t be as crispy, but the flavor will still be delicious.
Pin This Recipe!
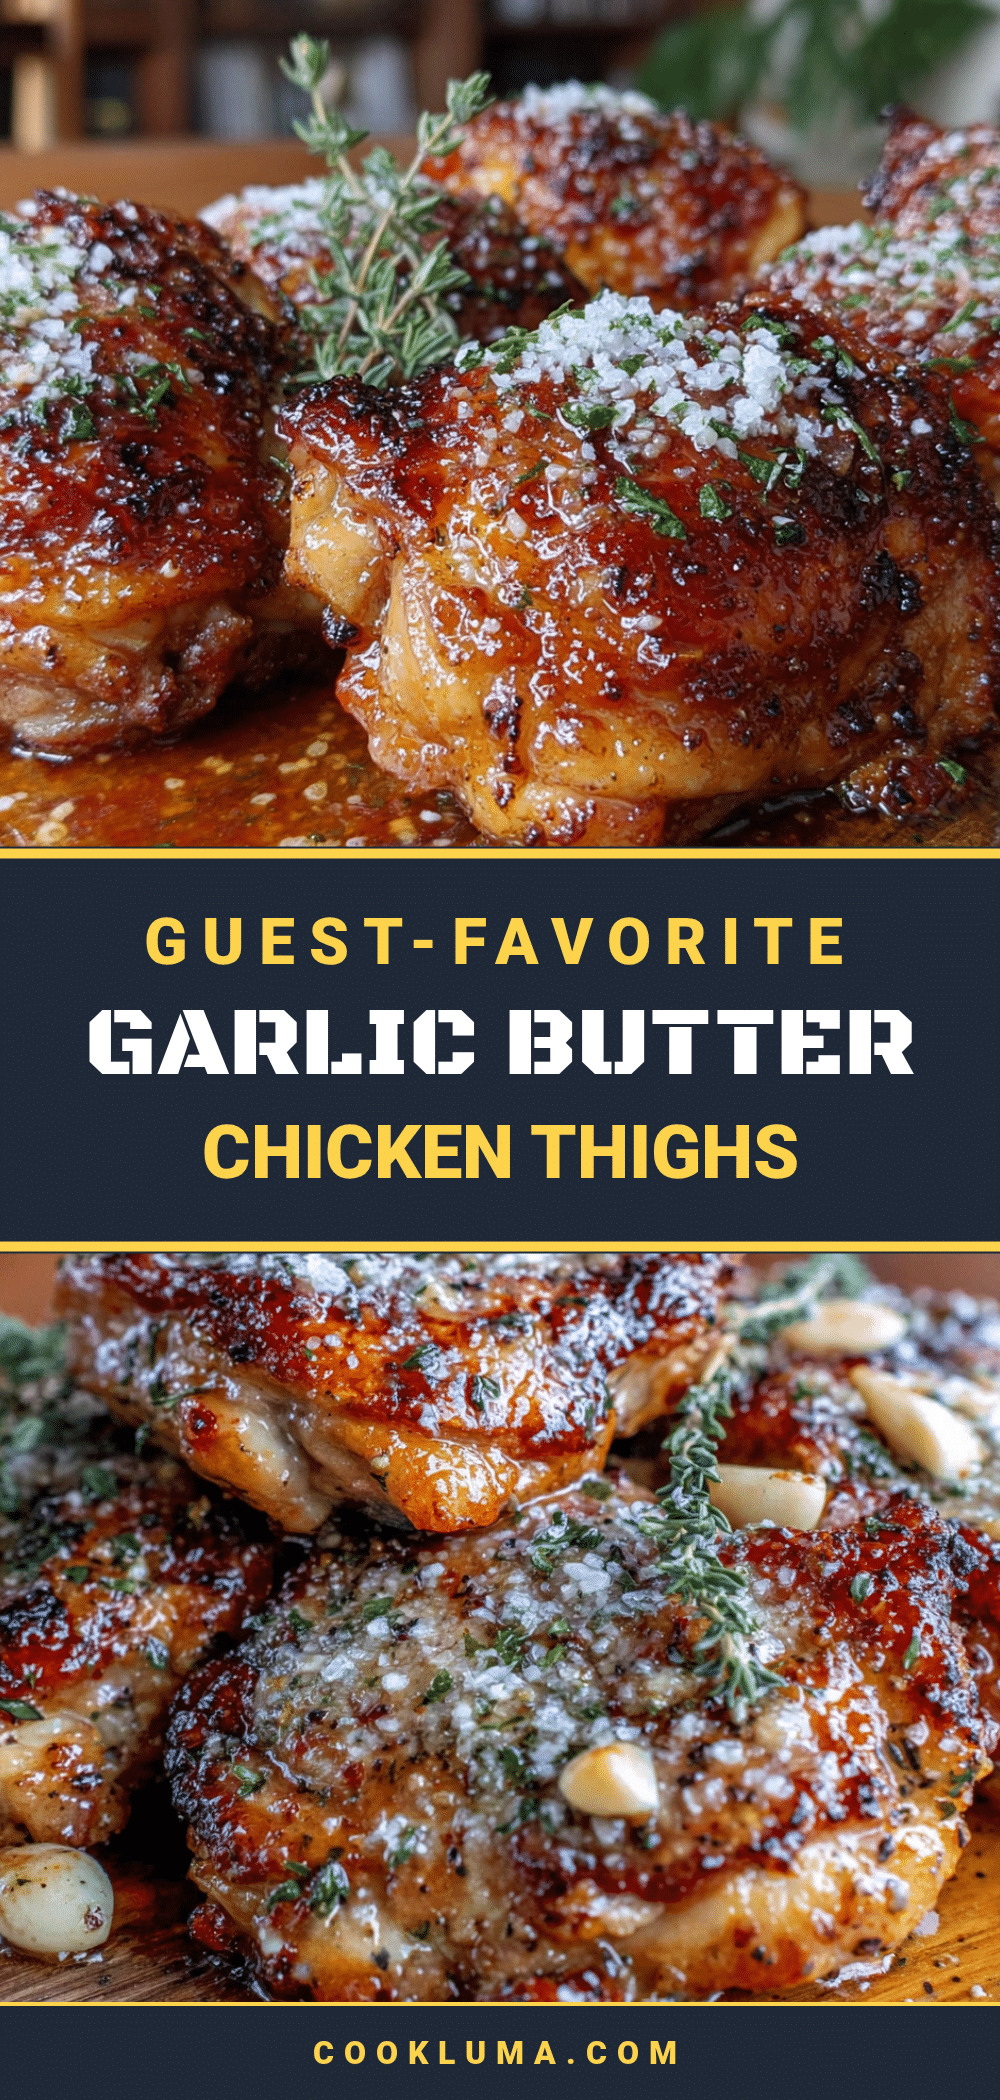
Best One-Pan Garlic Butter Chicken Thighs Recipe

These one-pan garlic butter chicken thighs are the kind of dish that makes you look like you spent hours in the kitchen when really, it all comes together on a single sheet pan or skillet. The skin gets shatteringly crisp, the meat stays juicy and tender, and that garlic butter sauce coats every bite with rich, savory flavor.
- Prep Time: 15 minutes
- Cook Time: 30 minutes
- Total Time: 45 minutes
- Yield: 4 servings 1x
- Category: Main Course
- Cuisine: American
Ingredients
- 6 to 8 bone-in, skin-on chicken thighs (about 2 to 2.5 pounds total)
- 4 tablespoons unsalted butter, softened
- 6 to 8 cloves garlic, minced
- 2 tablespoons olive oil
- 2 tablespoons freshly squeezed lemon juice
- 1/2 cup low-sodium chicken broth
- 1 small handful fresh parsley or thyme, chopped
- Salt and black pepper to taste
- 1 teaspoon paprika (smoked or sweet)
- 1/2 teaspoon garlic powder
- 1/2 teaspoon onion powder
- 1/4 teaspoon red pepper flakes (optional)
Instructions
- Prep the Chicken (10 minutes): Pat the chicken thighs dry with paper towels. Season both sides generously with salt, pepper, paprika, garlic powder, and onion powder. Let the chicken sit at room temperature while you prepare the garlic butter.
- Make the Garlic Butter (5 minutes): In a small bowl, combine the softened butter, minced garlic, red pepper flakes (if using), and a pinch of salt. Mash together with a fork until well incorporated. Set aside at room temperature.
- Preheat the Oven (5 minutes): Set your oven to 400°F (200°C). Position a rack in the center of the oven. If using a cast iron skillet, place it on the stovetop over medium-low heat.
- Start the Chicken Skin-Side Down (15 minutes): Add the olive oil to the cold skillet and place the chicken thighs skin-side down. Cook over medium-low heat for about 12 to 15 minutes until the skin turns deep golden brown and releases easily from the pan.
- Flip and Sear the Other Side (5 minutes): Carefully flip each chicken thigh using tongs. Cook for another 4 to 5 minutes on the second side until golden all over.
- Add the Garlic Butter and Broth (2 minutes): Pour off excess fat, leaving about 1 tablespoon. Add the garlic butter mixture and let it melt, scraping up browned bits from the bottom. Pour in the chicken broth and lemon juice, and stir gently.
- Finish in the Oven (20 to 25 minutes): Transfer the skillet to the preheated oven. Roast until the chicken reaches an internal temperature of 175°F to 185°F (80°C to 85°C). The skin should be deep golden and the sauce bubbling.
- Rest and Garnish (5 minutes): Remove from the oven and let the chicken rest for 5 minutes. Sprinkle fresh herbs over the top and swirl the pan to incorporate.
- Serve Immediately: Spoon the garlic butter sauce over each chicken thigh before serving.
Notes
Start with a cold pan for the crispiest skin. Don’t crowd the pan. Save the pan drippings for the sauce. Use a meat thermometer for perfect doneness. Let the chicken rest before serving. Double the sauce if serving a crowd.
Nutrition
- Serving Size: 1 chicken thigh with
- Calories: 375
- Sugar: 1
- Sodium: 450
- Fat: 28
- Saturated Fat: 12
- Carbohydrates: 3
- Protein: 28
Keywords: garlic butter chicken thighs, one-pan chicken, crispy chicken thighs, easy chicken recipe, weeknight dinner, chicken thighs with garlic butter


