My daughter asked why I couldn’t just mash the bananas right in the bowl with the flour. I started to explain why that wouldn’t work — then stopped. Honestly, I had no good reason. I’d just always done it the other way, dirtying a second bowl like some kind of cooking rule I’d never questioned. That night, I was tired. It was a Tuesday. The kitchen was a mess from a long day. So I shrugged, handed her the fork, and said, “Go for it.” She mashed those bananas right into the dry ingredients, and I braced for disaster. The batter looked lumpy and wrong. I was sure we’d be ordering pizza. But I poured it into the pan anyway, slid it into the oven, and waited. Thirty-five minutes later, the smell pulled me back. I pulled out the most tender, perfectly domed loaf of banana bread I’d ever made. The crumb was moist, the flavor was pure banana, and there was exactly one bowl in the sink. I stood there, fork in hand, eating a slice still warm from the pan, and I had to admit it — she was right. I’d been overcomplicating it for years. Now, this one-bowl, no-mixer banana bread is the only version I make. It’s the recipe I turn to when I’m short on time, short on energy, and just need something good to come out of the oven. Maybe you’ve been there, staring at those spotty bananas on the counter, knowing you should do something with them but dreading the cleanup. Let me tell you — this is the answer.
Why You’ll Love This Recipe
This isn’t just another banana bread recipe. I’ve tested this method more times than I can count, tweaking the ratios and the technique to get it just right. It’s the one I use when I’m teaching a friend how to bake for the first time, because it’s basically foolproof. Here’s why it stands out:
- Quick & Easy: From start to oven in under 10 minutes. No mixer, no sifting, no fuss. Perfect for a busy weeknight when you need a little comfort.
- Simple Ingredients: You probably have everything in your pantry right now. No buttermilk, no sour cream, no special flours. Just the basics.
- Perfect for Using Up Bananas: This is the recipe you turn to when those bananas on the counter have seen better days. It’s a delicious solution to a common problem.
- Crowd-Pleaser: I’ve brought this to potlucks and family dinners, and it disappears every single time. Kids love it, adults love it, and nobody guesses it was made in one bowl.
- Unbelievably Moist: The texture is the real star here. It’s dense but tender, with a crumb that’s almost custard-like. It stays moist for days — if it lasts that long.
What makes this different from every other banana bread out there? It’s the technique of mashing the bananas directly into the dry ingredients. I know it sounds wrong, but trust me — it creates a batter that’s perfectly combined without overmixing, which is the secret to a tender loaf. No rubbery texture here. Just pure, simple banana bread at its best.
What Ingredients You Will Need
This recipe uses simple, wholesome ingredients to deliver big flavor without any fuss. These are the kind of things you probably already have in your kitchen, which makes this the perfect last-minute bake.
- Ripe Bananas (3 medium, about 1 ½ cups mashed): The riper, the better. Look for bananas with lots of brown spots — they’re sweeter and easier to mash. If your bananas aren’t quite there yet, you can pop them in a 300°F oven for 10-15 minutes to soften and sweeten them up.
- All-Purpose Flour (1 ½ cups, 190g): I use unbleached all-purpose flour for this recipe. It gives the bread a nice, tender structure. You can substitute a good gluten-free all-purpose blend if needed, but the texture will be slightly different.
- Granulated Sugar (¾ cup, 150g): Regular white sugar works perfectly. It adds sweetness and helps create that golden-brown crust. You can reduce it to ½ cup if you prefer a less sweet bread, or swap in coconut sugar for a deeper flavor.
- Unsalted Butter (⅓ cup, 75g, melted and slightly cooled): Melted butter is key here — it mixes right into the batter without needing a mixer. I prefer unsalted so I can control the salt level. If you only have salted butter, just reduce the added salt to ¼ teaspoon.
- Eggs (2 large, room temperature): Room-temperature eggs incorporate more easily into the batter. If you forgot to take them out of the fridge, place them in a bowl of warm water for 5 minutes.
- Vanilla Extract (1 teaspoon): Pure vanilla extract adds warmth and depth. I always recommend the real stuff over imitation, but in a pinch, imitation will work.
- Baking Soda (1 teaspoon): This is our leavener. Make sure it’s fresh — if it doesn’t fizz when you add a drop of vinegar, it’s time to get a new box.
- Salt (½ teaspoon): Salt balances the sweetness and enhances the banana flavor. Don’t skip it!
- Optional Add-Ins (½ cup): Chocolate chips, chopped walnuts, or pecans are all excellent. I’m partial to dark chocolate chips myself — they make it feel like dessert.
Equipment Needed
One of the best things about this recipe is how little equipment it requires. You don’t need a stand mixer, a hand mixer, or even a whisk if you don’t have one. Here’s what you’ll need:
- A Large Mixing Bowl: This is your main tool. Any large bowl will do. I use a sturdy ceramic one, but glass or metal works just as well.
- A Fork or Potato Masher: For mashing the bananas. A fork works perfectly, but a potato masher makes it even faster. I’ve used both, and honestly, the fork gives me more control.
- A 9×5-Inch Loaf Pan: This is the standard size for banana bread. If you use an 8×4-inch pan, you’ll need to increase the baking time by about 5-10 minutes. If you use a smaller pan, the batter might overflow.
- Parchment Paper (Optional but Recommended): Lining the pan with parchment paper makes lifting the bread out so much easier. I always do it now after one too many stuck loaves.
- Measuring Cups and Spoons: For accuracy. I recommend using the spoon-and-level method for flour: spoon it into the measuring cup, then level it off with a knife.
- A Rubber Spatula: For scraping down the sides of the bowl and getting every last bit of batter into the pan. A silicone spatula is my go-to.
Preparation Method
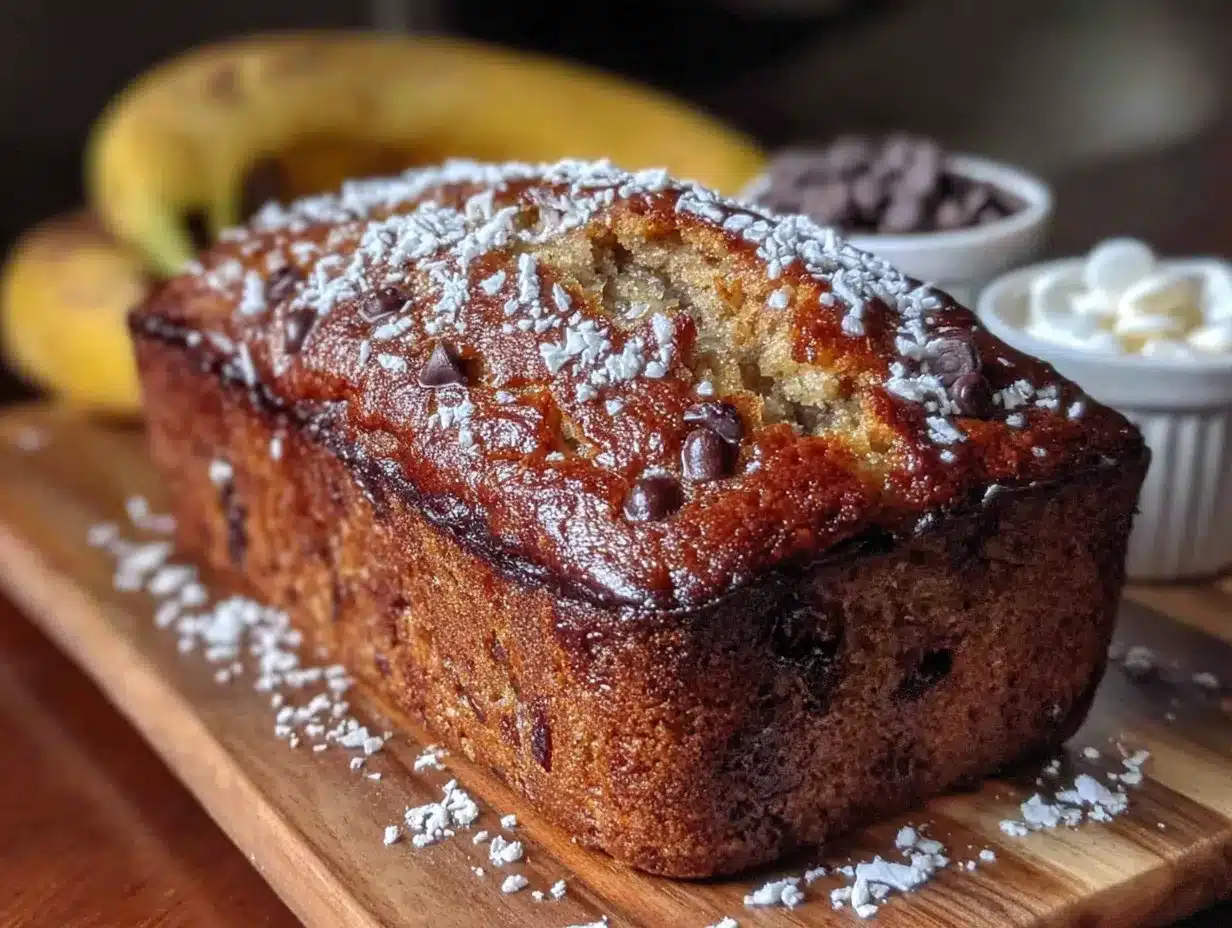
This is where the magic happens. Follow these steps, and you’ll have a perfect loaf of banana bread every single time. No mixer required.
- Preheat your oven to 350°F (175°C). Position a rack in the center of the oven. While it’s heating, line your loaf pan with a strip of parchment paper, leaving some overhang on the long sides. This will be your “handle” for lifting the bread out later. Lightly grease the exposed sides of the pan with butter or non-stick spray.
- Mash the bananas directly into your large mixing bowl. Peel the bananas and drop them into the bowl. Use a fork or potato masher to mash them until they’re mostly smooth with a few small lumps. Don’t over-mash them into a liquid — you want some texture. This should take about 30 seconds.
- Add the melted butter, sugar, eggs, and vanilla extract right on top of the bananas. Stir everything together with a rubber spatula or wooden spoon until it’s well combined. The mixture will look a little speckled from the bananas, and that’s perfect. It should be smooth and glossy.
- Now, add the flour, baking soda, and salt directly to the wet ingredients. Don’t sift. Don’t mix them in a separate bowl. Just dump them right on top. This is the part that feels wrong, but I promise it works. Use your spatula to fold the dry ingredients into the wet, stirring gently until just combined. A few streaks of flour are okay — overmixing will make the bread tough. Stop as soon as you don’t see any more dry flour.
- If you’re using add-ins, fold them in now. Gently stir in your chocolate chips, nuts, or whatever you’ve chosen. Don’t overmix — just a few folds until they’re evenly distributed.
- Pour the batter into your prepared loaf pan. Use the spatula to scrape every bit out of the bowl. Spread the batter evenly in the pan. It will be thick — that’s good. Give the pan a gentle tap on the counter to release any air bubbles.
- Bake for 50-60 minutes. Start checking at 50 minutes. The bread is done when a toothpick inserted into the center comes out clean or with just a few moist crumbs. The top should be a deep golden brown and cracked in the middle — that’s the signature look of a good banana bread. If the top is browning too quickly, tent the pan loosely with foil for the last 10-15 minutes.
- Let the bread cool in the pan for 10 minutes. Then use the parchment paper to lift it out onto a wire rack. Let it cool completely before slicing — I know it’s hard to wait, but slicing it warm can make it crumbly. If you can’t resist, at least wait 20 minutes.
Cooking Tips & Techniques
I’ve made this recipe more times than I can count, and I’ve learned a few things along the way. Here are my best tips for getting it perfect every time.
- Don’t overmix the batter. This is the most common mistake. When you mix flour with liquid, gluten develops. Overmixing creates too much gluten, which makes the bread tough and dense. Stir just until the flour disappears — a few lumps are fine.
- Use a kitchen scale for accuracy. I know it’s an extra step, but weighing your flour (190g) is the most reliable way to get consistent results. If you’re using measuring cups, spoon the flour into the cup and level it off — don’t scoop directly from the bag.
- Let your bananas get really ripe. The best banana bread comes from bananas that are almost black. They’re sweeter, softer, and have a more intense banana flavor. If you’re impatient, you can speed things up by baking them in a 300°F oven for 10-15 minutes.
- Check for doneness with a toothpick, not the clock. Ovens vary, and so do loaf pans. The toothpick test is more reliable than any timer. If the toothpick comes out clean, it’s done.
- I once forgot the sugar entirely. It was a Tuesday night, I was distracted, and I poured the batter into the pan before realizing my mistake. I tried to stir it in, but it was too late. The bread was edible but sad — flat and not sweet. Now I always double-check my ingredients before I start mixing.
Variations & Adaptations
This recipe is incredibly versatile. Here are a few ways to make it your own.
- Chocolate Chip Banana Bread: My personal favorite. Fold in ½ cup of semi-sweet or dark chocolate chips. The warm, melty pockets of chocolate are pure heaven.
- Vegan Banana Bread: Substitute the butter with melted coconut oil or vegan butter. Use two flax eggs (2 tablespoons ground flaxseed mixed with 6 tablespoons water) instead of regular eggs. The texture will be a bit denser, but it’s still delicious.
- Gluten-Free Banana Bread: Swap the all-purpose flour with a good 1:1 gluten-free baking flour blend. I’ve had good results with the King Arthur brand. Add an extra tablespoon of flour to help with structure.
- Spiced Banana Bread: Add 1 teaspoon of cinnamon, ½ teaspoon of nutmeg, and ¼ teaspoon of ginger to the dry ingredients. It gives the bread a warm, cozy flavor that’s perfect for fall.
- Peanut Butter Swirl Banana Bread: After pouring the batter into the pan, drop spoonfuls of peanut butter on top and swirl it in with a knife. It adds a salty, nutty contrast to the sweet banana.
Serving & Storage Suggestions
Banana bread is best when it’s served with a little love. Here’s how to enjoy it and keep it fresh.
Serving: Serve slices warm or at room temperature. I love it with a pat of butter melted on top, or spread with a little cream cheese for a tangy contrast. It’s perfect for breakfast with a cup of coffee, or as an afternoon snack with a glass of milk. To reheat individual slices, pop them in the toaster or microwave for 10-15 seconds.
Storage: Store the bread tightly wrapped in plastic wrap or in an airtight container at room temperature. It will stay moist for up to 4 days. The flavor actually improves on the second day — the banana flavor deepens as it sits. If you live in a humid climate, you can store it in the refrigerator to prevent mold.
Freezing: This bread freezes beautifully. Wrap the cooled loaf (or individual slices) tightly in plastic wrap, then in foil. Freeze for up to 3 months. To thaw, leave it on the counter for a few hours, or pop a frozen slice in the toaster for a quick treat.
Nutritional Information & Benefits
This banana bread is a treat, but it does have some redeeming qualities. Here’s the estimated nutritional breakdown per slice (based on 10 slices):
- Calories: 245
- Fat: 9g
- Carbohydrates: 38g
- Fiber: 2g
- Sugar: 18g
- Protein: 4g
Bananas are a good source of potassium, vitamin B6, and vitamin C. They also provide natural sweetness, which allows us to use less refined sugar. The eggs and butter add protein and healthy fats, making this a more satisfying snack than something made with processed oils. If you’re watching your sugar intake, you can reduce the sugar to ½ cup without sacrificing too much texture. This recipe is vegetarian and can easily be made dairy-free or vegan with the substitutions mentioned above.
Conclusion
This one-bowl banana bread is the recipe I keep coming back to, again and again. It’s simple, it’s forgiving, and it always delivers. It’s the kind of recipe that makes you feel like a good cook, even on a Tuesday night when you’re tired and the kitchen is a mess. I love that it uses up those sad bananas on the counter, and I love that it fills the house with that warm, comforting smell. I hope you give it a try, and I hope you make it your own. Add chocolate chips. Throw in some walnuts. Swirl in some peanut butter. Whatever you do, don’t overmix the batter. And when you take that first warm slice, let me know how it goes. Leave a comment below, share a photo, or tell me your favorite add-in. Happy baking!
Frequently Asked Questions
Can I use frozen bananas for this recipe?
Absolutely! Thaw them completely first, then drain off any excess liquid before mashing. Frozen bananas tend to be very watery, so removing that extra moisture helps keep the bread from getting soggy.
Why did my banana bread sink in the middle?
This usually happens when the bread is underbaked. Make sure you’re using the toothpick test, and that your oven is actually at 350°F. Opening the oven door too early can also cause it to sink.
Can I make this into muffins instead of a loaf?
Yes! Grease a 12-cup muffin tin and fill each cup about ¾ full. Bake at 350°F for 18-22 minutes, or until a toothpick comes out clean. You’ll get about 12 muffins.
How do I know when my bananas are ripe enough?
They should be mostly brown or black, with a soft, almost mushy texture. If they’re still yellow and firm, they won’t mash well and the bread won’t be as sweet or moist. You can speed up ripening by baking them at 300°F for 10-15 minutes.
Can I use whole wheat flour instead of all-purpose?
You can substitute up to half of the all-purpose flour with whole wheat flour for a heartier texture. Using 100% whole wheat will make the bread denser and drier, so I don’t recommend it unless you adjust the liquid.
Pin This Recipe!
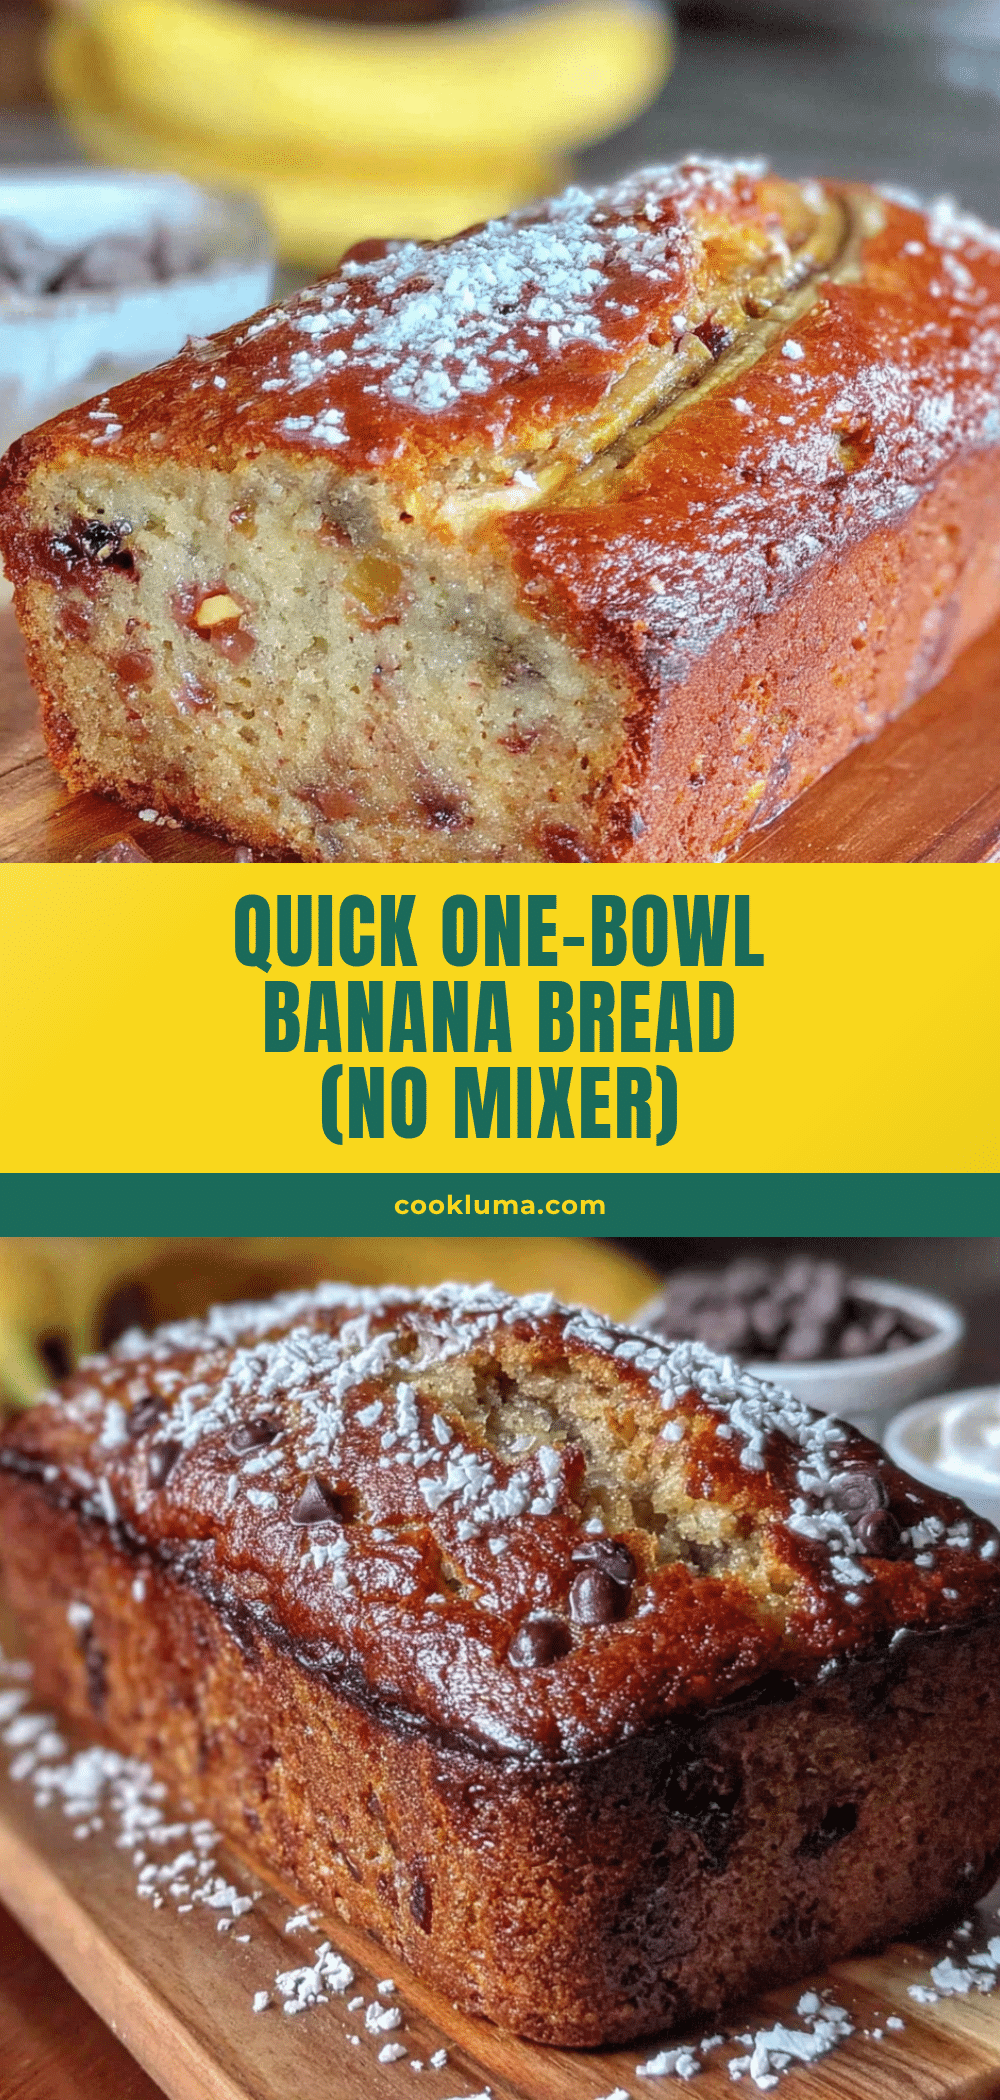
Best One-Bowl Banana Bread: Easy No-Mixer Recipe
This one-bowl, no-mixer banana bread is the only version I make. It’s the recipe I turn to when I’m short on time, short on energy, and just need something good to come out of the oven.
- Prep Time: 10 minutes
- Cook Time: 50-60 minutes
- Total Time: 1 hour 10 minutes
- Yield: 10 servings 1x
- Category: Dessert
- Cuisine: American
Ingredients
- 3 medium ripe bananas (about 1 ½ cups mashed)
- 1 ½ cups all-purpose flour (190g)
- ¾ cup granulated sugar (150g)
- ⅓ cup unsalted butter, melted and slightly cooled (75g)
- 2 large eggs, room temperature
- 1 teaspoon vanilla extract
- 1 teaspoon baking soda
- ½ teaspoon salt
- ½ cup optional add-ins (chocolate chips, chopped walnuts, or pecans)
Instructions
- Preheat your oven to 350°F (175°C). Position a rack in the center of the oven. Line your loaf pan with a strip of parchment paper, leaving some overhang on the long sides. Lightly grease the exposed sides of the pan with butter or non-stick spray.
- Mash the bananas directly into your large mixing bowl. Use a fork or potato masher to mash them until they’re mostly smooth with a few small lumps. Don’t over-mash them into a liquid.
- Add the melted butter, sugar, eggs, and vanilla extract right on top of the bananas. Stir everything together with a rubber spatula or wooden spoon until well combined.
- Add the flour, baking soda, and salt directly to the wet ingredients. Don’t sift. Fold the dry ingredients into the wet, stirring gently until just combined. A few streaks of flour are okay.
- If using add-ins, fold them in now. Gently stir in your chocolate chips, nuts, or whatever you’ve chosen.
- Pour the batter into your prepared loaf pan. Spread the batter evenly. Give the pan a gentle tap on the counter to release any air bubbles.
- Bake for 50-60 minutes. Start checking at 50 minutes. The bread is done when a toothpick inserted into the center comes out clean or with just a few moist crumbs. If the top is browning too quickly, tent the pan loosely with foil for the last 10-15 minutes.
- Let the bread cool in the pan for 10 minutes. Then use the parchment paper to lift it out onto a wire rack. Let it cool completely before slicing.
Notes
Don’t overmix the batter. Use a kitchen scale for accuracy. Let your bananas get really ripe. Check for doneness with a toothpick, not the clock.
Nutrition
- Serving Size: 1 slice
- Calories: 245
- Sugar: 18
- Sodium: 280
- Fat: 9
- Saturated Fat: 5
- Carbohydrates: 38
- Fiber: 2
- Protein: 4
Keywords: banana bread, one bowl, no mixer, easy banana bread, moist banana bread, quick bread


