My neighbor, Mrs. Gable, watched me struggling with a leaky piping bag one October afternoon and didn’t say anything at first. Then she just smiled, wiped her hands on her apron, and said, “You’re working too hard. Let me show you something.” She disappeared into her kitchen and came back with a tray of the most adorable little ghost-shaped meringues I had ever seen. They practically floated off the plate. I mean, honestly, I had been wrestling with complicated cookie doughs and finicky royal icing for hours, and here she was with three ingredients and a trick that took ten minutes. It was humbling, you know?
Mrs. Gable grew up in a big family where money was tight but creativity wasn’t. Her mom used to make these ghost meringue cookies every Halloween because they cost next to nothing but looked like something from a fancy bakery. She told me the secret was in the wrist motion—a little flick at the end to get that wavy ghost tail. I stood in her kitchen that day, watching her pipe ghost after ghost, each one a little different, all of them perfect in their own silly way. My own first attempt? Let’s just say it looked more like a blob than a boo. But she just laughed and said, “That one has character.”
That’s the thing about recipes passed between neighbors. They come with stories, not just instructions. And these ghost meringue cookies have become our family’s Halloween tradition ever since. They’re the one thing my kids actually help me make without complaining—probably because they get to poke the chocolate eyes in. Maybe you’ve been there, trying to find a Halloween treat that doesn’t require a culinary degree or a second mortgage on your house. These are it. Light, crunchy, adorable, and impossible to mess up completely. Even the ugly ones taste amazing.
Why You’ll Love This Recipe
Let me tell you why these ghost meringue cookies have earned a permanent spot in our Halloween rotation. I’ve tested this recipe about a dozen times now, tweaking temperatures and piping techniques, and I can honestly say this version is foolproof. Even my five-year-old can pipe these—with a little hand-over-hand guidance, of course. But the mess is half the fun.
- Only 3 Ingredients: Egg whites, sugar, and chocolate chips. That’s it. No cream of tartar, no fancy extracts, no special food coloring. You probably have everything in your pantry right now.
- Budget-Friendly: A dozen eggs and a bag of chocolate chips cost less than a single pumpkin spice latte. For a family feeding a crowd on a sensible budget, this is a game-changer. You can make a whole army of ghosts for under five dollars.
- Kid-Approved and Parent-Approved: My kids devour these, and I love that they’re mostly just sugar and air. No weird preservatives, no artificial colors, no mystery ingredients. Plus, they’re naturally gluten-free, so they work for school parties where allergies are a concern.
- Make-Ahead Magic: These ghost meringue cookies keep for weeks in an airtight container. I make a big batch in early October and stash them away for last-minute Halloween parties, classroom treats, or just a spooky snack after homework.
- Impress Without Stress: Honestly, these look like you spent hours piping intricate designs. But the technique is so simple that a beginner baker can nail it on the first try. The wavy ghost shape hides imperfections beautifully.
What makes this recipe different from all the other meringue cookies out there? It’s the texture. These come out perfectly crisp on the outside with a light, airy center that melts on your tongue. Not chewy, not sticky—just right. And the chocolate eyes? They add that little pop of sweetness and a fun visual surprise. This isn’t just another Halloween cookie. It’s the one that makes people say, “Wait, you made these?”
What Ingredients You Will Need
This recipe uses the simplest ingredients to create something genuinely magical. No specialty baking aisle required. Here’s what you need and why each ingredient matters.
- 3 large egg whites, room temperature: The foundation of any meringue. Room temperature egg whites whip up higher and hold more air than cold ones. I separate my eggs when they’re cold (it’s easier) and then let the whites sit on the counter for about 30 minutes before whipping. If you’re in a rush, place the bowl of egg whites in a warm water bath for a few minutes.
- 3/4 cup (150g) granulated white sugar: Not powdered sugar, not brown sugar—granulated is the way to go. The crystals dissolve into the egg whites as you whip, creating that glossy, stable structure. I’ve tried superfine sugar and it works fine too, but regular granulated sugar gives the best texture. Pro tip: If your sugar feels coarse, give it a quick pulse in the food processor.
- 1/4 teaspoon cream of tartar (optional but recommended): This isn’t strictly necessary, but it stabilizes the egg whites and helps prevent them from deflating. If you don’t have it, you can substitute with a few drops of lemon juice or white vinegar. Or just skip it—I’ve made these ghost meringue cookies without it and they still turned out great.
- 1/2 teaspoon vanilla extract (optional): Pure vanilla adds a lovely warmth, but these are perfectly delicious without it. For Halloween, I sometimes use peppermint extract instead for a fun twist. Use clear vanilla extract if you want the purest white ghosts.
- 1/4 cup (about 60g) mini chocolate chips for the eyes: Mini chips are the perfect size for ghost eyes. Regular chocolate chips look a bit too big and heavy. You can also use candy eyeballs (the kind with the white center and black pupil) for an even cuter look, but chocolate chips are what I always have on hand. I prefer semi-sweet or dark chocolate for a nice contrast against the sweet meringue.
That’s seriously it. Three core ingredients, two optional additions, and you’re ready to make the cutest Halloween treat your family has ever seen. I like to use organic eggs when I can find them on sale—the whites whip up beautifully and the flavor is cleaner. But honestly, any large eggs from the grocery store will work just fine. For the chocolate chips, I usually grab whatever brand is on sale. Ghirardelli mini chips are my splurge, but store brands work perfectly too.
Equipment Needed
You don’t need a professional bakery setup for these ghost meringue cookies. Here’s what you’ll need and some tips for working with what you have.
- Electric mixer (hand mixer or stand mixer): You can technically whip egg whites by hand with a whisk, but it will take forever and your arm will fall off. Trust me on this. A hand mixer works perfectly. I use my stand mixer with the whisk attachment for convenience, but a hand mixer is actually easier to control for small batches.
- Large mixing bowl: Glass, metal, or ceramic all work. Avoid plastic bowls—they can retain grease residue that prevents egg whites from whipping properly. Make sure your bowl is spotlessly clean. A little bit of yolk or grease will ruin your meringue.
- Piping bag with a round tip (or a zip-top bag): A piping bag with a 1/2-inch round tip gives you the most control. But if you don’t have one, just snip the corner off a sturdy zip-top bag. It works surprisingly well. I’ve done it more times than I care to admit.
- Baking sheets lined with parchment paper: Parchment paper is non-negotiable here. The meringues will stick to wax paper and ungreased baking sheets. Silicone baking mats also work great.
- Cooling rack: For letting the baked meringues cool completely. They need to cool in the oven anyway, but a rack helps if you’re doing multiple batches.
If you’re shopping on a budget, skip the fancy piping tips and just use a zip-top bag. I’ve made dozens of batches this way and they always turn out cute. The ghosts will look a little more rustic, but that’s part of their charm, right?
Preparation Method
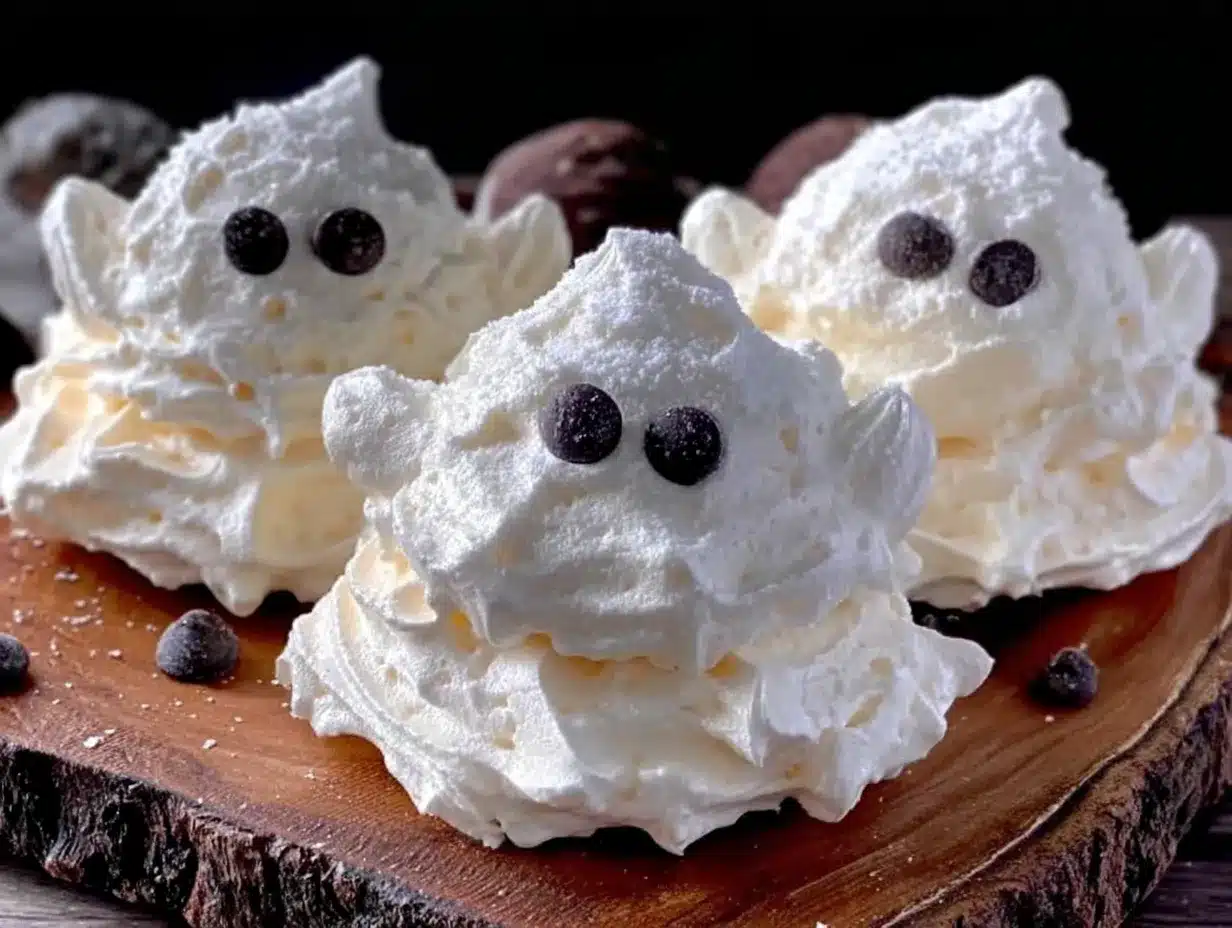
Now for the fun part. Follow these steps carefully and you’ll have a tray of adorable ghost meringue cookies in no time.
- Preheat your oven to 200°F (95°C). Yes, that’s very low. We’re drying the meringues, not baking them. Line two baking sheets with parchment paper and set them aside. Make sure your oven rack is in the center position.
- Prepare your egg whites. Separate three large eggs, making sure no yolk gets into the whites. Even a tiny speck of yolk can prevent the whites from whipping properly. Place the egg whites in your clean mixing bowl and let them come to room temperature for about 30 minutes. This step matters—cold egg whites take forever to whip and don’t hold as much air.
- Start whipping. Begin beating the egg whites on medium speed until they become frothy and bubbly, about 1-2 minutes. They should look like soapy water. If you’re using cream of tartar or lemon juice, add it now. This helps stabilize the foam.
- Gradually add the sugar. With the mixer running on medium-high speed, add the sugar one tablespoon at a time. I know it’s tempting to dump it all in at once, but trust me—gradual addition creates a more stable meringue. Keep beating until the sugar dissolves completely. How do you know it’s ready? Rub a tiny bit of the mixture between your fingers. If it feels gritty, keep beating. If it’s smooth, you’re good. This usually takes 5-7 minutes total.
- Whip to stiff peaks. Continue beating on high speed until the meringue is thick, glossy, and holds stiff peaks. When you lift the whisk, the meringue should stand up straight without drooping. If it flops over, keep whipping. Be careful not to overwhip—the mixture will start to look grainy and separate. You want that perfect, marshmallow-like texture. Add the vanilla extract (if using) during the last 30 seconds of whipping.
- Transfer to a piping bag. Spoon the meringue into your piping bag fitted with a round tip. If you’re using a zip-top bag, snip about 1/2 inch off one corner. Work quickly—meringue can start to deflate if it sits too long.
- Pipe the ghosts. Hold the piping bag straight up and down, about 1/2 inch above the parchment paper. Squeeze gently to create a round base, about 1.5 inches wide. As you lift the bag, release pressure slightly and give a little upward flick of your wrist to create a wavy ghost tail. Space the ghosts about 1 inch apart—they don’t spread much, but you want good air circulation. Don’t worry if they look uneven. Every ghost has its own personality.
- Add the chocolate eyes. Before the meringue starts to dry, gently press two mini chocolate chips into each ghost for eyes. Place them close together near the top of the round base. Don’t push too hard or you’ll deflate the meringue. If the meringue starts to form a skin, you can dip the chocolate chips in water first to help them stick.
- Bake low and slow. Place the baking sheets in the preheated oven and bake for 60-75 minutes. The meringues should be dry to the touch and easily peel off the parchment paper. They shouldn’t be brown at all—if they start to color, your oven is too hot. Every oven is different, so check at the 60-minute mark.
- Cool in the oven. Turn off the oven and leave the meringues inside with the door slightly ajar (prop it open with a wooden spoon) for at least 1 hour. This gradual cooling prevents cracking. After an hour, remove them and let them cool completely on the baking sheets. They should be light as air and perfectly crisp.
A quick note from personal experience: The first time I made these, I opened the oven door too early and all my ghosts cracked. It was heartbreaking. So resist the temptation to peek until at least 45 minutes have passed. And definitely don’t skip the cooling-in-the-oven step. That’s where the magic happens.
Cooking Tips & Techniques
After making these ghost meringue cookies more times than I can count, I’ve picked up some tricks that make the process smoother and the results more consistent. Here’s what I wish someone had told me the first time.
Humidity is the enemy. Meringue is basically sugar and air, and sugar loves moisture. If it’s a rainy or humid day, your meringues might come out sticky or chewy instead of crisp. I only make these on dry days. If you absolutely have to make them in humid weather, bake them a little longer and let them cool in the oven overnight with the door closed.
Don’t overbeat your egg whites. I’ve done this more than once. You’re whipping along, checking for stiff peaks, and then suddenly the mixture looks grainy and separated. That’s overwhipped meringue, and it won’t pipe well. The trick is to slow down the mixer as you approach stiff peaks and check frequently. When the meringue holds its shape but still looks silky and smooth, stop immediately.
Use a damp paper towel under your mixing bowl. This is an old pastry chef trick. Place a damp paper towel or kitchen towel under your bowl to keep it from sliding around as you whip. It sounds silly, but it makes a huge difference, especially with a hand mixer.
Pipe with confidence. Hesitation leads to lumpy ghosts. Commit to each squeeze and lift. If you mess up, just scrape the meringue back into the bag and try again. It’s very forgiving as long as you haven’t baked it yet.
Double-check your chocolate chips. I once used full-size chocolate chips for the eyes, and they looked like my ghosts had googly eyes from a craft store. It was funny but not what I was going for. Mini chips are the way to go. If all you have are regular chips, cut them in half with a sharp knife.
Plan your timing. These take about 2 hours from start to finish, plus cooling time. I like to make them in the evening and leave them in the oven overnight. That way, they’re ready to package up in the morning. It’s a great make-ahead project for busy Halloween week.
Variations & Adaptations
One of the best things about this recipe is how easy it is to customize. Here are some variations I’ve tried and loved.
Spooky Swirl Ghosts: Before piping, divide your meringue into two bowls. Leave one white and tint the other with a tiny drop of black or purple food coloring. Spoon them side by side into the piping bag for a marbled effect. My kids went crazy for these. Just use gel food coloring—liquid will deflate your meringue.
Pumpkin Patch Meringues: Skip the ghost shape and pipe small rounds instead. Add a tiny bit of orange food coloring to the meringue and top each with a green M&M or a piece of green candy melt for a stem. These are adorable alongside the ghosts for a Halloween platter.
Peppermint Ghosts: Substitute the vanilla extract with 1/4 teaspoon peppermint extract. The minty flavor pairs beautifully with the sweet meringue and chocolate eyes. This is my personal favorite variation. I make a batch of these every December too—just shape them into rounds and call them snowmen.
Dairy-Free and Vegan Version: You can make these with aquafaba (the liquid from a can of chickpeas) instead of egg whites. Use 3 tablespoons of aquafaba per egg white. Whip it the same way, adding sugar gradually. It takes a little longer to reach stiff peaks, but the result is just as light and crispy. Make sure your chocolate chips are dairy-free too.
Giant Ghosts: Instead of piping small ghosts, pipe one large ghost per baking sheet. Bake for 90-100 minutes and use regular chocolate chips for the eyes. These make a fun centerpiece for a Halloween dessert table. Just warn everyone that they’re very fragile.
Serving & Storage Suggestions
These ghost meringue cookies are best served at room temperature. They’re delicate and airy, so handle them gently when transferring to a serving platter. I like to arrange them on a black or orange platter for maximum Halloween effect. A sprinkle of powdered sugar around the edges makes them look even more ghostly.
For a Halloween party, set up a meringue ghost bar. Arrange the plain ghosts on a tray and offer small bowls of different toppings—colored sugar, edible glitter, mini chocolate chips, candy eyeballs. Let guests decorate their own ghosts. It’s an easy, mess-free activity that keeps kids entertained while the adults mingle.
Storage: These keep beautifully for up to 2 weeks in an airtight container at room temperature. Do not refrigerate them—the moisture will make them sticky. I store mine in a glass cookie jar with a tight-fitting lid. Layer them between sheets of parchment paper to prevent them from breaking. If they lose their crispness, pop them back in a 200°F oven for 10 minutes and let them cool completely.
Freezing: You can freeze baked meringues for up to 3 months. Place them in a single layer in a freezer-safe container with parchment paper between layers. Thaw at room temperature for about 30 minutes before serving. Don’t thaw them in the fridge—the condensation will ruin the texture.
One thing I’ve noticed: these ghost meringue cookies actually get better after a day or two. The flavors meld together and the texture becomes even more delicate. So don’t stress about making them the day of your event. Make them ahead and stash them away. Your future self will thank you.
Nutritional Information & Benefits
Let’s be real—these are cookies made mostly of sugar. But they’re light and airy, so a single ghost meringue cookie is only about 25-30 calories. That means you can enjoy a handful without feeling guilty. Each cookie has roughly 6 grams of sugar, 0 grams of fat, and less than 1 gram of protein.
From a health perspective, these are naturally gluten-free, dairy-free (if you use dairy-free chocolate chips), and nut-free. They’re a safe option for school Halloween parties where allergies are a concern. I always check with other parents first, but I’ve never had an issue with these.
The egg whites provide a small amount of protein and are low in calories. They’re also a good source of selenium and riboflavin. The sugar gives you a quick energy boost—perfect for powering through a night of trick-or-treating. And the dark chocolate chips (if you use dark chocolate) contain antioxidants and a little bit of iron.
Look, I’m not saying these are health food. But for a Halloween treat, they’re about as guilt-free as it gets. They satisfy that sweet craving without the heavy feeling you get from butter-laden cookies or candy bars. Plus, the act of making them with your kids is a memory that lasts longer than any sugar rush.
Conclusion
These ghost meringue cookies have become more than just a Halloween recipe in our house. They’re a tradition, a memory, a little piece of magic that we create together every October. Mrs. Gable moved away a few years ago, but every time I pipe a batch of these little ghosts, I think about her standing in her kitchen, showing me that wrist flick, laughing at my wobbly first attempts. That’s what cooking is, isn’t it? Passing along little bits of ourselves to the people around us.
I hope you give these a try. Don’t worry if they’re not perfect—honestly, the imperfect ones are the cutest. Get your kids involved, make a mess, laugh at the lopsided ghosts, and enjoy the process. That’s what Halloween is all about. And when you bite into one of these light, crunchy, sweet little ghosts, you’ll understand why this recipe has stayed with me all these years.
If you make these, I’d love to hear about it. Drop a comment below and tell me how your ghosts turned out. Did your kids help? Did you try any fun variations? Share a photo on Pinterest and tag me—I love seeing your creations. Happy Halloween, and happy baking!
Frequently Asked Questions
Why are my meringues sticky or chewy instead of crisp?
This usually happens because of humidity or underbaking. Make sure you’re making these on a dry day and baking them long enough. They should be completely dry to the touch and lift easily off the parchment paper. If they’re sticky, pop them back in the oven at 200°F for another 15-20 minutes. Also, make sure you’re storing them in an airtight container—exposure to air can make them absorb moisture from the environment.
Can I use liquid egg whites from a carton?
I don’t recommend it. Liquid egg whites from a carton are pasteurized, which changes the protein structure and makes them harder to whip into stiff peaks. They also tend to deflate more easily. Fresh egg whites from whole eggs give you the best volume and stability. If you have leftover egg yolks, use them to make Halloween custard or add them to scrambled eggs for breakfast.
How do I know when the meringue is whipped enough?
The meringue should be thick, glossy, and hold stiff peaks. When you lift the whisk or beater, the meringue should stand up straight without drooping. You should also be able to hold the bowl upside down over your head without the meringue falling out—but please don’t actually do this unless you’re very confident! A more practical test: rub a small amount between your fingers. If it feels smooth and not gritty, the sugar has dissolved and you’re good to go.
Can I make these without a piping bag?
Absolutely! I’ve made these with just a zip-top bag and a pair of scissors. Simply spoon the meringue into a sturdy zip-top bag, seal it, snip off one corner, and pipe away. You can also use a spoon to drop small dollops of meringue onto the baking sheet and shape them gently with the back of the spoon. They won’t look as ghost-like, but they’ll still taste amazing. For a more structured shape, try shaping them with a small offset spatula.
How far in advance can I make these for a party?
You can make these up to 2 weeks in advance. Store them in an airtight container at room temperature, away from direct sunlight and moisture. I actually prefer making them a few days ahead—the texture seems to improve after a day or two. Just make sure they’re completely cool before you store them, and don’t refrigerate them at any point. If you’re making them for a Halloween party, I recommend baking them no more than 5 days ahead for the best texture and appearance.
Pin This Recipe!
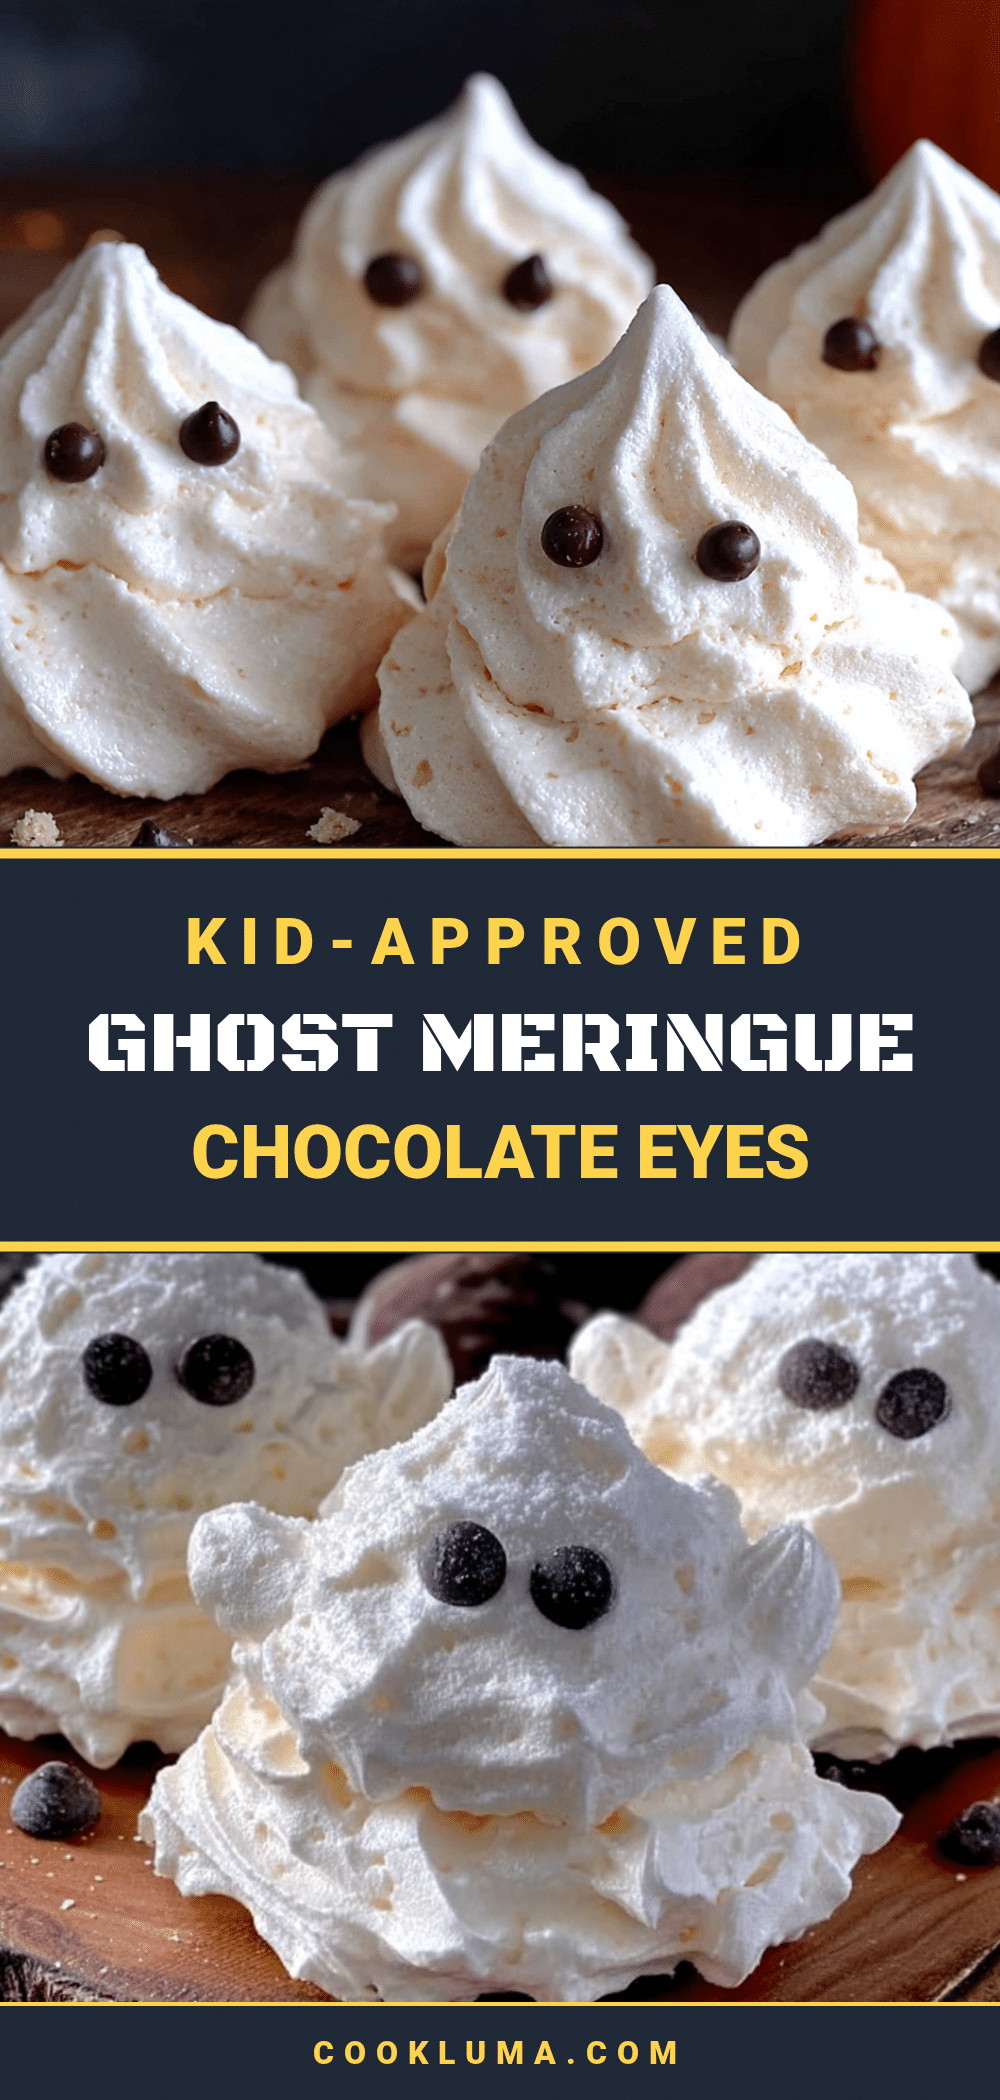
Best Ghost Meringue Cookies: Easy 3-Ingredient Halloween Treat
Light, crunchy, and adorable ghost-shaped meringue cookies made with just 3 ingredients. Perfect for Halloween parties, classroom treats, or a spooky snack.
- Prep Time: 15 minutes
- Cook Time: 60-75 minutes
- Total Time: 2 hours 15 minutes (plus cooling)
- Yield: 24 servings 1x
- Category: Dessert
- Cuisine: American
Ingredients
- 3 large egg whites, room temperature
- 3/4 cup (150g) granulated white sugar
- 1/4 teaspoon cream of tartar (optional but recommended)
- 1/2 teaspoon vanilla extract (optional)
- 1/4 cup (about 60g) mini chocolate chips for the eyes
Instructions
- Preheat your oven to 200°F (95°C). Line two baking sheets with parchment paper.
- Separate three large eggs, making sure no yolk gets into the whites. Place the egg whites in a clean mixing bowl and let them come to room temperature for about 30 minutes.
- Begin beating the egg whites on medium speed until frothy and bubbly, about 1-2 minutes. If using cream of tartar or lemon juice, add it now.
- With the mixer running on medium-high speed, add the sugar one tablespoon at a time. Continue beating until the sugar dissolves completely and the mixture is smooth when rubbed between your fingers (5-7 minutes total).
- Continue beating on high speed until the meringue is thick, glossy, and holds stiff peaks. Add vanilla extract (if using) during the last 30 seconds.
- Spoon the meringue into a piping bag fitted with a round tip (or a zip-top bag with a 1/2-inch corner snipped off).
- Pipe the ghosts: Hold the piping bag straight up and down, about 1/2 inch above the parchment. Squeeze gently to create a round base (about 1.5 inches wide). As you lift the bag, release pressure slightly and give a little upward flick to create a wavy ghost tail. Space ghosts about 1 inch apart.
- Before the meringue dries, gently press two mini chocolate chips into each ghost for eyes, placing them close together near the top.
- Bake for 60-75 minutes, until meringues are dry to the touch and easily peel off the parchment. They should not be brown.
- Turn off the oven and leave the meringues inside with the door slightly ajar (prop open with a wooden spoon) for at least 1 hour to cool gradually. Then remove and cool completely on the baking sheets.
Notes
Make on a dry day to avoid sticky meringues. Do not open the oven door for the first 45 minutes. For best results, cool meringues in the oven with the door ajar. Store in an airtight container at room temperature for up to 2 weeks. Do not refrigerate.
Nutrition
- Serving Size: 1 ghost meringue coo
- Calories: 25
- Sugar: 6
- Sodium: 10
- Carbohydrates: 6
- Protein: 0.5
Keywords: ghost meringue cookies, Halloween cookies, 3-ingredient cookies, meringue cookies, gluten-free Halloween treat, easy Halloween dessert


