There used to be this tiny, dimly lit diner off Route 9 in Massachusetts called The Silver Spoon that made a slice of eggnog cheesecake that practically ruined me for all other desserts. When they closed their doors back in 2018 — I still remember the handwritten sign taped to the window — I honestly felt a little lost. Every holiday season since, I’d find myself chasing that exact memory: the way the creamy, spiced filling melted against that crunchy, buttery gingersnap crust. After seven tries — seven! — I finally got it. And let me tell you, this version might even be better than the original.
I remember the first time I attempted to recreate it. I was so confident, pulling out my grandmother’s old springform pan, thinking, “How hard can it be?” Well, I learned the hard way that eggnog cheesecake is a delicate beast. Too much liquid and it cracks. Not enough spice and it’s just boring. But that first successful bite? Pure magic. The filling was silky, the eggnog flavor was bold but not overwhelming, and the gingersnap crust added this warm, spicy crunch that made every single forkful a celebration.
Maybe you’ve been there — you know that feeling when a dish becomes a personal mission. You can’t just let it go. You keep tweaking, testing, and tasting until you nail it. That’s exactly what this recipe is. It’s the one I bring to every holiday party, the one that gets devoured before the turkey even hits the table, and the one people beg me to share. Honestly, I’m a little proud of it. And if you’re hosting this year, this is the dessert that will make you look like a rockstar without spending all day in the kitchen.
Why You’ll Love This Recipe
This isn’t just another cheesecake recipe — it’s the holiday showstopper you’ve been searching for. I’ve tested this thing more times than I’d like to admit, and every single version has been polished to perfection. Here’s why this one deserves a spot on your dessert table:
- Rich & Creamy Without Being Heavy: The secret is a perfect balance of full-fat cream cheese and real eggnog. It’s indulgent but not cloying, with a texture that melts in your mouth.
- That Gingersnap Crust is a Game-Changer: Forget graham crackers. The spicy, molasses-forward flavor of gingersnaps takes this cheesecake to another dimension. It’s crunchy, buttery, and pairs beautifully with the creamy filling.
- Perfect for Holiday Gatherings: Whether it’s a Christmas Eve dinner, a New Year’s Eve party, or a cozy Friendsgiving, this cheesecake is designed to impress a crowd. It slices beautifully, travels well, and gets even better after a day in the fridge.
- Make-Ahead Friendly: This is a host’s best friend. You can make it a full day or two in advance, freeing up your oven and your sanity on the big day. Just pull it out, garnish, and watch it disappear.
- No Water Bath Needed: I know, I know — water baths are a pain. This recipe uses a low-temperature baking method that delivers a crack-free top without the fuss. Trust me on this one.
What really sets this apart from other eggnog cheesecakes is the technique. I use a touch of flour to stabilize the filling without making it dense, and I let the cheesecake cool slowly in the oven to prevent those dreaded cracks. The result is a dessert that looks like it came from a bakery but tastes like it was made with love. It’s the kind of recipe that makes you close your eyes after the first bite — and then reach for another slice.
What Ingredients You Will Need
This recipe uses simple, wholesome ingredients to deliver bold holiday flavor and that signature creamy texture. Most of these are probably already in your pantry or fridge, which makes this dessert even easier to pull off when you’re in a pinch.
For the Gingersnap Crust
- 2 cups (about 240g) gingersnap cookie crumbs — I prefer Nabisco brand for their consistent crunch and spice level. You can crush them in a food processor or by hand in a zip-top bag.
- 6 tablespoons (85g) unsalted butter, melted — Use real butter here; margarine won’t give you the same rich flavor or that perfect sandy texture.
- 2 tablespoons (25g) granulated sugar — Just a touch to balance the spice and help the crust hold together.
- ¼ teaspoon salt — A pinch of salt elevates all the flavors and keeps the crust from tasting flat.
For the Eggnog Cheesecake Filling
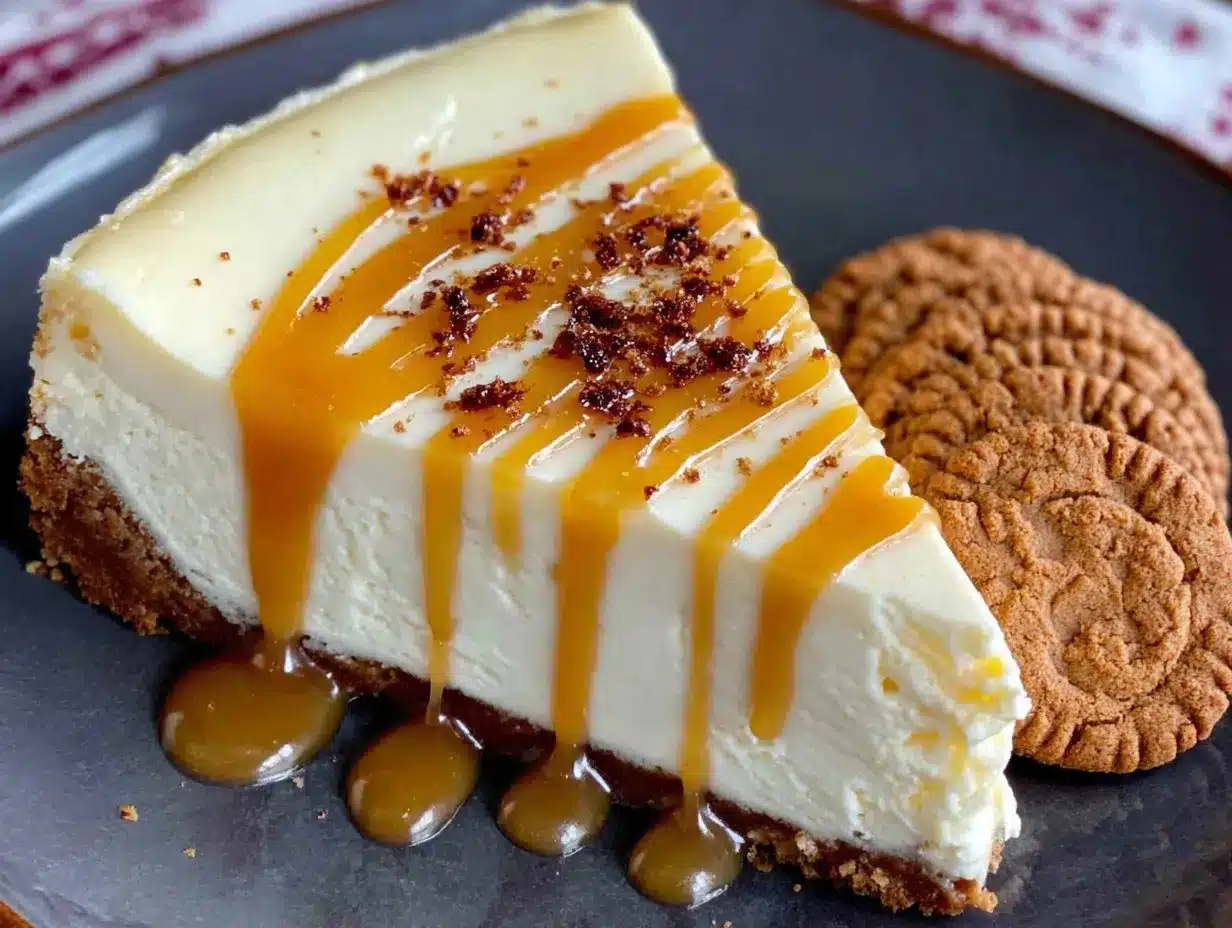
- 32 ounces (904g) cream cheese, softened to room temperature — This is non-negotiable. Cold cream cheese will give you a lumpy filling. Leave it out for at least 2 hours before starting. I always use full-fat Philadelphia brand for the creamiest results.
- 1 cup (200g) granulated sugar — Adds sweetness and helps with structure.
- 3 tablespoons (24g) all-purpose flour — This is my secret weapon for a stable, crack-free cheesecake. It adds just enough structure without making the texture cakey.
- 4 large eggs, room temperature — Room temperature eggs blend more smoothly into the batter. If you’re short on time, place them in a bowl of warm water for 5 minutes.
- 2 large egg yolks, room temperature — The extra yolks add richness and a silky texture that’s pure indulgence.
- 1½ cups (360ml) high-quality eggnog — Use the good stuff here. I recommend a thick, creamy brand like Hood or Southern Comfort. Avoid low-fat or light versions, as they have too much water and can make the cheesecake runny.
- 1 teaspoon vanilla extract — Pure vanilla extract, not imitation. It rounds out the flavors beautifully.
- 1 teaspoon ground nutmeg, freshly grated if possible — Fresh nutmeg is a game-changer. It has a warm, aromatic quality that pre-ground nutmeg just can’t match.
- ½ teaspoon ground cinnamon — Adds a subtle warmth that complements the eggnog.
- ¼ teaspoon ground cloves — Just a whisper of clove to give it that classic holiday spice profile.
For the Optional Garnish
- 1 cup (240ml) heavy cream — For homemade whipped cream. It’s easy and so much better than store-bought.
- 2 tablespoons (15g) powdered sugar — Sweetens the whipped cream without making it grainy.
- ½ teaspoon vanilla extract — For flavor.
- Extra gingersnap cookies and fresh cranberries — For that pretty, Pinterest-worthy presentation.
Substitution tip: If you’re gluten-free, use gluten-free gingersnap cookies and substitute the all-purpose flour with a 1:1 gluten-free baking blend. The texture will still be fantastic.
Equipment Needed
You don’t need a professional bakery setup for this recipe, but a few key tools will make your life much easier. Here’s what I recommend:
- 9-inch springform pan — This is essential for easy release. I love my Williams Sonoma brand pan because it’s heavy-duty and never leaks. If you don’t have one, a regular 9-inch cake pan lined with parchment paper can work, but it’s trickier to remove the cheesecake.
- Electric hand mixer or stand mixer — You need power to get that cream cheese perfectly smooth. A stand mixer with a paddle attachment is ideal, but a hand mixer works great too. Just make sure to scrape the bowl frequently.
- Food processor — For crushing the gingersnap cookies into fine crumbs. No food processor? Place the cookies in a zip-top bag and crush them with a rolling pin. It’s a good arm workout!
- Large mixing bowls — You’ll need at least two: one for the crust and one for the filling.
- Rubber spatula — For scraping every last bit of batter into the pan. I prefer a high-heat silicone spatula that won’t melt.
- Measuring cups and spoons — Accurate measurements are key for baking. Use dry measuring cups for dry ingredients and a liquid measuring cup for the eggnog.
- Roasting pan or deep baking dish — For the water bath. Even though we’re not using a traditional water bath, placing the springform pan in a larger pan with hot water helps regulate the oven temperature and prevents cracks. I use a cheap aluminum roasting pan from the grocery store.
- Aluminum foil — To wrap the bottom of the springform pan so water doesn’t seep in. Use heavy-duty foil and wrap it tightly.
Budget-friendly tip: Don’t splurge on a fancy springform pan if you’re just starting out. A basic one from a kitchen supply store will work just fine as long as it’s sturdy and doesn’t have a gap at the bottom.
Preparation Method
Alright, let’s get baking! Follow these steps carefully, and you’ll have a showstopping cheesecake that’ll have everyone asking for the recipe.
Step 1: Prep the Crust
- Preheat your oven to 350°F (175°C).
- In a food processor, pulse the gingersnap cookies until they become fine crumbs. You should have about 2 cups.
- In a medium bowl, combine the cookie crumbs, melted butter, sugar, and salt. Mix with a fork until the mixture looks like wet sand and holds together when pressed.
- Press the mixture firmly into the bottom of your 9-inch springform pan. Use the bottom of a flat measuring cup or a glass to get it even and compact. Don’t press it up the sides — we want a thick, sturdy base.
- Bake the crust for 10 minutes. It should be fragrant and slightly darker around the edges. Set it aside to cool while you make the filling.
Step 2: Make the Filling
- Reduce the oven temperature to 325°F (160°C).
- In a large mixing bowl, beat the softened cream cheese with an electric mixer on medium speed until it’s completely smooth and fluffy — about 2-3 minutes. Scrape down the sides and bottom of the bowl with a spatula.
- Add the sugar and flour, and beat on medium speed for another 2 minutes until well combined and creamy. Scrape the bowl again.
- Add the eggs and egg yolks one at a time, beating on low speed after each addition until just combined. Don’t overmix here — too much air can cause cracks later.
- Pour in the eggnog, vanilla extract, nutmeg, cinnamon, and cloves. Beat on low speed until everything is smooth and fully incorporated. The batter should be thick, creamy, and pale yellow in color. Give it one final scrape of the bowl to make sure everything is mixed.
Step 3: Assemble and Bake
- Wrap the bottom and sides of your springform pan with a double layer of heavy-duty aluminum foil. This prevents water from seeping in during the water bath.
- Place the springform pan inside a large roasting pan or deep baking dish.
- Pour the cheesecake filling over the cooled crust. Use a spatula to spread it evenly.
- Carefully pour hot water into the roasting pan until it reaches about halfway up the sides of the springform pan. Be gentle — you don’t want water splashing into the cheesecake.
- Bake at 325°F (160°C) for 60-70 minutes. The cheesecake is done when the edges are set and slightly puffed, but the center still jiggles slightly when you gently shake the pan. If you insert a toothpick near the center, it should come out with a few moist crumbs attached — not wet batter.
Step 4: Cool Slowly (The Key to No Cracks)
- Turn off the oven and crack the oven door open. Let the cheesecake sit in the warm oven for 1 hour. This gradual cooling prevents the top from cracking.
- After 1 hour, remove the cheesecake from the water bath and place it on a wire rack. Run a thin knife around the edge of the pan to loosen the cheesecake (this prevents it from sticking as it shrinks).
- Let it cool completely at room temperature for another hour.
- Cover the pan with plastic wrap and refrigerate for at least 6 hours, but overnight is best. This allows the flavors to meld and the texture to set perfectly.
Step 5: Garnish and Serve
- When you’re ready to serve, remove the sides of the springform pan. Place the cheesecake on a serving platter.
- Make the whipped cream: In a chilled bowl, beat the heavy cream, powdered sugar, and vanilla extract with an electric mixer on medium-high speed until stiff peaks form. Don’t overbeat, or you’ll end up with butter!
- Pipe or spoon the whipped cream around the edges of the cheesecake. Garnish with extra gingersnap cookies and fresh cranberries for a festive touch.
- Slice with a sharp knife dipped in hot water (wipe it clean between cuts) for the cleanest slices.
Warning: Don’t skip the cooling steps. I once tried to rush it and ended up with a massive crack right down the center. It still tasted amazing, but it wasn’t pretty enough for a dinner party.
Cooking Tips & Techniques
After making this cheesecake more times than I can count, I’ve picked up a few tricks that make a real difference. Here are my top tips for success:
- Room Temperature is Everything: I cannot stress this enough. Cold cream cheese and cold eggs will give you a lumpy, curdled-looking batter. Leave your cream cheese out for at least 2 hours, and let your eggs sit in warm water for 5-10 minutes if you’re in a hurry. The batter should be silky smooth before it goes into the oven.
- Don’t Overmix the Batter: Once you add the eggs, mix on low speed and stop as soon as everything is combined. Overmixing incorporates too much air, which can cause the cheesecake to puff up and then crack as it cools. We want a dense, creamy texture, not a fluffy one.
- The Water Bath is Your Friend: Even though we’re skipping the traditional water bath method, placing the pan in hot water creates a humid environment that helps the cheesecake bake evenly and prevents cracks. Just make sure your foil wrapping is tight — I learned this the hard way when I ended up with a soggy crust.
- Use Freshly Ground Nutmeg: I know it’s an extra step, but it makes a huge difference. Pre-ground nutmeg loses its volatile oils quickly and can taste flat. A whole nutmeg grated on a microplane takes seconds and adds a warm, aromatic complexity that makes this cheesecake sing.
- Patience is a Virtue: The hardest part of this recipe is waiting. But trust me, letting the cheesecake cool slowly in the oven, then at room temperature, then overnight in the fridge is the secret to that perfect, silky texture. If you slice it too soon, it’ll be soft and messy.
One mistake I made early on was using low-fat eggnog. It seemed like a good idea at the time, but the extra water content made the filling watery and the texture was off. Stick with the full-fat version — your taste buds will thank you.
Variations & Adaptations
One of the best things about this recipe is how versatile it is. Here are a few ways to make it your own:
- Boozy Eggnog Cheesecake: Add 2 tablespoons of dark rum or bourbon to the filling along with the eggnog. It adds a warm, festive kick that’s perfect for New Year’s Eve. Just reduce the eggnog by 2 tablespoons to keep the liquid ratio balanced.
- Chocolate-Infused Version: Melt 4 ounces of semi-sweet chocolate and swirl it into the batter before baking. The chocolate and eggnog combination is surprisingly delicious — it’s like a boozy chocolate truffle in cheesecake form.
- Gluten-Free Adaptation: Use gluten-free gingersnap cookies (I like the ones from Partake brand) and substitute the all-purpose flour with a 1:1 gluten-free baking blend. The texture will be slightly different but still incredibly good.
- Vegan Option: Use vegan cream cheese (like Kite Hill or Violife), a plant-based eggnog, and a flax egg (1 tablespoon ground flaxseed mixed with 3 tablespoons water per egg). The texture won’t be as rich, but it’s a solid alternative for dairy-free guests.
- Individual Mini Cheesecakes: Press the crust into a 12-cup muffin tin lined with paper liners, and fill each cup about ¾ full with batter. Bake at 325°F for 20-25 minutes. They’re perfect for parties where you want to avoid slicing.
Personally, I love the boozy version for Christmas Eve dinner. The rum adds a warmth that pairs beautifully with the spices, and it always gets a “wow” from guests. Just make sure to label it if kids are around!
Serving & Storage Suggestions
This cheesecake is a showstopper on its own, but a few thoughtful touches can make it even more memorable for your holiday gathering.
Serving: Let the cheesecake sit at room temperature for about 20-30 minutes before slicing. This takes the chill off and allows the flavors to open up. Serve it on a beautiful cake stand or platter, garnished with a dollop of whipped cream, a dusting of nutmeg, and a few fresh cranberries. For an extra festive touch, add a sprig of rosemary or a cinnamon stick. It pairs beautifully with a cup of hot coffee, a glass of spiced wine, or even a scoop of vanilla ice cream on the side.
Storage: Leftover cheesecake (if there is any!) can be stored in the refrigerator, covered, for up to 5 days. The flavors actually deepen and meld over time, so it might even taste better on day two or three. To freeze, wrap the whole cheesecake or individual slices tightly in plastic wrap, then in a layer of aluminum foil. Freeze for up to 3 months. Thaw overnight in the refrigerator before serving. I’ve done this for holiday prep, and it works beautifully — just add the garnish after thawing.
Reheating: This cheesecake is best served cold or at room temperature. If you prefer it slightly warm, you can microwave individual slices for 10-15 seconds, but be careful not to overheat or the texture will become soft and mushy.
Nutritional Information & Benefits
Let’s be honest — this is an indulgent holiday dessert, and it’s meant to be enjoyed as a treat. But here’s a rough estimate of what you’re looking at per slice (based on 12 servings):
- Calories: Approximately 520-580 per slice
- Fat: 38-42g (mostly from cream cheese and butter)
- Carbohydrates: 38-42g
- Protein: 10-12g
- Sugar: 28-32g
While it’s not exactly health food, there are a few redeeming qualities. The eggs provide high-quality protein and choline, which is great for brain health. The cream cheese offers calcium and vitamin A. And the spices — nutmeg, cinnamon, and cloves — have anti-inflammatory properties and are rich in antioxidants. Plus, let’s not forget the joy factor. Sharing a beautiful, homemade dessert with loved ones is good for the soul, and that counts for something.
Dietary considerations: This recipe contains dairy, eggs, and gluten. For a dairy-free version, use vegan cream cheese and eggnog. For a gluten-free version, use gluten-free gingersnaps and flour blend. Always check labels if you’re serving someone with allergies.
Conclusion
This eggnog cheesecake with gingersnap crust is more than just a dessert — it’s the centerpiece of your holiday table. It’s the dish that gets people talking, the one that makes you feel like a pastry chef even if you’re just a home cook with a good recipe. The creamy, spiced filling paired with that crunchy, buttery crust is pure holiday magic.
I hope you give this recipe a try and make it your own. Maybe you’ll add a splash of bourbon, or top it with caramel sauce, or serve it with a side of laughter and good company. However you serve it, I promise it’ll be a hit. And if you do make it, I’d love to hear how it turned out! Drop a comment below, share a photo on Pinterest, or tag me in your creations. Let’s spread the holiday cheer, one slice at a time.
Happy baking, and here’s to a delicious holiday season!
Frequently Asked Questions
Can I make this eggnog cheesecake ahead of time?
Absolutely! In fact, I recommend it. This cheesecake needs at least 6 hours to set in the fridge, but making it a day or two in advance is perfect. The flavors meld and deepen over time, and it takes the stress out of holiday hosting. Just keep it covered in the refrigerator and add the garnish right before serving.
Why did my cheesecake crack?
Cracks usually happen from overmixing, overbaking, or cooling too quickly. To avoid them, mix the batter on low speed after adding the eggs, bake until the center is just slightly jiggly, and let the cheesecake cool slowly in the oven with the door cracked open. If it does crack, don’t worry — a layer of whipped cream covers a multitude of sins!
Can I use store-bought gingersnap crumbs?
Yes, you can find pre-crushed gingersnap crumbs in some stores, but I recommend crushing your own for the best texture and flavor. Store-bought crumbs can be too fine and may not have the same crunch. Plus, crushing them yourself lets you control the texture — I like mine with a few tiny chunks for extra bite.
How do I know when the cheesecake is done baking?
Look for a set edge that’s slightly puffed, with a center that still jiggles gently when you shake the pan. The internal temperature should be around 150°F (65°C). If you insert a toothpick near the center, it should come out with a few moist crumbs, not wet batter. Don’t overbake, or the texture will be dry and crumbly.
Can I freeze this eggnog cheesecake?
Yes! It freezes beautifully. Wrap the completely cooled cheesecake tightly in plastic wrap, then in a layer of aluminum foil. Freeze for up to 3 months. Thaw overnight in the refrigerator before serving. I’ve done this for holiday prep, and it saves so much time. Just add the whipped cream and garnish after thawing for the best presentation.
Pin This Recipe!
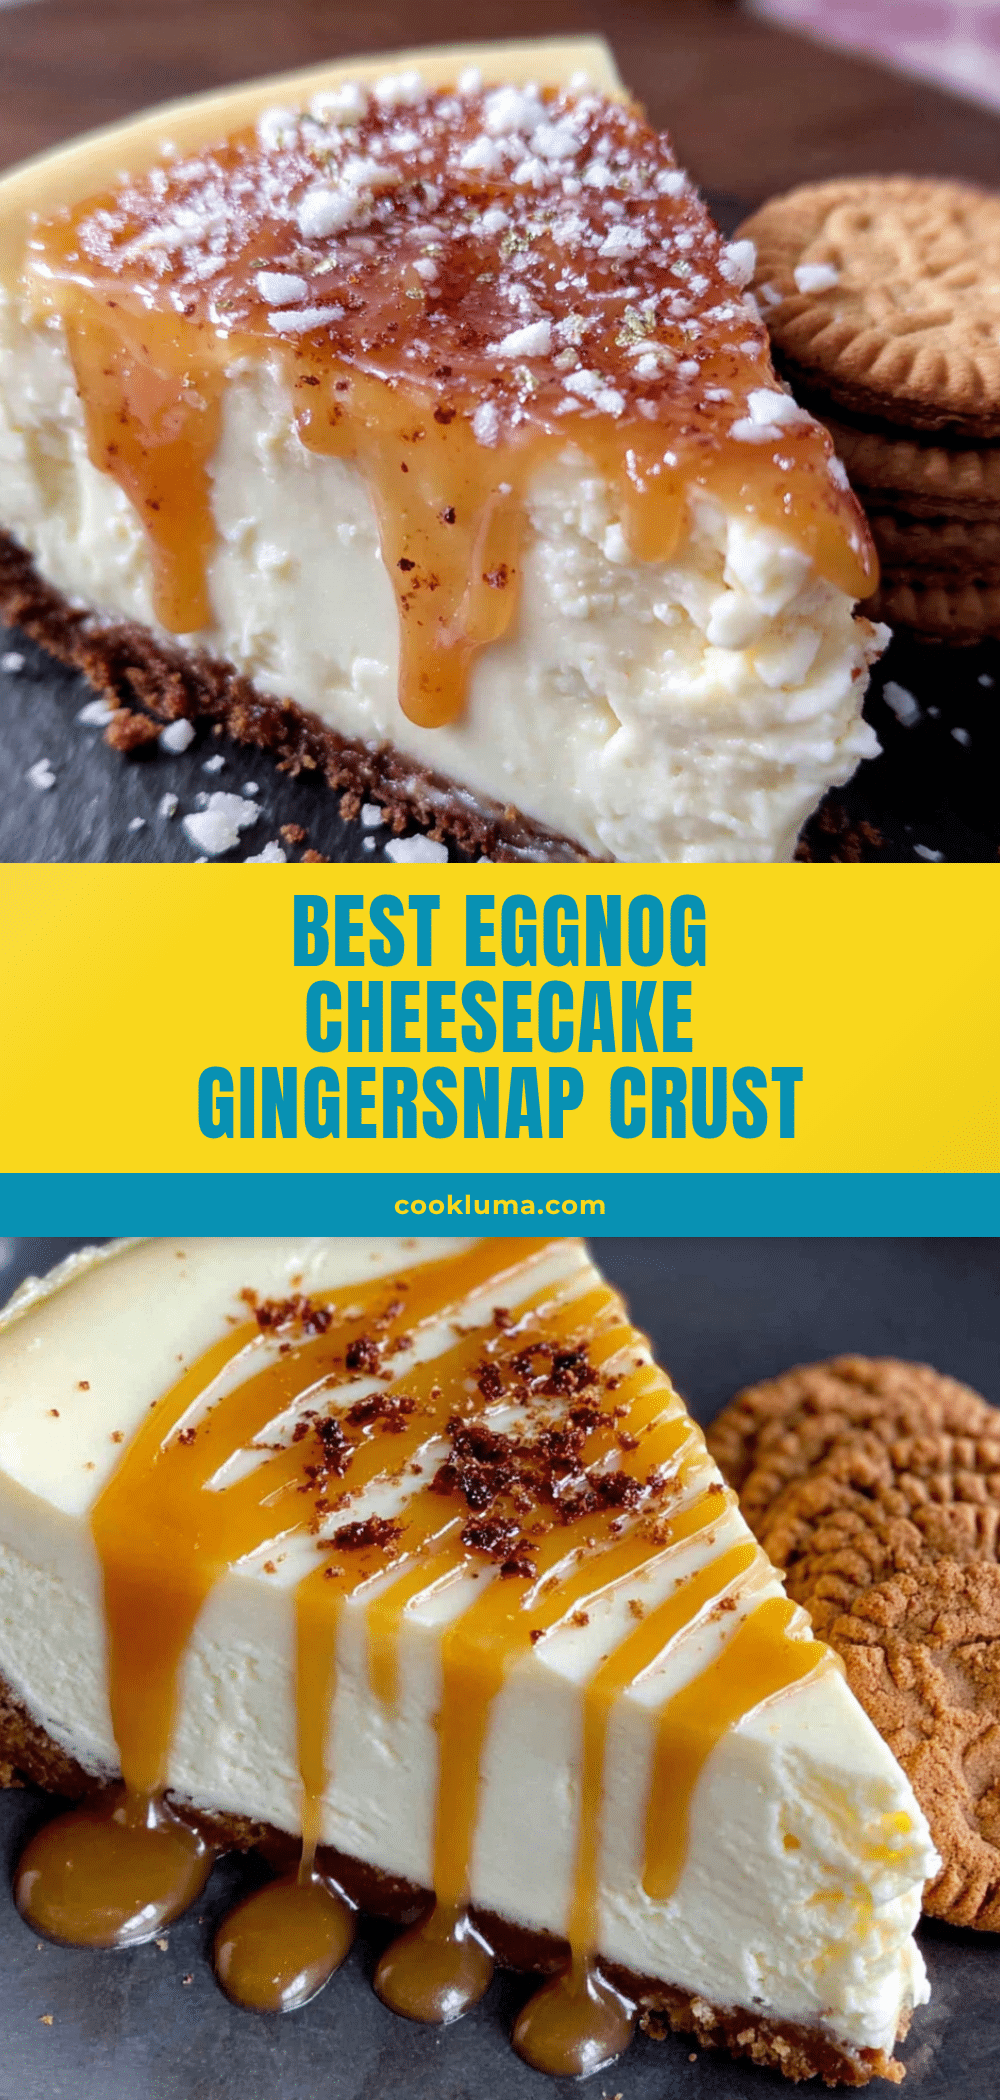
Best Eggnog Cheesecake with Gingersnap Crust – Easy Holiday Dessert
This eggnog cheesecake with a crunchy gingersnap crust is the ultimate holiday showstopper. Creamy, spiced, and perfectly indulgent, it’s a make-ahead dessert that will impress any crowd.
- Prep Time: 30 minutes
- Cook Time: 70 minutes
- Total Time: 8 hours (includes cooling and chilling)
- Yield: 12 servings 1x
- Category: Dessert
- Cuisine: American
Ingredients
- 2 cups (about 240g) gingersnap cookie crumbs
- 6 tablespoons (85g) unsalted butter, melted
- 2 tablespoons (25g) granulated sugar
- ¼ teaspoon salt
- 32 ounces (904g) cream cheese, softened to room temperature
- 1 cup (200g) granulated sugar
- 3 tablespoons (24g) all-purpose flour
- 4 large eggs, room temperature
- 2 large egg yolks, room temperature
- 1½ cups (360ml) high-quality eggnog
- 1 teaspoon vanilla extract
- 1 teaspoon ground nutmeg, freshly grated if possible
- ½ teaspoon ground cinnamon
- ¼ teaspoon ground cloves
- 1 cup (240ml) heavy cream (for garnish)
- 2 tablespoons (15g) powdered sugar (for garnish)
- ½ teaspoon vanilla extract (for garnish)
- Extra gingersnap cookies and fresh cranberries (for garnish)
Instructions
- Preheat oven to 350°F (175°C). In a food processor, pulse gingersnap cookies into fine crumbs. Combine crumbs, melted butter, 2 tablespoons sugar, and salt in a bowl; mix until it resembles wet sand. Press firmly into the bottom of a 9-inch springform pan. Bake for 10 minutes; set aside to cool.
- Reduce oven temperature to 325°F (160°C). In a large bowl, beat softened cream cheese with an electric mixer on medium speed until smooth and fluffy (2-3 minutes). Add 1 cup sugar and flour; beat on medium for 2 minutes. Add eggs and yolks one at a time on low speed until just combined. Mix in eggnog, 1 teaspoon vanilla, nutmeg, cinnamon, and cloves on low until smooth.
- Wrap the bottom and sides of the springform pan with a double layer of heavy-duty aluminum foil. Place pan in a large roasting pan. Pour filling over crust. Carefully pour hot water into the roasting pan until it reaches halfway up the sides of the springform pan. Bake at 325°F (160°C) for 60-70 minutes, until edges are set and center jiggles slightly.
- Turn off oven and crack the door open; let cheesecake sit in warm oven for 1 hour. Remove from water bath and place on a wire rack. Run a thin knife around the edge of the pan. Cool completely at room temperature for 1 hour. Cover with plastic wrap and refrigerate for at least 6 hours or overnight.
- To serve, remove pan sides and place cheesecake on a platter. In a chilled bowl, beat heavy cream, powdered sugar, and ½ teaspoon vanilla on medium-high until stiff peaks form. Pipe or spoon whipped cream around edges. Garnish with extra gingersnap cookies and fresh cranberries. Slice with a sharp knife dipped in hot water.
Notes
Room temperature ingredients are crucial for a smooth batter. Let cream cheese sit out for at least 2 hours. For a crack-free top, cool the cheesecake slowly in the oven with the door cracked open. Use full-fat eggnog for best texture. If cheesecake cracks, cover with whipped cream.
Nutrition
- Serving Size: 1 slice
- Calories: 550
- Sugar: 30
- Sodium: 380
- Fat: 40
- Saturated Fat: 22
- Carbohydrates: 40
- Fiber: 1
- Protein: 11
Keywords: eggnog cheesecake, gingersnap crust, holiday dessert, Christmas cheesecake, New Year's dessert, make-ahead cheesecake


