My neighbor, Mrs. Kowalski, watched me one December afternoon as I struggled to balance a tray of lopsided, half-baked cookies destined for a holiday party. She didn’t say anything at first. Then she just shook her head, smiled, and disappeared into her kitchen. Fifteen minutes later, she came back with a small ramekin of something warm, gooey, and absolutely irresistible. “Dip your cookie in this,” she said. “It’s easier. And people will fight over it.” She was right. Honestly, that little dish of her Christmas tree brownie cake dip changed the way I approach holiday hosting forever.
I mean, let’s be real—holiday parties are stressful enough without worrying about perfectly piped royal icing or cookies that refuse to hold their shape. Mrs. Kowalski, who grew up in a bustling Polish household where desserts were always more about sharing than showing off, taught me that the best dishes are the ones that let you actually enjoy your own party. Her recipe wasn’t written down; it was just something she “threw together” for family gatherings. I watched her add a splash of peppermint extract, a handful of chocolate chips, and a sprinkle of green sugar. She didn’t measure a thing. But the flavor? Perfect. Every single time.
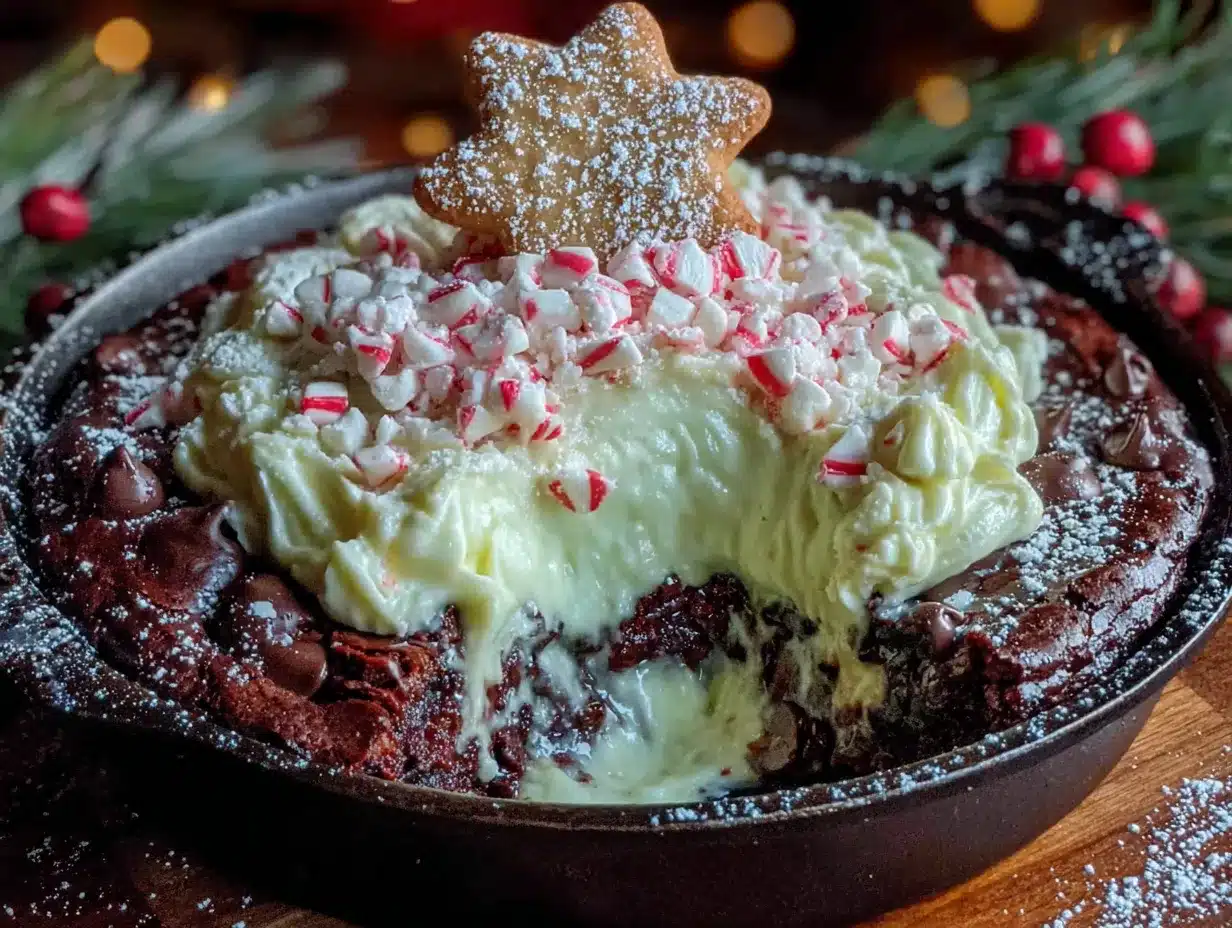
So I took her idea and ran with it, tweaking it until it became this crowd-pleasing Christmas tree brownie cake dip you see here. It’s the kind of dessert that makes people stop mid-conversation and ask, “What IS that?” And the best part? You can make it ahead of time, pop it in the oven just before guests arrive, and let the warm, fudgy aroma do all the work for you. Maybe you’ve been there—standing in your own kitchen, wondering why you signed up to host in the first place. This dip is my answer to that feeling. It’s simple, it’s stunning, and it lets me actually sit down and enjoy the people I invited over.
Why You’ll Love This Recipe
Let’s face it—finding a holiday dessert that’s both impressive and stress-free feels like winning the lottery. This Christmas tree brownie cake dip checks every box. I’ve tested it at three different parties now (including one where I forgot to set a timer and it baked an extra ten minutes—still came out perfect), so trust me when I say it’s foolproof.
- Quick & Easy: From mixing bowl to table in under 30 minutes. That’s less time than it takes to convince your uncle to stop rearranging the cheese platter.
- Simple Ingredients: You probably have most of these in your pantry right now. No weird extracts or specialty flours that cost a fortune.
- Perfect for Holiday Gatherings: Whether it’s a Christmas Eve open house, a cookie swap, or a cozy family dinner, this dip fits right in. It’s the centerpiece that doesn’t need babysitting.
- Crowd-Pleaser: Kids love dipping things. Adults love warm chocolate. Everyone wins. I’ve watched people hover around this dish like it’s a campfire.
- Unbelievably Delicious: The texture is pure magic—fudgy brownie on the edges, gooey molten center in the middle. It’s the kind of dessert that makes people close their eyes after the first bite.
What makes this recipe different from all the other brownie dips out there? It’s the cream cheese base. Most recipes just mix brownie batter and call it a day. But blending in softened cream cheese gives this dip a rich, tangy undertone that balances the sweetness perfectly. Plus, the cream cheese helps create that ultra-creamy, lava-like consistency that stays dippable even as it cools. I’ve tried versions with mascarpone, Greek yogurt, and even sour cream—cream cheese wins every single time. It’s the secret that makes people ask for the recipe before they leave.
This isn’t just good—it’s the kind of dessert that makes you feel like a rockstar host without the stress. Perfect for impressing guests, stealing the dessert table spotlight, and giving you more time to actually enjoy your own party. Honestly, what more could you ask for?
What Ingredients You Will Need
This recipe uses simple, everyday ingredients to deliver that rich, fudgy, holiday-spirited flavor without any fuss. Most of these are pantry staples, and the few special touches (like peppermint extract and green sugar) are easy to find at any grocery store during the holiday season.
For the Brownie Cake Dip Base
- 8 oz cream cheese, softened (full-fat works best for texture; Neufchâtel is okay but won’t be as creamy)
- 1/2 cup unsalted butter, melted (I use Kerrygold for that rich flavor, but any brand works)
- 1 cup granulated sugar (adds sweetness and helps create that crackly top)
- 1/2 cup brown sugar, packed (light or dark—dark gives a deeper molasses note)
- 2 large eggs, room temperature (cold eggs can seize the batter, so let them sit out for 30 minutes)
- 1 teaspoon vanilla extract (pure, not imitation, for the best flavor)
- 1/2 teaspoon peppermint extract (optional but highly recommended—it gives that festive Christmas vibe)
- 3/4 cup all-purpose flour (spoon and level it—don’t scoop directly from the bag)
- 1/4 cup unsweetened cocoa powder (Dutch-processed for a smoother, less acidic chocolate flavor)
- 1/2 teaspoon salt (balances sweetness and enhances chocolate)
- 1/2 teaspoon baking powder (gives a slight lift without making it cakey)
For the Christmas Tree Decoration
- 1/2 cup green sanding sugar or sparkling sugar (look for it in the baking aisle—Wilton and Betty Crocker both make good versions)
- 1/4 cup festive sprinkles (stars, snowflakes, or red and green jimmies work great)
- 1/4 cup white chocolate chips, melted (for drizzling; Ghirardelli melts smoothly without seizing)
- 1 star-shaped cookie or candy (a gingerbread star or a yellow gumdrop star on top—your choice)
For Serving
- Assorted dippers: graham crackers, pretzels, vanilla wafers, shortbread cookies, fresh strawberries, or even marshmallows (I love using pretzel rods for that salty-sweet combo)
- Optional: whipped cream or vanilla ice cream (because why not?)
Ingredient Selection Tips: When buying cream cheese, look for blocks, not the spreadable tub version—they have a different water content and won’t set properly. For the cocoa powder, I recommend Rodelle or Valrhona if you want that deep, luxurious chocolate flavor. And if you can’t find green sanding sugar, you can make your own by mixing 1/2 cup granulated sugar with 4-5 drops of green gel food coloring in a sealed bag—shake it up and you’re done.
Substitution Guidance: Need a gluten-free option? Swap the all-purpose flour with a 1:1 gluten-free baking blend (I like King Arthur’s). Want it dairy-free? Use vegan cream cheese and a plant-based butter stick (not margarine, which has too much water). For a lower-sugar version, replace the granulated sugar with monk fruit sweetener, but note that the texture will be slightly less gooey.
Equipment Needed
You don’t need a fancy kitchen to pull this off. Here’s what you’ll need:
- 9-inch round baking dish or cast-iron skillet (a pie plate or small casserole dish works too—just adjust baking time by 5 minutes if using a different size)
- Electric hand mixer or stand mixer (you can beat by hand if you have strong arms, but the cream cheese needs to be really smooth)
- Large mixing bowl
- Small bowl (for melting white chocolate)
- Rubber spatula (for scraping every last bit of batter—trust me, you’ll want it all)
- Measuring cups and spoons
- Parchment paper (optional but helpful for easy cleanup)
- Microwave or double boiler (for melting white chocolate—I use the microwave in 15-second bursts)
Personal Note: I’ve made this in everything from a vintage Pyrex dish to a cast-iron skillet. The skillet gives you those crispy, caramelized edges that are honestly the best part. If you have one, use it. If not, no worries—any oven-safe dish will do. Just keep an eye on the baking time.
Budget-Friendly Tip: Don’t own a hand mixer? A whisk and some elbow grease work fine. Just make sure your cream cheese is truly room temperature—microwave it for 10 seconds if you’re in a rush (remove the foil wrapper first!).
Preparation Method
This comes together faster than you’d think. Here’s how to make your crowd-pleasing Christmas tree brownie cake dip step by step.
- Preheat your oven to 350°F (175°C). Grease your baking dish or skillet lightly with butter or nonstick spray. If you’re using parchment paper, leave an overhang on two sides for easy lifting later.
- Beat the cream cheese until smooth. In a large mixing bowl, use your hand mixer to beat the softened cream cheese on medium speed for about 2 minutes. It should be completely lump-free—run your spatula through it to check. This step is crucial for that silky texture.
- Add the melted butter and sugars. Pour in the melted butter (let it cool for 5 minutes so it doesn’t cook the eggs), then add both the granulated and brown sugars. Beat on medium speed until light and fluffy, about 2-3 minutes. The mixture should look like a thick, glossy caramel.
- Incorporate the eggs and extracts. Add the eggs one at a time, beating well after each addition. Scrape down the sides of the bowl. Then add the vanilla extract and peppermint extract (if using). Beat for another 30 seconds. The batter will look slightly curdled at this point—that’s normal, don’t panic.
- Whisk together the dry ingredients. In a separate small bowl, whisk the flour, cocoa powder, salt, and baking powder. This ensures everything is evenly distributed. No one wants a pocket of baking powder in their dip.
- Fold the dry ingredients into the wet mixture. Add the flour mixture in two additions, folding gently with your rubber spatula. Do not overmix—stop as soon as you no longer see streaks of flour. Overmixing will make the dip tough instead of fudgy.
- Pour the batter into your prepared dish. Spread it evenly with your spatula. The batter will be thick, almost like a brownie batter. That’s exactly what you want.
- Bake for 20-25 minutes. Place the dish on the middle rack. The edges should look set and slightly cracked, but the center should still jiggle when you gently shake the dish. For a gooier dip, bake 20 minutes. For a firmer dip (easier for dipping without mess), go for 25 minutes. My sweet spot is 22 minutes.
- Let it cool for 5-10 minutes. This is important—the dip continues to cook from residual heat, and it needs to set slightly so your decorations don’t sink. While it cools, prepare your Christmas tree decorations.
- Create the Christmas tree shape. Using a small offset spatula or the back of a spoon, gently spread the dip into a rough triangle shape (like a Christmas tree). Don’t stress about perfection—the sprinkles will cover any imperfections.
- Sprinkle with green sanding sugar. Generously coat the “tree” area with green sugar. Tap off any excess onto a plate (you can reuse it later). The sugar should cover the entire triangle.
- Add sprinkles and star. Press festive sprinkles into the green sugar to look like ornaments. Drizzle melted white chocolate in zigzag patterns for “garland.” Place your star cookie or candy at the top. Stand back and admire your work.
- Serve warm. Arrange your dippers around the dish. This dip is best enjoyed within 30 minutes of coming out of the oven. Set it in the center of your dessert table and watch it disappear.
Visual Cue: When you pull the dip out of the oven, the edges should be puffed and cracked like a brownie, while the center looks soft and slightly sunken. If the entire surface is puffy, it needs another 2-3 minutes. If the center is liquid, it needs more time. Trust the jiggle test—it’s never failed me.
Cooking Tips & Techniques
I’ve made this Christmas tree brownie cake dip more times than I can count, and I’ve definitely learned a few things the hard way. Here are my best tips to ensure yours turns out perfect every time.
Don’t overbake. This is the number one mistake I see. Brownie dips continue to cook after you pull them out of the oven, so it’s better to underbake slightly than overbake. The center should still wobble when you shake the dish. I once left mine in for 28 minutes because I got distracted by a phone call—it turned into a brownie cake, not a dip. Still tasted good, but not the gooey experience you’re after.
Room temperature ingredients matter. I know, I know—every recipe says this. But with cream cheese especially, cold ingredients won’t blend smoothly. You’ll end up with lumpy batter. Take the cream cheese and eggs out of the fridge 30 minutes before you start. If you forget (I do all the time), place the cream cheese (still wrapped) in a bowl of warm water for 10 minutes.
Toast your dippers. This is a pro tip I picked up from a bakery owner friend. Lightly toast graham crackers or pound cake cubes in the oven for 3-4 minutes before serving. The warmth and slight crunch make the dip experience ten times better. Trust me on this one.
Multitask like a pro. While the dip bakes, set up your dipping station. Arrange cookies, pretzels, and fruit on a platter. Melt your white chocolate. Get your sprinkles organized. That way, the moment the dip comes out, you’re ready to decorate and serve. Your guests won’t have to wait, and you won’t be scrambling.
Make it ahead. You can prepare the batter up to 24 hours in advance and store it covered in the fridge. Let it sit at room temperature for 20 minutes before baking, then add 3-5 minutes to the baking time since the batter will be cold. This is a lifesaver for busy hosting days.
Variations & Adaptations
One of the best things about this crowd-pleasing Christmas tree brownie cake dip is how easily it adapts. Here are some variations I’ve tried and loved.
Peppermint Bark Dip: Crush 1/2 cup of peppermint bark candies and fold them into the batter before baking. Top with extra crushed candy canes instead of green sugar. It gives that classic peppermint bark flavor in dip form—perfect for a candy cane lover.
Gluten-Free Version: Swap the all-purpose flour with a 1:1 gluten-free baking blend. I’ve tested this with King Arthur’s Measure for Measure flour, and it works beautifully. The texture is slightly less fudgy but still delicious. Just make sure your baking powder is also gluten-free.
Dairy-Free Adaptation: Use vegan cream cheese (Miyoko’s is my favorite) and plant-based butter. The texture will be a bit softer, so bake for 2-3 extra minutes. Serve with dairy-free cookies and fruit for a completely vegan-friendly dessert.
Chocolate Lover’s Dream: Fold 1/2 cup of dark chocolate chips into the batter before baking. The extra pockets of melted chocolate take this dip over the top. I did this for a New Year’s Eve party and people literally licked the dish clean.
Funfetti Holiday Dip: Omit the green sugar and peppermint extract. Instead, fold 1/3 cup of rainbow sprinkles into the batter and top with more sprinkles after baking. It’s less “Christmas tree” and more “holiday party,” but honestly, it’s just as festive and even more kid-friendly.
Individual Mini Dips: Divide the batter among 4-6 small ramekins or oven-safe mugs. Bake for 12-15 minutes. Decorate each mini tree individually. This is perfect for parties where everyone wants their own little dish—no sharing required.
Serving & Storage Suggestions
This dip is best served warm, right after it comes out of the oven. The gooey center and crispy edges are at their peak within the first 20 minutes. Set it on your dessert table with an assortment of dippers arranged around it. I like to use a wooden board or a festive platter to create a beautiful presentation.
What to serve alongside: The options are endless. Graham crackers (honey or cinnamon), pretzel rods, shortbread cookies, vanilla wafers, animal crackers, fresh strawberries, apple slices, marshmallows, and even pieces of pound cake. My personal favorite? Salty pretzel rods—the contrast with the sweet, fudgy dip is addictive.
Beverage pairings: A warm mug of hot chocolate or peppermint coffee complements this dip beautifully. For an adult gathering, try a glass of red wine (a fruity Merlot works well) or a creamy eggnog cocktail. Honestly, milk is always a solid choice too.
Storage: If you have leftovers (unlikely, but possible), cover the dish tightly with plastic wrap or transfer the dip to an airtight container. Refrigerate for up to 3 days. The dip will firm up as it cools, so you’ll need to reheat it.
Reheating: Microwave individual portions for 15-20 seconds, or reheat the entire dish in a 300°F oven for 10 minutes. The texture won’t be quite as gooey as fresh, but it’s still delicious. I’ve even eaten it cold straight from the fridge—don’t judge me, it’s good.
Flavor development: Interestingly, the flavors meld together even more after a day in the fridge. The peppermint note becomes more subtle, and the chocolate deepens. Some people actually prefer it the next day. Try it both ways and see which you like better.
Nutritional Information & Benefits
Let’s be honest—this is a dessert, not a health food. But here’s the estimated nutritional breakdown per serving (based on 8 servings, without dippers):
- Calories: 385
- Fat: 22g
- Saturated Fat: 13g
- Carbohydrates: 45g
- Sugar: 34g
- Protein: 6g
- Fiber: 2g
- Sodium: 280mg
Health highlights: The cream cheese provides a small amount of calcium and protein. Cocoa powder is rich in antioxidants, specifically flavonoids, which can support heart health. And if you use dark chocolate chips in the variation, you get even more of those benefits. Plus, there’s something to be said for the mental health boost of sharing a warm, comforting dessert with people you love—that counts for something, right?
Dietary considerations: This recipe contains dairy, eggs, and gluten. See the variations section for gluten-free and dairy-free adaptations. It’s not low-carb or keto-friendly due to the sugar content, but you could experiment with a sugar substitute if needed.
Potential allergens: Dairy, eggs, wheat (gluten). If serving at a party, label it clearly so guests with allergies can make informed choices. I always put a small card next to mine listing the main allergens.
Personal perspective: I’m all about balance. This dip is a treat, meant for special occasions. I don’t stress about the numbers when I’m hosting—I focus on the joy of sharing good food with good people. And honestly, a few bites of this dip make everyone at the party a little happier. That’s worth every calorie.
Conclusion
This crowd-pleasing Christmas tree brownie cake dip is everything I want in a holiday dessert—it’s stunning, it’s simple, and it lets me actually enjoy my own party. The warm, fudgy center, the festive green sugar, the little star on top—it’s a showstopper that takes less than 30 minutes to make. I’ve brought it to cookie swaps, family dinners, and neighborhood gatherings, and every single time, someone asks for the recipe. Every. Single. Time.
What I love most about this dip is how it brings people together. There’s something about gathering around a warm dish, dipping cookies and pretzels, and sharing bites that feels inherently communal. It’s not a fussy, plated dessert that requires individual servings. It’s a share-and-enjoy kind of treat, and that’s my favorite kind of dessert to serve.
I’d love to hear how yours turns out! Did you add your own twist? Did your guests fight over the last pretzel rod? Drop a comment below and let me know. And if you’re looking for more holiday dessert ideas that won’t stress you out, check out my easy Christmas dessert recipes for more inspiration. Happy hosting, and remember—the best parties are the ones where the host actually gets to sit down and enjoy the food too. You’ve got this!
Frequently Asked Questions
Can I make this Christmas tree brownie cake dip ahead of time?
Absolutely! You can prepare the batter up to 24 hours in advance and store it covered in the fridge. When you’re ready to bake, let it sit at room temperature for 20 minutes, then bake as directed, adding 3-5 minutes to the baking time. You can also bake the dip completely, let it cool, cover it, and reheat it in a 300°F oven for 10 minutes before decorating and serving.
Can I use a different shape instead of a Christmas tree?
Of course! The green sugar and sprinkles are purely decorative. You can shape the dip into a star, a snowman, a wreath, or even leave it as a round dip and just sprinkle festive colors on top. For Valentine’s Day, try a heart shape with pink and red sprinkles. For Halloween, make it a pumpkin shape with orange sugar. The possibilities are endless.
What if I don’t have green sanding sugar?
No problem at all. You can make your own by mixing 1/2 cup granulated sugar with 4-5 drops of green gel food coloring in a sealed plastic bag. Shake it vigorously until the color is evenly distributed. You can also use green sprinkles, crushed green candies, or even finely chopped pistachios for a natural green color. Skip the green altogether and just use festive sprinkles—it’ll still look beautiful.
How do I know when the dip is done baking?
The best test is the jiggle test. Gently shake the baking dish—the edges should be set and slightly cracked, but the center should wobble like a soft brownie. If the entire surface is puffy and firm, it’s overbaked. If the center is liquid and runny, it needs more time. Start checking at 20 minutes, then add 2-3 minutes at a time until it’s just right.
Can I double this recipe for a larger party?
Yes! Double all the ingredients and bake in a 9×13-inch baking dish or a larger cast-iron skillet. Increase the baking time to 30-35 minutes, still using the jiggle test to determine doneness. You’ll also need more green sugar and sprinkles to cover the larger surface. A larger dip means more dippers and happier guests—win-win!
Pin This Recipe!
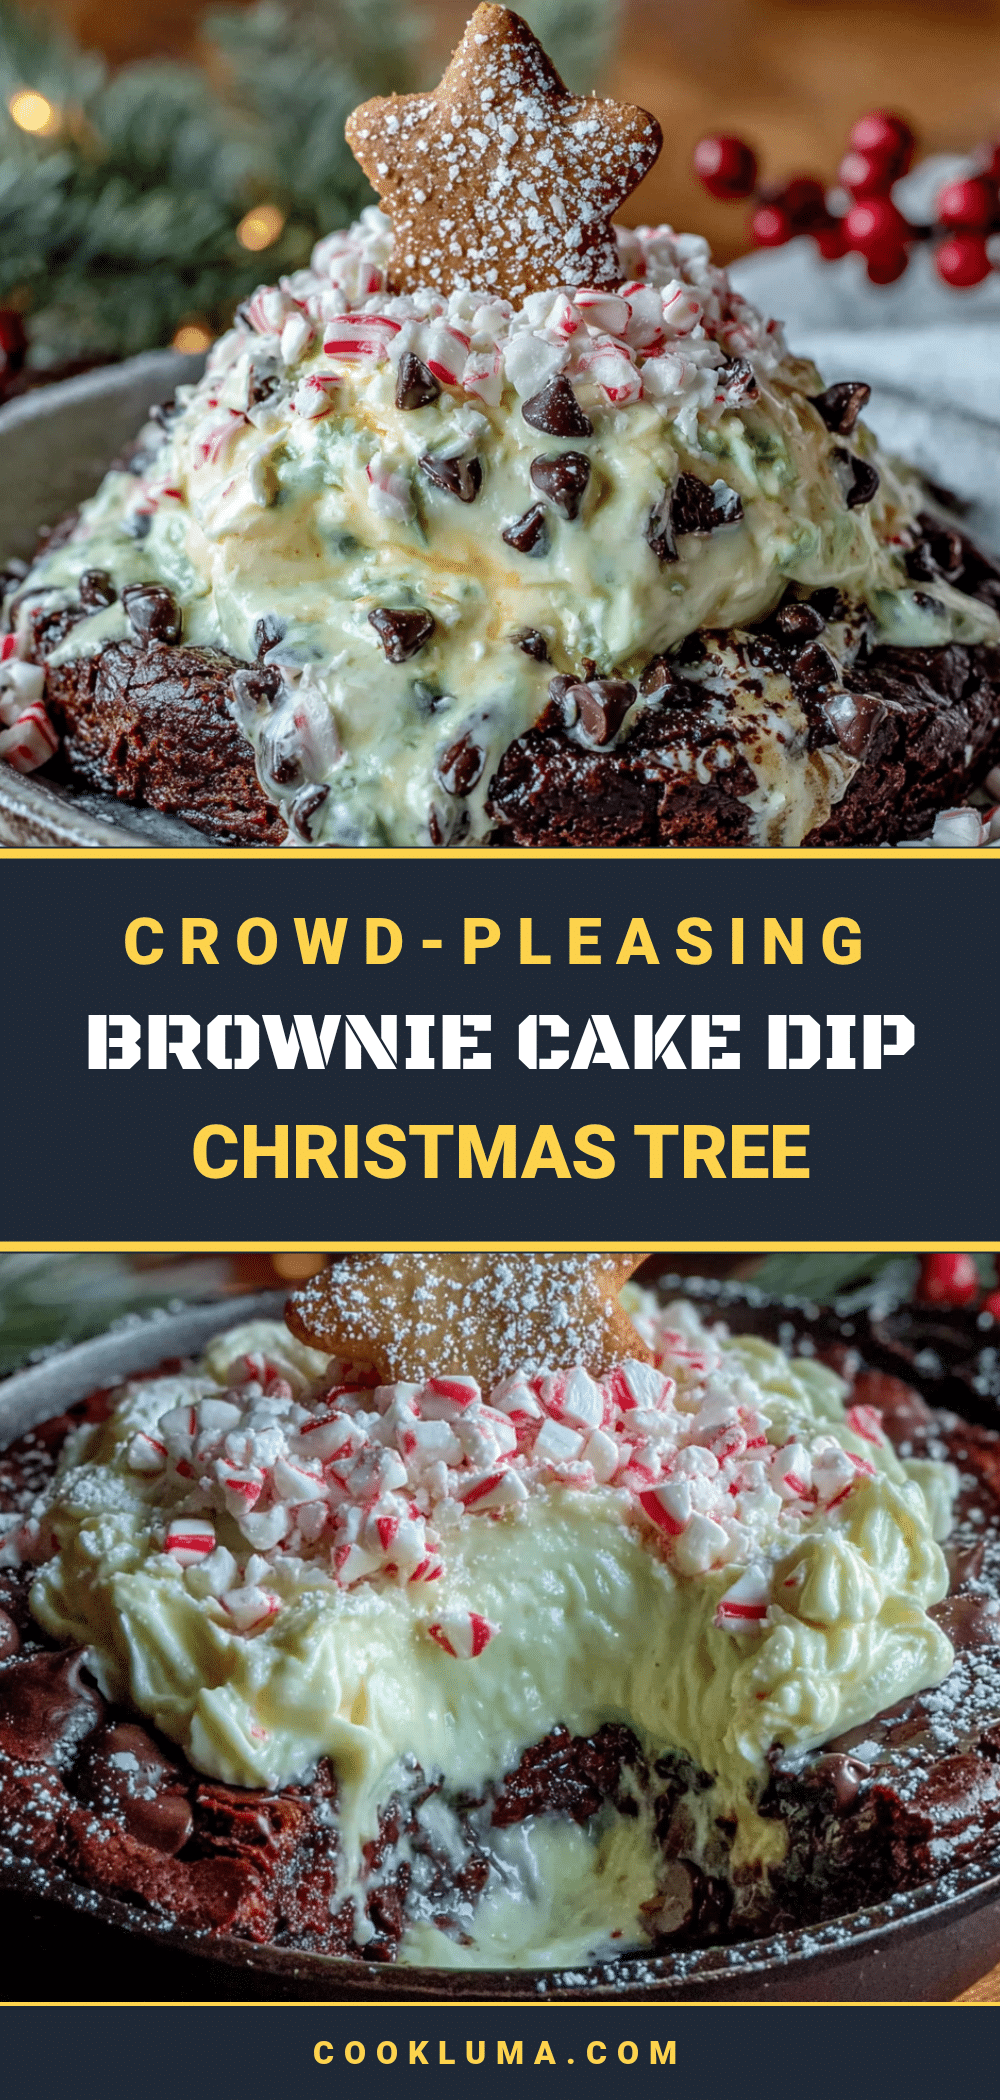
Best Christmas Tree Brownie Cake Dip (Easy Holiday Dessert)
A warm, fudgy brownie cake dip shaped like a Christmas tree, topped with green sanding sugar, sprinkles, and a star. Perfect for holiday gatherings, this easy dessert comes together in under 30 minutes and is sure to be a crowd-pleaser.
- Prep Time: 10 minutes
- Cook Time: 22 minutes
- Total Time: 32 minutes
- Yield: 8 servings 1x
- Category: Dessert
- Cuisine: American
Ingredients
- 8 oz cream cheese, softened
- 1/2 cup unsalted butter, melted
- 1 cup granulated sugar
- 1/2 cup brown sugar, packed
- 2 large eggs, room temperature
- 1 teaspoon vanilla extract
- 1/2 teaspoon peppermint extract (optional)
- 3/4 cup all-purpose flour
- 1/4 cup unsweetened cocoa powder (Dutch-processed)
- 1/2 teaspoon salt
- 1/2 teaspoon baking powder
- 1/2 cup green sanding sugar or sparkling sugar
- 1/4 cup festive sprinkles
- 1/4 cup white chocolate chips, melted
- 1 star-shaped cookie or candy
- Assorted dippers: graham crackers, pretzels, vanilla wafers, shortbread cookies, fresh strawberries, or marshmallows
- Optional: whipped cream or vanilla ice cream
Instructions
- Preheat your oven to 350°F (175°C). Grease your baking dish or skillet lightly with butter or nonstick spray.
- In a large mixing bowl, beat the softened cream cheese with a hand mixer on medium speed until smooth, about 2 minutes.
- Add the melted butter (cooled for 5 minutes) and both sugars. Beat on medium speed until light and fluffy, about 2-3 minutes.
- Add the eggs one at a time, beating well after each addition. Scrape down the sides. Add vanilla extract and peppermint extract (if using). Beat for another 30 seconds.
- In a separate small bowl, whisk together the flour, cocoa powder, salt, and baking powder.
- Fold the dry ingredients into the wet mixture in two additions, using a rubber spatula. Do not overmix.
- Pour the batter into the prepared dish and spread evenly.
- Bake for 20-25 minutes. The edges should be set and slightly cracked, but the center should still jiggle.
- Let the dip cool for 5-10 minutes.
- Using a small offset spatula or the back of a spoon, gently spread the dip into a rough triangle shape (like a Christmas tree).
- Generously sprinkle the tree area with green sanding sugar. Tap off excess.
- Press festive sprinkles into the green sugar to look like ornaments. Drizzle melted white chocolate in zigzag patterns for garland. Place the star cookie or candy at the top.
- Serve warm with assorted dippers.
Notes
Don’t overbake; the center should still jiggle. Room temperature ingredients are key for a smooth batter. For a gluten-free version, use a 1:1 gluten-free baking blend. For dairy-free, use vegan cream cheese and plant-based butter. The dip can be made ahead: prepare batter up to 24 hours in advance, refrigerate, then let sit at room temperature for 20 minutes before baking, adding 3-5 minutes to baking time.
Nutrition
- Serving Size: 1 serving (without d
- Calories: 385
- Sugar: 34
- Sodium: 280
- Fat: 22
- Saturated Fat: 13
- Carbohydrates: 45
- Fiber: 2
- Protein: 6
Keywords: Christmas tree brownie cake dip, easy holiday dessert, brownie dip, Christmas dessert, party dip, chocolate dip


