The neighborhood Halloween potluck was in twelve hours and I’d completely forgotten. Everyone else would be bringing those elaborate, Pinterest-perfect desserts—the ones that look like they took three days and a pastry degree. I had a half-empty bag of dark cocoa powder, some red gel food coloring I’d bought on a whim, and about forty-five minutes before I needed to start getting the kids into costumes. Honestly, I almost just grabbed a bag of candy from the gas station. But something in me—maybe it was stubbornness, maybe it was the sugar craving—decided to try.
I threw together a black velvet cupcake batter, crossing my fingers that the color would actually turn out. I mean, I’d never made a black cake before. It felt risky. While they baked, I whipped up an orange buttercream that was so bright it looked almost fake. Let me tell you, when I walked into that party with a simple platter of these black and orange cupcakes, I felt a little sheepish. They weren’t fancy. But then people started eating them. And then they started asking for the recipe. By the end of the night, three different people had requested I bring them to the next gathering. It was completely unexpected. These Guest-Favorite Black Velvet Halloween Cupcakes with Orange Buttercream became my accidental signature dish, and I’ve been making them every October since. Maybe you’ve been in that same spot—needing a showstopper with zero time. These are your answer.
Why You’ll Love This Recipe
I’ve tested this recipe more times than I care to count, tweaking the cocoa balance and the buttercream consistency until it was just right. As a home cook who’s learned the hard way, I can tell you this version is foolproof. Here’s why it stands out.
- Quick & Easy: From start to finish, these come together in under an hour. Perfect for those last-minute Halloween party invites.
- Simple Ingredients: No fancy bakery supplies needed. You likely have most of this in your pantry right now.
- Perfect for Hosting: Great for potlucks, Halloween parties, or just a fun weekend baking project with the kids.
- Crowd-Pleaser: I’ve yet to meet a person who doesn’t go back for seconds. The kids love the color, and the adults love the rich, moist crumb.
- Unbelievably Delicious: The black velvet cake is tender and deeply chocolatey, but it’s the tangy orange buttercream that really steals the show. It’s next-level comfort food.
What makes this different from other Halloween cupcakes? It’s the texture. The combination of buttermilk and a touch of vinegar gives it that classic velvet softness, while the black cocoa powder provides a subtle, almost Oreo-like flavor. This isn’t just another Halloween dessert—it’s your best version of it. It’s the kind of cupcake that makes you close your eyes after the first bite. Perfect for impressing your guests without any stress.
What Ingredients You Will Need
This recipe uses simple, wholesome ingredients to deliver a bold flavor and a stunning visual effect. Most of these are pantry staples, which makes it even better for a last-minute baking session.
For the Black Velvet Cupcakes
- All-purpose flour: 1 ½ cups (190g). Provides the structure. Spoon and level it for accuracy.
- Granulated sugar: 1 cup (200g). Adds sweetness and helps with that tender crumb.
- Unsweetened cocoa powder: ¼ cup (25g). I recommend using a dark or black cocoa powder for the deepest color. I’ve found that brands like Hershey’s Special Dark work beautifully here.
- Baking soda: 1 teaspoon. The leavening agent that helps them rise.
- Salt: ½ teaspoon. Balances the sweetness.
- Buttermilk: ½ cup (120ml), room temperature. This is the secret to a moist, tender crumb. If you don’t have buttermilk, you can make a quick substitute by adding 1 ½ teaspoons of lemon juice or vinegar to ½ cup of regular milk and letting it sit for 5 minutes.
- Vegetable oil: ½ cup (120ml). Keeps the cupcakes incredibly moist.
- Large eggs: 2, room temperature. Binds everything together.
- White vinegar: 1 teaspoon. Reacts with the baking soda for extra lift.
- Vanilla extract: 1 teaspoon. For depth of flavor.
- Black gel food coloring: 2-3 teaspoons. This is key for that dramatic black color. Liquid coloring won’t give you the same intensity, so stick with a gel or paste.
For the Orange Buttercream
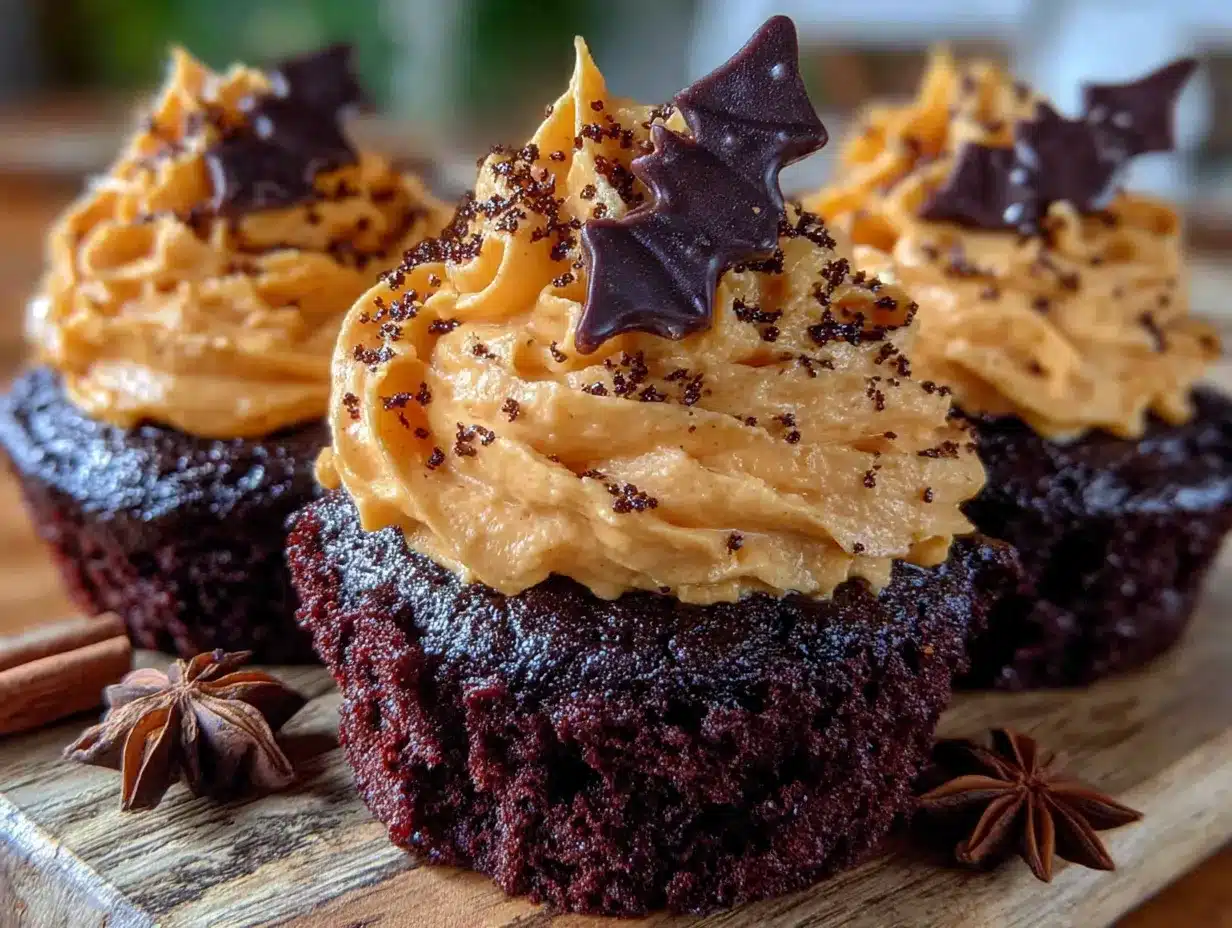
- Unsalted butter: 1 cup (226g), softened to room temperature. I always use Kerrygold for its rich, creamy flavor.
- Powdered sugar: 3-4 cups (360-480g), sifted. Adjust for your desired sweetness and consistency.
- Heavy cream: 2-3 tablespoons (30-45ml). Adds creaminess.
- Orange extract: 1 teaspoon. Use a good quality extract for a pure, bright orange flavor. I avoid using orange juice here as it can make the frosting too thin and curdle the butter.
- Orange gel food coloring: A few drops, to reach your desired shade.
- Vanilla extract: ½ teaspoon. Rounds out the flavor.
- Salt: A tiny pinch. Cuts the sweetness.
For Decoration
- Halloween sprinkles: Optional, but fun for a festive touch.
- Black sanding sugar: For an extra spooky shimmer.
Equipment Needed
- Standard 12-cup muffin tin: The foundation for perfect cupcake shapes.
- Paper cupcake liners: I recommend using black or orange liners for the full Halloween effect.
- Two large mixing bowls: One for dry ingredients, one for wet.
- Whisk and spatula: For combining the batter smoothly.
- Electric hand mixer or stand mixer: Essential for making the buttercream light and fluffy. I’ve made it with a whisk by hand before—it works, but your arm will thank you for using a mixer.
- Piping bag with a star tip (like Wilton 1M): For that beautiful swirl on top. If you don’t have a piping bag, a zip-top bag with the corner snipped off works in a pinch.
- Cooling rack: To let the cupcakes cool completely before frosting.
- Measuring cups and spoons: For accuracy.
Preparation Method
Let’s get baking. This method is broken down into simple steps to make sure everything goes perfectly.
- Preheat and Prep: Preheat your oven to 350°F (175°C). Line your muffin tin with 12 paper liners. This is a small step that makes a big difference for easy removal later.
- Mix Dry Ingredients: In a large bowl, whisk together the all-purpose flour, granulated sugar, dark cocoa powder, baking soda, and salt. Make sure there are no lumps. The cocoa can be stubborn, so take your time here.
- Combine Wet Ingredients: In a separate bowl, whisk together the room-temperature buttermilk, vegetable oil, eggs, white vinegar, and vanilla extract. Whisk until the eggs are fully incorporated and the mixture is smooth.
- Add the Color: Stir in the black gel food coloring into the wet mixture. Start with 2 teaspoons. The batter will look a bit like a dark grey at this point—don’t panic. It will darken significantly as it bakes.
- Combine Wet and Dry: Pour the wet ingredients into the bowl of dry ingredients. Use a spatula to fold everything together gently. Mix just until you see the last streak of flour disappear. Overmixing will make the cupcakes tough, so stop as soon as it comes together.
- Fill the Liners: Divide the batter evenly among the 12 liners. I like to use a cookie scoop for this—it keeps things neat and ensures uniform cupcakes. Fill each liner about ⅔ full.
- Bake to Perfection: Bake for 18-22 minutes, or until a toothpick inserted into the center of a cupcake comes out clean or with a few moist crumbs. The tops should spring back when lightly touched. My oven runs a little hot, so I always start checking at the 18-minute mark.
- Cool Completely: Let the cupcakes cool in the tin for 5 minutes, then transfer them to a wire rack to cool completely. This is crucial. If you frost them while they’re still warm, the buttercream will melt into a sad, greasy puddle.
- Make the Buttercream: While the cupcakes are cooling, make the frosting. In the bowl of a stand mixer fitted with the paddle attachment (or using a hand mixer), beat the softened butter on medium speed for 2-3 minutes, until it’s pale, light, and fluffy. Scrape down the sides of the bowl.
- Add Sugar and Cream: With the mixer on low, gradually add the sifted powdered sugar, one cup at a time. Alternate with splashes of heavy cream. Once all the sugar is incorporated, add the orange extract, vanilla extract, and a tiny pinch of salt.
- Whip and Color: Increase the speed to medium-high and beat for 3-4 minutes, until the buttercream is light, airy, and spreadable. Add a few drops of orange gel food coloring and mix until the color is uniform. For a more intense orange, add the coloring a drop at a time.
- Frost and Decorate: Once the cupcakes are completely cool, transfer the buttercream to a piping bag fitted with a star tip. Pipe a generous swirl onto each cupcake. Top with Halloween sprinkles or a dusting of black sanding sugar for that extra spooky touch.
Cooking Tips & Techniques
I’ve made these cupcakes more times than I can count, and I’ve definitely learned a few things along the way. Here are my best tips to make sure yours turn out perfectly.
- The Temperature Matters: Room temperature ingredients—eggs, buttermilk, butter—are non-negotiable here. Cold ingredients don’t emulsify properly, which leads to a denser, less tender crumb. I pull everything out of the fridge about 30 minutes before I start.
- Don’t Overmix the Batter: I know it’s tempting to keep stirring until it’s perfectly smooth, but stop as soon as the flour disappears. Overmixing develops the gluten, and you’ll end up with tough, rubbery cupcakes instead of soft, velvety ones.
- The Color is in the Cocoa: For that true black color, you really need to use a dark or black cocoa powder. Regular natural cocoa powder will give you a dark brown, which is fine, but it won’t have that dramatic Halloween look. I’ve made that mistake before, and the cupcakes looked more like mud than velvet.
- Gel vs. Liquid Coloring: Stick with gel or paste food coloring. Liquid coloring will throw off the liquid balance of your batter and won’t give you nearly as intense a color. It’s worth the extra few cents.
- Buttercream Consistency: If your buttercream is too stiff, add another tablespoon of heavy cream. If it’s too thin, add a little more sifted powdered sugar. The perfect consistency should hold its shape when piped but still feel soft and spreadable.
Variations & Adaptations
This recipe is incredibly versatile. Here are a few ways you can switch it up to suit your taste or what you have on hand.
- Gluten-Free Version: Substitute the all-purpose flour with a good 1:1 gluten-free baking flour blend. I’ve used Bob’s Red Mill with great results. Just make sure it contains xanthan gum for structure.
- Dairy-Free Adaptation: Use a plant-based buttermilk (like unsweetened almond milk mixed with a teaspoon of vinegar) and a dairy-free butter substitute for the frosting. Miyoko’s or Country Crock Plant Butter work well.
- Flavor Twist: Swap the orange extract in the buttercream for peppermint extract for a “Black and Orange Mint” cupcake. It’s a surprisingly refreshing combo that’s perfect for a fall party.
- Spider Web Design: Instead of a full swirl, pipe a flat layer of orange buttercream on top. Then, pipe three concentric circles of black frosting (or melted dark chocolate) and drag a toothpick from the center outwards to create a spider web effect.
- Mini Cupcakes: Use a mini muffin tin and reduce the baking time to 10-12 minutes. These are perfect for a crowd where people want to try a little bit of everything.
Serving & Storage Suggestions
These cupcakes are best served at room temperature, which allows the cake to be soft and the buttercream to be perfectly creamy. I like to arrange them on a black or orange platter for maximum visual impact.
- What to Serve Alongside: These pair beautifully with a cold glass of milk for the kids or a strong cup of coffee for the adults. If you’re hosting a party, they’re fantastic alongside other finger foods like spiced pumpkin dip with ginger snaps or a savory cheese board with dark grapes and crackers.
- Storage: Store any leftover cupcakes in an airtight container at room temperature for up to 2 days. If your kitchen is warm, you can store them in the fridge, but let them sit out for 20 minutes before serving to bring them back to room temperature.
- Freezing: You can freeze the unfrosted cupcakes for up to 3 months. Wrap them individually in plastic wrap and then place them in a freezer bag. Thaw at room temperature before frosting. The buttercream can also be frozen in a piping bag for up to a month—just let it thaw in the fridge overnight and re-whip it for a minute before piping.
- Flavor Development: Honestly, these cupcakes taste even better the next day. The flavors have time to meld, and the texture becomes even more moist. So if you can, bake them a day ahead.
Nutritional Information & Benefits
While these are definitely a treat, here’s a rough estimate of the nutritional content per cupcake (based on 12 servings).
| Nutrient | Amount per Cupcake |
|---|---|
| Calories | ~420 |
| Fat | 22g |
| Carbohydrates | 55g |
| Protein | 4g |
| Sugar | 40g |
Pin This Recipe!
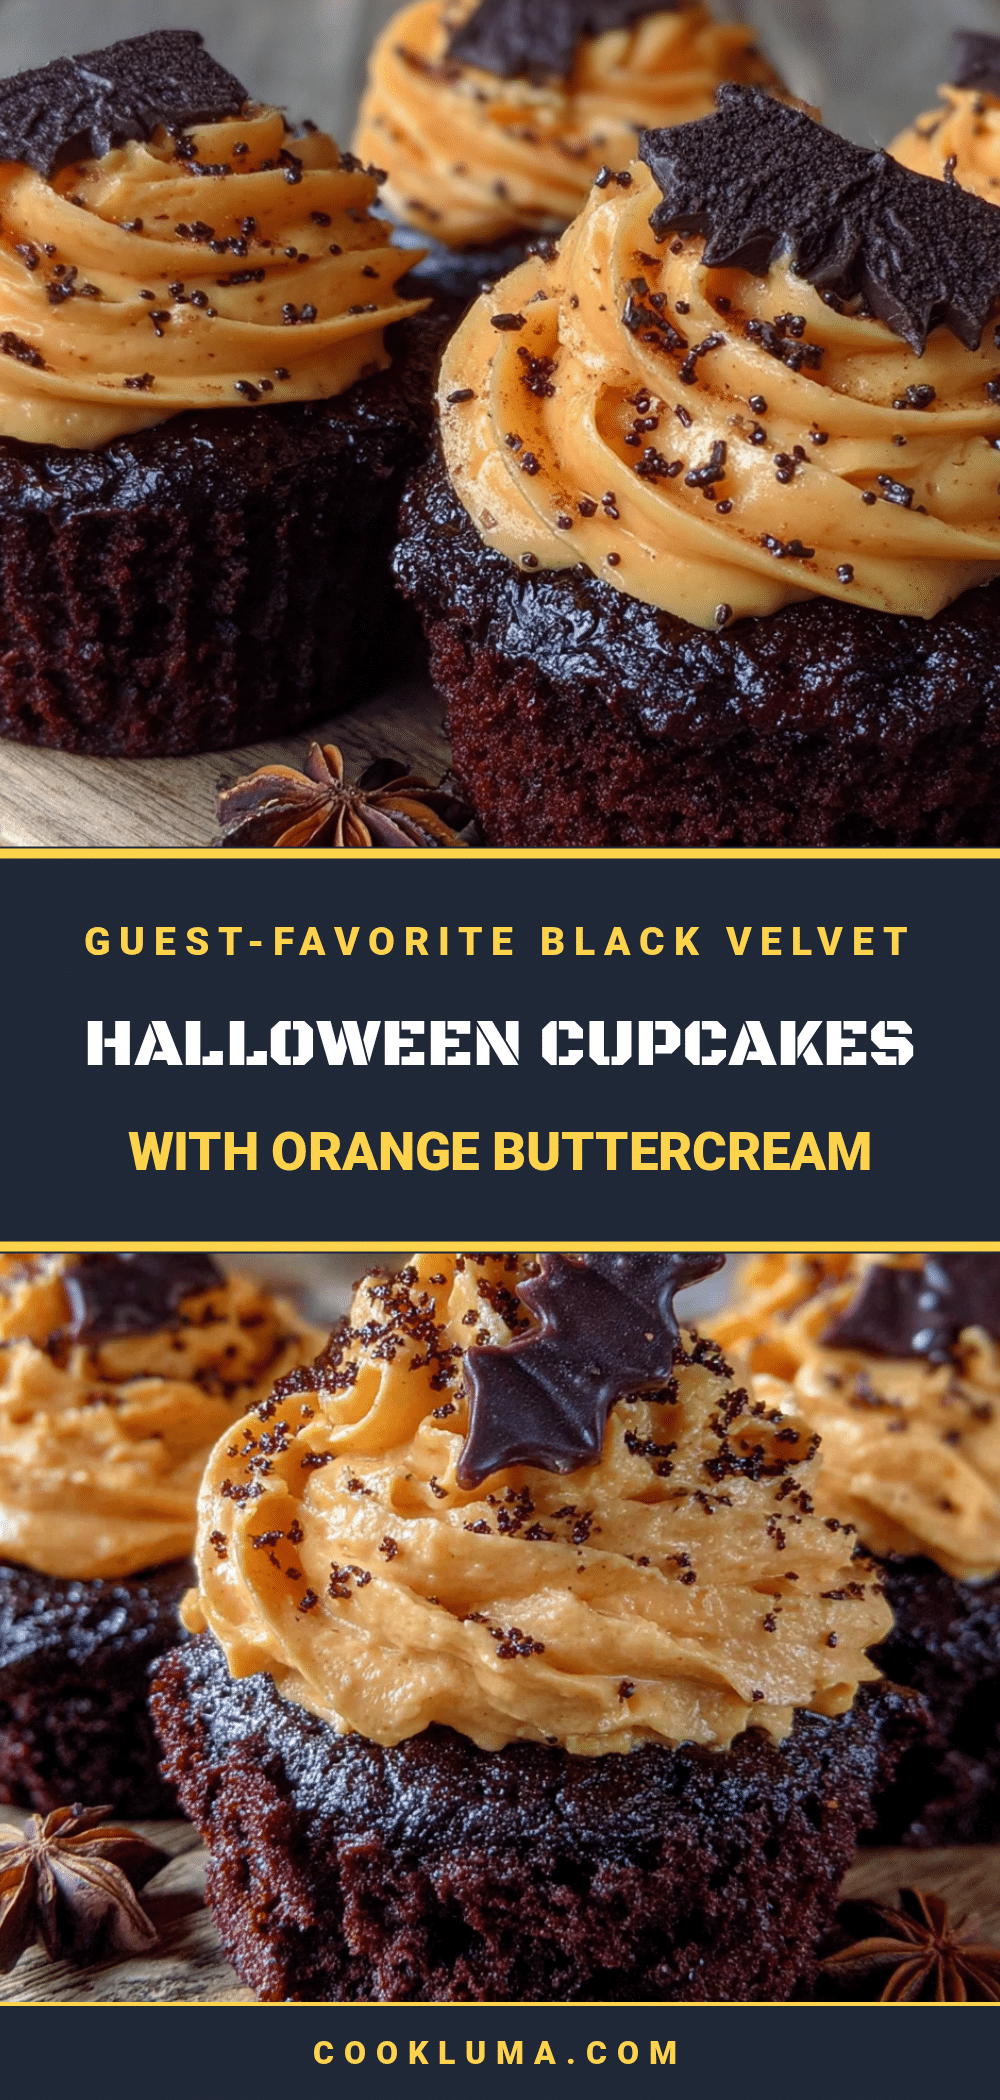
Best Black Velvet Halloween Cupcakes with Orange Buttercream
These Guest-Favorite Black Velvet Halloween Cupcakes with Orange Buttercream are a dramatic, playful, and completely delicious dessert perfect for Halloween parties. They come together in under an hour with simple ingredients, featuring a tender black velvet cake and a tangy orange buttercream that steals the show.
- Prep Time: 20 minutes
- Cook Time: 20 minutes
- Total Time: 40 minutes
- Yield: 12 cupcakes 1x
- Category: Dessert
- Cuisine: American
Ingredients
- 1 ½ cups (190g) all-purpose flour
- 1 cup (200g) granulated sugar
- ¼ cup (25g) unsweetened dark or black cocoa powder
- 1 teaspoon baking soda
- ½ teaspoon salt
- ½ cup (120ml) buttermilk, room temperature
- ½ cup (120ml) vegetable oil
- 2 large eggs, room temperature
- 1 teaspoon white vinegar
- 1 teaspoon vanilla extract
- 2–3 teaspoons black gel food coloring
- 1 cup (226g) unsalted butter, softened to room temperature
- 3–4 cups (360-480g) powdered sugar, sifted
- 2–3 tablespoons (30-45ml) heavy cream
- 1 teaspoon orange extract
- ½ teaspoon vanilla extract
- A tiny pinch of salt
- A few drops orange gel food coloring
- Halloween sprinkles (optional)
- Black sanding sugar (optional)
Instructions
- Preheat oven to 350°F (175°C). Line a 12-cup muffin tin with paper liners.
- In a large bowl, whisk together flour, sugar, cocoa powder, baking soda, and salt.
- In a separate bowl, whisk together buttermilk, vegetable oil, eggs, white vinegar, and vanilla extract until smooth.
- Stir black gel food coloring into the wet mixture (start with 2 teaspoons).
- Pour wet ingredients into dry ingredients and fold with a spatula until just combined (do not overmix).
- Divide batter evenly among the 12 liners, filling each about ⅔ full.
- Bake for 18-22 minutes, until a toothpick inserted in the center comes out clean or with a few moist crumbs.
- Cool in the tin for 5 minutes, then transfer to a wire rack to cool completely.
- For the buttercream: Beat softened butter on medium speed for 2-3 minutes until pale and fluffy.
- Gradually add sifted powdered sugar, alternating with splashes of heavy cream, mixing on low.
- Add orange extract, vanilla extract, and a pinch of salt. Increase speed to medium-high and beat for 3-4 minutes until light and airy.
- Add orange gel food coloring a few drops at a time and mix until uniform.
- Once cupcakes are completely cool, pipe buttercream onto each cupcake using a piping bag fitted with a star tip.
- Top with Halloween sprinkles or black sanding sugar if desired.
Notes
For the deepest black color, use dark or black cocoa powder and gel food coloring (not liquid). Room temperature ingredients are essential for best texture. Do not overmix the batter. Cool cupcakes completely before frosting to prevent buttercream from melting. Cupcakes taste even better the next day.
Nutrition
- Serving Size: 1 cupcake
- Calories: 420
- Sugar: 40
- Fat: 22
- Carbohydrates: 55
- Protein: 4
Keywords: Halloween cupcakes, black velvet cupcakes, orange buttercream, Halloween dessert, spooky cupcakes, easy Halloween recipe


